
How to Knit a Beautiful Cable Stitch for Sweaters and Sweatshirts

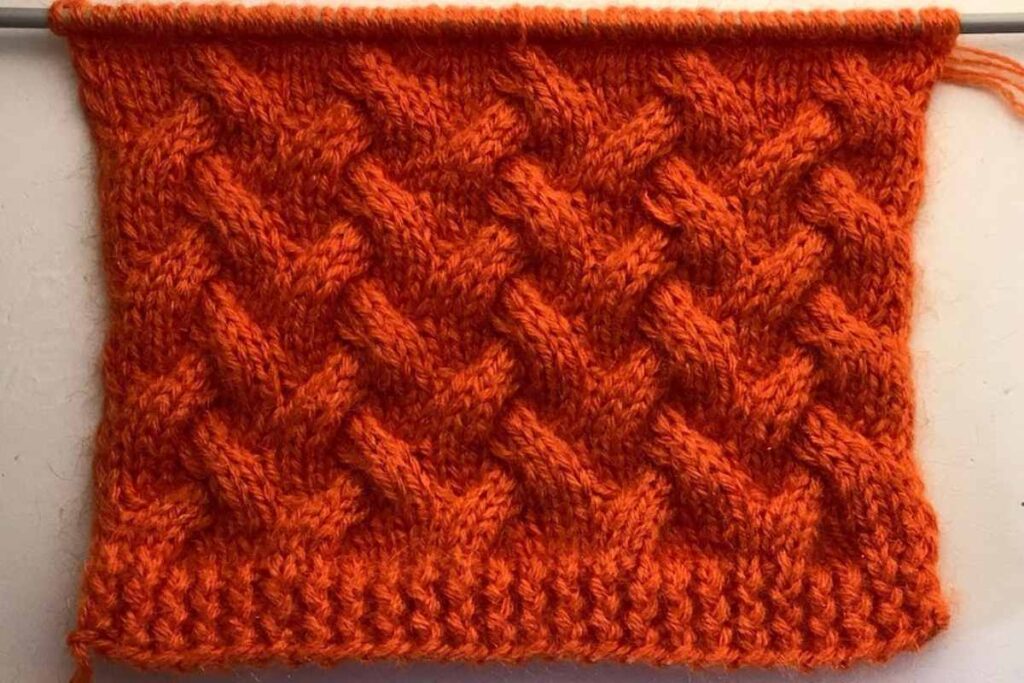
Cable knitting is one of the most intricate and eye-catching techniques that can elevate the look of any knitted project.
Known for its raised, twisting, and braided texture, the cable stitch is a popular choice for crafting sweaters, cardigans, sweatshirts, and even scarves.
If you’ve always wanted to incorporate cables into your knitting projects but weren’t sure where to start, this article will guide you through the basics and offer tips for creating beautiful cable designs without frustration.
What is a Cable Stitch?
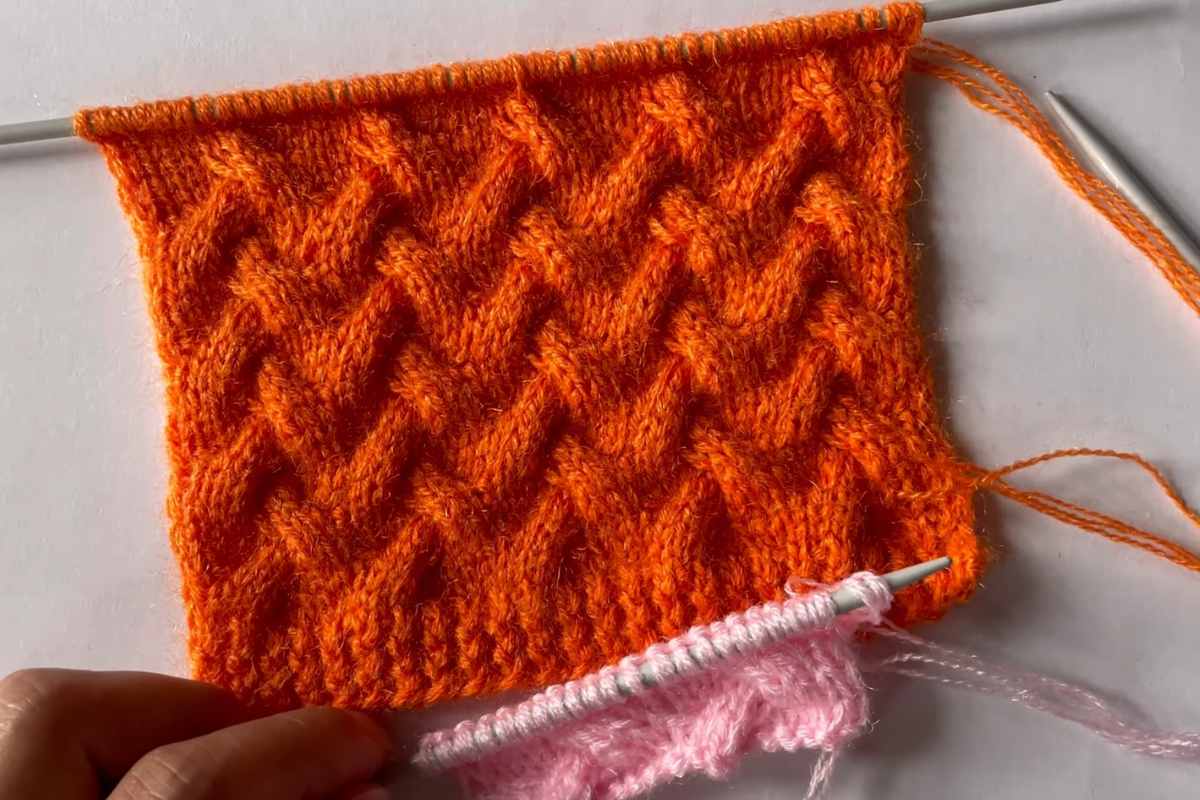
A cable stitch is a technique in knitting that creates a textured pattern, making it look like twisted ropes or braids.
This technique involves manipulating stitches by crossing them over one another to create a visually stunning design. While it may appear complicated, learning to knit cables can become an enjoyable and rewarding experience once you break down the process.
Cable patterns are often used in traditional sweaters and garments because they add depth and texture. The raised effect of the cables gives any knitted piece a rich, three-dimensional look, which is what makes the cable stitch so unique.
Why Cable Knitting is Perfect for Sweaters and Sweatshirts
Cable knitting adds both texture and visual interest to a variety of projects, but it shines especially when incorporated into sweaters and sweatshirts.
Whether you prefer classic or contemporary styles, a cable-knit sweater can serve as the perfect statement piece for your wardrobe.
One of the reasons cable stitches work so well for sweaters is that they create thicker fabrics, which are ideal for the colder months.
The raised design of the cables traps air, adding a natural layer of insulation that makes cable-knit garments not only fashionable but also practical.
Moreover, cables can be used in varied ways. You can create subtle, delicate cable designs along the edges of a sweater or go for bolder, larger patterns across the body of a garment.
The possibilities are endless, and the techniques you learn can be applied to any number of knitted items.
Mastering the Cable Stitch
While cables may seem intimidating at first, they are relatively simple to learn. The trick lies in the technique of twisting the stitches in a way that creates the illusion of a cable. Once you get the hang of it, you’ll be able to repeat the process quickly and easily.
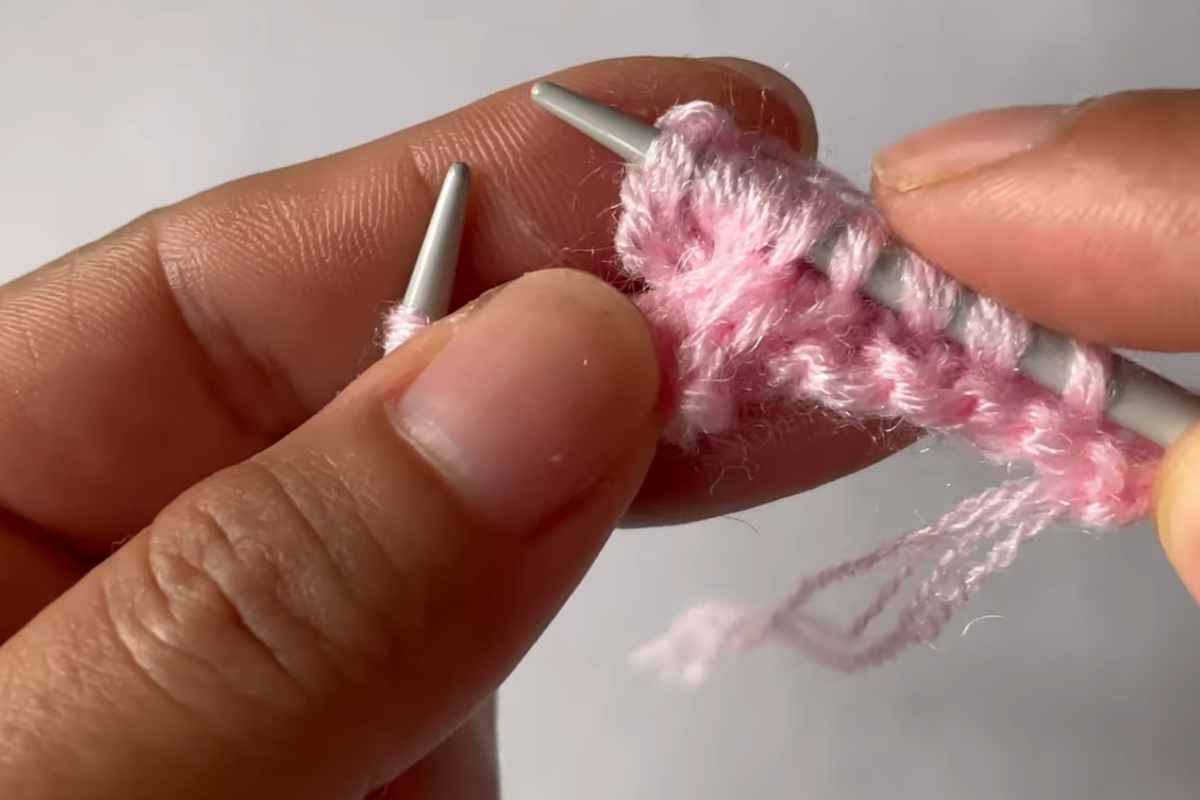
The key to mastering this technique is understanding the use of cable needles. These special needles allow you to temporarily hold some stitches while you manipulate the others to create the twist.
In addition to cable needles, you’ll need to become familiar with the directional twists that create different cable effects.
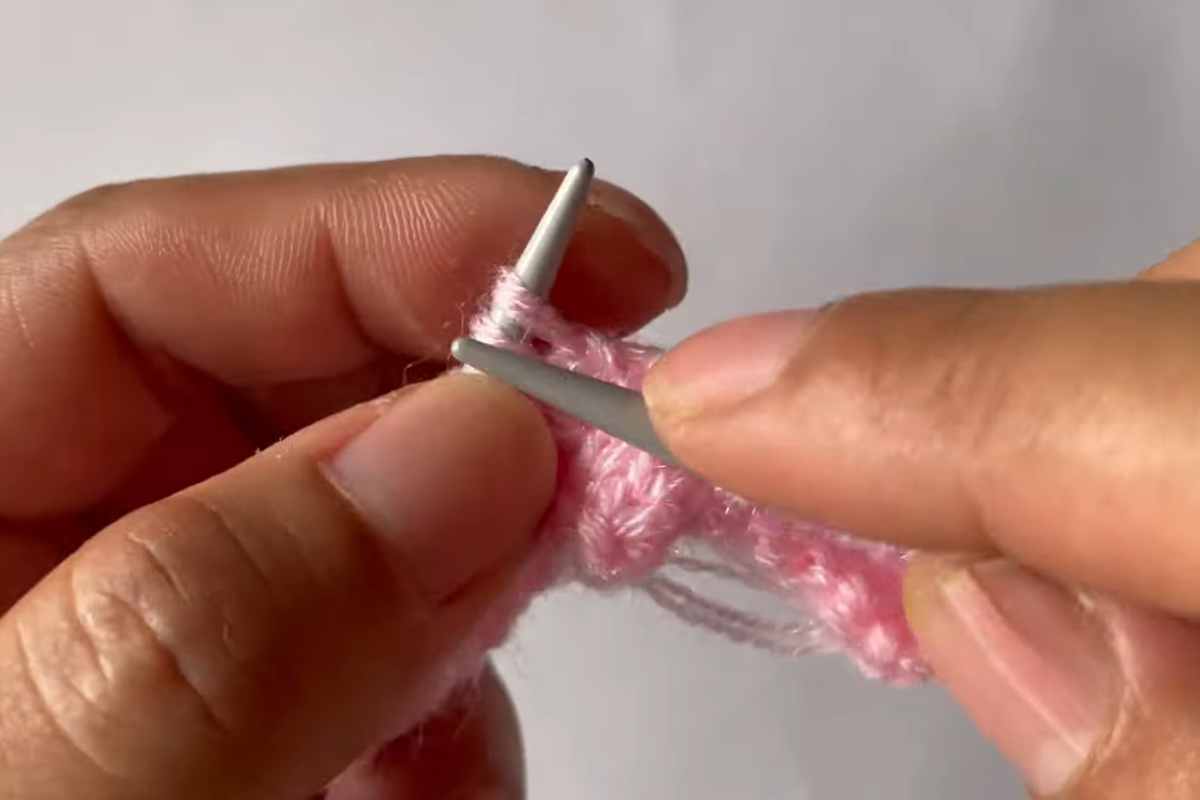
Right-crossing cables twist to the right, while left-crossing cables twist to the left. Experimenting with different sizes of twists can help you create the perfect look for your garment.
How to Add Cables to Your Sweater or Sweatshirt Project
Whether you are designing a sweater or a sweatshirt, incorporating a cable stitch pattern into your project will require a few careful planning steps.
Choose Your Cable Pattern
There are many different types of cable stitches you can incorporate into your project. The most popular patterns include simple, four-stitch cables, which create a small braid-like effect, and larger, more complex designs, such as twisted ropes or basket weaves.
For beginners, it’s best to start with a simple two- or four-stitch cable pattern. These are straightforward to create and will help you get familiar with the basics of cable knitting. As you progress, you can increase the complexity of your designs.
Incorporate Cables into the Design
Once you’ve chosen a cable pattern, decide where you want to place the cables on your sweater or sweatshirt. Cables can be incorporated into specific panels, such as along the arms or the center of the chest, or used as decorative borders for necklines and cuffs.
You can even combine different cable patterns to create more elaborate and unique looks. A simple technique is to create rows of smaller cables between larger, bolder ones, adding visual depth to the piece.
Adjust the Number of Stitches
When working with cables, it’s important to account for how many stitches you’ll need to add or remove to maintain the right fit of the garment.
Cables often require you to adjust your stitch count because they twist and take up more space than regular knit stitches. This is why you may need to add extra stitches before and after the cable to make the pattern fit correctly.
Follow the Cable Instructions Carefully
Cable patterns are written in a series of instructions that tell you how to cross the stitches and what type of twist to create.
It's crucial to follow these instructions carefully and consistently to ensure that the cables stay even and aligned. If you’re working from a cable chart, be sure to count the stitches accurately as you go along.
Additionally, remember that cables often involve binding off and casting on stitches within the pattern to shape the fabric. Keeping track of your stitch markers and row counts will help avoid errors as you proceed.
Tips for Working with Cable Stitches
Here are some essential tips for mastering the cable stitch and ensuring your sweater or sweatshirt turns out beautifully:
Keep Your Stitches Loose
Tight stitches can make cables look cramped and uneven. To get a clean, smooth cable effect, ensure that your stitches are loose enough to allow the yarn to flow easily across the needle. The tension should be relaxed, especially when you are crossing over stitches.
Practice on a Swatch
Before jumping into a full garment, take some time to practice your cable pattern on a small swatch. This will give you the opportunity to work out any tension issues and get comfortable with the technique. Practicing also allows you to make mistakes on a small scale, so they won’t affect your final project.
Mark Your Cables
If you’re working with more than one cable pattern or row, use stitch markers or row counters to keep track of your progress.
Marking the start of each row or cable section ensures you don’t lose your place, which can be a big help when working on larger, more complicated projects.
Block Your Finished Project
Once you’ve completed your sweater or sweatshirt, blocking is essential. Blocking helps to smooth out the cables and ensures that they lie flat and have the proper shape.
Lay your project on a flat surface and gently stretch it into shape. This final step will highlight the cables and give your garment a professional finish.
Final Thoughts
Learning how to knit a cable stitch opens up a world of possibilities for creating beautiful, textured garments. From sweaters to cardigans and sweatshirts, cables add a touch of sophistication and elegance to your projects.
By following the tips and techniques outlined above, you can confidently incorporate cables into your next knitting project.
With a little patience and practice, you’ll be able to create beautifully textured designs that you’ll be proud to wear or gift to others. Happy knitting!
Images and patterns courtesy of knit with me
Enjoy The Video Tutorial

Source: knit with me
Did you find this post useful or inspiring? Save THIS PIN to your Knitting Board on Pinterest! 😊
You may also like