
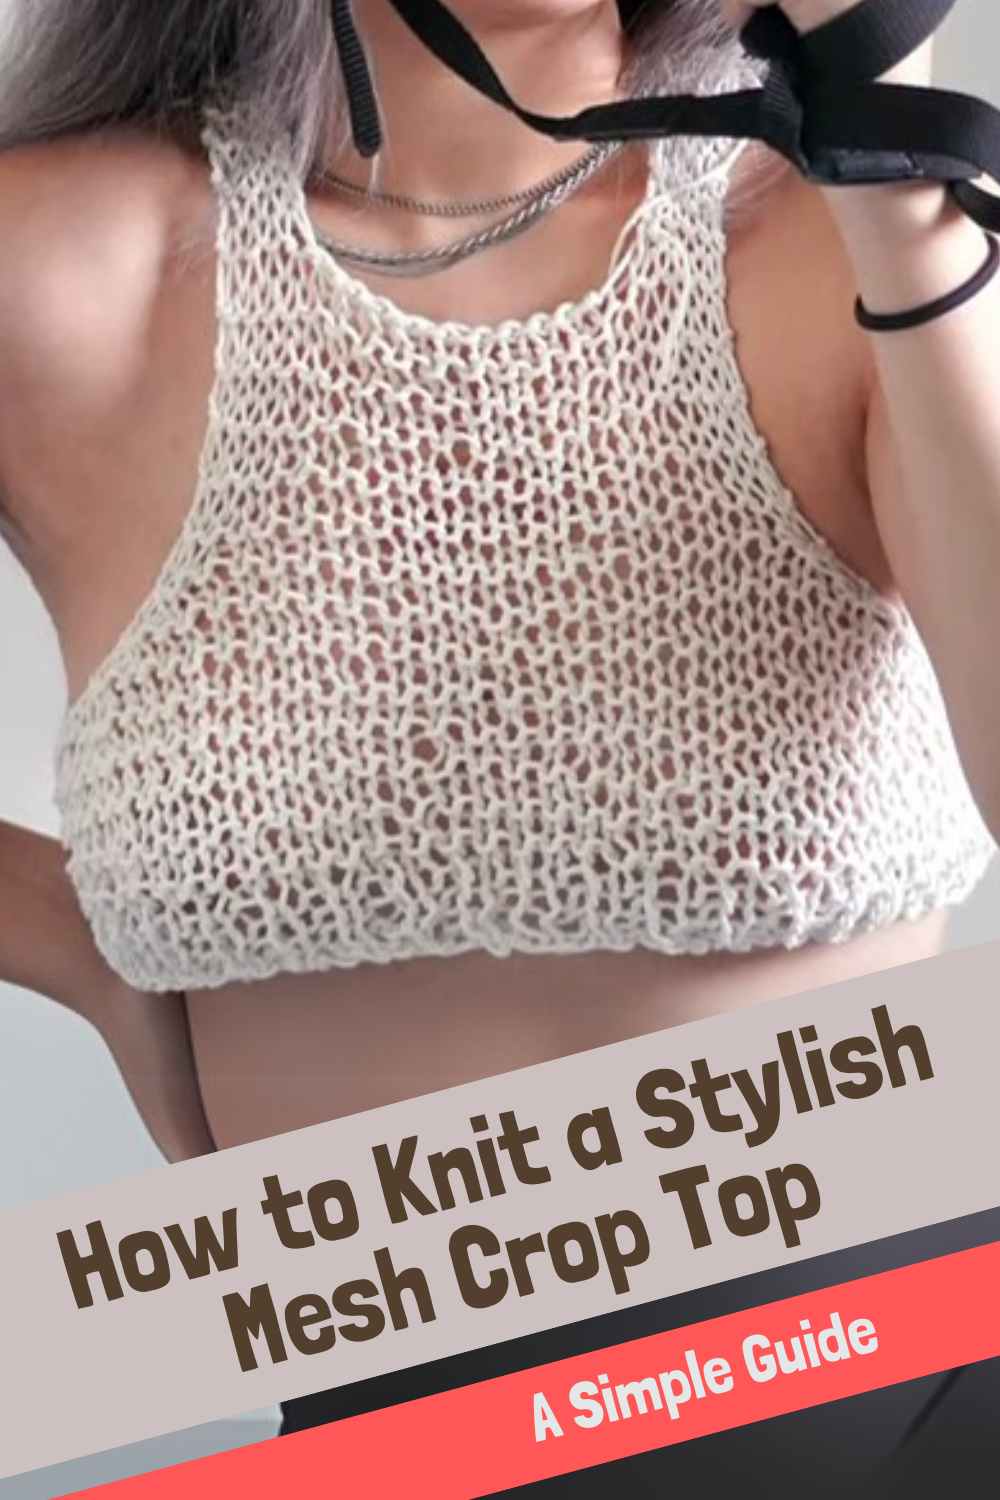
How to Knit a Stylish Mesh Crop Top – A Simple Guide

Looking for a stylish and breathable mesh crop top that’s easy to knit? This tutorial walks you through the basics of creating a made-to-measure top that’s perfect for layering or wearing on warm days.
Whether you're a beginner or an experienced knitter, this project is simple, customizable, and fun to make!
Materials You’ll Need
Before getting started, gather these essential supplies:
- Yarn: Choose a lightweight cotton or bamboo yarn for a breathable and comfortable fit.
- Knitting Needles: Select a size that complements your yarn for a loose and airy fabric.
- Tapestry Needle: Needed for weaving in ends.
- Scissors: A sharp pair for cutting yarn cleanly.
- Measuring Tape: Ensures the top is made to fit your body perfectly.
Getting Started
Casting On & Ribbing
To begin, cast on stitches according to the width of the top you want. The ribbed band at the bottom adds elasticity and helps the garment stay in place. A simple 1x1 or 2x2 ribbing works well, creating a snug but flexible foundation.
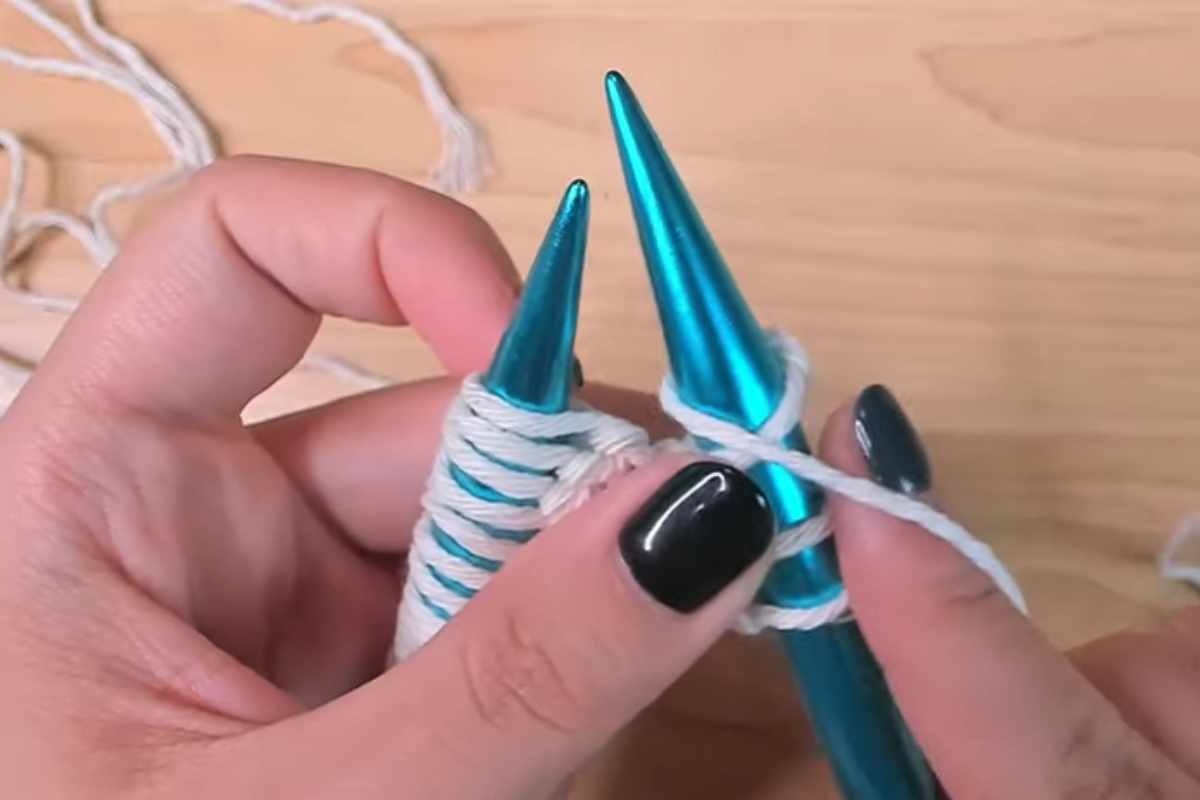
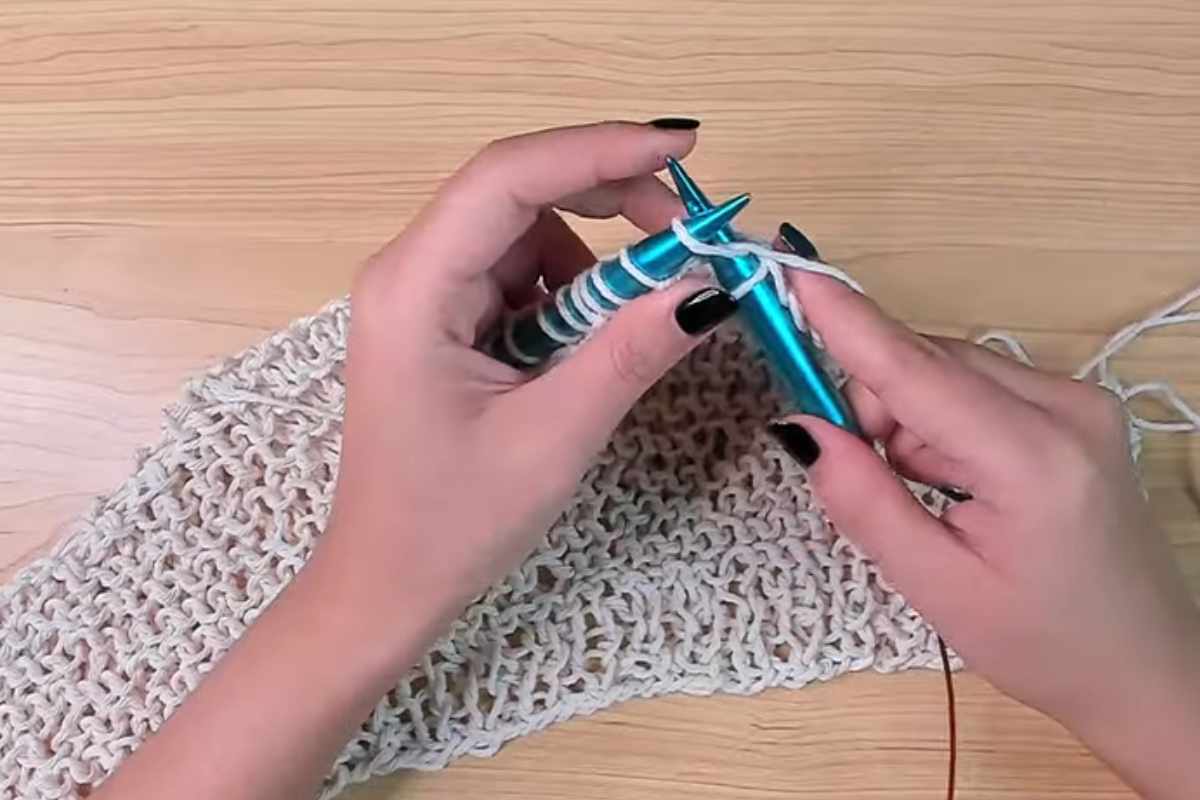
Creating the Mesh Pattern
Once the ribbing is complete, transition into the mesh stitch, which gives the top its signature openwork design.
This pattern is typically achieved with a combination of yarn overs and knit-two-together (k2tog) stitches, making it both easy and visually appealing.
Maintain even tension while knitting to ensure a consistent, airy texture throughout.
Shaping the Crop Top
Armholes & Decreasing Stitches
As you approach the armholes, start decreasing stitches gradually for a comfortable fit. This prevents the edges from feeling too tight while maintaining a flattering shape. Decrease a few stitches at the start of each row until the desired armhole depth is reached.
Shaping the Neckline
For a stylish finish, adjust the neckline by binding off stitches in the center and working on each shoulder separately. This creates a flattering scoop or V-neck effect, depending on preference.
After achieving the correct neckline depth, knit the remaining sections evenly before binding off.

Finishing Touches
Once all pieces are complete, sew the seams together using a mattress stitch for an invisible and polished look. Weave in any loose ends with a tapestry needle and block the finished piece to ensure even stitches and proper fit.
Now, the mesh crop top is ready to wear! Pair it with high-waisted jeans, a cute bralette, or a flowy skirt for a stylish handmade outfit.
Why This Tutorial Works
- Customizable: The pattern is made-to-measure, allowing for personal adjustments.
- Beginner-Friendly: Simple techniques make it accessible for all skill levels.
- Trendy & Functional: The mesh design is stylish while keeping the top light and breathable.
Enjoy the process and embrace the satisfaction of knitting your own unique crop top!
Images and pattern courtesy of Cherilyn Q
Enjoy The Video Tutorial

Source: Cherilyn Q
Did you find this post useful or inspiring? Save THIS PIN to your Knitting Board on Pinterest! 😊
You may also like