
How to Knit a Stylish Shrug with Sleeves: Beginner-Friendly Tutorial

Knitting a shrug or scarf with sleeves is a fun and rewarding project that adds both style and warmth to any wardrobe.
This tutorial guides knitters through each step, from creating the front and back panels to assembling the shoulder seams and finishing with beautiful sleeves.
To add a special touch, the video also demonstrates how to use a different yarn and a crochet hook to create a decorative edge, making the final piece look polished and unique.

A Versatile and Stylish Knit
A shrug with sleeves is a versatile garment that can be worn in multiple ways. Whether layered over a casual outfit or paired with a dress for a more elegant look, this piece adds warmth and sophistication without the bulk of a full sweater.
For those who prefer something simpler, the pattern can also be used to knit a cozy scarf, offering an alternative way to enjoy this project.
Materials and Tools Needed
This project requires a few basic materials, making it accessible to knitters of all levels. The right yarn and needle size ensure a comfortable and well-fitted shrug or scarf.
- Medium-weight or bulky yarn for a warm and cozy feel.
- Knitting needles (size recommended for the yarn) to achieve the correct tension.
- Stitch markers to keep track of sections.
- Tapestry needle for sewing seams.
- Crochet hook and contrasting yarn for the decorative edge.
Knitting Techniques Used
This tutorial includes simple yet essential knitting techniques, making it a great project for those who want to build their skills.
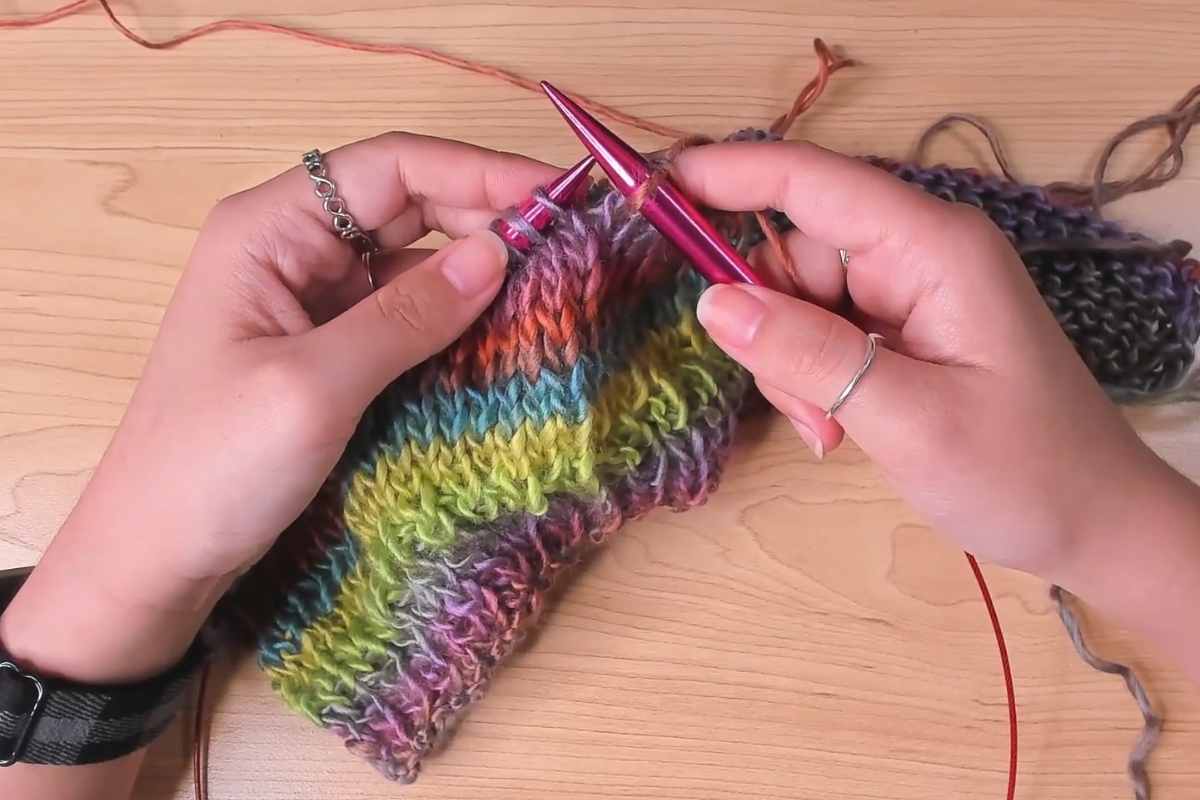
Creating the Front and Back Panels
The shrug begins by knitting two rectangular panels that will form the body of the garment. These panels serve as the foundation of the design, ensuring a comfortable and flattering fit.
Joining at the Shoulders
Once the panels are completed, they are joined at the shoulders, shaping the overall structure of the shrug. This step ensures the garment sits well and provides a smooth transition to the sleeves.
Knitting the Sleeves
The sleeves are added after the main body is assembled, giving the shrug its cozy, structured look. The video demonstrates how to pick up stitches and knit them seamlessly into the design, making the process easy to follow.
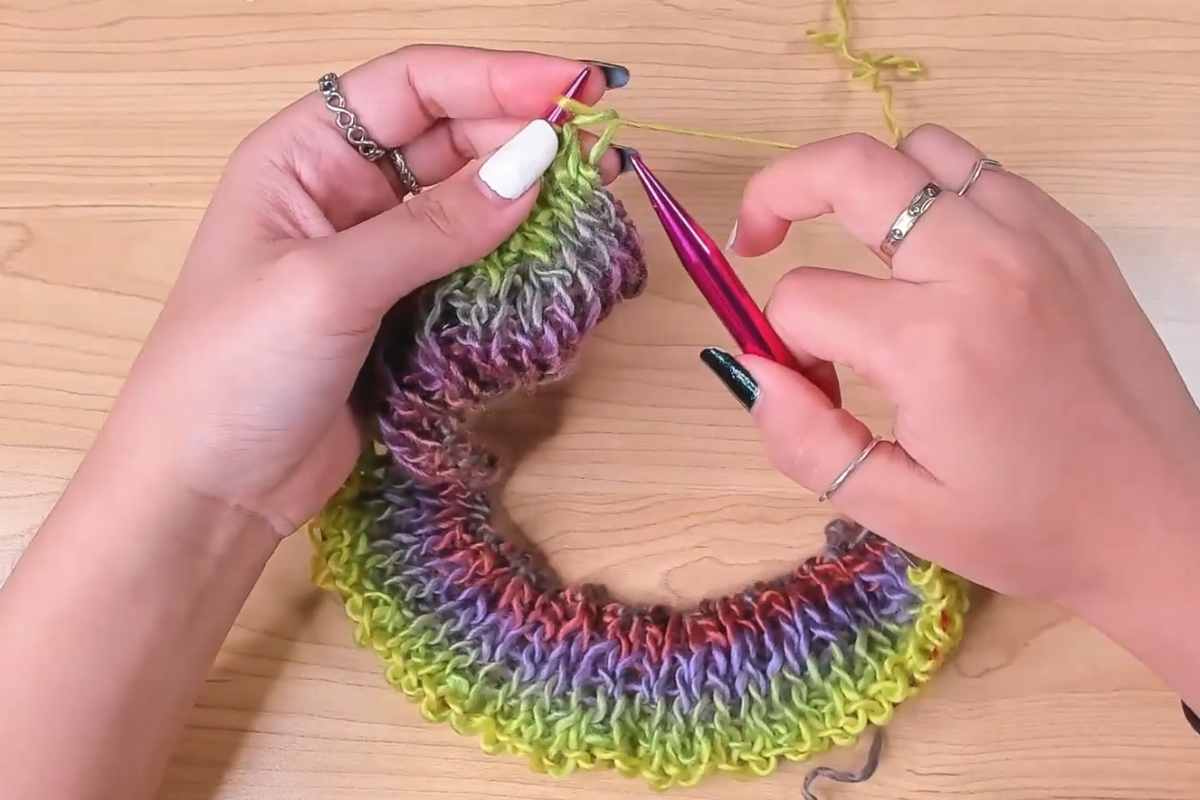
Adding a Decorative Edge
To give the shrug a polished and unique finish, the tutorial includes instructions for adding a decorative border using a crochet hook and a different yarn.
This step enhances the design and allows for customization by choosing a contrasting color or a textured stitch.
Even knitters who have never crocheted before will find this step approachable, thanks to the clear, guided demonstration in the video.
Tips for a Perfect Fit
- Choose a soft and stretchy yarn to ensure the shrug feels comfortable and moves well.
- Check gauge before starting to make sure the finished piece fits as expected.
- Use stitch markers to help keep track of sections and make assembly easier.
- Experiment with different edge finishes for a personal touch.

A Fun and Rewarding Knitting Project
This shrug or scarf tutorial is an enjoyable and accessible project for knitters of all skill levels. With clear instructions and helpful demonstrations, creating a cozy, stylish piece has never been easier.
Whether worn over a simple top or layered with a dress, this knit is a timeless and elegant addition to any wardrobe. Grab your needles, choose your yarn, and start knitting a beautiful, handmade shrug today!
Images and pattern courtesy of Cherilyn Q
Enjoy The Video Tutorial

Source: Cherilyn Q
Did you find this post useful or inspiring? Save THIS PIN to your Knitting Board on Pinterest! 😊

Last update on 2025-03-31 / Affiliate links / Images from Amazon Product Advertising API


You may also like