
Learn to Knit a V-Neck Sweater Vest

Sweater vests are back in style, and knitting your own V-neck sweater vest is a perfect way to add a touch of timeless charm to your wardrobe. This versatile garment can be dressed up or down, making it a great layering piece for any season.
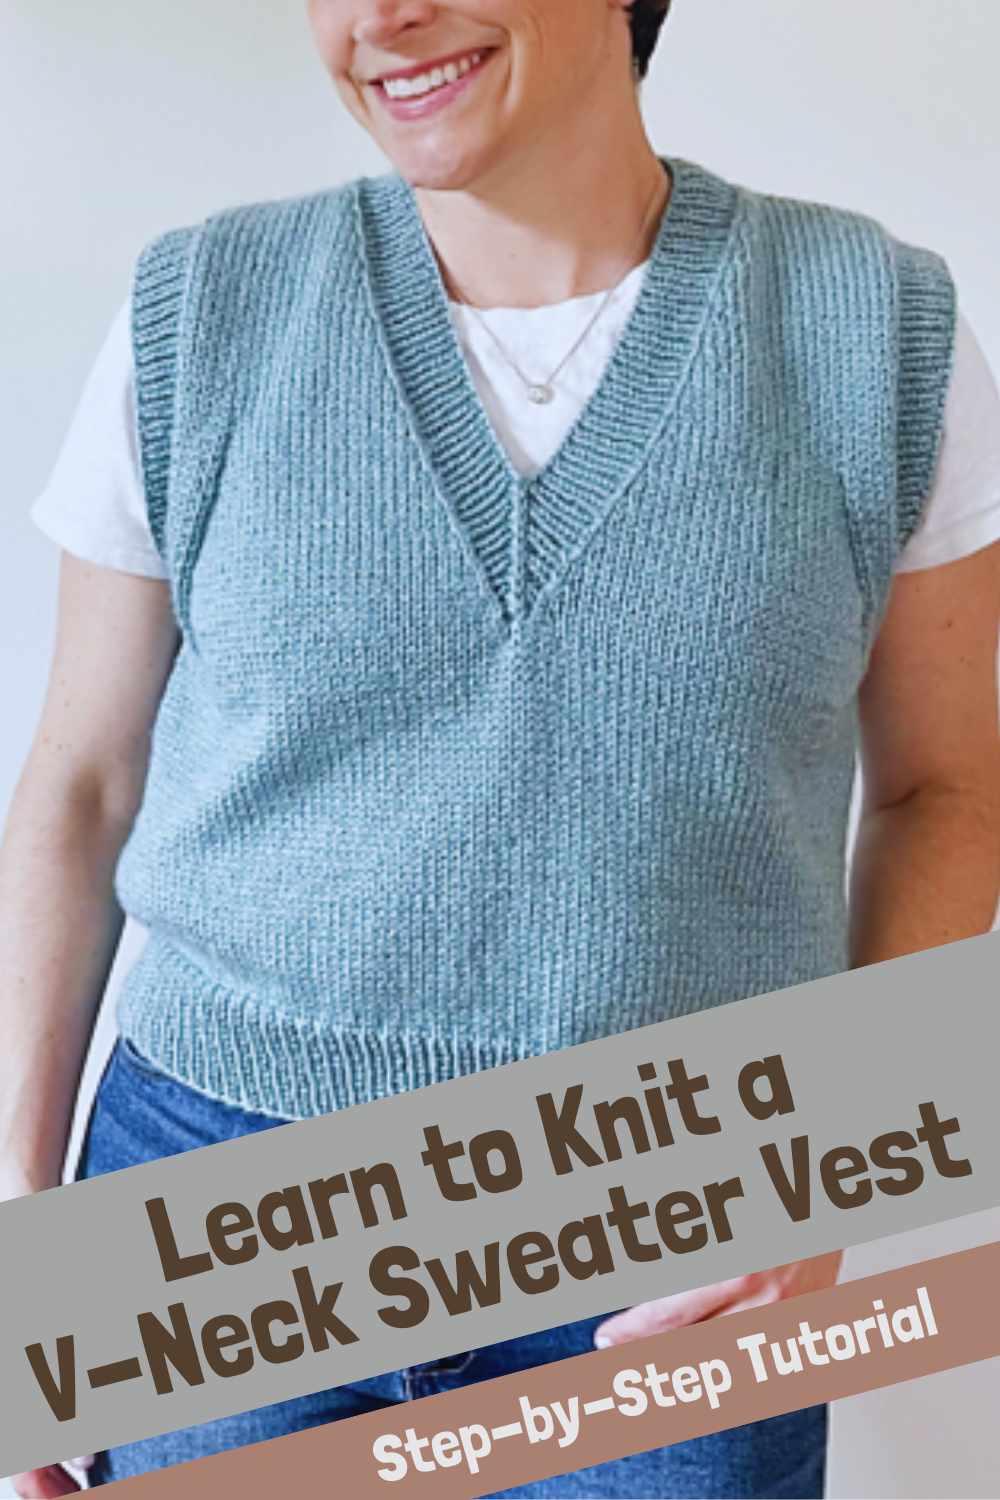
In this guide, we’ll walk you through knitting a classic V-neck sweater vest from the bottom up, resulting in a stylish and comfortable piece that’s both functional and fashionable.
Why Choose a V-Neck Sweater Vest?
A V-neck sweater vest is a versatile item that complements various outfits. Pair it with a button-up shirt for a preppy, polished look, or layer it over a casual tee for a laid-back style.

This piece is adaptable to any wardrobe and works well for both professional and weekend wear.
Knitting a sweater vest is also a satisfying project that lets you explore different colors, textures, and yarn types. You can make a vest that’s uniquely yours, reflecting your personal style.
Materials You’ll Need
Before starting your project, gather the necessary materials:
- Yarn: Choose a yarn that’s comfortable, durable, and suited for your desired warmth. Wool and wool blends are popular choices, but cotton and acrylic can work for lighter vests.
- Knitting Needles: Depending on your yarn, use the recommended needle size (often between 3.5mm and 5mm for standard worsted-weight yarn). Circular needles are generally preferred, as they help support the weight of the garment as it grows.
- Stitch Markers: Helpful for marking decreases and armhole shaping.
- Tapestry Needle: For weaving in ends and finishing seams.
Starting from the Bottom Up
This sweater vest is knit from the bottom up, meaning you’ll start at the hem and work your way up to the neckline.
Working in this direction provides flexibility in sizing and allows you to add or remove rows as you go, ensuring the perfect length.
The vest typically starts with a ribbed hem (such as 1x1 or 2x2 ribbing) for a clean, fitted edge. After completing the hem, you’ll move on to the body of the vest, where you can enjoy the meditative rhythm of knitting plain or patterned stitches.

Shaping the Armholes
When you reach the desired length for the body, it’s time to shape the armholes. This involves binding off a set number of stitches at each edge and gradually decreasing to form a gentle curve, which creates space for the shoulders.
Use stitch markers to track your decreases and ensure they’re symmetrical on both sides.
Creating the V-Neck
The V-neck shaping is one of the defining features of this sweater vest. To achieve this, you’ll divide the stitches at the center front and work each side separately, decreasing along the neckline to create the V-shape.
Be consistent with your decreases to create a smooth, even neckline.
Once the V-neck shaping is complete, you’ll continue working each side until the shoulders are the correct length. At this stage, it’s essential to check your measurements to ensure the vest will fit well.
Joining the Shoulders and Adding Ribbing
After shaping the neckline and completing the shoulders, it’s time to join the shoulders using a seaming technique such as the mattress stitch, which creates a smooth, nearly invisible seam.
Once joined, you can add ribbing along the neckline and armholes for a polished finish.
The ribbing around the V-neck and armholes not only adds a professional look but also helps the edges lay flat. This final detail enhances the overall structure, giving the vest a refined appearance.
Customizing Your Vest
One of the joys of knitting a sweater vest is the ability to customize colors, textures, and patterns. Consider experimenting with color-blocking, stripes, or even textured stitches to create a unique look. You can also adjust the length or add decorative elements like pockets to make the vest truly your own.
Final Thoughts
Knitting a V-neck sweater vest is a rewarding project that results in a timeless, adaptable piece. This garment can be worn year-round, layered in various ways to suit your style. Plus, creating it yourself adds a special, personal touch to your wardrobe.
So, grab your yarn and needles and dive into the world of handmade fashion. With each stitch, you’re crafting a classic piece that will keep you warm and stylish for years to come. Happy knitting!
Images and pattern courtesy of Ashley Lillis
Enjoy The Video Tutorial

Source: Ashley Lillis
Did you find this post useful or inspiring? Save THIS PIN to your Knitting Board on Pinterest! 😊
Last update on 2025-02-14 / Affiliate links / Images from Amazon Product Advertising API


You may also like