
Building Your Own Portable Camping Shower: A Step-by-Step Guide

Learn how to build your own portable camping shower with this easy step-by-step guide. Get tips on materials, setup, and maintaining hygiene in the wild. Perfect for your next outdoor adventure!
Camping is one of the best ways to connect with nature, but let's face it, staying clean in the wild can be a bit challenging.
A portable camping shower can make all the difference in your camping experience. Luckily, building your own portable shower is simple and budget-friendly!
This guide will take you through each step, providing you with tips and tricks to ensure a refreshing outdoor shower after a long day on the trail.
Why Build Your Own Portable Camping Shower?
When you're on an extended camping trip, staying clean is more than just about feeling good—it's about hygiene and health.
Whether you've been hiking all day or simply want to freshen up, having access to a portable shower can keep you refreshed.
Building your own portable camping shower allows you to customize it to your needs, saves you money, and can be made using easily accessible materials.

Materials You'll Need
Before we dive into the step-by-step process, make sure you have the following materials ready:
- A large water container (preferably 5 gallons)
- A lightweight shower head or nozzle
- A length of hose (about 6-8 feet)
- A pump (manual or battery-operated)
- PVC pipe for structure
- Clamps or bungee cords to secure the structure
- Optional: A shower curtain or tarp for privacy
Now that you’ve gathered the materials, let’s break it down into easy-to-follow steps.
Step 1: Setting Up the Water Container
The first step is to choose the right water container. Ideally, you'll want something that can hold enough water for a good rinse.
A 5-gallon container is usually sufficient for multiple uses and can be easily transported to and from your campsite.
Place your container in a spot where it gets plenty of sunlight to naturally heat the water during the day.
Step 2: Attach the Shower Head or Nozzle
Choose a lightweight shower head or a simple nozzle. Attach this to one end of the hose securely. If you have a water pump, this will help with the flow of water, but even without one, gravity can do the trick.
Simply elevate the water container to create a gravity-fed shower system, allowing the water to flow through the hose and out the nozzle.
Step 3: Create a Stable Shower Structure
You’ll want to make sure your shower has some structure to hold everything in place. Use PVC pipe to create a simple frame or use nearby trees and bungee cords to suspend your water container.
Make sure the container is elevated enough to create water pressure.
Step 4: Pump or Gravity?
If you're opting for a gravity-fed system, make sure your water container is high enough to give you a decent water flow.
However, if you’re using a manual or battery-operated pump, you can keep the water container on the ground. Simply pump water through the hose to the shower head.
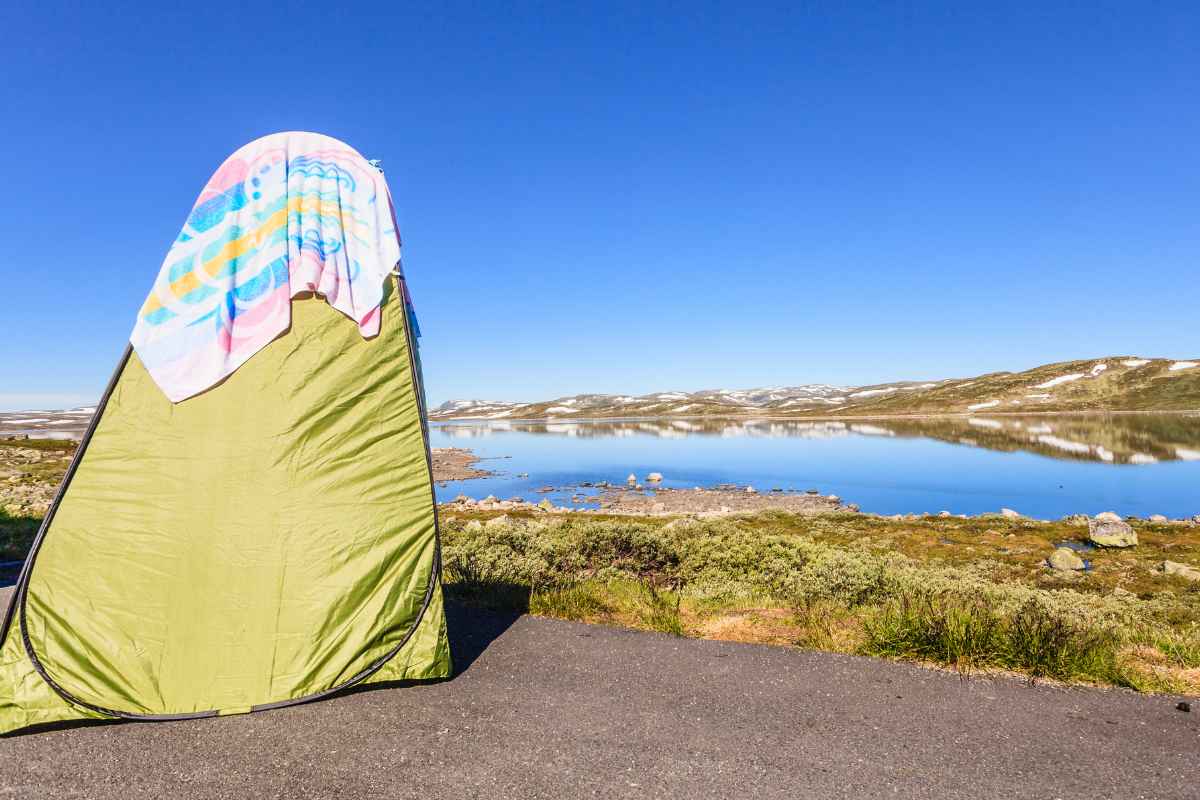
Step 5: Privacy Options
For many campers, having some privacy while showering is a must. If you're camping in a more public area, consider bringing a shower curtain or tarp. You can easily hang these from a couple of trees or use additional PVC piping to create a small enclosure.
Step 6: Using Eco-Friendly Soap
When showering outdoors, it’s important to keep the environment in mind. Make sure to use biodegradable soap to avoid contaminating local water sources. Brands that are labeled as "camping-friendly" are designed to break down naturally, ensuring you leave no trace behind.
Step 7: Storing and Transporting Your Shower
Once you've set up your shower, consider how you'll store and transport it. Make sure the water container is lightweight when empty, and the materials can be easily disassembled or folded.
This makes it simple to bring your DIY portable shower along for all your future camping adventures.
Camping Shower Tips
- Plan ahead: Try to shower in the late afternoon when the sun has had time to warm the water.
- Conserve water: A 5-gallon container may seem like a lot, but it's best to be mindful and avoid long showers.
- Secure the water container: Whether you're using gravity or a pump, make sure the container is secure to avoid any spills.
- Choose a flat surface: Ensure your shower is set up on stable, level ground to prevent any accidents.
Why a DIY Portable Camping Shower is Worth It
There are plenty of store-bought portable showers on the market, but building your own offers more customization and can often be more cost-effective.
Plus, making your own is a fun, rewarding project that will add an extra layer of comfort to your camping trips.
By building your own, you can control the size, structure, and type of shower you want, ensuring it meets your specific needs.
Wrapping It Up
Now that you know how to build your own portable camping shower, you’re ready to take your outdoor experience to the next level.
Not only will you feel cleaner and more comfortable, but you’ll also have the satisfaction of knowing you built it yourself! Plus, you can easily pack it up and use it on all your future camping trips.
Enjoy your clean and refreshing showers in the wild!
Did you find this post useful or inspiring? Save THIS PIN for later in your Outdoor Board on Pinterest! 😊

Explore these outdoor tips too