
From Car Battery to Camp Power: Safe DIY 12V Systems for Weekend Trips
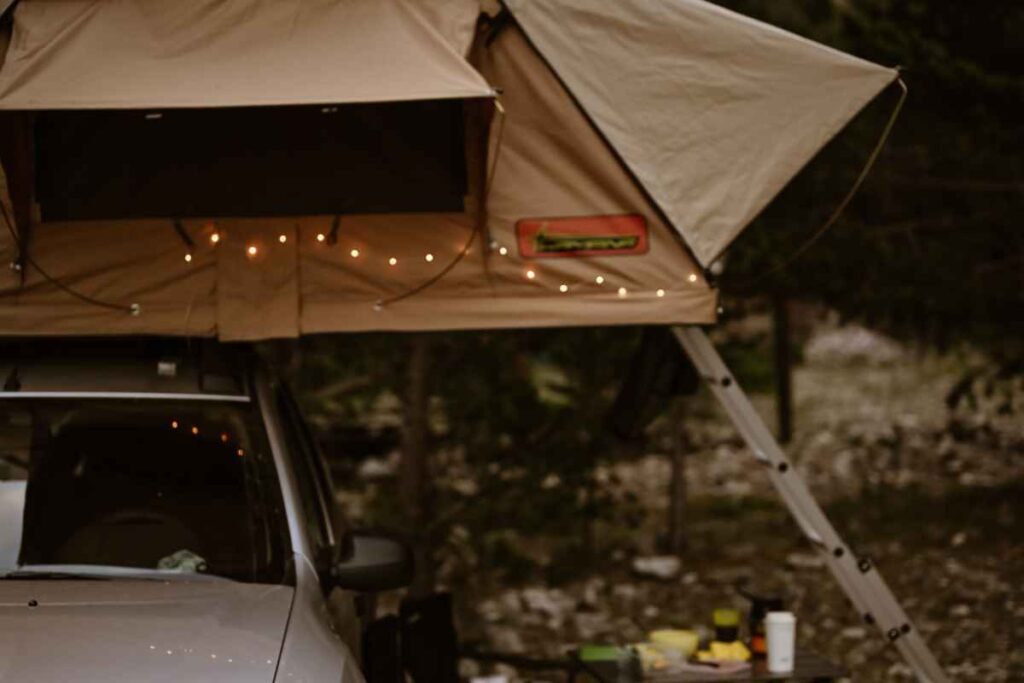
If you love quick getaways but hate juggling dead headlamps, warm drinks, and phones stuck at 3%, a reliable 12V system can transform your weekend trips.
The good news: you don’t need to be an electrical engineer to build a compact, safe setup that runs your lights, charges devices, and even powers a fridge for a couple of days.
In this guide, we’ll keep things friendly and practical—focusing on simple planning, safe wiring, and dependable components so you can enjoy the campsite instead of babysitting your battery.
Why a 12V System Is Perfect for Weekend Trips
A 12V camping system is efficient, modular, and designed for the kinds of loads we actually use outside: LED lighting, phones, cameras, fans, pumps, and compact coolers or fridges.
Unlike wall power, 12V gear is built for low-voltage DC, which means less conversion loss and fewer moving parts. It’s also far safer to handle when you follow a few commonsense rules.
The goal is not to power everything—just to run the essentials quietly, safely, and predictably for 24–72 hours.
The Core Components
A basic, dependable build involves a battery, a charging method, and distribution with protection. Keep it simple and you’ll keep it safe.
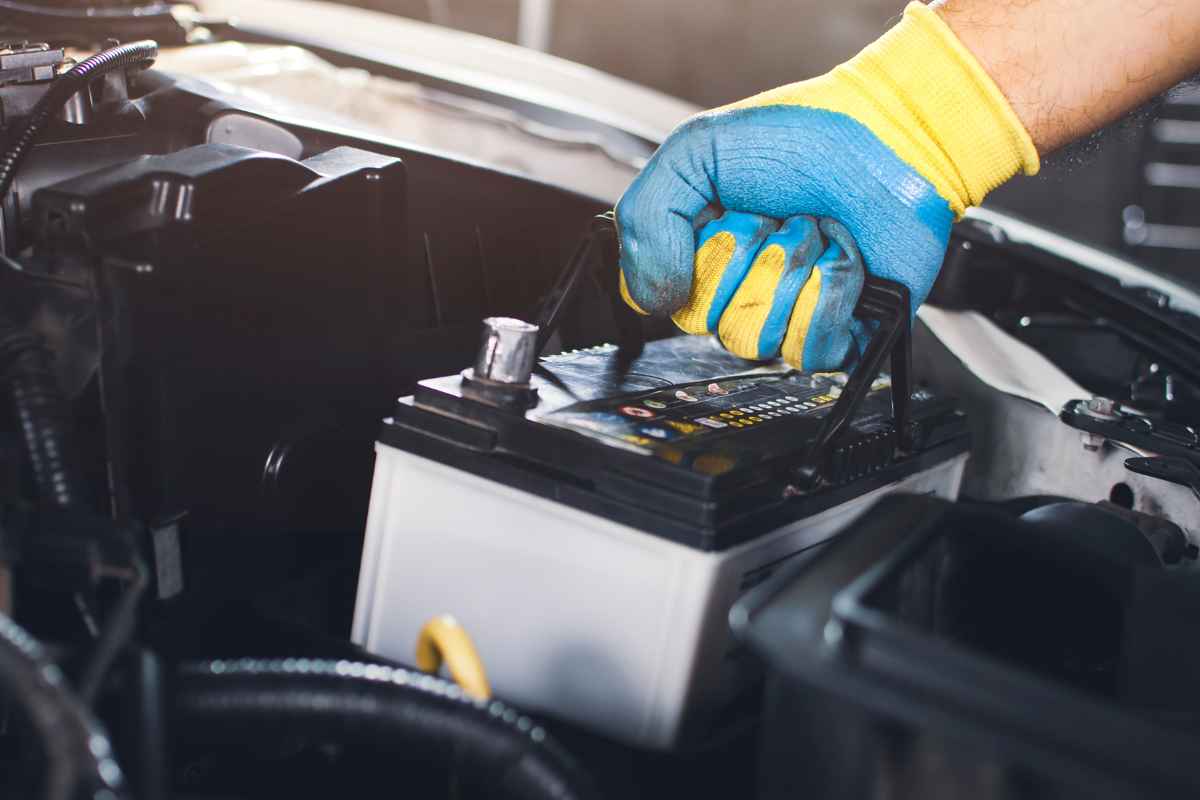
For the battery, weekenders do well with a 100Ah LiFePO₄ or a 70–100Ah AGM deep-cycle. Starter batteries are not ideal for regular deep discharge; they’re designed for short bursts of high current, not for steady draw.
LiFePO₄ wins on weight, usable capacity, and longevity, while AGM costs less up front and still performs well in cooler conditions.
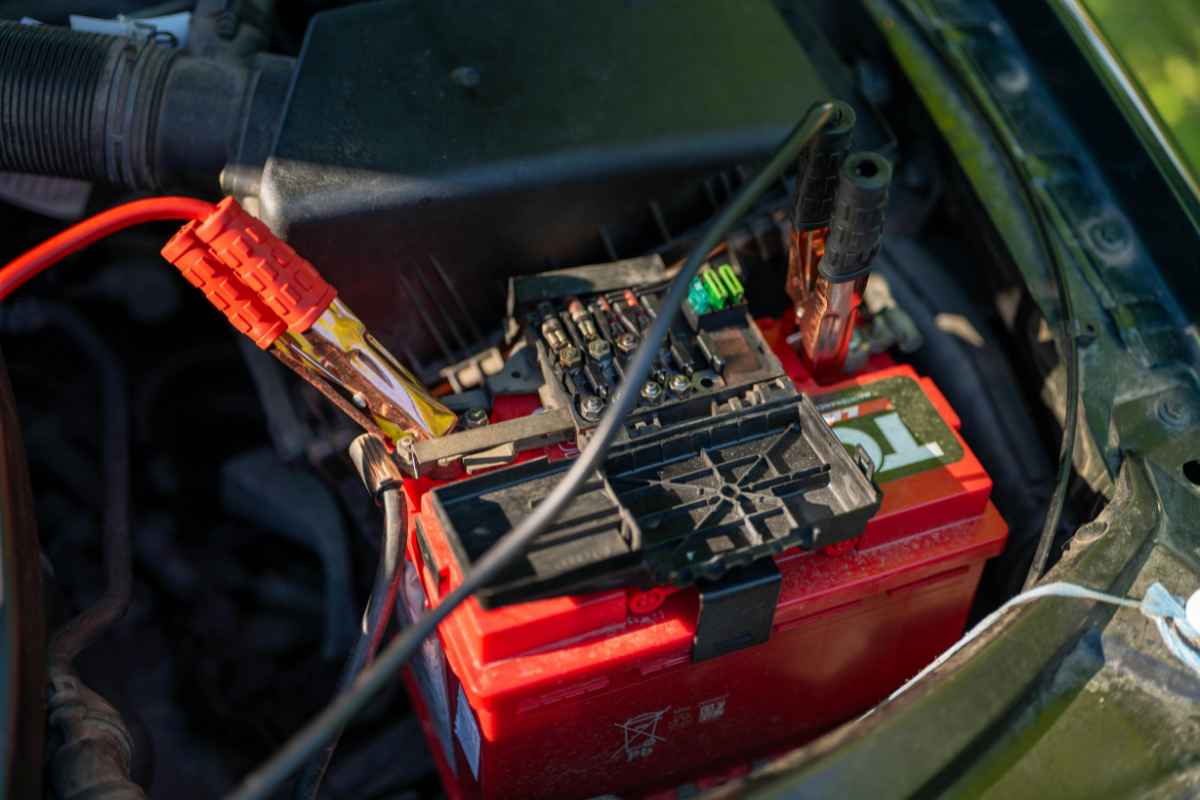
For charging, think in layers. Your vehicle alternator can do the heavy lifting while you drive if you use a DC–DC charger between your starting battery and house battery.
This device ensures proper voltages and prevents backfeeding that could harm your alternator or start battery.
Add solar (100–200W foldable panels with a good MPPT controller) to top up while you’re parked. Shore power is optional, but a compact AC charger at home keeps the system topped off midweek.
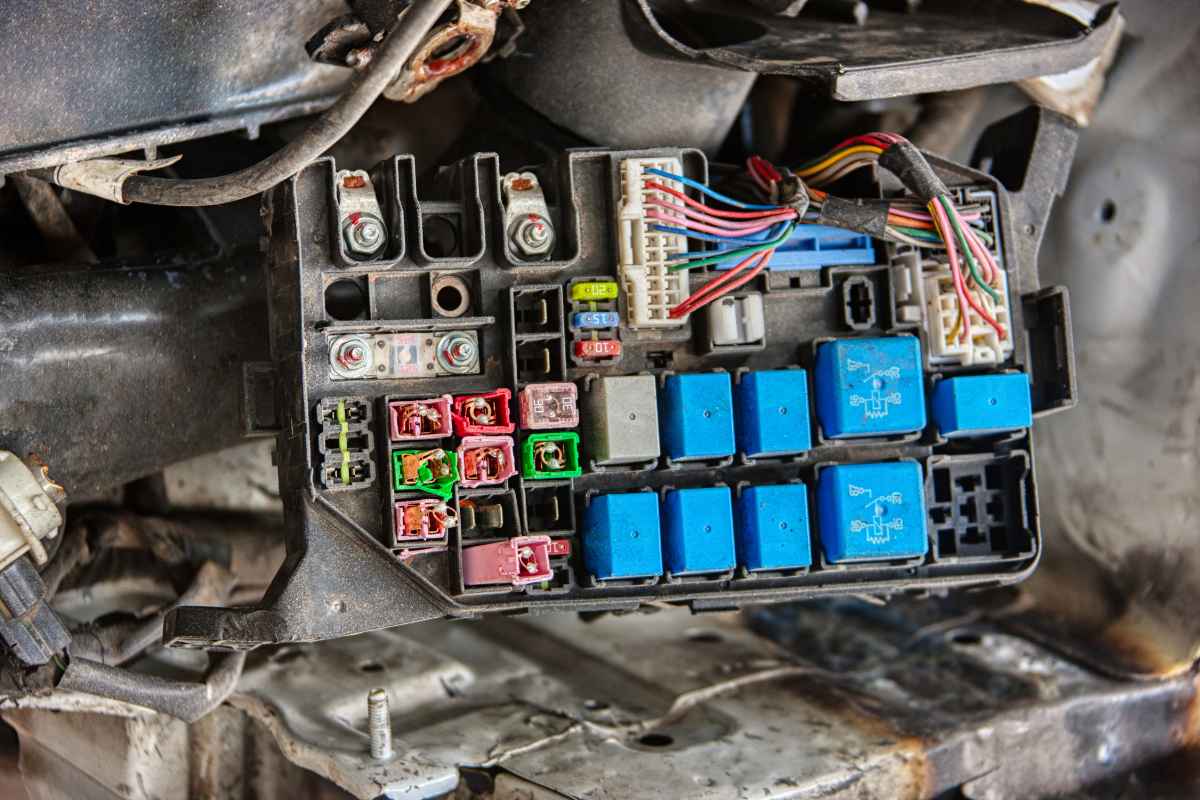
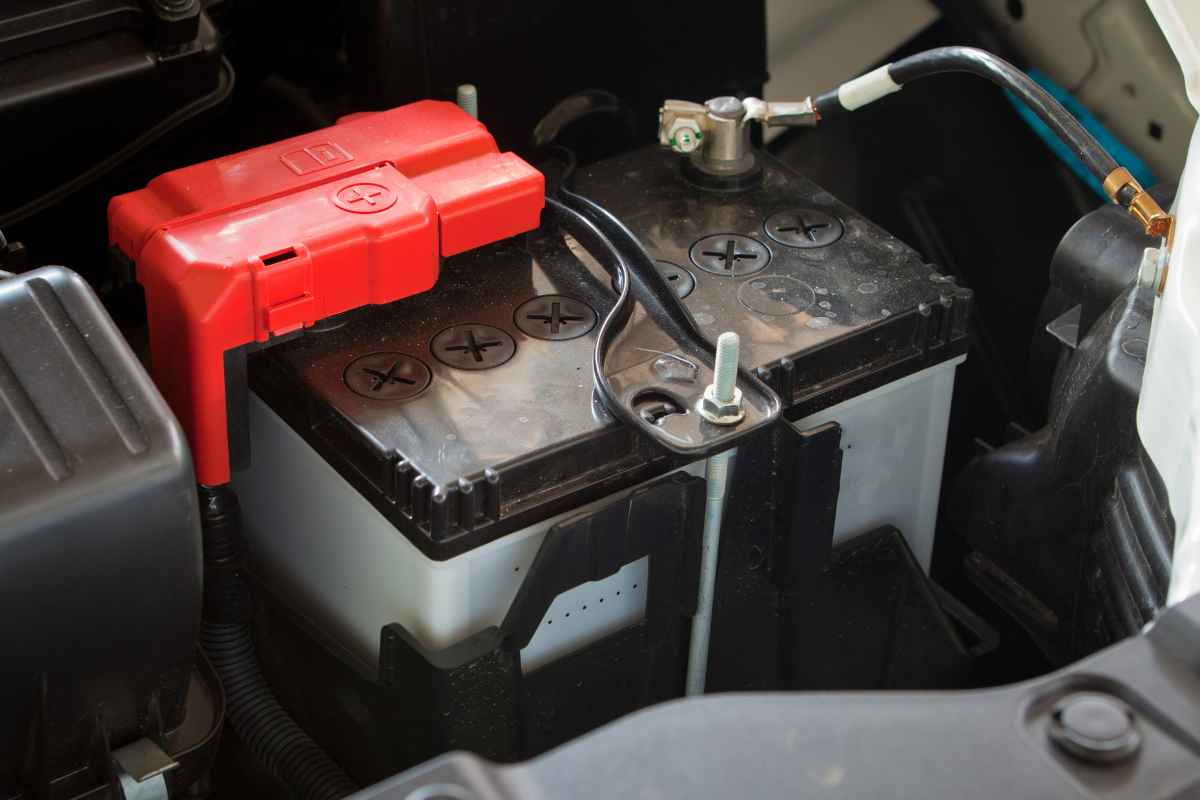
For distribution, use a small fused 12V panel or marine fuse block with labeled circuits. Pair it with a master fuse or resettable breaker at the battery positive, a negative bus bar, and clean ring-terminal connections. This keeps wiring tidy and makes faults easy to find.
Safety First: Non-Negotiables
Electrical safety in low voltage is about protection and heat management. Always place a main fuse or breaker close to the battery. Every downstream circuit needs its own appropriately sized fuse.
Choose proper wire gauge for the expected current and length to avoid voltage drop and hot wires. Keep wiring away from sharp edges and exhaust components, and use grommets, loom, and abrasion protection wherever a cable passes through metal.
Finally, anchor the battery securely and ensure adequate ventilation, particularly for lead-acid types.
Plan Your Loads
Before you buy anything, list the gear you want to run and estimate daily watt-hours. A 12V fridge might average 20–40Ah over 24 hours, LED lights 2–6Ah, phones and cameras another 5–10Ah, and a small fan perhaps 5–10Ah.
Add them up for a realistic daily total. This drives your choice of battery size and charging. If your daily use is 40–60Ah, a 100Ah LiFePO₄ can comfortably cover a night and a day with margin, and a couple hours of driving or decent sun can bring you back to full.
A Simple, Safe Wiring Blueprint
Think in straight lines. From the battery positive, go battery → main fuse/breaker → DC–DC charger/solar controller → fuse block → devices. From the battery negative, go battery → negative bus bar → device negatives.
The DC–DC charger also connects to the vehicle start battery; many units include an ignition or voltage-sensing trigger so they only charge while the engine is on, protecting your ability to start the car.
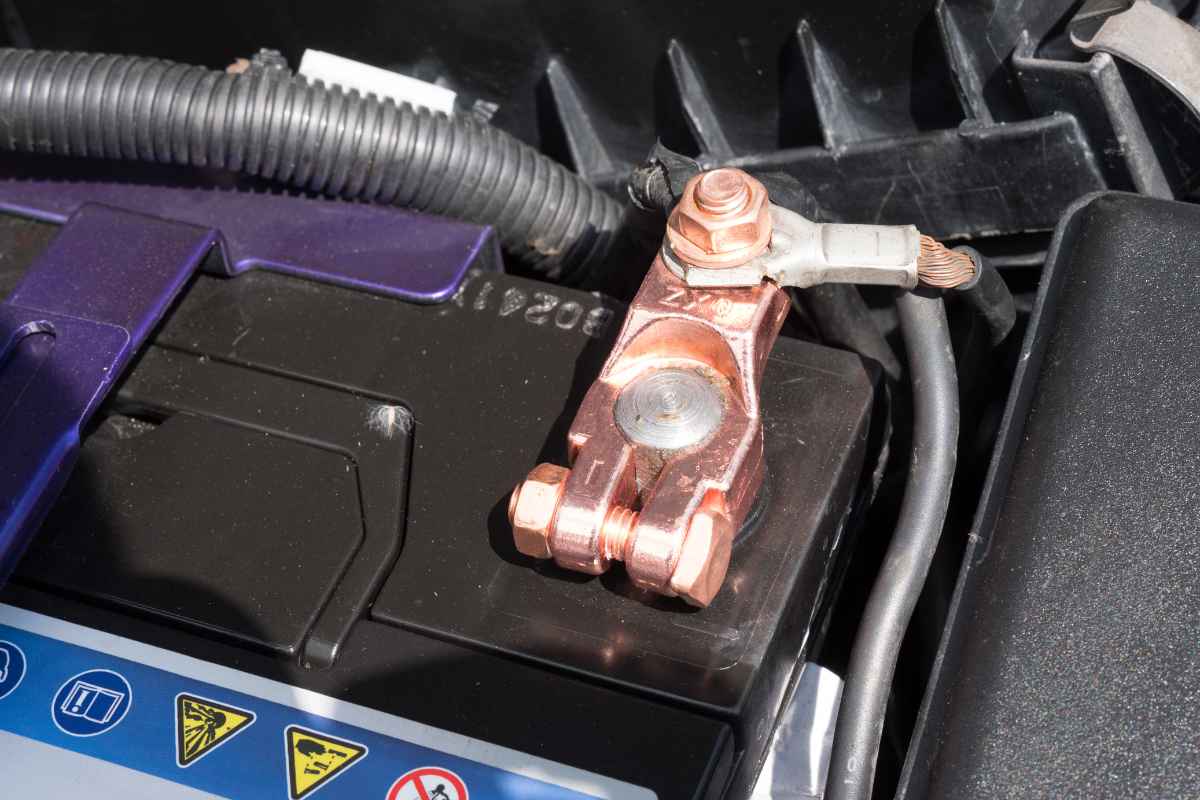
Keep cable runs short and use tinned copper lugs with heat-shrink for secure, corrosion-resistant terminations.
Step-by-Step: Building a Weekend-Ready 12V Box
Start with a compact battery box or small marine case. Mount the fuse block, negative bus, and breaker on a panel inside for clean serviceability. Install your DC–DC charger and, if using solar, a small MPPT controller nearby for short wire runs.
Pre-crimp cables with labeled heat-shrink so every positive and negative is unmistakable. Add a 12V socket, USB-C PD port, and a couple of Anderson-style connectors on the exterior of the box for flexible hookups.
This “power box” approach lets you move the system between vehicles, store it safely at home, and expand later without ripping apart your rig.
Wire Gauge and Fusing
Two numbers matter: current and distance. For fridge and lighting circuits at 5–10A over a few feet, 14 AWG often suffices; for 15–30A circuits, 12–10 AWG is safer.
For the main feed from the battery to the fuse block or charger, choose 8–6 AWG depending on run length and charger size. Fuse each branch for the smallest wire on the circuit, not the device rating.
If a device requests a 15A fuse but your wire is only safe at 10A, upgrade the wire—never the fuse. Proper fusing is your fire prevention system.
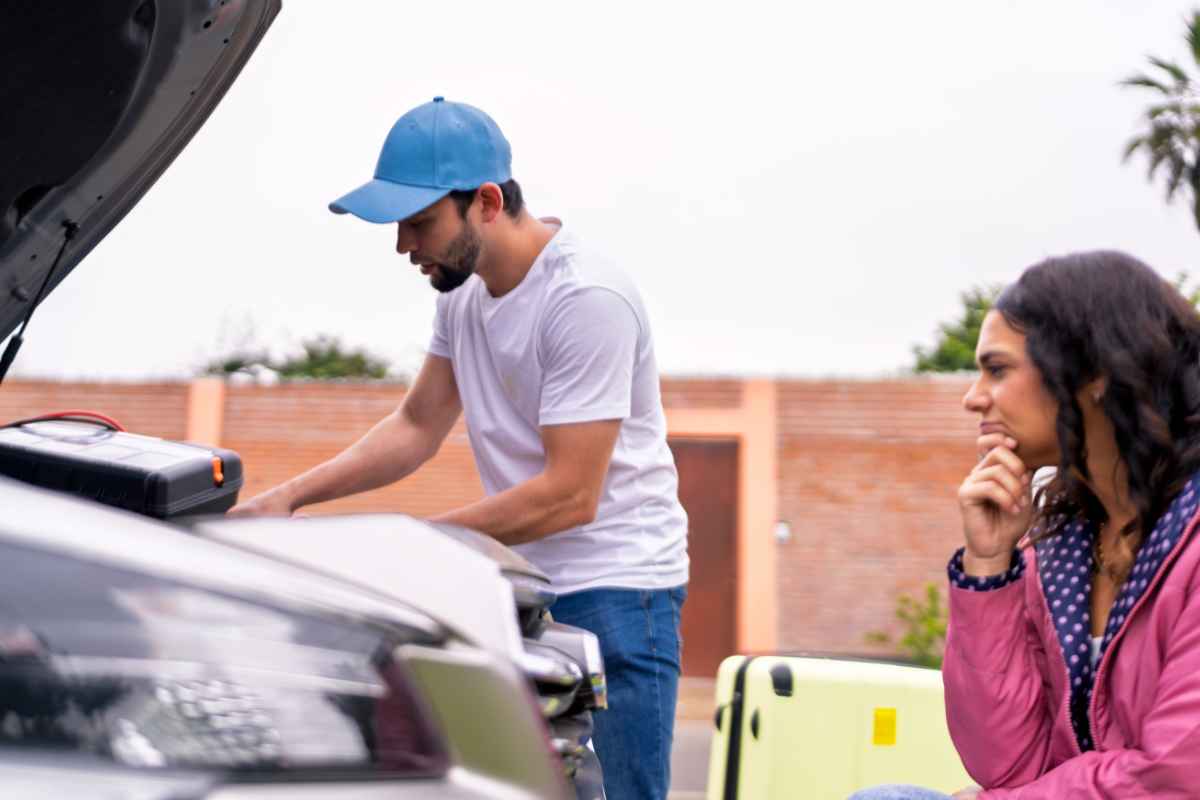
Charging While You Drive
A DC–DC charger is the smartest way to tap vehicle power. It regulates voltage for your battery chemistry, prevents over-current, and isolates the start battery when the engine is off.
Many include temperature compensation and multi-stage charging, significantly improving battery health. Combine this with solar input so you’re topping up whenever the sun is out.
That blend—drive charging plus solar—makes a set-and-forget weekend system where you arrive full, camp comfortably, and leave with enough reserve to get home.
Smart Mounting and Ventilation
Batteries are heavy, and campsites are bumpy. Secure your power box with ratchet straps or bracketry so it can’t become a projectile. Keep wiring accessible; you’ll want to inspect fuses and tighten terminals a couple of times per season.
If you’re using AGM, allow vent pathing in case of off-gassing under fault conditions. LiFePO₄ runs cooler and doesn’t vent under normal use, but it still appreciates space for thermal stability.
Using the System
Treat your battery kindly and it will pay you back with years of service. Avoid deep discharges; for AGM, stay above ~50% state of charge when possible, and for LiFePO₄, aim for 20–80% in routine use with occasional full top-offs.
Keep terminals clean and tight, and inspect after dusty or muddy trips. If you store the system for more than a month, charge to a healthy level and disconnect loads.
A small battery monitor—even a simple voltmeter—helps you make smart decisions at camp without guessing.
Troubleshooting Without the Stress
If something quits, start simple. Check the main breaker, then the branch fuse for that circuit. Verify the negative connections; a loose ground is a common culprit. Use your voltmeter to confirm battery voltage at the box and at the device.
If the DC–DC charger isn’t charging while driving, confirm the ignition trigger or voltage-sensing mode is set correctly. For solar, check panel orientation, connectors, and the controller’s status lights.
Most issues boil down to a blown fuse, a loose lug, or a configuration setting.
Smart Upgrades When You’re Ready
Once the basics are dialed, consider a shunt-based battery monitor for accurate state-of-charge, a 12V fridge with good insulation to reduce average draw, or additional solar wattage for shoulder-season camping.
Adding a small inverter for the occasional AC task is fine, but keep your core lifestyle on DC to maintain high efficiency and low hassle.
As you expand, maintain the same rules: fuse at the source, size the wire for the load and distance, and label everything.
Camp Comfort, Powered Safely
A weekend power setup doesn’t need to be complex or expensive.
With a deep-cycle battery, a DC–DC charger, modest solar, and tidy fused distribution, you’ll have quiet, dependable energy for lights, devices, fans, and a fridge—all while protecting your vehicle and maximizing battery life.
Build it once with safety and simplicity at the front of your design, and your reward is effortless camp comfort, every trip.
Did you find this post useful or inspiring? Save THIS PIN for later in your Outdoor Board on Pinterest! 😊

Explore these outdoor tips too