
How To Build a Herringbone Wine Rack
Hello, how are you today? Welcome to our blog: URBAKI Woodworking.
We hope that you are very well and looking forward to a new post about woodworking.
Today we are going to share with you:
Easy Way to Build A Wine Rack
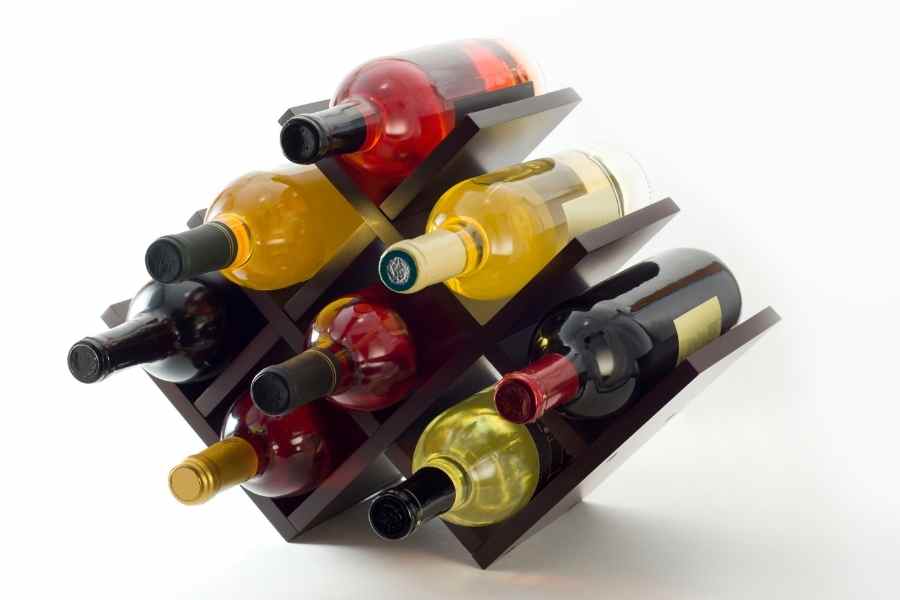
Build this herringbone wine rack before your next dinner party and your guests will be impressed by its simple yet elegant design, not to mention its storage capacity! The holes in the pockets create very strong seams with hidden zippers, so the only features of this piece that stand out are the elegant lines of the herringbone pattern.
This project can be built in minutes with just eight uniform 1x8 pine pieces and a pocket hole jig. Here's how to build a herringbone wine rack:
Tools and materials
- 8ft 1x8 Pine Board
- Wood finish (two colors)
- wood glue
- pocket hole jig
- pocket screws
- Forks

Step by Step
First, cut the 1x8 pine board into 10-inch eight. parts. Then finish the pieces with two contrasting colors, which will help enhance the herringbone pattern of the entire wine rack. We used a dark walnut and lime color. Let the pieces dry completely.
Time: A full day
Complexity: Beginner
Step 1: drill pocket holes
Using a pocket hole template, drill two holes in one flat side of each piece. You don't need to be exact with the location of the holes, but they should be about an inch from the side edges to create a strong bond.
Step 2: build the first layer
Starting with the bottom layer of herringbone, arrange the pieces as shown in the photo below. Then screw the pieces together.
Step 3: the herringbone pattern takes shape
For this layer, the screws will go through the inside of the 'W' shape.

Step 4: build the second layer
Again, using the photos as a guide, layout the second layer of herringbone and screw the pieces together. For this layer, the screws will go along the bottom of the 'W' shape.
Step 5: glue the layers together
Apply a dab of glue between the layers of herringbone and secure them together.
Step 6: let the glue dry
Let the glue dry for several hours; then remove the clamps and fill the bottle rack.
We hope you enjoy watching this video about Step by Step Process to Build a Wine Rack
Source: John Dolechek
Did you find this post Useful or Inspiring? Save THIS PIN to your Woodworking Board on Pinterest! 😊

Ok, That is all for now…
We hope that you enjoyed the content.
See you in the next post!
You may also like 👇🏼👇🏼