
Even Moss at Berry Ridge Crochet Scarf: Textured Winter Scarf Video Tutorial

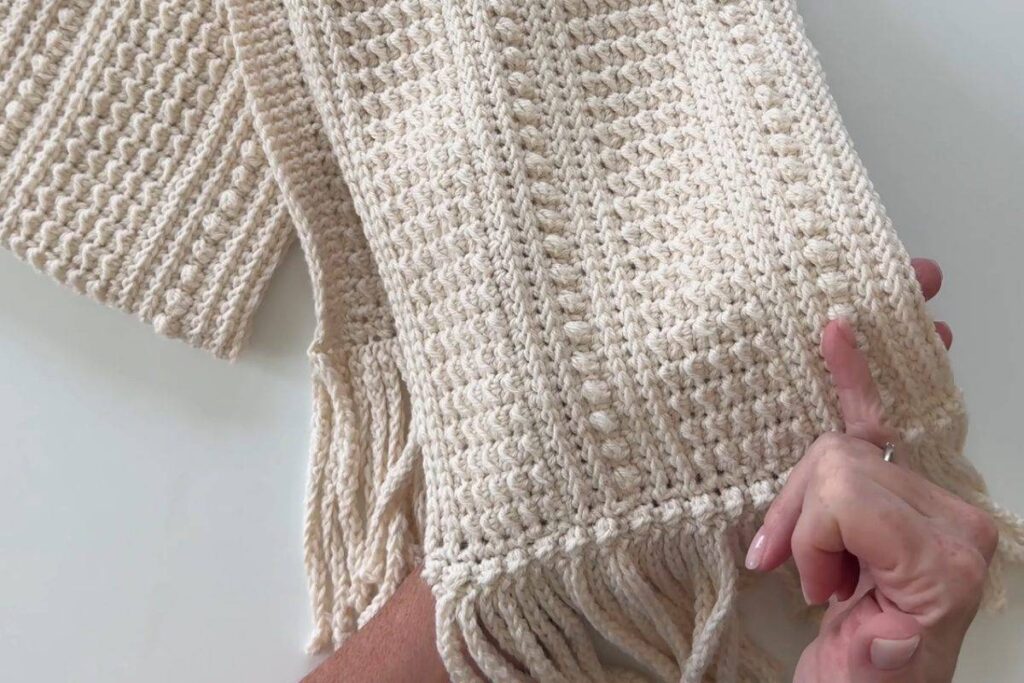
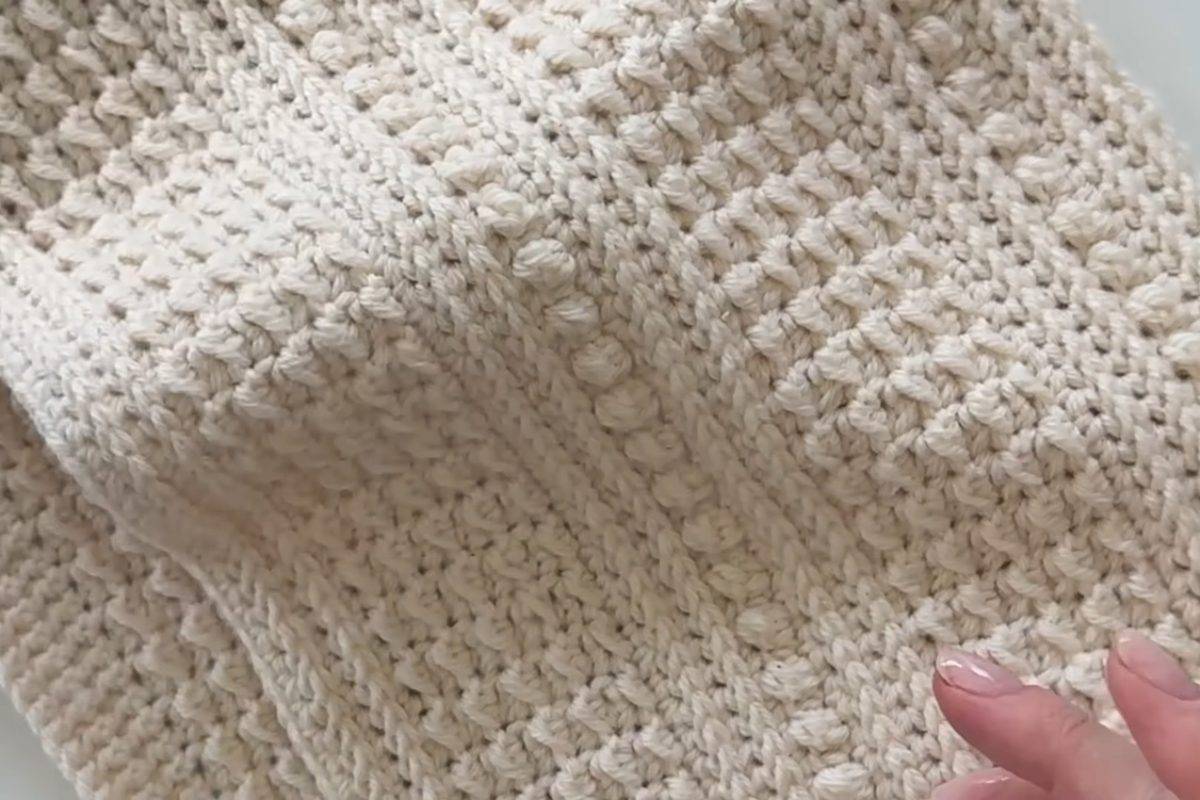
The Even Moss at Berry Ridge scarf is the kind of winter project that looks far more involved than it is. Bands of even moss texture are broken up by neat lines of little berry bumps and raised front post ridges, and each end finishes with a playful chained fringe. It is a design by Daisy Farm Crafts, and the video tutorial takes you from the foundation chain to the very last fringe strand. Better still, the same stitch pattern can be stretched into a throw, so you can make a matching blanket once the scarf is off your hook.
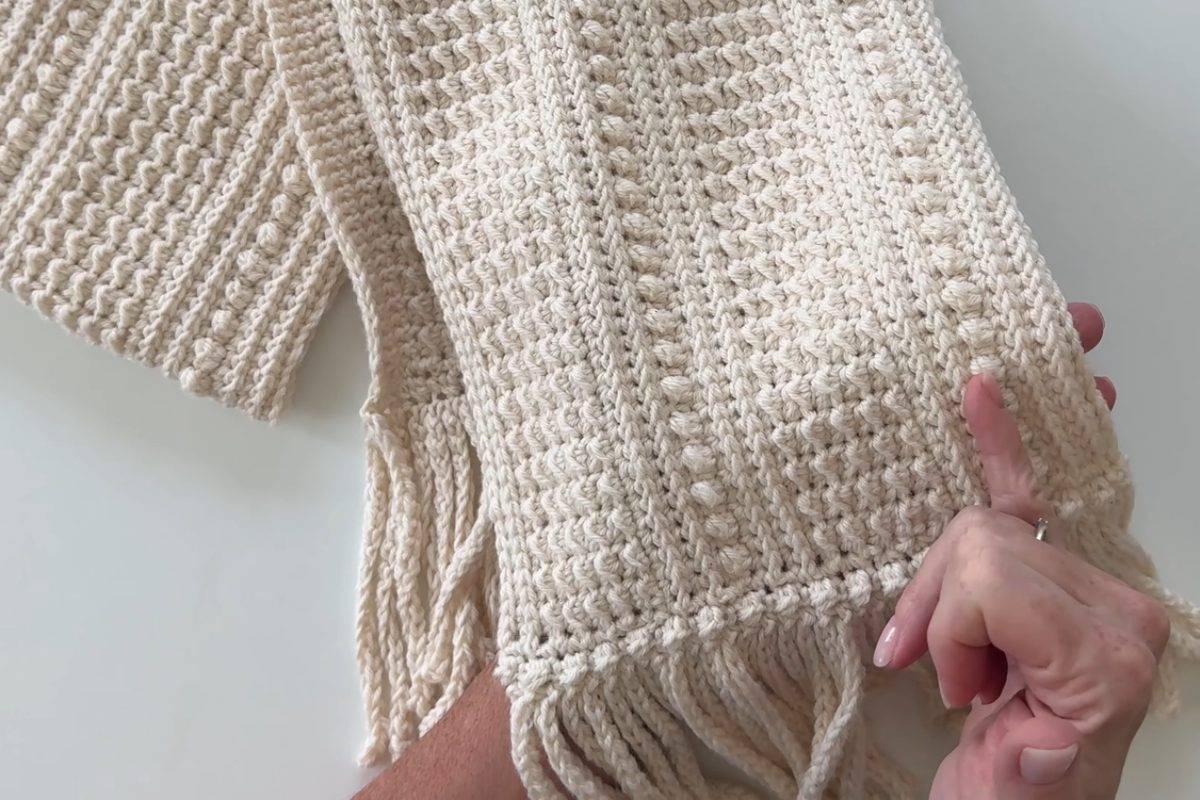
Images and patterns courtesy of Daisy Farm Crafts
The Berry Ridge Scarf at a Glance
- Designer: Daisy Farm Crafts
- Finished size: 9.5 x 60 in (about 24 x 152 cm)
- Yarn: Red Heart Cotton Breeze, a light (weight 3) yarn, 2 balls of 155 g / 481 yd each
- Hook: size H (5 mm)
- Stitches: single crochet, berry stitch, front post single crochet, half double crochet, slip stitch and yarn over slip stitch
- Construction: worked lengthwise in rows, with a chained fringe on both ends
- Video length: about 23 minutes
What You'll Need
- 2 balls of Red Heart Cotton Breeze in any color (the sample is a soft cream)
- A size H (5 mm) crochet hook
- A tapestry needle for weaving in ends
- Scissors
The designer notes that you can make the scarf with other yarns too. If you want the throw version, it was made with Red Heart Super Saver.
Refill Your Creative Cup
Feeling stuck or out of ideas? Let us bring the spark back to your hook. Our weekly emails deliver patterns, tips, and inspiration to keep your creativity blooming.
😍 Bring Your Crochet Mojo Back – Sign Up Now! Click on the image 👆🏼
How the Scarf Comes Together
The video is split into chapters, so it is easy to jump back to the part you need while you work.
- Introduction and materials (0:00). A first look at the finished scarf and the supplies you need.
- Starting the foundation (1:22). The scarf is worked lengthwise, so it begins with a long foundation chain. The pattern uses 180 chains for the 60 in length, but any even number works if you want it shorter or longer.
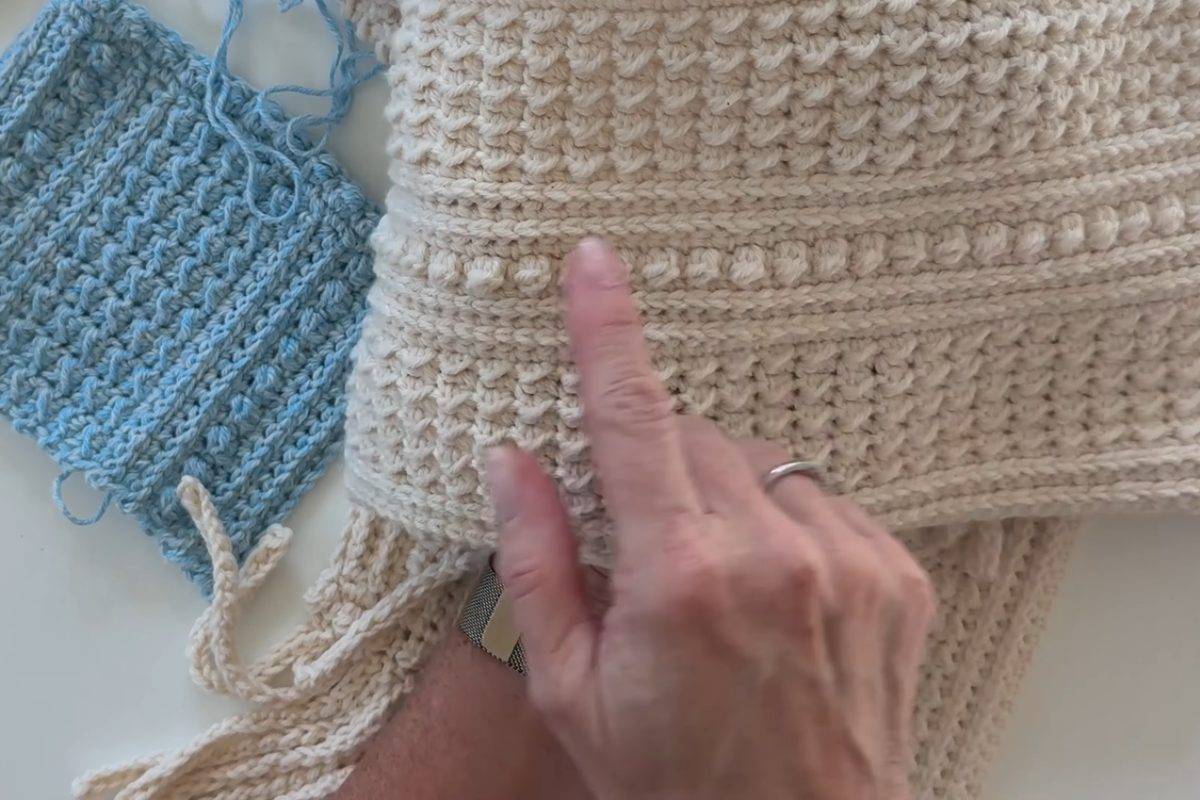
- Front post and berry stitches (3:01). This is where the texture starts. You will learn the berry stitch and the front post single crochet, which together build the raised ridge with its row of bumps.
- Repeating the texture pattern (6:47). The body of the scarf is a 20-row repeat, and this chapter shows how the rows stack up.
- Even moss stitch section (10:37). The calmer moss bands between the ridges, worked with simple stitches that balance out the raised berry lines.
- Pattern repetition guide (13:09). How to keep track of where you are and when to repeat. After the repeats, a set of 11 rows finishes the scarf.
- Border work (15:00). Adding the border that frames the textured body and gives the scarf a tidy finish.
- Adding fringe and conclusion (19:04). The fringe is crocheted along the ends of the rows rather than knotted on, and the video closes with a look at the finished piece.
Tips for a Neat Berry Ridge Scarf
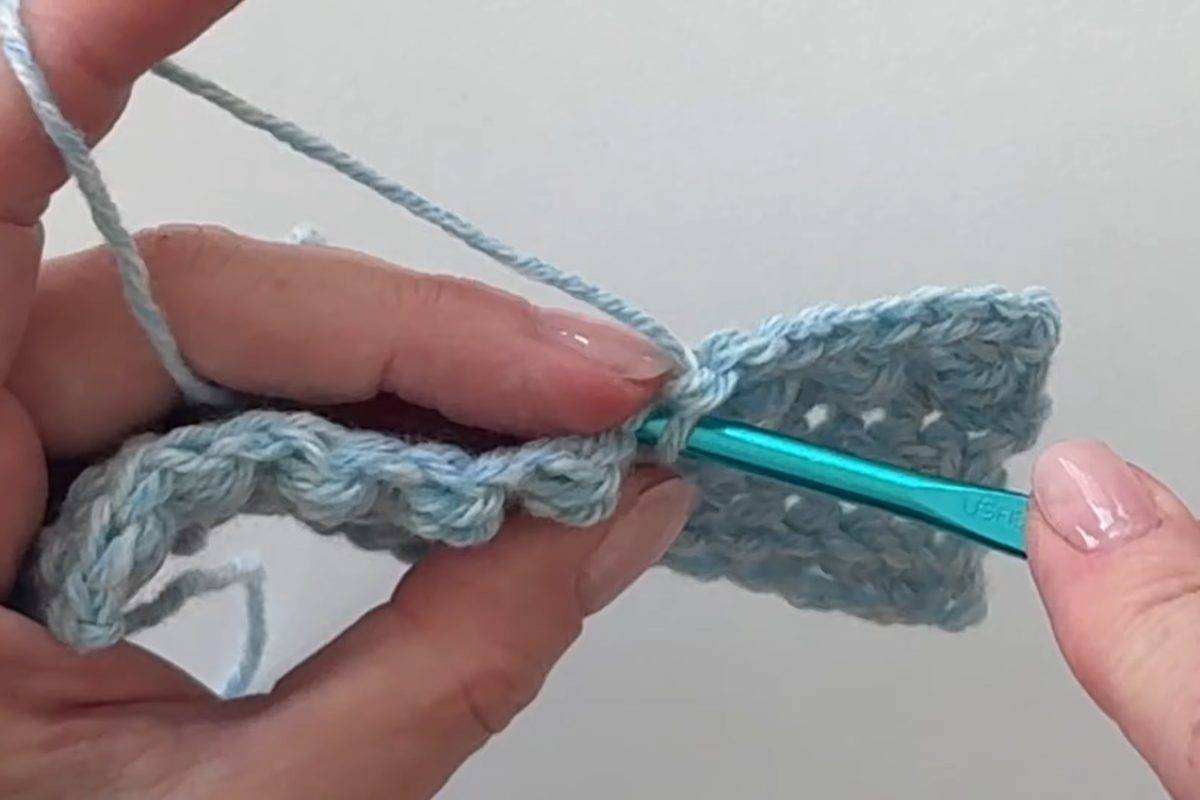
- Make a practice swatch first. The designer calls the front post single crochet the trickiest part of the pattern. A small swatch, like the blue one in the video, lets you get comfortable with it before you start the long foundation chain.
- Count your foundation chain carefully. The stitch pattern needs an even number of chains. If you change the length, check the count before you start the first row.
- Mark your rows. With a 20-row repeat it is easy to lose your place. A stitch marker at the start of each repeat saves a lot of counting later.
- Adjust the fringe to the project. For the scarf the fringe chains were 20 long, and for the throw they were 10. Shorter strands suit a blanket that will be draped over a sofa.
Enjoy the Video Tutorial

Source: Daisy Farm Crafts
You can find the printable pattern on the Daisy Farm Crafts blog.
Frequently Asked Questions
How big is the Even Moss at Berry Ridge scarf?
The finished scarf measures 9.5 x 60 in. Because it is worked lengthwise, you can make it shorter or longer by changing the foundation chain, as long as you keep an even number of chains.
Can I turn the scarf into a blanket?
Yes. Start with an even number of chains for the length you want, repeat the 20-row section as many times as you need, and finish with the final 11 rows. The throw shown by the designer was made with Red Heart Super Saver and a shorter fringe.
Which part is the hardest?
The front post single crochet takes the most practice. Once you have it down on a swatch, the rest of the pattern is a rhythm of simple rows.
More from Daisy Farm Crafts
If you enjoy this texture, try the Even Moss Mock Cable Throw for a bigger project, or the Merry & Bright winter scarf for another cozy gift. For quick holiday makes there are the fast and adorable baby beanies, and if you love stitch texture, the classic arcade stitch is well worth a try.
More crochet projects for you