
Create Your Own Amigurumi Jemima Puddle-Duck: A Crochet Adventure

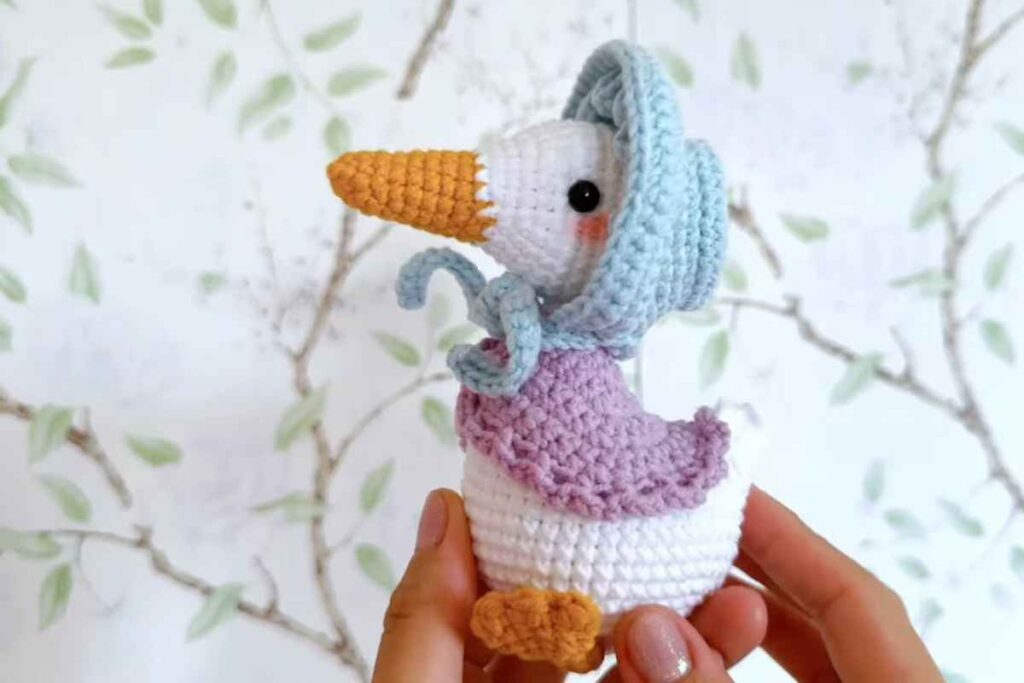
If you’ve been wanting to crochet a character-style amigurumi that’s instantly recognizable and full of charm, Jemima Puddle-Duck is such a sweet choice. This project is perfect when you want a giftable crochet plush that also looks adorable on a shelf or in a nursery.
In today’s post, you’ll find the video tutorial that walks you through the process, plus helpful notes so you know what to expect before you start. Even if you’re newer to amigurumi, you can follow along at your own pace and pause as needed.
How to Get a Clean, Cute Jemima Puddle-Duck Amigurumi Look
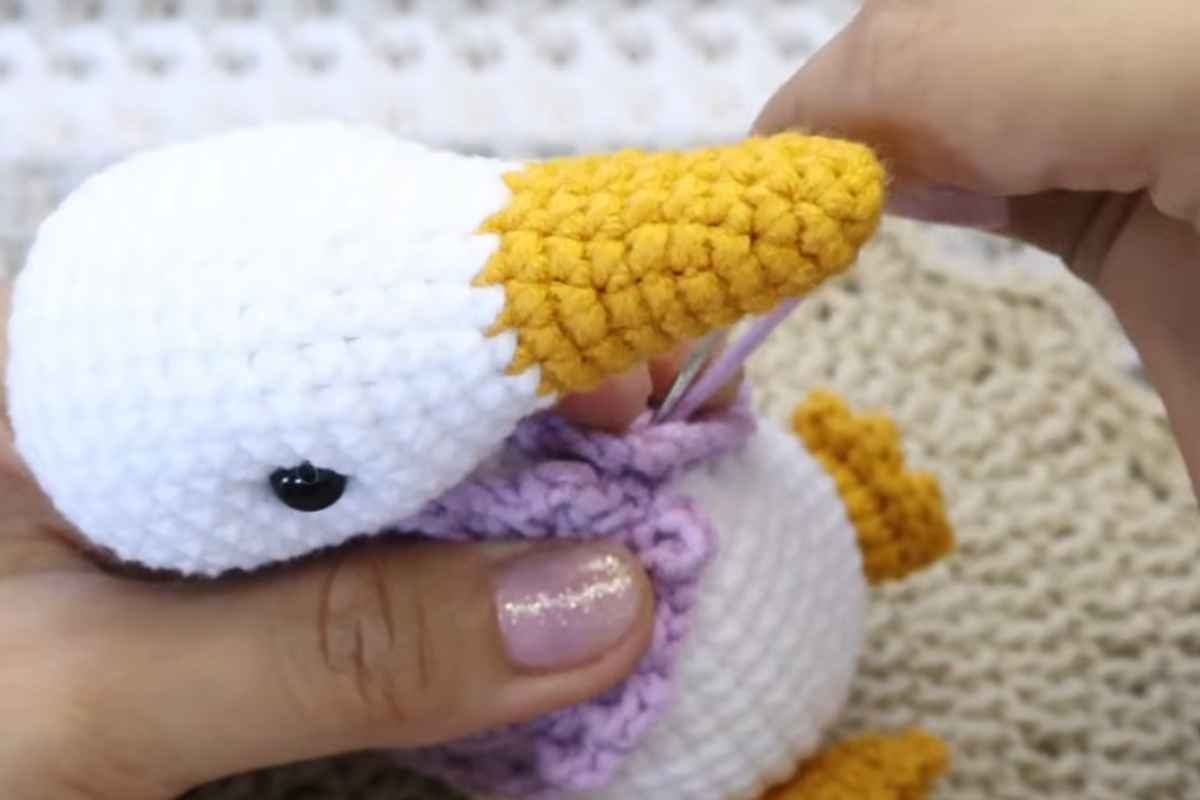
Character amigurumi is all about the little details—especially shaping and placement. As you crochet Jemima Puddle-Duck, take your time with the parts that define the “face” and silhouette (like the beak area and body shape). A small adjustment in where you attach pieces can make a big difference in the final expression.
Refill Your Creative Cup
Feeling stuck or out of ideas? Let us bring the spark back to your hook. Our weekly emails deliver patterns, tips, and inspiration to keep your creativity blooming.
😍 Bring Your Crochet Mojo Back – Sign Up Now! Click on the image 👆🏼
If you want a smoother finish, focus on consistent tension and try to keep your stitches even from start to finish. When you’re stuffing, add a little at a time and shape as you go—overstuffing can stretch stitches, while understuffing can make the doll look floppy.
Don’t forget: the most common amigurumi “oops” is sewing parts on slightly off-center. Before you commit, use pins or stitch markers to test placement so everything looks balanced from the front and sides.
Jemima Puddle-Duck Crochet Tutorial Video (Free Pattern Included)
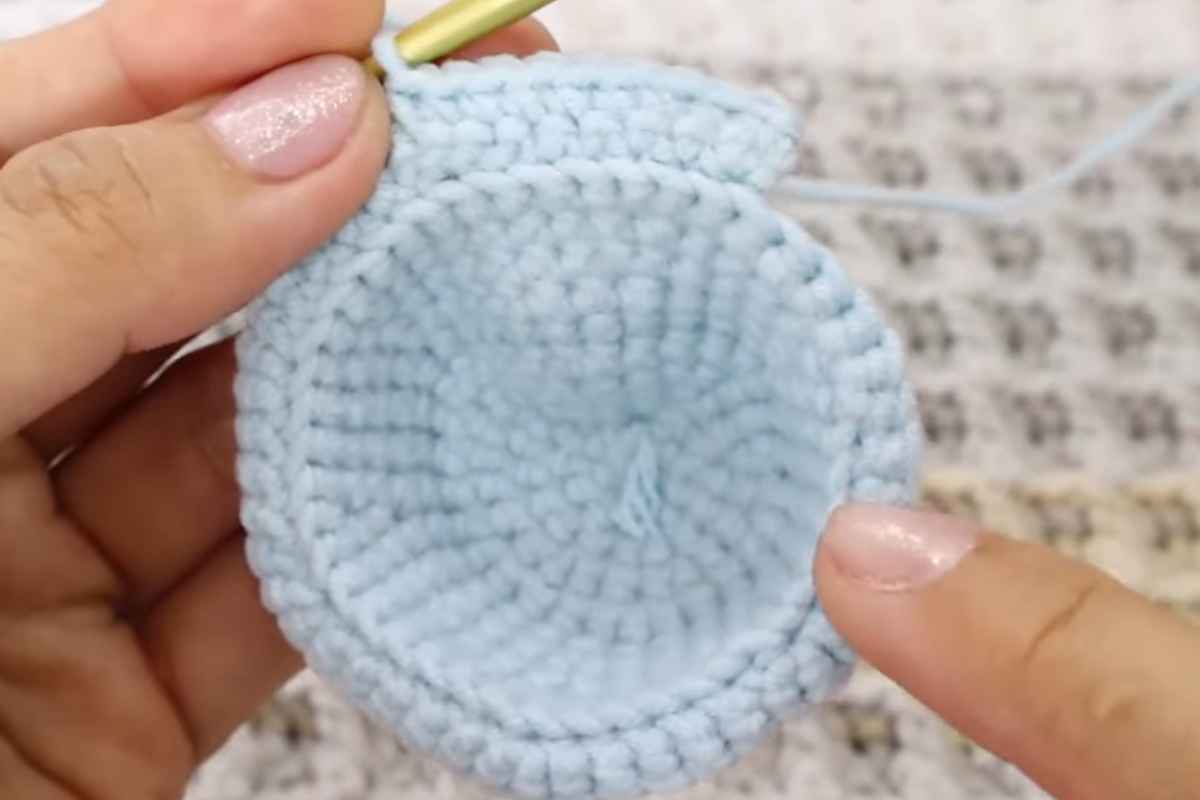
Images and patterns courtesy of Crochet with Aybi
When you watch the tutorial, you’ll see the full process for crocheting and assembling this crochet duck doll, including how the pieces come together for that classic Jemima look. Follow along step-by-step, pause where needed, and keep your pieces organized so assembly feels simple instead of stressful.
Finishing Tips for Sewing and Assembly (So It Looks Professional)
You’ll find the full tutorial in two videos
Assembly is where amigurumi really comes to life. For a polished finish, use long strands of yarn for sewing so you don’t have to rethread constantly, and keep your stitches small and neat. If the project includes multiple parts, line everything up first and tack pieces in place before fully sewing them down.
One more tip: weave in ends slowly and securely, especially around areas that get handled more (like arms, legs, or accessories). That little extra time helps your finished Jemima Puddle-Duck amigurumi stay cute and sturdy.
Thanks for hanging out with me today—hope you enjoy crocheting this lovable duck and making it your own. If you try it, save this tutorial so you can come back to it anytime!
—Maggie
More crochet projects for you