
Creating a Crochet Balaclava – Warmth and Style Combined


If you’ve been wanting a warm, practical winter make, a crochet balaclava is such a satisfying project—especially when you can follow along with a clear video.
In this tutorial, you’ll get a step-by-step, beginner-friendly walkthrough that helps you understand the “why” behind each part, not just the stitches.
Balaclavas (aka ski masks) are great because they’re cozy, functional, and customizable—you can adjust the fit, length, and face opening as you go to make it feel just right.
How a Crochet Balaclava Is Built (And What to Pay Attention To)
Refill Your Creative Cup
Feeling stuck or out of ideas? Let us bring the spark back to your hook. Our weekly emails deliver patterns, tips, and inspiration to keep your creativity blooming.
😍 Bring Your Crochet Mojo Back – Sign Up Now! Click on the image 👆🏼
A crochet balaclava usually comes together in sections that shape the head and create the face opening. In the video, you’ll see how the construction flows so you can follow along without feeling lost—even if you’re newer to wearables.
As you work, keep an eye on the areas that affect comfort the most: the edge around the face, the stretch across the head, and how the neck portion sits. Small adjustments in these spots can make a big difference in a finished balaclava that feels snug but not tight.
If you’re a beginner, don’t stress about making it perfect on the first try. The most helpful mindset is to go slowly, check the fit as you go (when possible), and focus on keeping your stitches consistent for a smooth look.
Beginner-Friendly Crochet Balaclava Video Tutorial
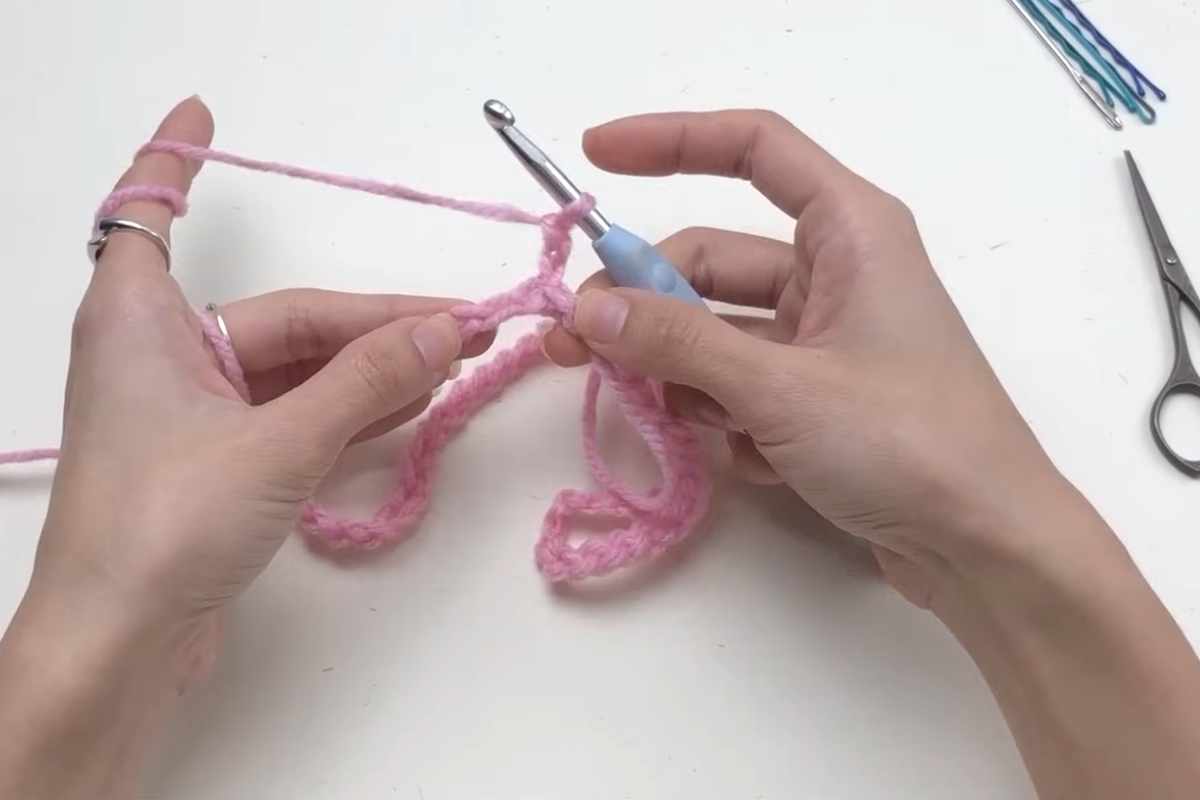
This is the full in-depth tutorial you can crochet along with:
Images and patterns courtesy of ABoC Studio

Source: ABoC Studio
Common Crochet Balaclava Fit Issues (Quick Fixes)
If your balaclava doesn’t look or feel right at first, it’s usually one of these quick tweaks:
- If the face opening feels too loose, look for ways to tighten the edge (often by adjusting the border or stitch placement).
- If it feels too tight across the head, you may need a bit more ease—double-check your tension and whether you’re matching the tutorial’s stitch height.
- If the neck portion rides up, consider adding a little length so it sits more comfortably and feels more secure and warm.
Once you understand what each section is doing, it becomes much easier to customize the balaclava to your preferences.
Thanks for crocheting with me today—hope this helps you feel confident tackling a crochet balaclava step by step. If you make one, save this tutorial so you can come back for tweaks and variations later!
—Maggie
More crochet projects for you