
Crochet Mouse Ears Beanie: Free Puff Stitch Hat Pattern with Video

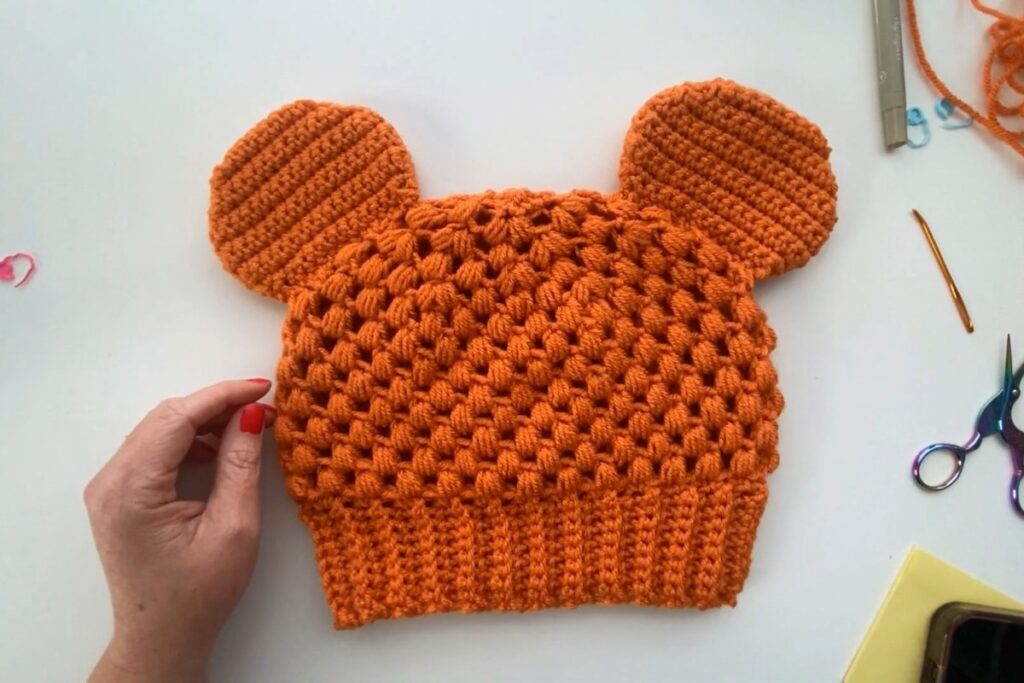
A puff stitch beanie is already a cozy make, and two round ears on top turn it into something playful. This crochet mouse ears beanie works for kids and adults alike, and it is a fun hat for theme park trips, dress-up days or anyone who likes a little whimsy in their winter wardrobe.
The design is the Crochet Mouse Ears Hat by Ashley from A Crafty Concept. It is based on her Closed Claire Bun Beanie, a textured puff stitch hat, with a pair of crocheted ears added on top. The written pattern is free on her blog, and the video tutorial concentrates on the part most people find tricky: making the ears, seaming them and attaching them neatly to the hat.
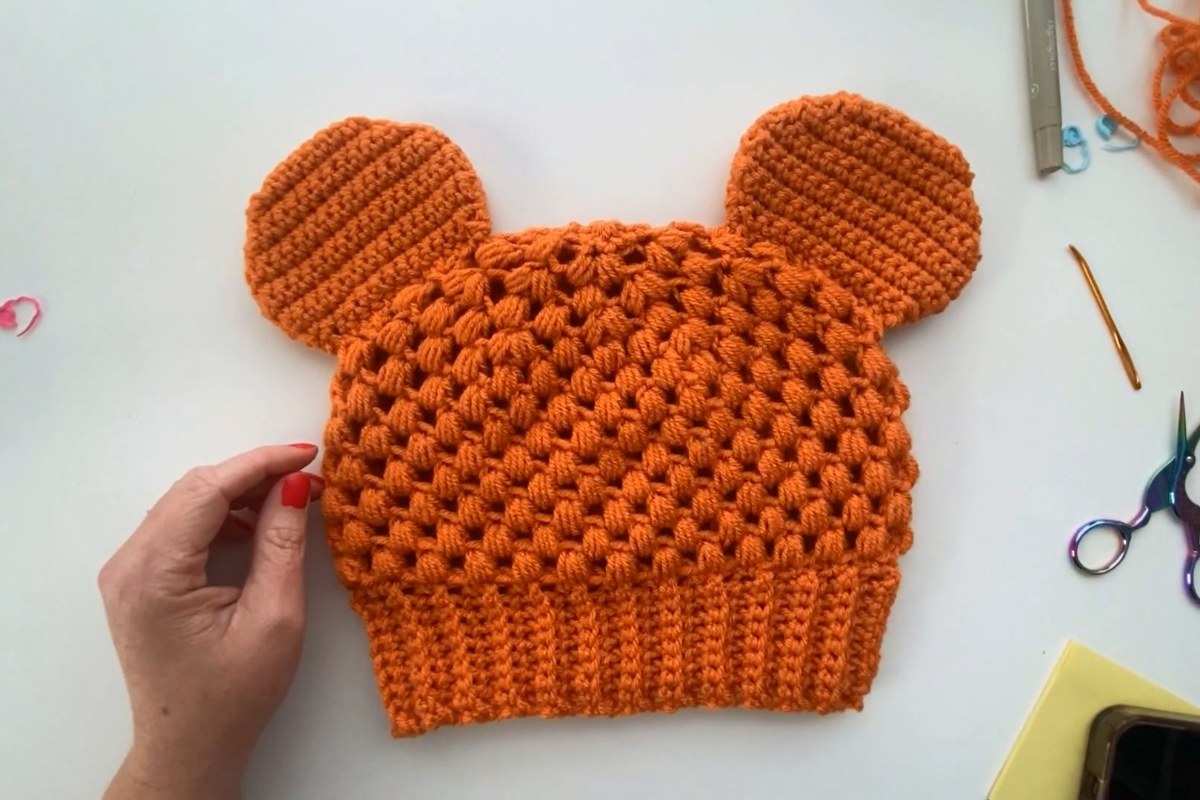
Images and patterns courtesy of A Crafty Concept
Mouse Ears Beanie at a Glance
- Designer: Ashley, A Crafty Concept (pattern name: Crochet Mouse Ears Hat)
- Level: beginner friendly
- Sizes: adult (22" to 23" head) and child (20" to 21" head, made by going down one hook size); a newborn to toddler version is a separate pattern
- Yarn: worsted weight (#4), about 4 to 5 oz; the designer used Hobby Lobby I Love This Yarn
- Hook: 5.5 mm (I) for the beanie and 5.0 mm (H) for the ears, according to the pattern page
- Gauge: 10 single crochet x 10 rows = 3" x 3"
- Video length: about 38 minutes
What You'll Need
- Worsted weight yarn, 4 to 5 oz
- 5.5 mm (I) and 5.0 mm (H) crochet hooks
- 4 stitch markers for the ears
- Tapestry needle
- Scissors
- A wooden tag (optional, for a handmade finishing touch)
The designer mentions that she uses a slightly bigger hook than listed because her tension is tight. That is a good reminder to make a quick gauge swatch: if yours comes out smaller than 3" x 3", go up a hook size too.
How the Hat Comes Together
1. The beanie
The hat starts with a flat brim worked in single crochet through the back loop only, which creates a ribbed look. The brim is then seamed into a loop; for the adult size it should measure about 14 inches before joining. The body is worked in rounds of puff stitches up from the brim and decreased at the top to close the crown. The video includes an important note about counting puff stitch rows at 2:28, so watch that part before you start the body.
2. The ear pieces (3:36)
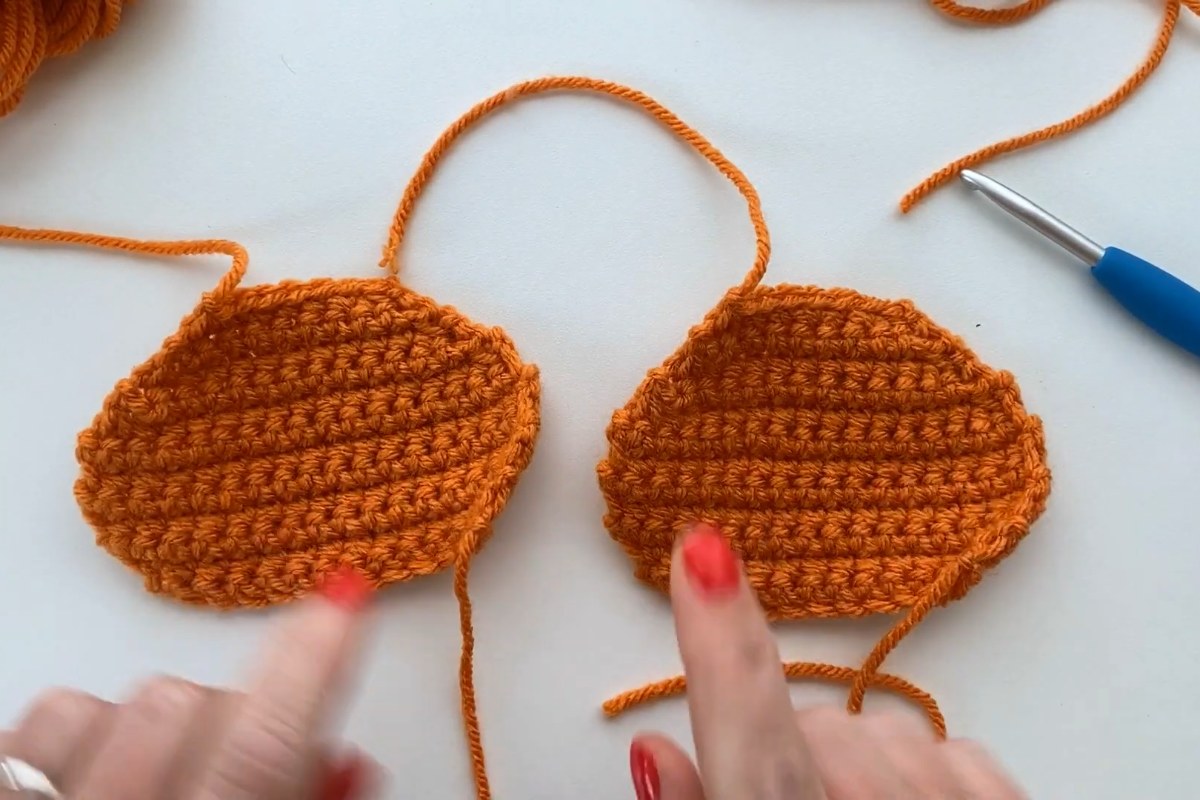
Each ear is made from two matching flat pieces. The rows grow with increases and then shrink with decreases, which gives the rounded shape. The video has a chapter for every row, from row 1 to row 13, plus a handy pro tip at 7:16.
3. Seaming the ears (11:29)
The two halves of each ear are seamed together around the edge and then turned right side out. That way the seam stays hidden and the ear looks smooth and slightly padded.
4. Attaching the ears (20:27)
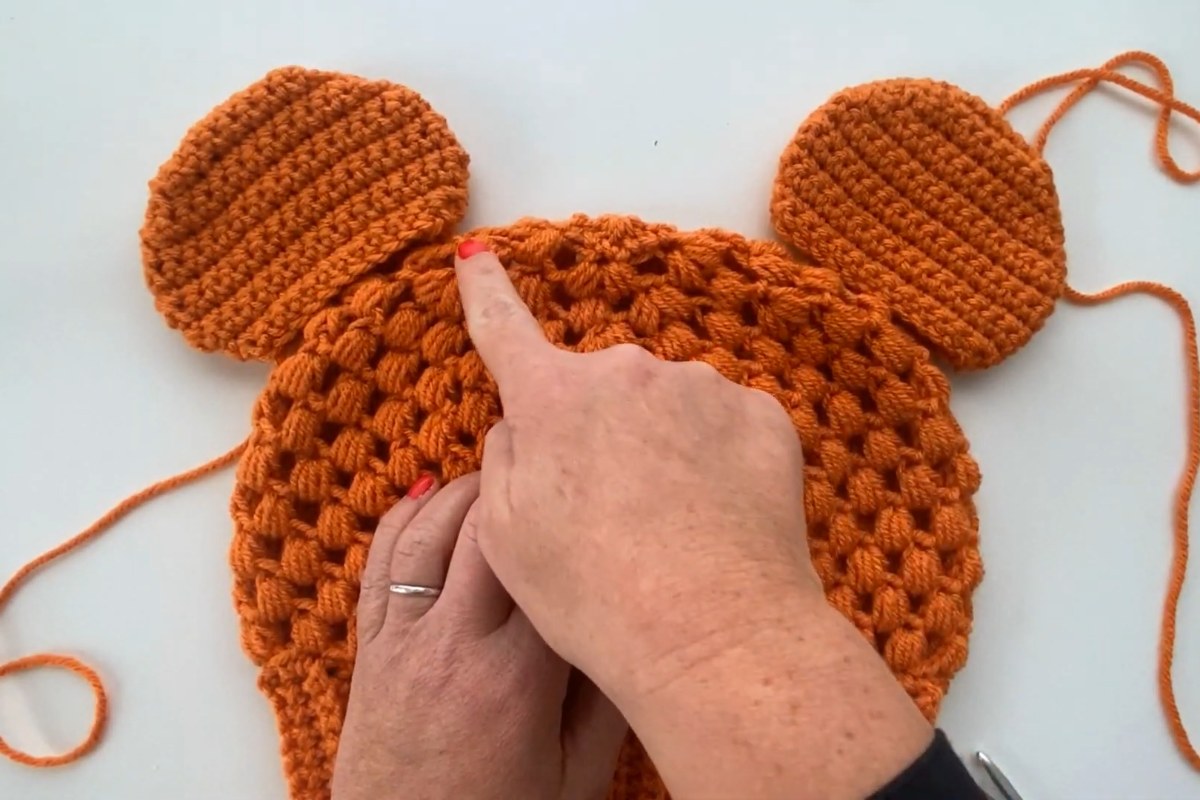
This is the longest section of the video, and for good reason. Ashley shows how to place the ears so they sit evenly on both sides of the crown and how to sew them on securely. You can see the finished hat at 35:30.
Tips for Neat, Even Ears
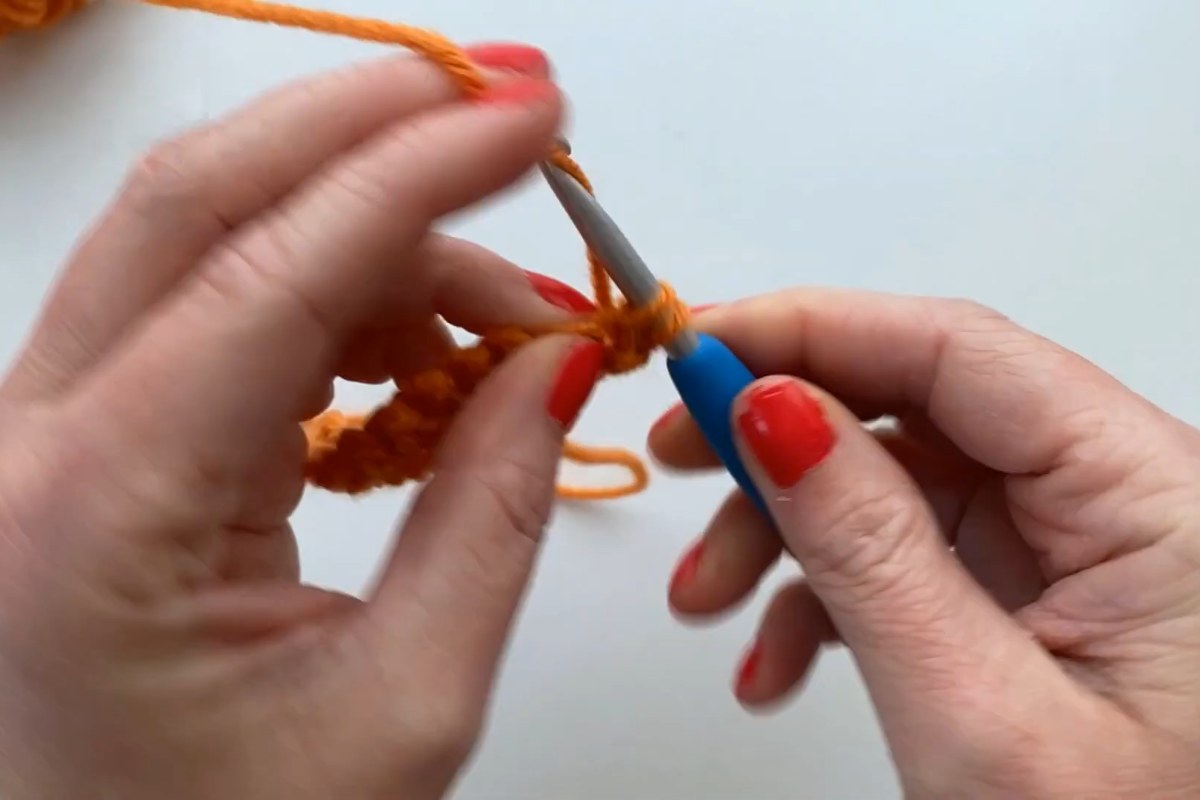
- Make all four ear pieces before seaming and lay them side by side to check that they match.
- Use stitch markers to keep track of your rows; the pattern lists four of them just for the ears.
- Pin or clip both ears in place and look at the hat from the front before sewing. Small differences in height are easy to spot once the hat is on a head.
- Leave long yarn tails on the ear pieces and use them to sew the ears to the hat. Fewer ends to weave in later.
- For a child's hat, go down one hook size for both the beanie and the ears, as the pattern suggests.
Color Ideas for Your Mouse Ears Beanie
The sample in the video is a bright orange, which shows off the puff stitch texture beautifully. Grey or brown give a more classic mouse look, while dark ears on a red or pink hat make a cheerful choice for a family holiday. Because the pattern comes in adult and child sizes, matching hats for parents and kids are easy to make from the same instructions, and a small wooden tag on the brim gives the hat a lovely handmade finish.
If you would rather work from a printable copy, the designer also sells an ad-free PDF of the pattern in her Etsy shop. The free blog post and the video are enough to make the whole hat, though.
Enjoy the Video Tutorial

Source: A Crafty Concept
Frequently Asked Questions
Do I need the Closed Claire Bun Beanie pattern as well?
The mouse ears hat is a modified version of that beanie, and the written mouse ears pattern on the designer's blog covers the hat too. The video concentrates mainly on the ears and how to attach them.
Is this pattern suitable for beginners?
Yes, it is presented as beginner friendly. You will use single crochet, back loop only, puff stitches and simple increases and decreases, and the video goes through the ears row by row.
How do I make it for a child?
Go down one hook size for both the beanie and the ears. According to the designer, that gives a hat for a head of about 20" to 21".
More from A Crafty Concept
- How to Crochet an Adorable Pumpkin Hat
- Crochet a Cute Mini Witch Hat – Beginner Project for Halloween Fun
- Crochet Bobble Stitch Headband: Free Twist Ear Warmer Pattern in 3 Sizes
- Easy Crochet Amigurumi Cow: Free Mia Moo Moo Pattern and Video
More crochet projects for you