
Crochet Basic Baby Hat: Free Pattern in 6 Sizes from Preemie to Toddler with Video

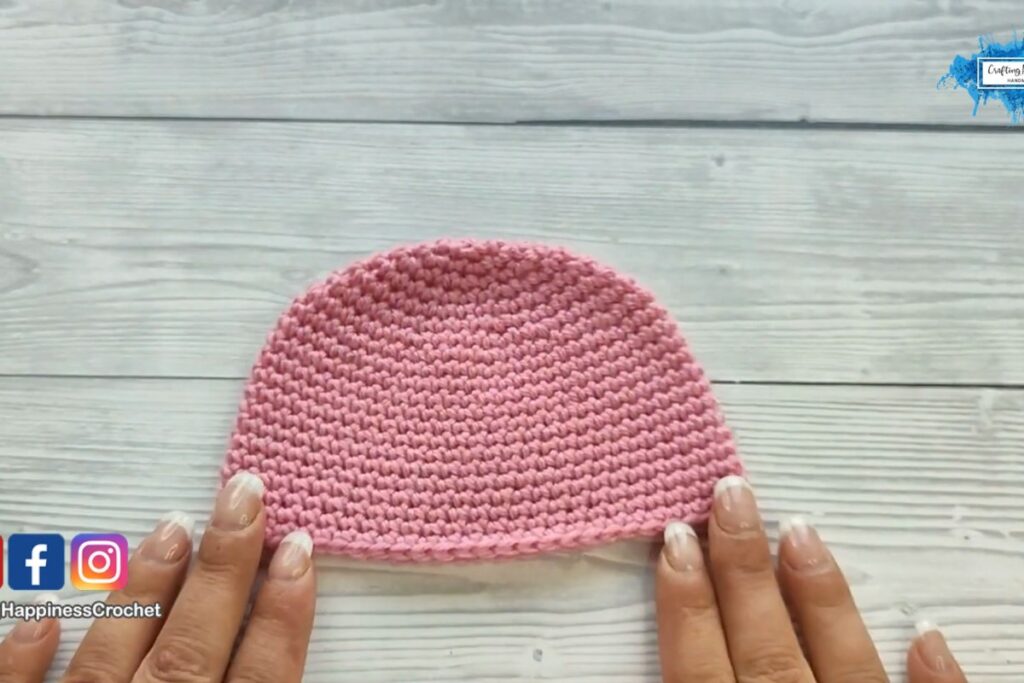
Few handmade gifts get used as much as a simple baby hat. Newborns lose heat through their heads quickly, little ones grow out of their hats every few months, and parents always seem to need one more. That is exactly why this basic baby hat pattern from Crafting Happiness is so useful: one easy design, written in six sizes, from preemie all the way up to toddler.
The hat is worked from the top down in continuous rounds of single crochet. You start with a magic ring, increase evenly to build a flat circle for the crown, and then stop increasing and simply crochet round after round until the hat reaches the right height. There is no seaming, no brim to attach and no complicated shaping, so a smaller size can be finished in about an hour. That makes it a great project for baby shower gifts, for using up leftover DK yarn, or for making a batch of hats to donate to a local hospital.
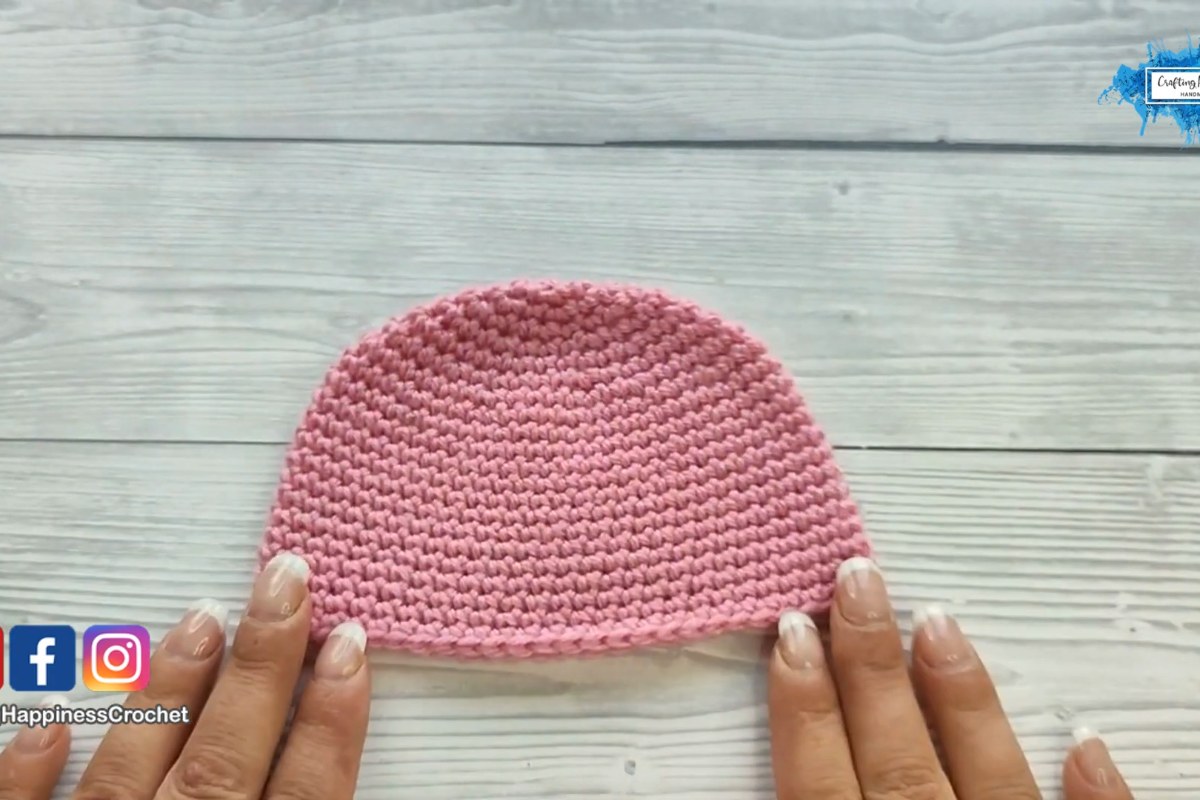
Images and patterns courtesy of Crafting Happiness
Crochet Basic Baby Hat at a Glance
- Designer: Crafting Happiness (Ariana Wimsett)
- Level: easy
- Sizes: preemie, newborn to 3 months, 3 to 6 months, 6 to 12 months, 12 to 24 months and toddler
- Finished size: from about 9 cm across the top and 10 cm tall (preemie) up to about 17 cm across the top and 19 cm tall (toddler)
- Yarn: DK weight yarn, less than one skein per hat
- Hook: 4.5 mm
- Stitches: magic ring, single crochet and single crochet increases (US terms)
- Video length: about 15 minutes
What You'll Need
- DK weight yarn in the color of your choice (the designer made each size in a different shade: green, yellow, cream, orange, red and pink)
- A 4.5 mm crochet hook
- A stitch marker to keep track of the first stitch of each round
- A yarn needle for weaving in the ends
- Scissors
Because every size uses less than one skein, this is a good pattern for odds and ends. Choose a soft yarn that is comfortable against delicate skin and easy to wash, since baby hats tend to go through the laundry often.
How the Hat Comes Together
The video follows the preemie size from start to finish, and the written pattern on the designer's website gives the stitch counts for all six sizes. The method is the same for each one; the bigger sizes simply keep increasing for a few more rounds and then work more plain rounds for extra height. Here is what each part of the tutorial covers, with timestamps so you can jump straight to the step you need.
1. Gauge and Materials (0:28)
Before you start, the designer goes over the yarn, the hook and the gauge. Take a minute here: baby heads are small, so being even slightly off gauge can change the fit more than you would expect. If your crown circle comes out noticeably bigger or smaller than the measurements in the pattern, try a different hook size.
2. Starting the Magic Ring (1:15)
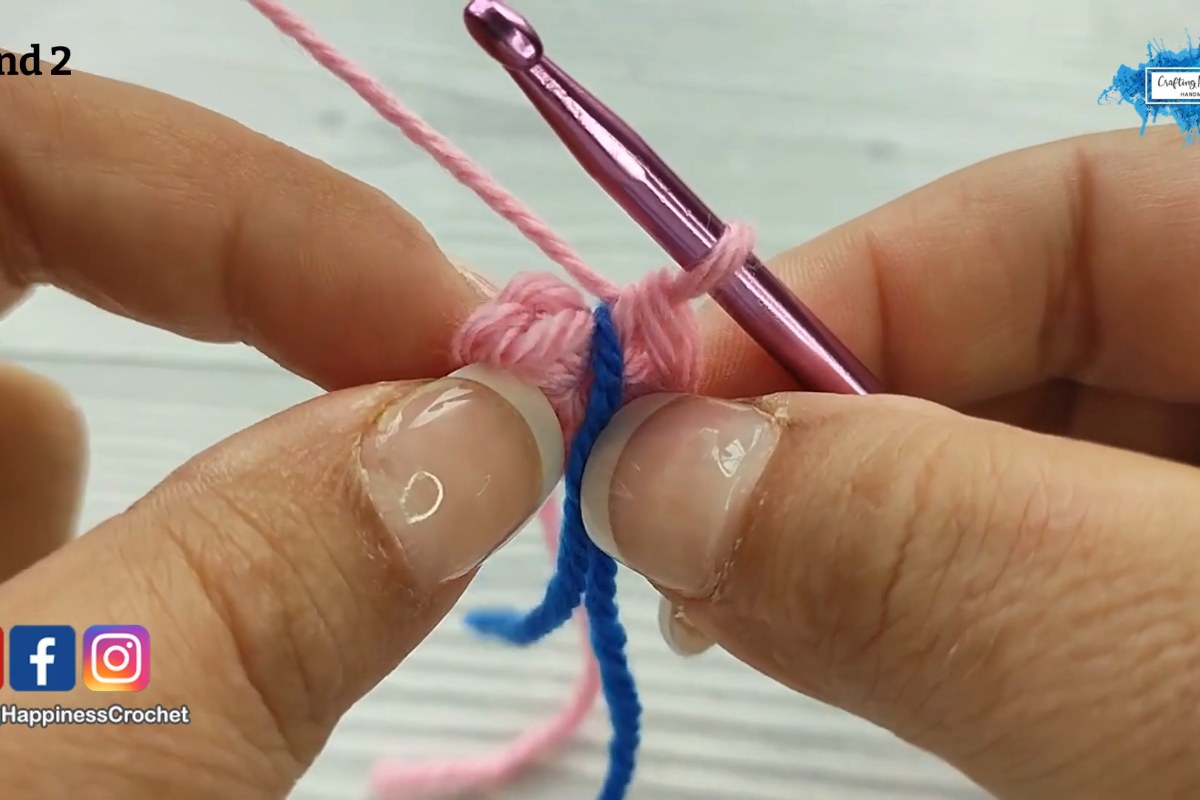
The hat begins with six single crochet stitches worked into a magic ring. Pulling the tail tight closes the center completely, so there is no hole at the top of the hat. If you have never made a magic ring, this part of the video shows it slowly and up close.
3. Increasing the Crown (2:25 to 10:09)
Next you build a flat circle by adding six increases in every round, spacing them out a little more each time. This is classic circle math, and once you see the pattern of "increase, then one more single crochet than last round", it becomes easy to follow without looking at the instructions. The video splits this stage into the first increases, the expanding circle and the final rounds that set the diameter, ending with the last increase round at 10:09. Keep your stitch marker moving up each round so you always know where the round begins.
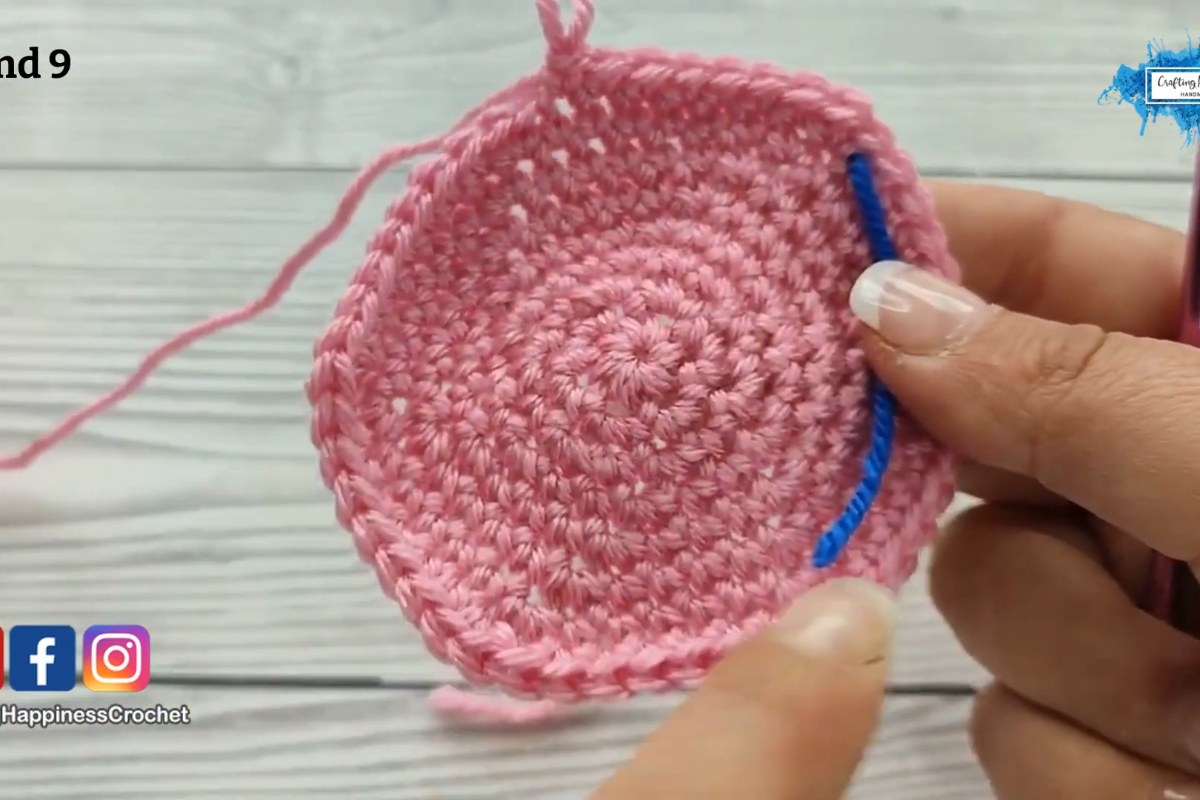
4. Building the Hat Height (11:38)
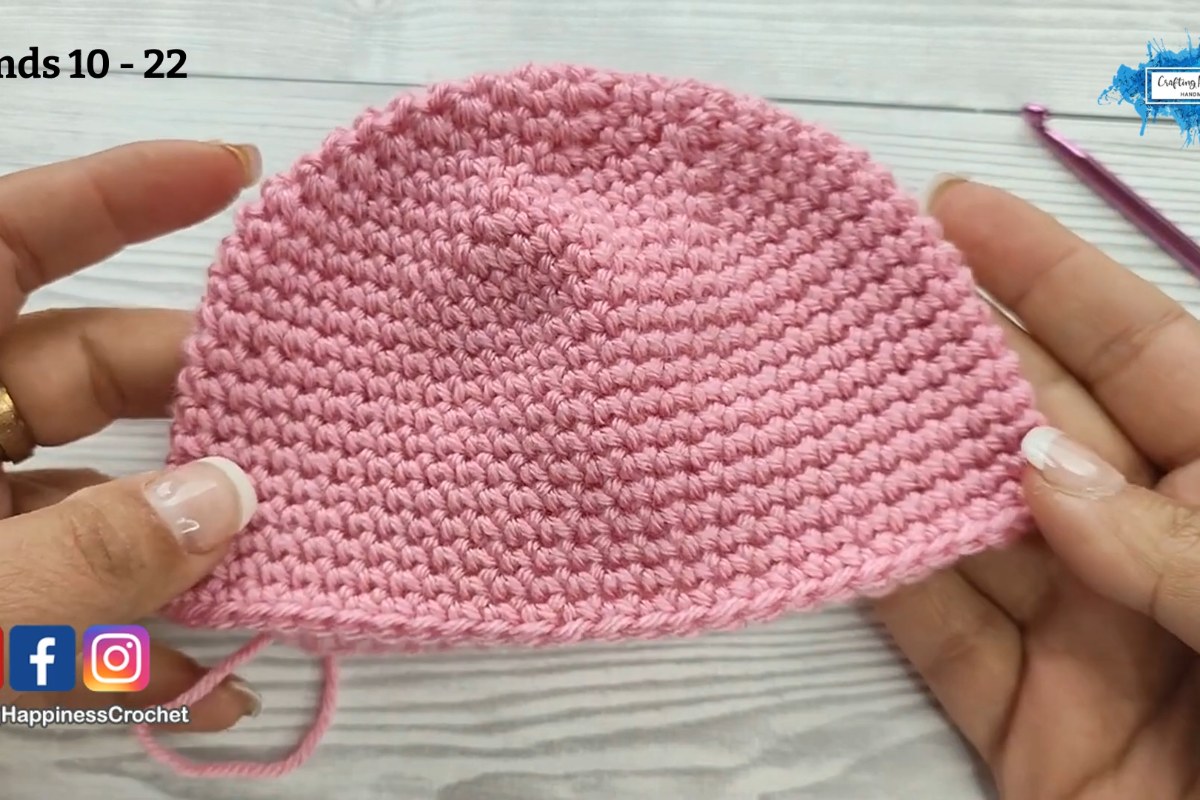
Once the crown is the right size, you stop increasing and work single crochet in every stitch, round after round. The flat circle starts to curve down and the hat takes shape. The number of plain rounds depends on the size you are making, so check the written pattern for your size and count your rounds as you go.
5. Finishing (13:45)
At the end you fasten off and weave in your ends securely. Weave them in a few different directions so they stay put through washing, because little hands love to pull at loose bits of yarn.
Tips for a Better Baby Hat
- Work a quick test circle. Crochet the crown for your chosen size and measure it against the diameter in the pattern before you commit to the rest of the hat.
- Keep your tension relaxed. Single crochet makes a dense fabric. A slightly looser hand gives the hat a little more stretch, which makes it easier to pull on and off.
- Make a set. Since all six sizes use the same method, you can make a matching hat for every stage of a baby's first two years, or one hat in each size to donate.
- Personalize it. The designer suggests adding your own touch. A small crocheted flower, a pompom, a pair of ears or simple stripes can turn this basic shape into something special.
- Left-handed? The designer has also recorded a left-handed version of this tutorial, linked in the description of the video below.
About the Designer
Crafting Happiness is the crochet channel and blog of Ariana Wimsett, known for clear, beginner-friendly tutorials and patterns that often come in several sizes. The complete row-by-row pattern for all six hat sizes is free on her website, where she also offers a printable PDF version for her Patreon members. Please visit her through the credit link above to get the full written instructions and to support her work.
Enjoy the Video Tutorial

Source: Crafting Happiness
Frequently Asked Questions
Is this baby hat suitable for beginners?
Yes. The pattern is rated easy and only uses a magic ring, single crochet and single crochet increases. It is a good first project in the round, because you can see clearly how increases shape a flat circle and how plain rounds turn it into a hat.
How long does it take to crochet one hat?
The designer says you can make one in an hour or less, especially in the smaller sizes. The toddler size has more stitches and more rounds, so it will take a bit longer.
Can I use a different yarn weight?
The pattern is written for DK yarn and a 4.5 mm hook, and the sizes are based on that combination. A thicker or thinner yarn will change the measurements, so if you swap yarns, check your crown diameter against the pattern and adjust your hook or choose a different size.
More from Crafting Happiness
- Crochet Easter Egg Shape: Free Amigurumi Egg Pattern in 3 Sizes with Video
- How to Crochet the Spring Bunny Square
- Crochet Christmas Bow: Free Moon Fern Stitch Pattern and Video Tutorial
More crochet projects for you