
Crochet Easter Egg Shape: Free Amigurumi Egg Pattern in 3 Sizes with Video

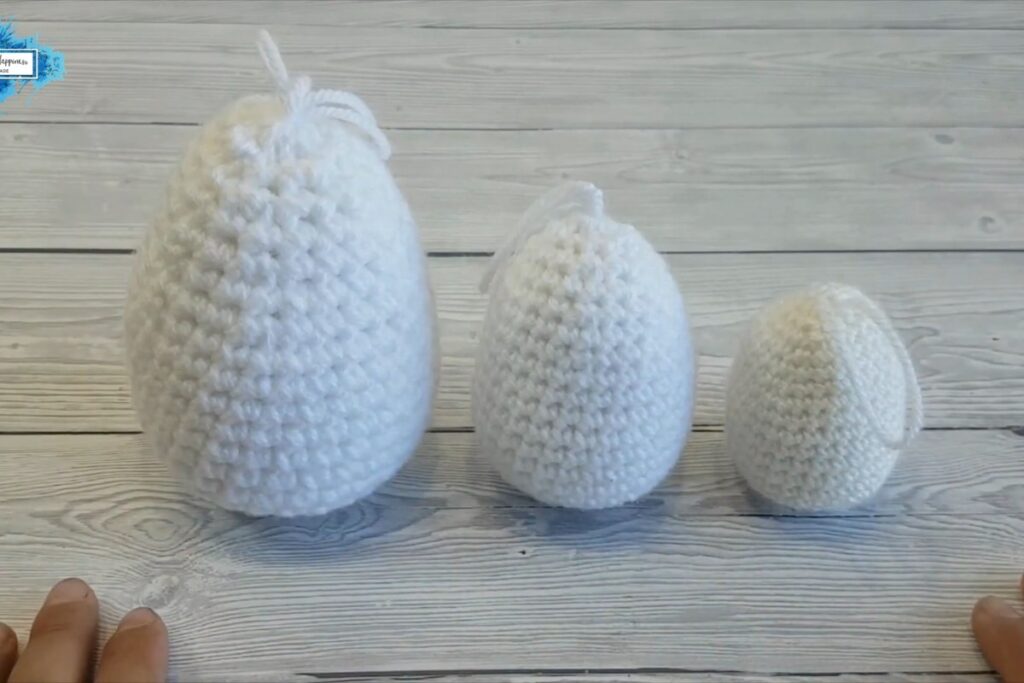
A plain crochet egg might not sound exciting, but it is one of the most useful shapes you can have in your Easter toolbox. The Basic Easter Egg Shape by Crafting Happiness gives you a smooth, well-proportioned egg that you can leave white, crochet in stripes, decorate with flowers and bows, or turn into a little chick or bunny. It is a quick amigurumi project, perfect for using up yarn scraps and for making a whole basket of eggs before the holiday.
Designer Ariana Wimsett first made a set of decorated eggs for a yarn company commission. Since there are endless ways to decorate an egg, she decided to share the basic shape on its own so you can design your own version. She also wrote the pattern to work in three sizes: the stitches stay the same and only the yarn weight and hook change.
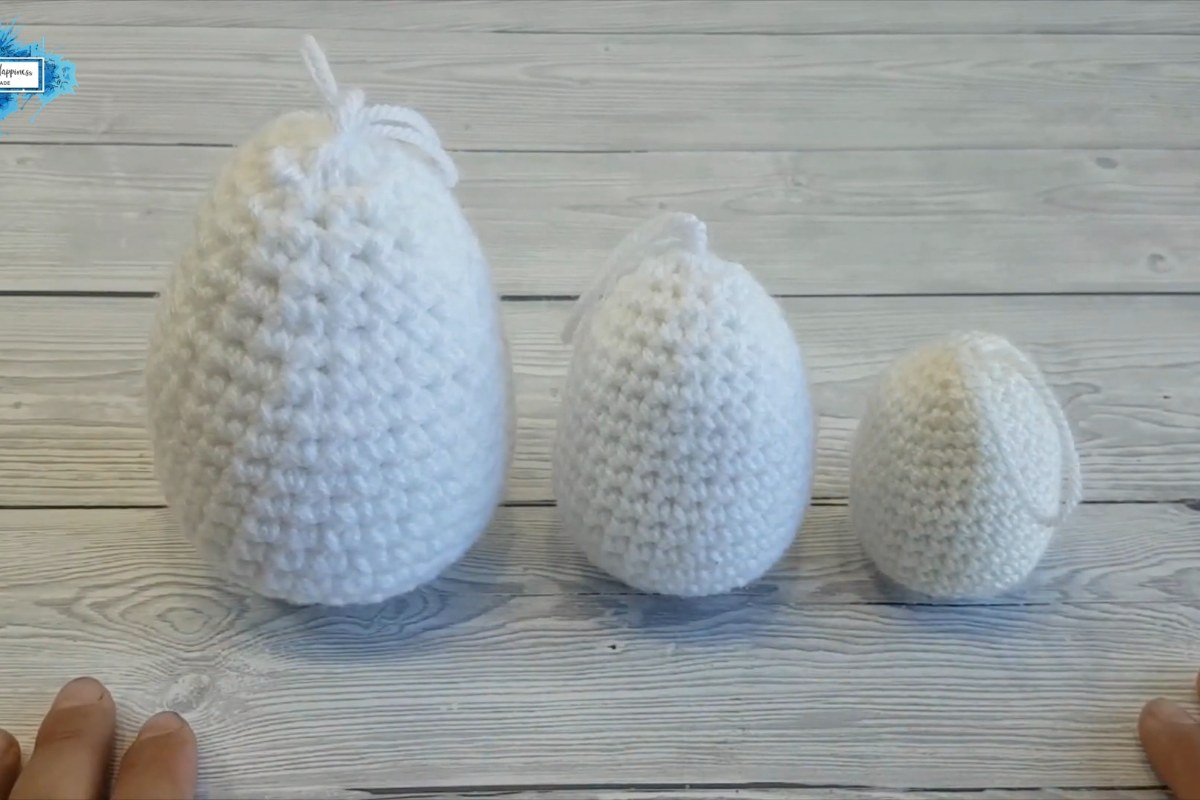
Images and patterns courtesy of Crafting Happiness
Crochet Easter Egg at a Glance
- Designer: Crafting Happiness (Ariana Wimsett)
- Level: easy
- Sizes: small (7 cm tall), medium (9 cm tall) and large (13 cm tall)
- Yarn: DK, Aran or chunky, depending on the size
- Hooks: 3.5 mm, 4.5 mm or 5.5 mm, depending on the size
- Terms: US crochet terms
- Video length: about 25 minutes
What You'll Need
- For the small egg: DK (light worsted, #3) yarn and a 3.5 mm hook
- For the medium egg: Aran (worsted, #4) yarn and a 4.5 mm hook
- For the large egg: chunky (bulky, #5) yarn and a 5.5 mm hook
- Toy stuffing
- A sewing or yarn needle with an eye large enough for your yarn
- A stitch marker or a short piece of contrasting yarn
The samples in the video are made in white Deramores Studio yarn, but any yarn of the right weight will work. Cotton gives a crisp, defined egg, while acrylic is softer and a little fuzzier.
Step by Step with the Video
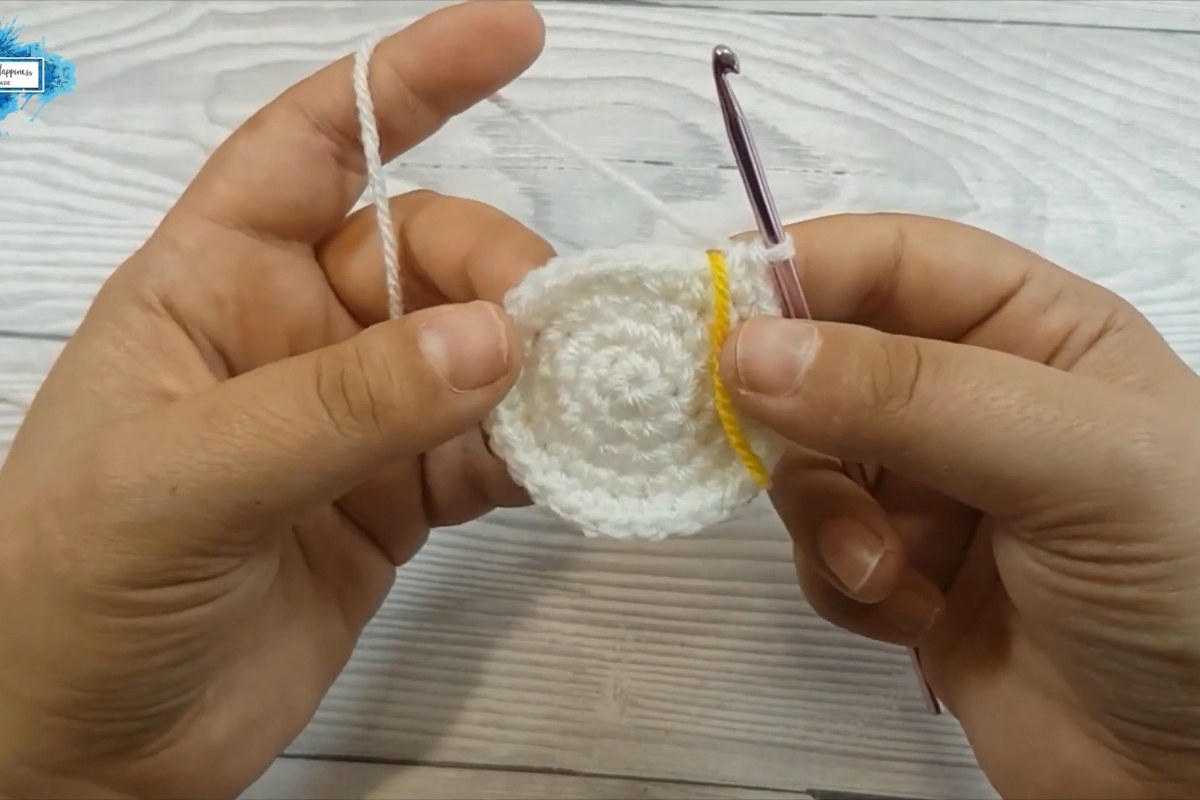
The egg is worked in continuous rounds without joining or turning, so mark the first stitch of every round. The timestamps below will help you jump to each part of the video.
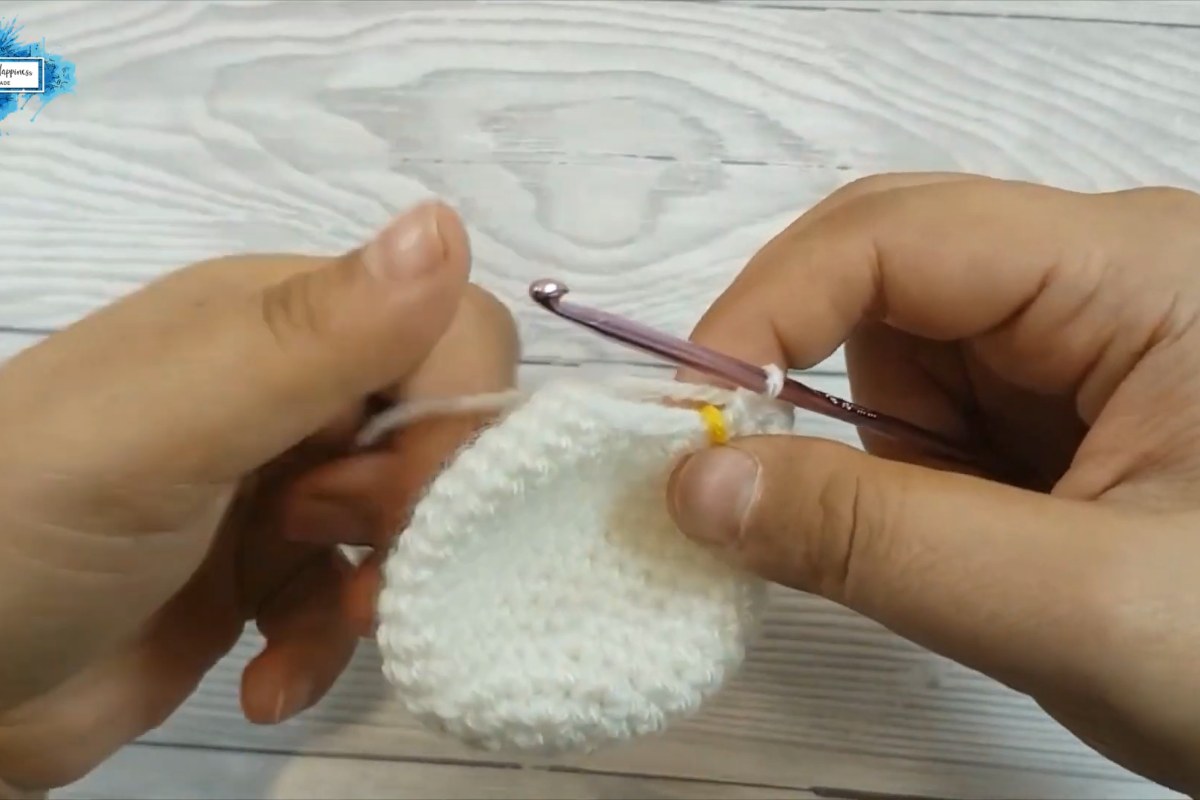
- Magic ring and first increases (0:46). Make a magic ring, work the first single crochets into it and pull the ring closed. The next rounds double the stitch count.
- Expanding the base (3:00). Keep increasing evenly, spreading the increases around the circle so the base stays flat.
- Completing the base (5:32). One more increase round finishes the flat circle that becomes the bottom of the egg.
- Building the height (7:00). Work several rounds of single crochet with no increases. The sides rise and the egg starts to take shape.
- Decreasing and shaping (8:53). Gradual decreases narrow the top. Because they are spread over several rounds, the top ends up more pointed than the bottom, just like a real egg.
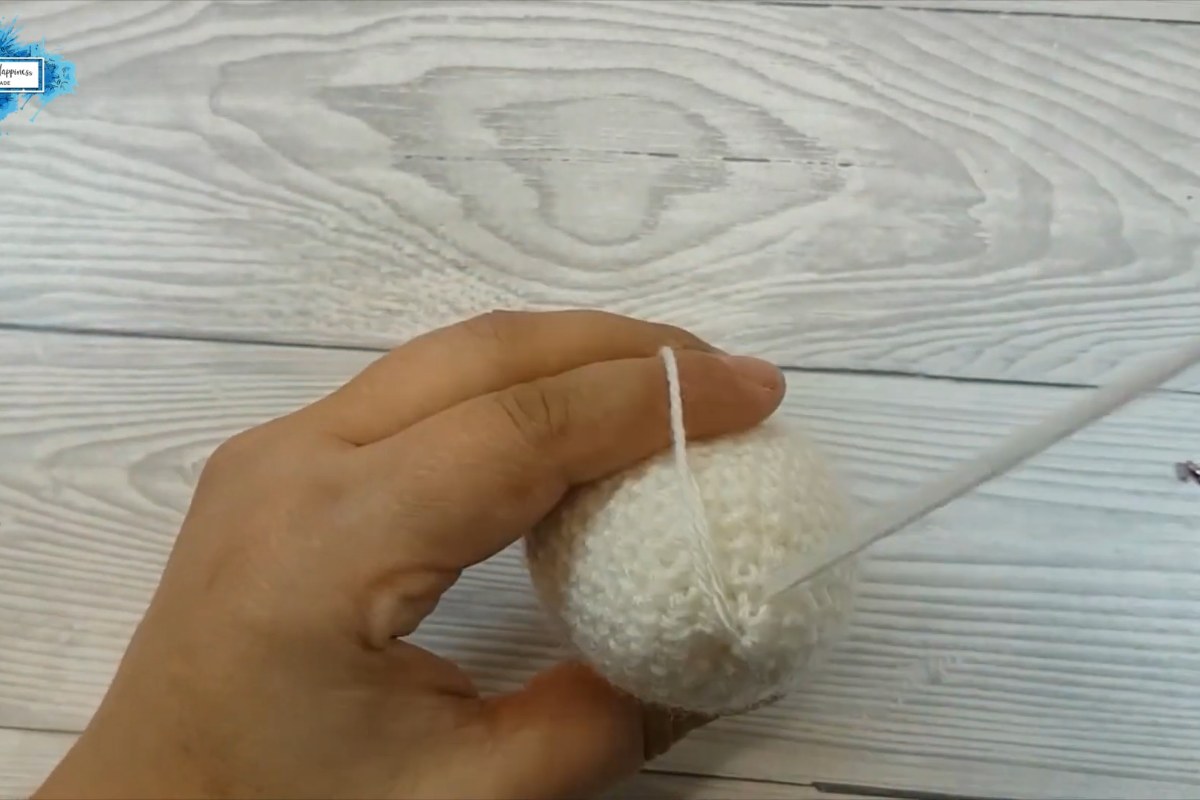
- Stuffing (11:52). Stuff the egg firmly before the opening gets too small, shaping it with your fingers as you go.
- Closing the top (14:31 and 17:41). Fasten off with a long tail and use it to gather and close the last stitches.
- Decoration and tips (21:56). Ariana shows how to add a hanging loop with the tail and shares ideas for decorating your eggs.
Tips for Perfect Eggs
- Use an invisible decrease. Working the decreases through the front loops only gives a smoother surface with no gaps.
- Stuff more than you think. A firmly stuffed egg holds its shape and stands better. Add stuffing in small pieces so it does not get lumpy.
- Design on the straight rounds. The middle section has several rounds with the same stitch count, which makes it the easiest place to add a colored band with tapestry or intarsia crochet.
- Try stripes and color blocks. Change color at the start of a round for simple stripes, or crochet the top and bottom in different shades.
- Add appliques. Small crochet flowers, bows or bees sewn onto the egg make each one unique.
- Turn it into a character. With a beak, wings and eyes the egg becomes a chick; add ears and you have a bunny.
- Left-handed? Crafting Happiness has also filmed a left-handed version of this tutorial on her channel.
The full written pattern with every round and stitch count is free on the Crafting Happiness blog through the credit link above, together with photos of Ariana's decorated eggs for more inspiration.
Enjoy the Video Tutorial

Source: Crafting Happiness
Frequently Asked Questions
How long does it take to crochet an Easter egg?
The tutorial video runs for about 25 minutes, so once you know the pattern a small egg takes well under an hour. The larger egg in chunky yarn is just as quick, because the stitch count stays the same.
Can a beginner make this egg?
Yes. The pattern is rated easy and uses only single crochet, increases, decreases and a magic ring. It is a good first amigurumi because the shape is simple and the project is small.
How do I change the size of the egg?
Follow the same rounds and switch the yarn weight and hook: DK with a 3.5 mm hook for a 7 cm egg, Aran with a 4.5 mm hook for a 9 cm egg, or chunky with a 5.5 mm hook for a 13 cm egg.
More from Crafting Happiness
- How to Crochet the Spring Bunny Square
- Crochet Christmas Bow: Free Moon Fern Stitch Pattern and Video Tutorial
- Crochet Strawberry Stitch Tutorial – A Sweet and Simple Pattern for Beginners
More crochet projects for you