
Crochet Refillable Chick Egg: Free Easter Gift Holder Pattern and Video

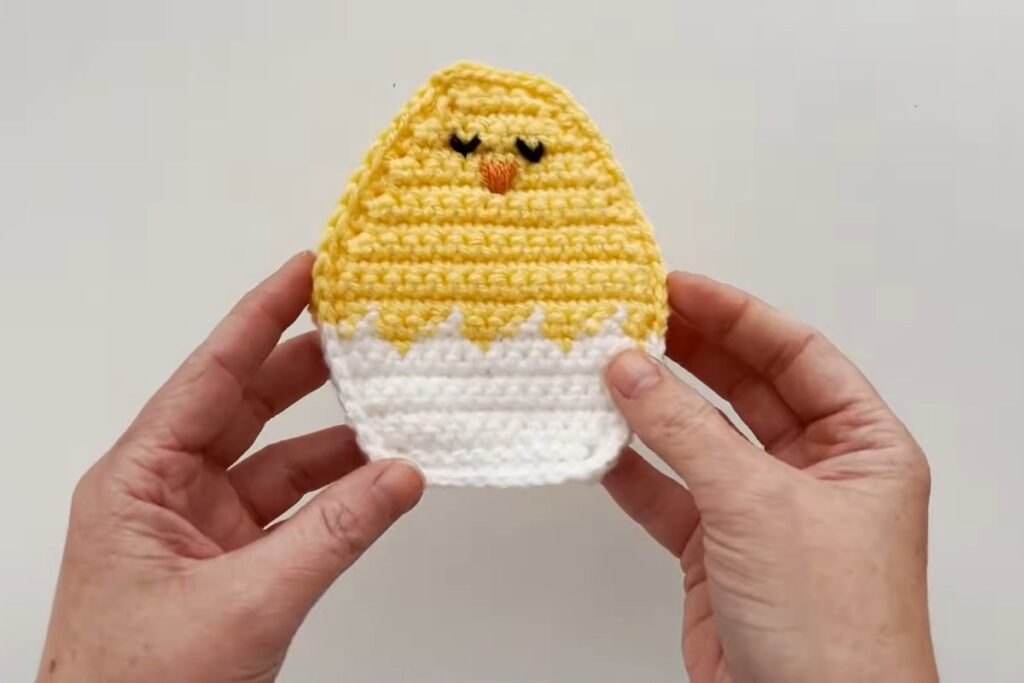
Plastic Easter eggs are cheap, but they crack, they get lost under the sofa and most of them end up in the bin by May. This crochet refillable chick egg is a sweeter answer. It is a flat little egg with a yellow chick peeking out of a white shell, and the back opens so you can tuck in a treat, a small toy, a folded note or a gift card. Empty it after the egg hunt and it is ready for next spring.
The design comes from Ashley at A Crafty Concept, who built it on top of her earlier refillable Easter egg. She calls it beginner friendly, and the video is long and calm, so you can crochet along at your own pace and pause whenever you need to.
Chick Egg at a Glance
- Designer: Ashley, A Crafty Concept
- Level: beginner friendly
- Yarn: worsted weight (size 4) in yellow, white, a little orange and a little black
- Hook: 4.0 mm (US G)
- Pieces: one front, one top back piece and one bottom back piece
- Video length: about 43 minutes
- Pattern: free written pattern on the designer's blog
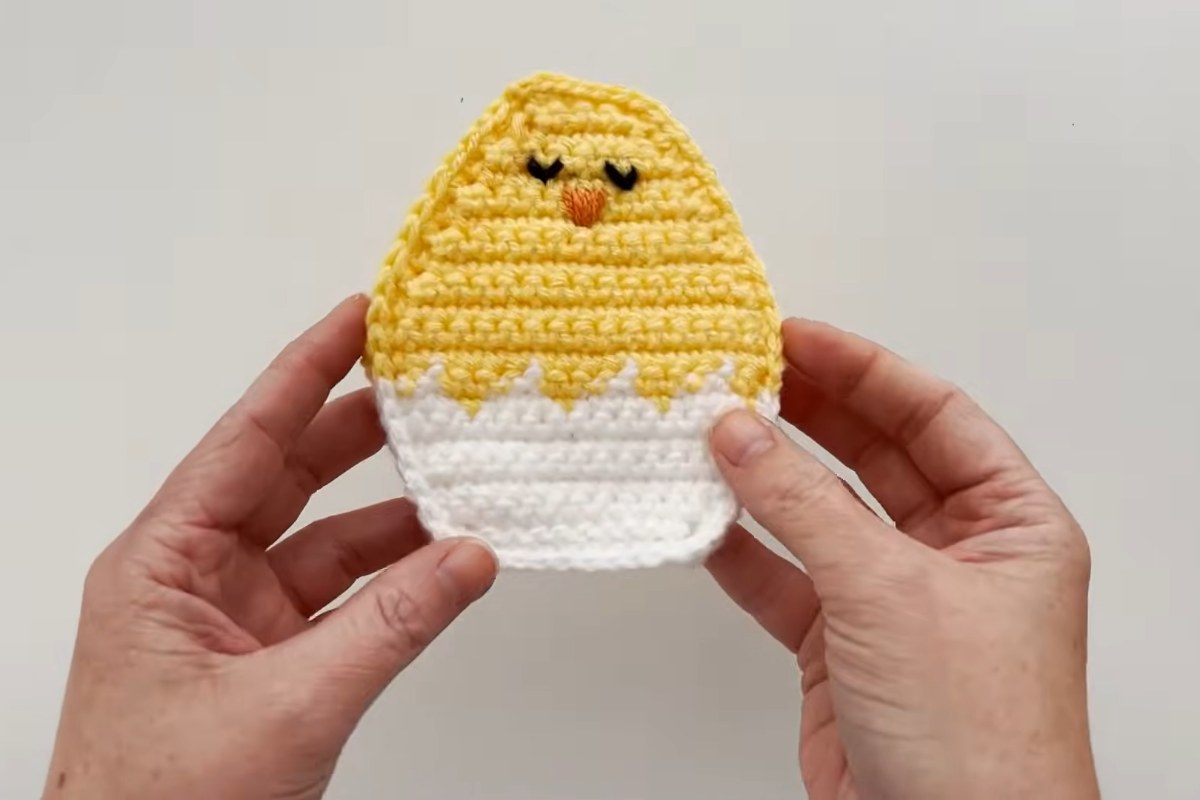
Images and patterns courtesy of A Crafty Concept
Why You Will Want to Make More Than One
Each egg uses only a small amount of yarn, so this is a good way to use up the odds and ends of yellow and white that every crocheter has in a basket somewhere. The stitches are simple: chains, single crochet, increases, decreases, slip stitches and foundation single crochet. The only new skill for some people will be following a color chart for the front, and the video shows exactly where each color change happens.
The finished egg works as a gift holder all year, not only at Easter. Fill one with a gift card for a teacher, slip a few chocolates inside for a child's basket, or make a small batch to sell at a spring craft market. Because the face is embroidered rather than made with safety eyes, there are no hard parts to come loose.
What You'll Need
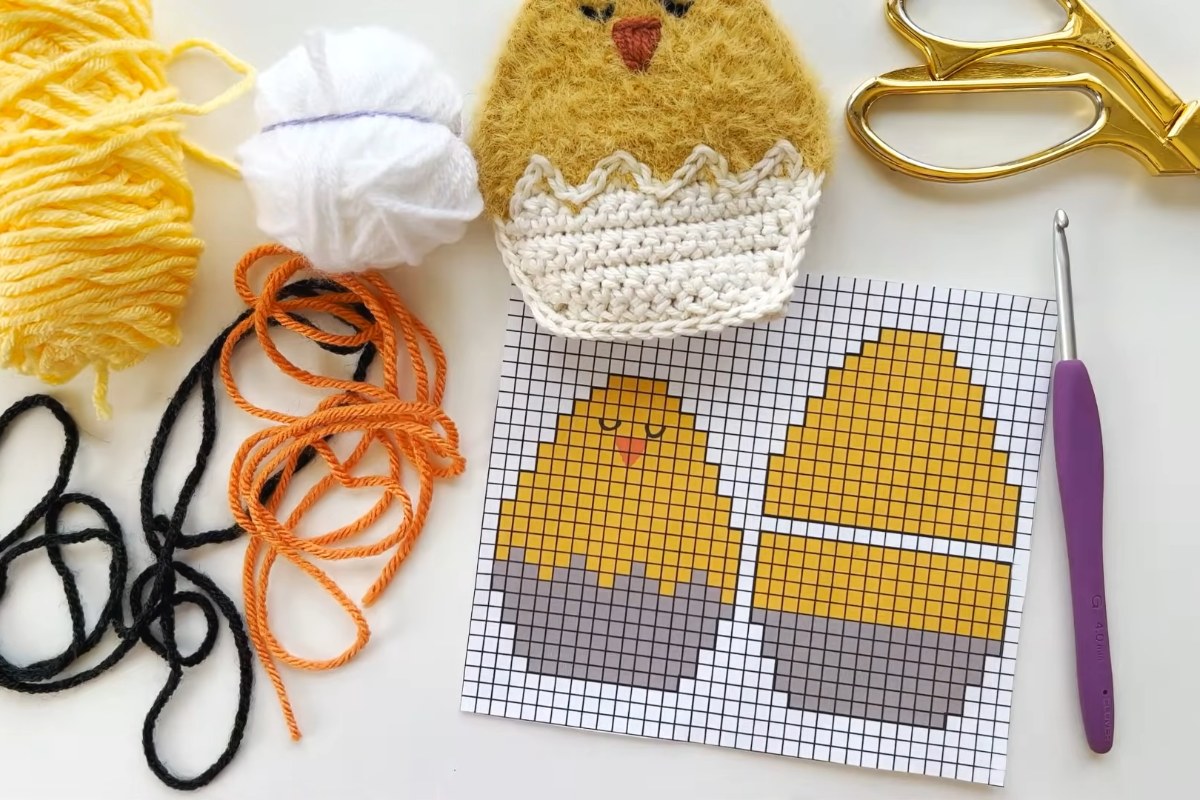
- Worsted weight yarn in yellow (chick and top back) and white (shell)
- Small scraps of orange for the beak and black for the eyes
- 4.0 mm (G) crochet hook
- Tapestry needle
- Scissors
- The color chart from the free pattern, printed or open on a screen
How the Chick Egg Comes Together
Ashley splits the video into clear chapters, so it is easy to come back to the part you are working on:
- 3:08 Materials. A quick look at the yarn colors, the hook and the chart.
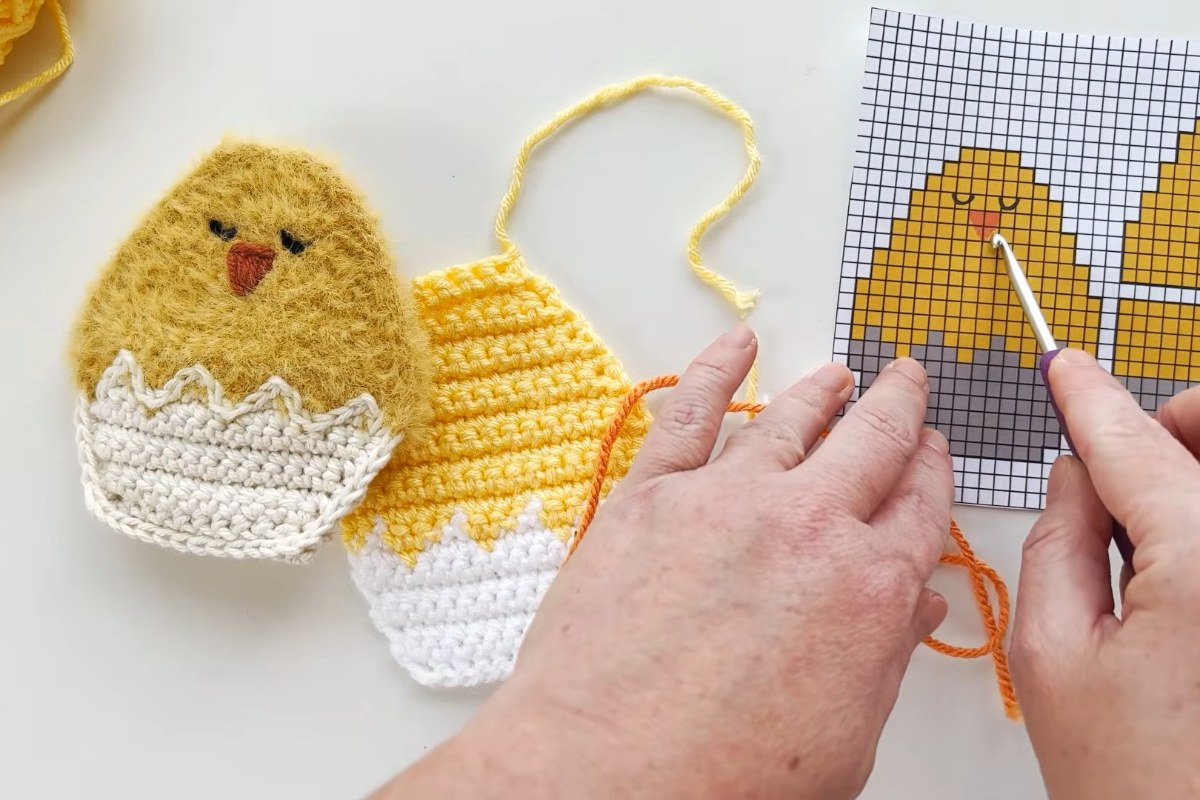
- 4:29 Front piece. The front is worked flat in rows, starting with white for the shell and switching to yellow for the chick. The zigzag line where the chick meets the shell comes from the color changes in the chart, so keep your place in the rows carefully.
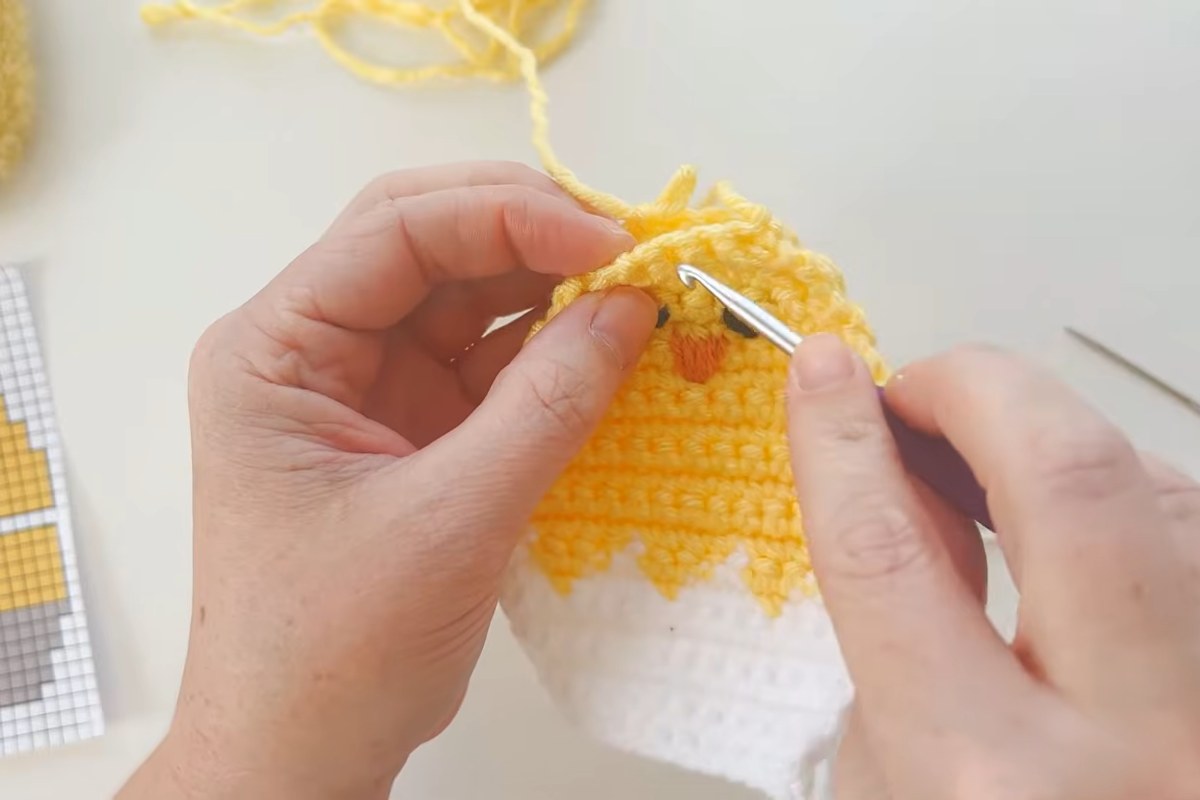
- 17:25 Face. The beak is stitched with orange yarn and the closed, sleepy eyes with black, using a tapestry needle.
- 24:07 Back pieces. The back is made in two parts: a yellow top piece and a bottom piece that is half yellow and half white. Where they overlap is the opening you will use to fill the egg.
- 25:50 Which tails to cut. A short but useful section on which yarn ends to trim and which to keep for joining.
- 27:23 Assembly. The front and the two back pieces are joined around the edge to make the finished pouch.
Tips for a Neat Chick Egg
- Choose solid colors. For the original egg, Ashley recommends solid yarn over variegated, because the seams and color changes look cleaner.
- Carry the chart with you. Mark off each row as you finish it. It is much easier than counting stitches backwards after a mistake.
- Keep the color changes on one side. Change colors on the last step of the stitch before the new color starts, so the line between chick and shell stays crisp.
- Embroider the face before joining. It is far easier to work on a flat front piece than on a finished pouch.
- Do not rush the tails. Watch the short chapter on which tails to cut before you trim anything; some of them are handy for sewing the pieces together.
- Test the opening. Before you fill it, check that the overlap on the back closes neatly and does not gape.
Enjoy the Video Tutorial

Source: A Crafty Concept
Frequently Asked Questions
Is this crochet chick egg good for beginners?
Yes. The designer describes it as beginner friendly, and it only uses basic stitches. If you have never followed a color chart, go slowly on the front piece and pause the video at each color change.
What can I put inside the egg?
Anything small and flat enough to fit through the back opening: wrapped sweets, a gift card, a folded message, stickers or a tiny toy. Keep small objects away from very young children.
Can I use cotton yarn?
Ashley used cotton for her original refillable egg, and the chick version calls for worsted weight yarn. Any smooth worsted yarn that works well with a 4.0 mm hook should give a similar result, though the size may change slightly.
More from A Crafty Concept
- Crochet Amigurumi Chick: Free Beginner Pattern and Video Tutorial
- Crochet this Cute Cow Gift Pocket in a Few Steps
- Crochet Chapstick Holder Keychain: Free Pattern and Video Tutorial
- Crochet Baby Stuff: How to Make a Rainbow Rattle
More crochet projects for you