
Crochet Elf Wind Spinner: Free Spiral Christmas Ornament Video Tutorial

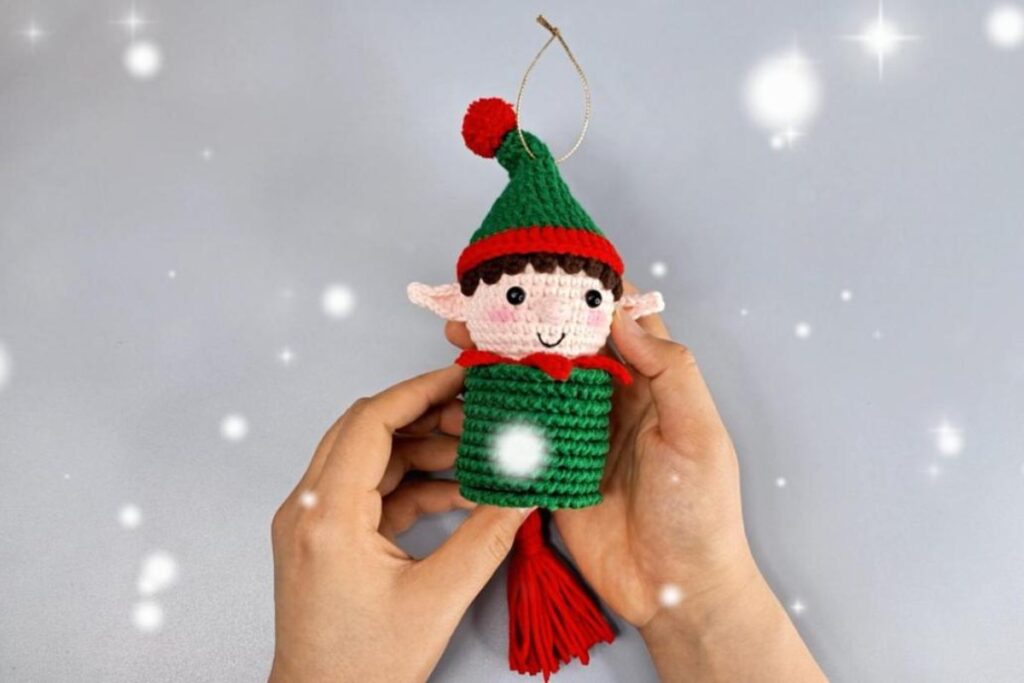
A wind spinner ornament sways and turns with the slightest draft, and that little bit of movement is what makes it so charming. This crochet elf wind spinner by Tata Crochet Patterns puts a small amigurumi elf head on top of a striped red, white and green spiral, with pointed ears, brown hair, a green hat with a red pompom and a red yarn tassel swinging at the bottom. The video tutorial runs just under an hour and covers every piece, from the first round of the head to the final assembly.
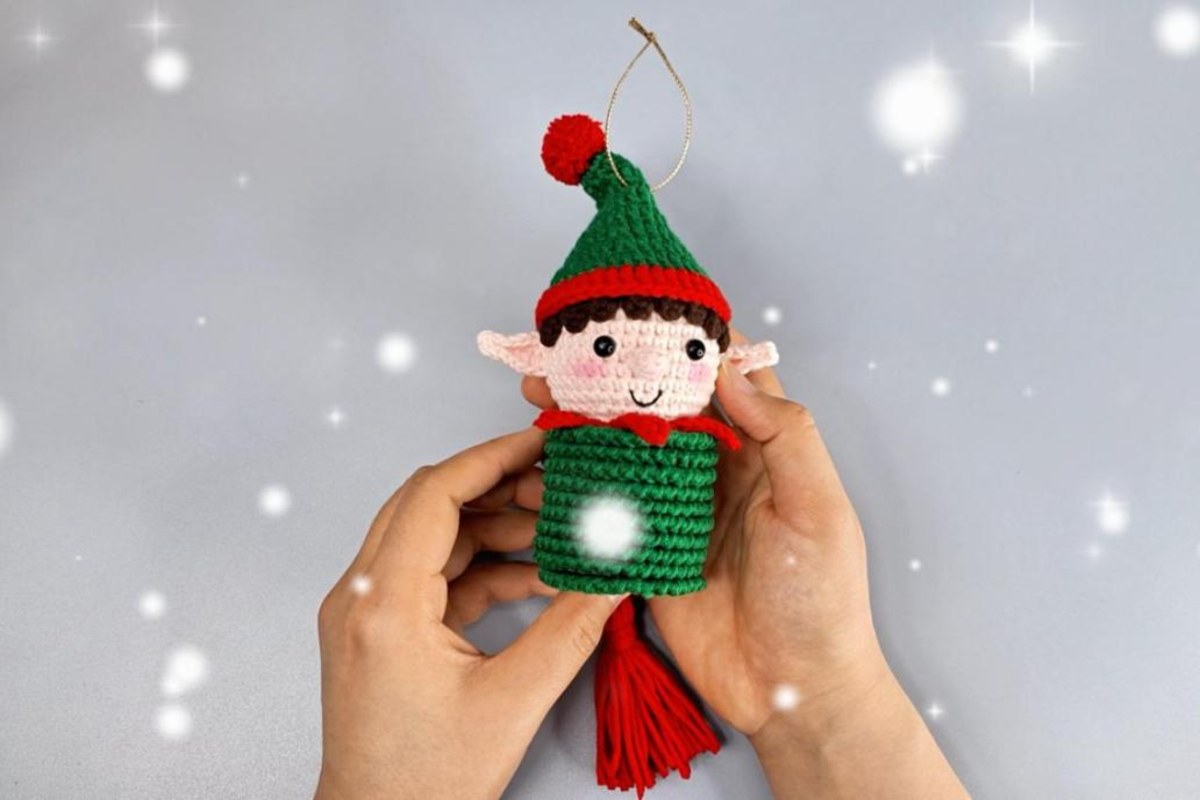
Images and patterns courtesy of Tata Crochet Patterns
Yarn ornaments have a softness that glass baubles can't match, and they survive being dropped by small hands or batted off a branch by a curious cat. If you like to get your holiday crochet done before December gets busy, this is a project you can spread over a few evenings, one piece at a time.
The Elf Wind Spinner at a Glance
- Designer: Tata Crochet Patterns
- Project: Amigurumi elf head with a spiral wind spinner body and a yarn tassel, made to hang as a Christmas ornament
- Skill level: Tagged for beginners by the designer; some practice with amigurumi rounds and sewing small pieces together will help
- Yarn: Milk cotton yarn, 5 ply (80% cotton, 20% acrylic); the skeins used are 125 g, about 220 m
- Hook: 2.75 mm
- Eyes: 7 mm
- On-screen instructions: Shown in English and Spanish
- Video length: 59:33
What You'll Need
- Milk cotton yarn (5 ply) in pale pink, brown, green, red and white, the colors used in the video
- A 2.75 mm crochet hook
- A pair of 7 mm eyes
- A yarn needle
- Stuffing
- Stitch markers to mark the end of each round
- Scissors
- Straight pins
- Hot glue
- A short length of cord for the hanging loop (a gold cord is used in the video)
How the Elf Wind Spinner Comes Together
The tutorial is split into chapters, so you can jump straight to the part you're working on instead of scrolling through the whole hour.
1. Head (0:41)
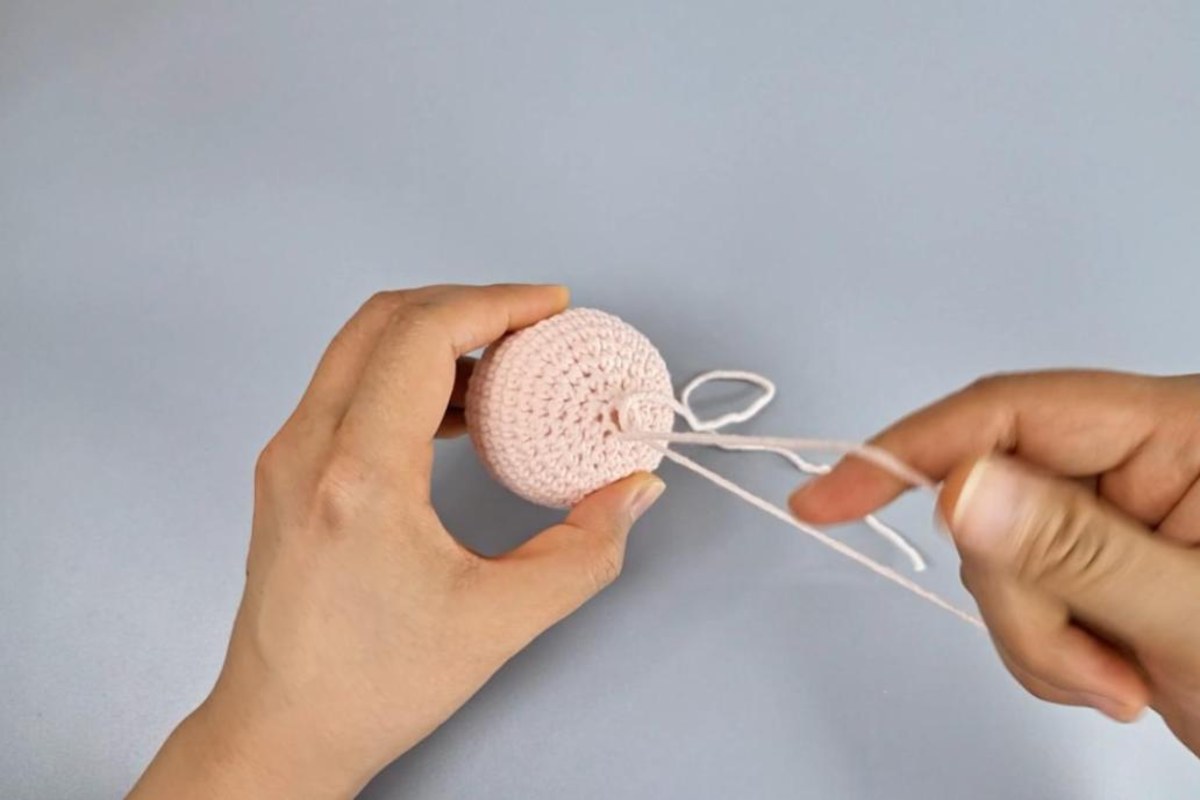
Everything starts with the head, crocheted in rounds in pale pink yarn and stuffed so it holds a nice round shape. Take your time with the round count here, since the rest of the face is built around it.
2. Ears and nose (10:06 and 12:45)
The pointed ears are what make this little figure read as an elf rather than a doll. They're small pieces in the same pink yarn, followed by a tiny nose that sits between the eyes.
3. Hat and pompom (13:58 and 23:49)
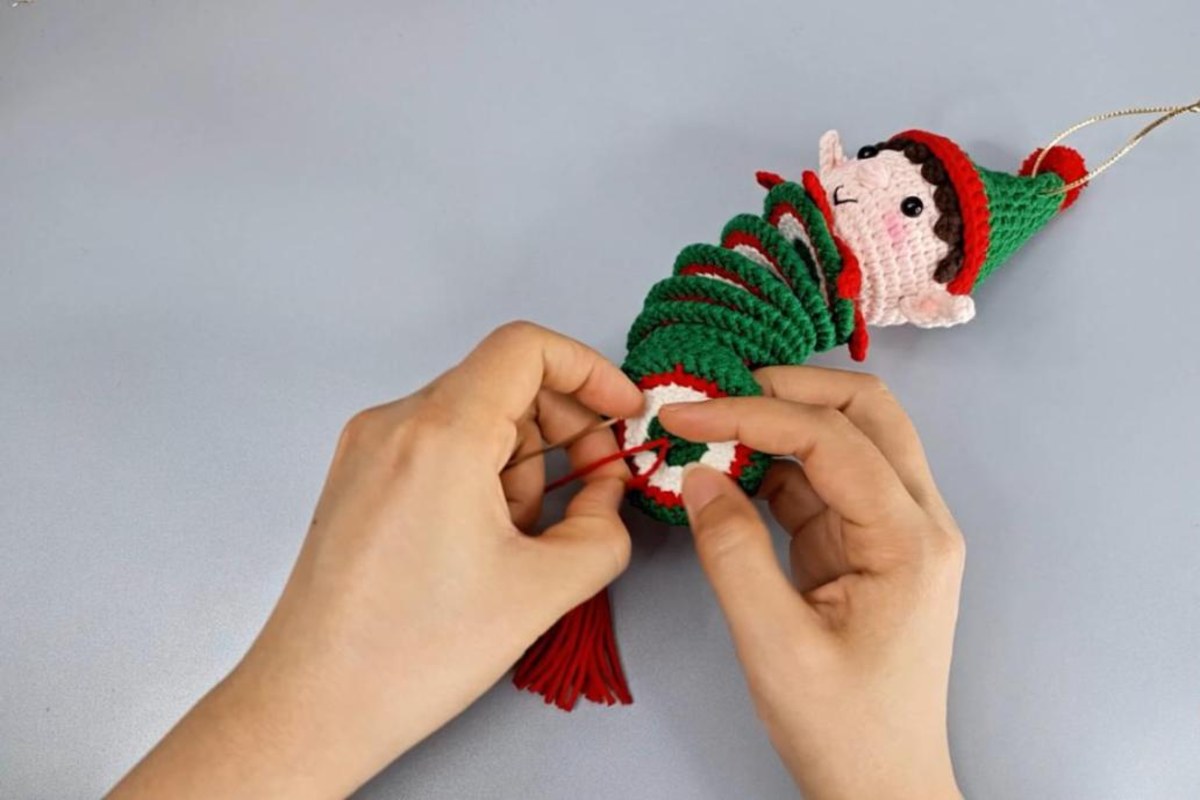
The green hat has a red edge around the brim and finishes in a point topped with a round red pompom. The hanging loop is attached at the top of the hat, so the whole ornament dangles from it.
4. Hair and collar (24:47 and 29:06)
Brown hair frames the face under the hat, and a red collar sits below the chin, giving a neat line between the head and the spinner.
5. Wind spinner (34:29)
This is the part that gives the ornament its name. The spinner is a coil of red, white and green stripes, and the green edge is worked in reverse single crochet (crab stitch), which gives the spiral a firm, rope-like border.
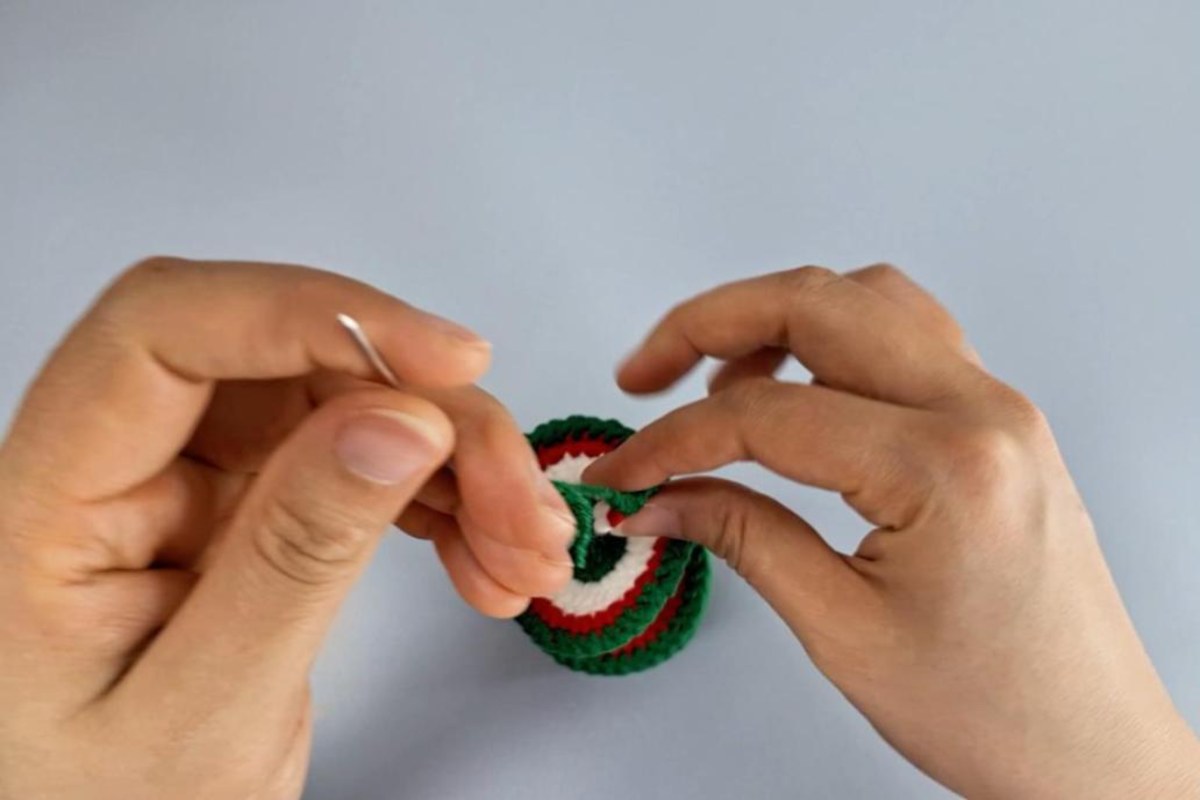
6. Yarn tassel and assembly (44:01 and 46:00)
A red yarn tassel is added to the bottom of the spiral, and then all the pieces are joined: the spinner is attached under the head, and the ears, nose and other details go into place.
Tips for a Neat Elf Ornament
- Use a stitch marker at the end of every round, as the designer suggests. Amigurumi is worked in a continuous spiral, and it's easy to lose your place without one.
- Pin the ears, nose and eyes in place first, then step back and look at the face from a little distance before you sew or glue anything. Small shifts change the expression a lot.
- Milk cotton gives clean, well-defined stitches. If you swap it for another yarn, choose something of a similar thickness and make sure your fabric is tight enough that the stuffing doesn't show through.
- Keep the hot glue to small dots and let it cool fully before the ornament is handled. If the elf is going to a home with young children, sewing the pieces on is the safer choice.
- Once you've made one, the same spiral idea works for a whole set. Tata Crochet Patterns also has Santa Claus and snowman wind spinners on the channel, so you can build a matching collection for the tree.
Enjoy the Video Tutorial

Source: Tata Crochet Patterns
Frequently Asked Questions
What yarn and hook are used for this elf?
The designer uses 5 ply milk cotton yarn (80% cotton, 20% acrylic) with a 2.75 mm hook. The colors in the video are pale pink, brown, green, red and white.
How long is the video tutorial?
It runs 59:33 and is divided into chapters for the head, ears, nose, hat, pompom, hair, collar, wind spinner, tassel and assembly, so you can work through it in several sittings.
Can I hang it on the Christmas tree?
Yes. The finished elf has a cord loop at the tip of the hat, so it can hang from a branch, a window hook or a doorknob, with the spiral and tassel hanging below.
More from Tata Crochet Patterns
- Crochet a Festive Santa Pouch for Easy Christmas Gifting
- Crochet Snowman Basket: Holiday Decor or Gift in One
- Adorable Crochet Snowman Bag for Gifts and Decor
- How to Crochet an Easy Wind Spinner
More crochet projects for you