
Crochet Snowman Basket: Holiday Decor or Gift in One

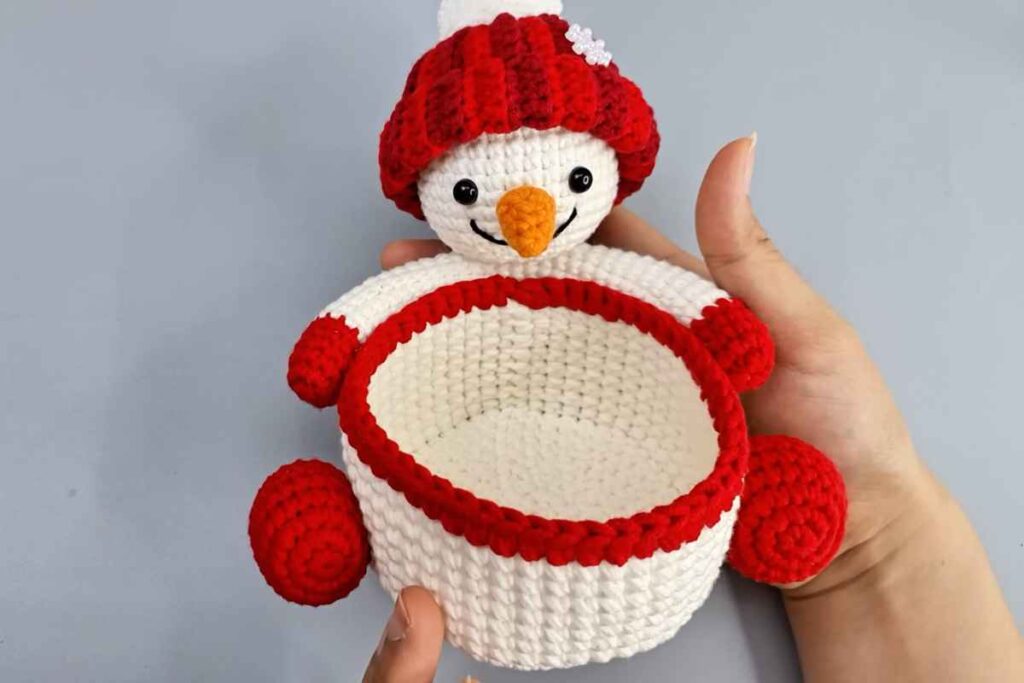
Looking for a holiday make that’s cheerful, practical, and fast to finish? A Crochet Snowman Basket checks every box. It doubles as festive decor and a thoughtful handmade gift, and it’s beginner-friendly while still satisfying for more experienced crocheters.
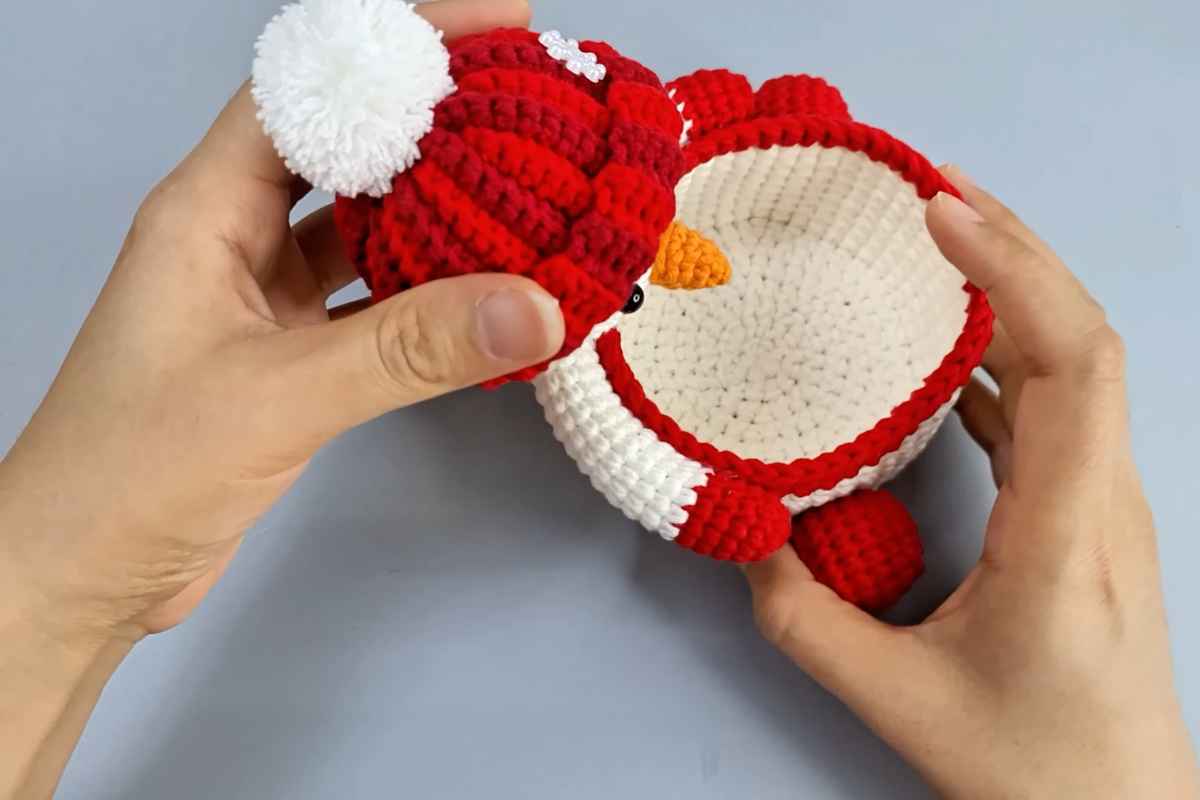
Below you’ll find a clear, step-by-step overview of how to build a sturdy basket body, add the snowman’s friendly face, and finish with charming details like a carrot nose, rosy cheeks, and a cozy scarf.
No fuss, no frills—just a clean, readable guide that helps you create something adorable you’ll be proud to display.
Why You’ll Love This Project
A snowman basket is more than a seasonal container—it’s a multitasking holiday hero. Use it to corral candy canes, pine cones, gloves by the door, or small gifts on a mantel.
Refill Your Creative Cup
Feeling stuck or out of ideas? Let us bring the spark back to your hook. Our weekly emails deliver patterns, tips, and inspiration to keep your creativity blooming.
😍 Bring Your Crochet Mojo Back – Sign Up Now! Click on the image 👆🏼
Because the structure is crocheted in the round with snug stitches, the basket holds its shape without complicated inserts.
Even better, this is a stash-friendly project: most of the design uses white yarn for the body, with small amounts of black, orange, and a pop color for the scarf or hat accents.
It’s also easy to personalize—swap scarf colors for a family set, add embroidered initials, or adjust the height to fit whatever you plan to store.
Yarn & Hook Notes
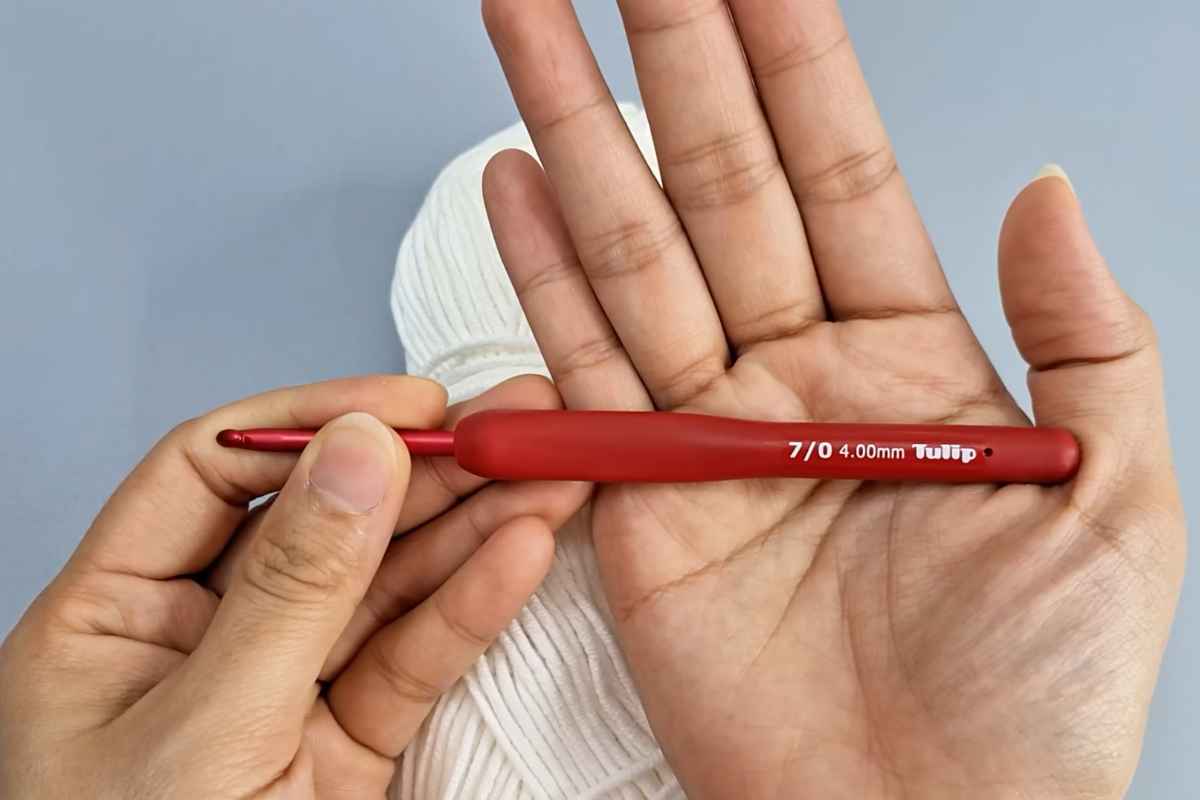
For crisp sides and a defined silhouette, choose a yarn that supports firm stitch definition. Worsted-weight cotton or a sturdy acrylic blend works well. If your stitches feel floppy, try:
- A smaller hook than the yarn label suggests to tighten the fabric.
- Holding two strands together for extra body.
- Invisible join and tight seam methods (even though the main body is seamless) to keep details neat.
Aim for dense single crochet (sc) fabric that barely shows light through when stretched—this ensures the basket is self-supporting.
Sizing & Gauge
You don’t need to obsess over gauge like you would for garments, but a quick swatch helps. Work a 10×10 cm (4×4 in) square of single crochet using the hook you plan to use.
If the fabric bends easily, go down a hook size. If it feels too rigid to shape comfortably, go up one. Consistency here pays off with even sides and a stable base.
Construction at a Glance
The project breaks down into four simple parts:
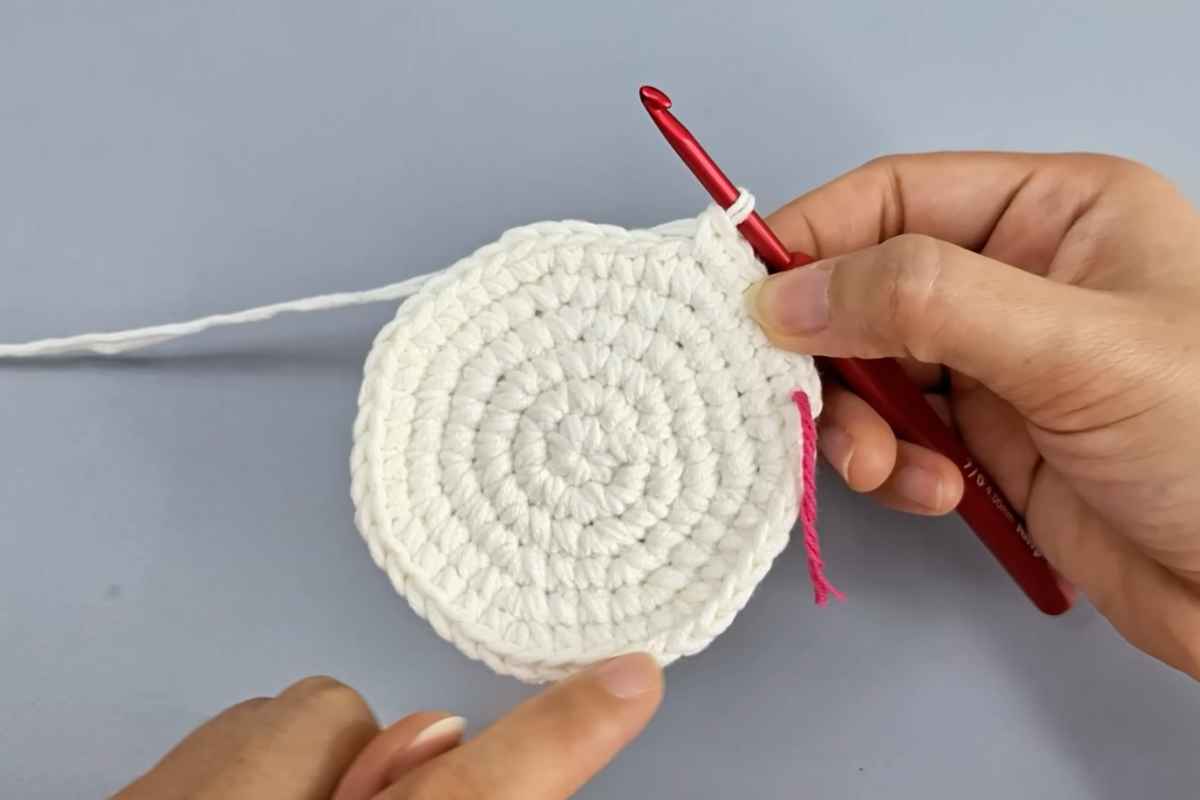
- Base – A flat circle worked in continuous rounds with even increases.
- Walls – Straight rounds without increases to form the basket height.
- Face Details – Eyes, carrot nose, smile, and optional blush.
- Finishing Flair – A scarf or hat band, maybe a little brim, and a tidy edge.
This modular approach keeps things approachable and customizable. You can finish the minimalist version in an afternoon, then add embellishments as time allows.
The Base: Flat, Firm, and Neat
Start with a magic ring and crochet single crochet increases every round to form a flat disc. Distribute increases evenly (e.g., inc every 1st st in Round 2, every 2nd st in Round 3, and so on).
Stop when the base reaches your preferred diameter—about 14–18 cm (5.5–7 in) suits most uses.
Pro tip: Place a removable marker at the first stitch of each round and move it up as you go. This keeps rounds clean and helps maintain a perfectly circular base.
Turning the Walls: The Secret Ridge
To build straight sides, work one round through the back loop only (BLO). That leaves a subtle ridge that helps the fabric pivot upward and gives a professional, “basket” edge.
After this ridge round, continue in regular single crochet through both loops, no increases, until the walls reach your desired height—about 12–16 cm (4.75–6.25 in) is versatile for shelves, side tables, or entryways.
If you want extra structure, consider:
- Tightening your tension for two rounds at the mid-point.
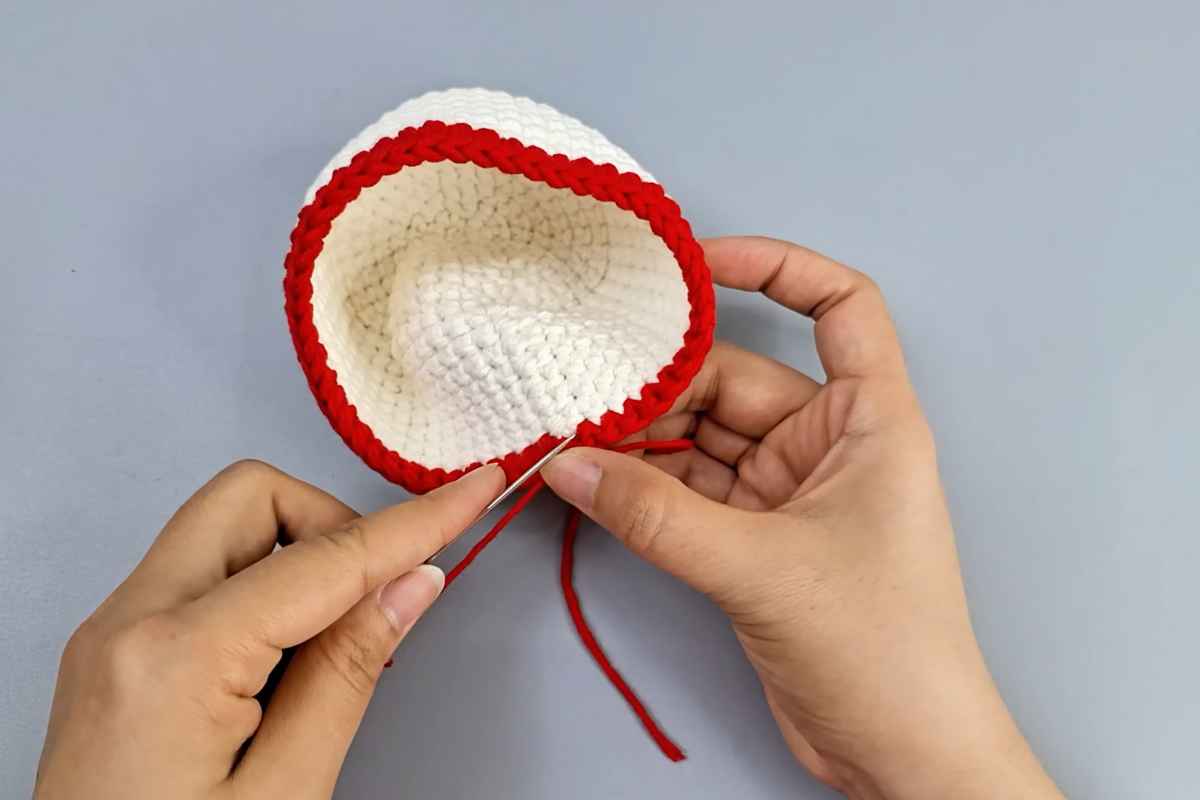
- Adding crab stitch (reverse sc) on the final round for a firm, decorative rim.
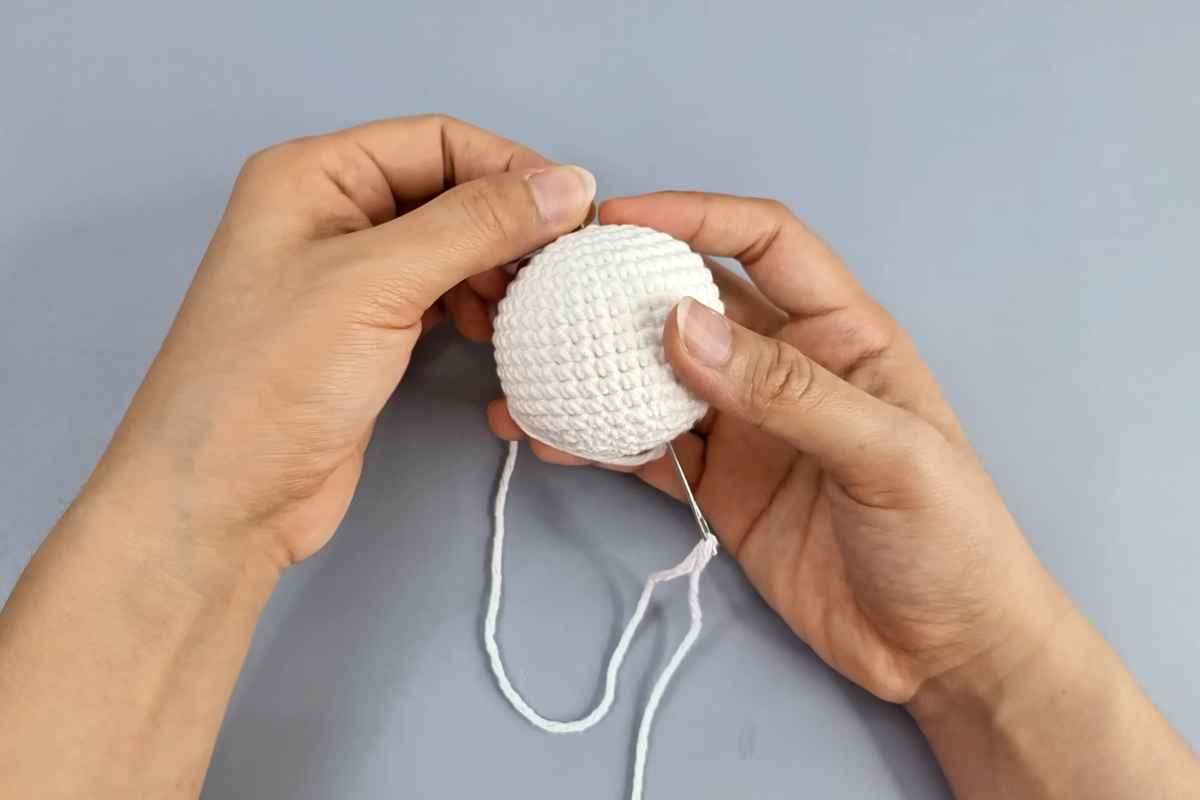
The Snowman Face: Simple Pieces, Big Personality
This is where the basket comes to life. You’ll create and attach a few small elements:
Eyes
You can use safety eyes for speed, or embroider/crochet small black circles. If you crochet them, make two tiny discs (e.g., magic ring, 6 sc), fasten off leaving tails for sewing. Space them evenly on the upper half of the basket front—symmetry sells the expression.
Carrot Nose
Work a little cone in orange:
- Round 1: 3–4 sc in a magic ring.
- Rounds 2–5: Increase gradually (e.g., add 1–2 stitches across the round every other round) to taper from tip to base.
Stuff very lightly if you want dimension. Sew it slightly below the eyes, angled a touch to the side for a whimsical, friendly look.
Smile & Cheeks
Use black yarn to embroider a gentle curve for the mouth. Small pink circles (or a little blush worked with rosy yarn) add charm. Keep the features soft and kid-friendly—the gentler the curve, the sweeter the expression.
Scarf & Optional Hat Details
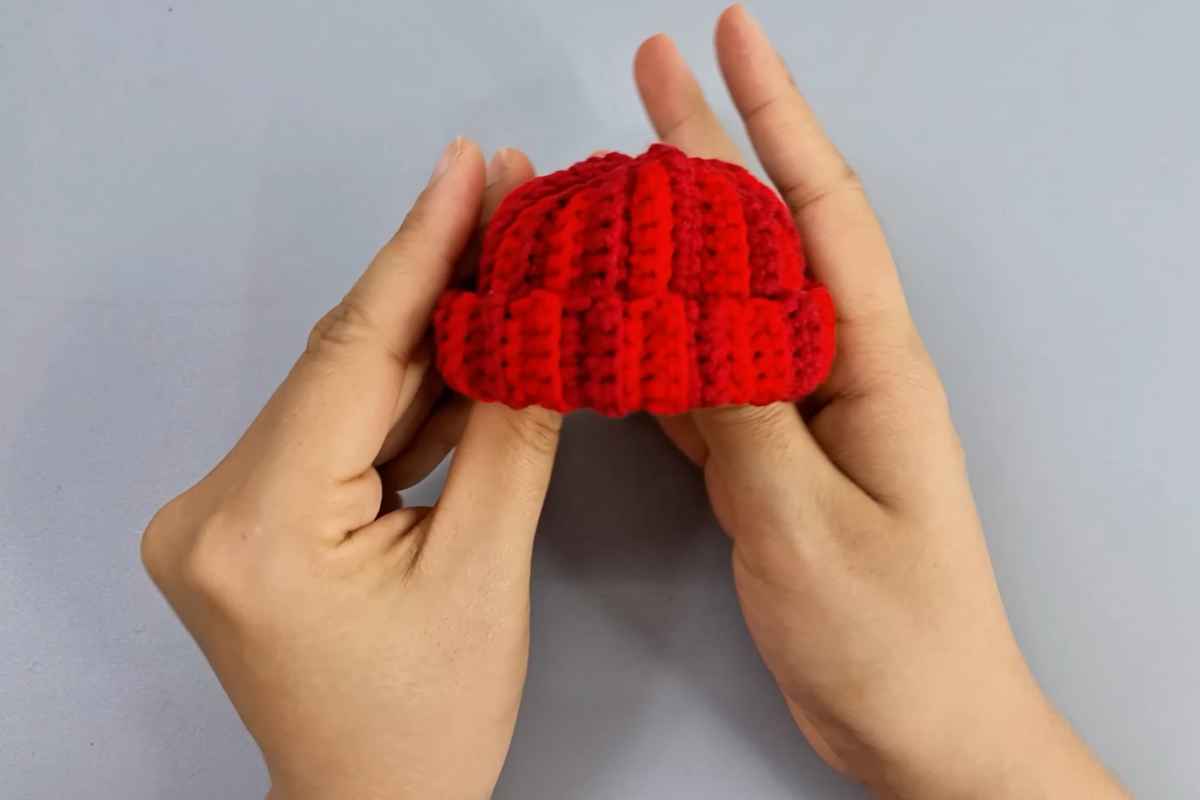
Nothing says “snowman” like a cozy accessory. A simple striped scarf stitched as a short, flat band and whip-stitched around the basket gives instant personality. Add fringe by cutting equal-length strands and lark’s-head-knotting them into the scarf ends.
Prefer a top hat vibe? Crochet a narrow hat band and stitch it around the rim, or make a minimal brim by working one round of increases near the top edge and finishing with a few even rounds for structure.
These accents are perfect for color-coding sets—think classic red, icy blue, forest green, or a neutral gingham effect by alternating light and dark stitches.
Finishing Techniques That Elevate the Look
Clean finishing transforms “homemade” into high-end handmade:
- Invisible joins on color changes keep lines seamless.
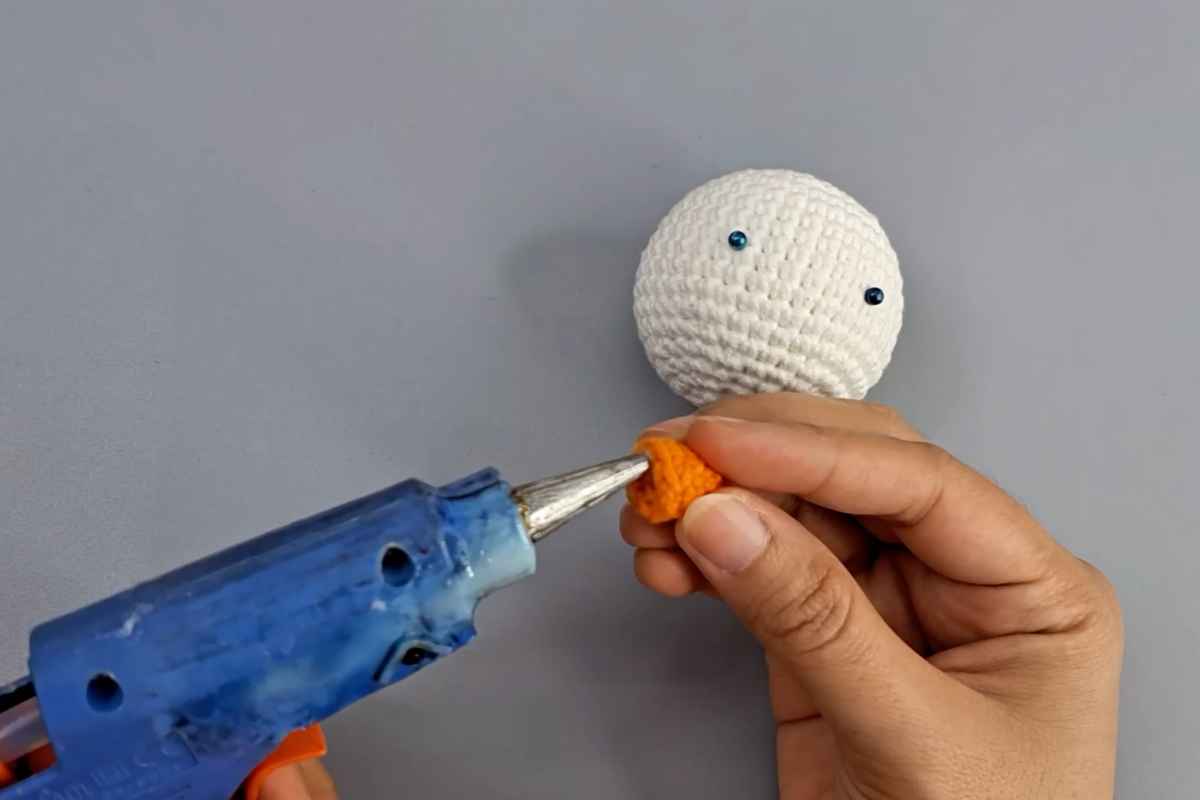
- Weave ends strategically behind facial features to hide them.
- Steam block lightly (if your fiber allows) to relax ripples without melting acrylic; always test first.
- For extra firmness, consider fabric starch on the inside or a thin plastic circle under a removable liner when you need maximum structure.
Customizing Size & Use Cases
This design adapts easily:
- Mini baskets for desk treats or ornament displays.
- Medium baskets for entryway gloves, dog toys, or yarn balls.
- Large baskets for rolled hand towels, books, or gift hampers.
To scale up cleanly, keep your increase ratio consistent on the base, then maintain the same stitch count for the walls. When going much larger, hold two strands of yarn together or step up to a bulky weight for stability.
Gifting Ideas
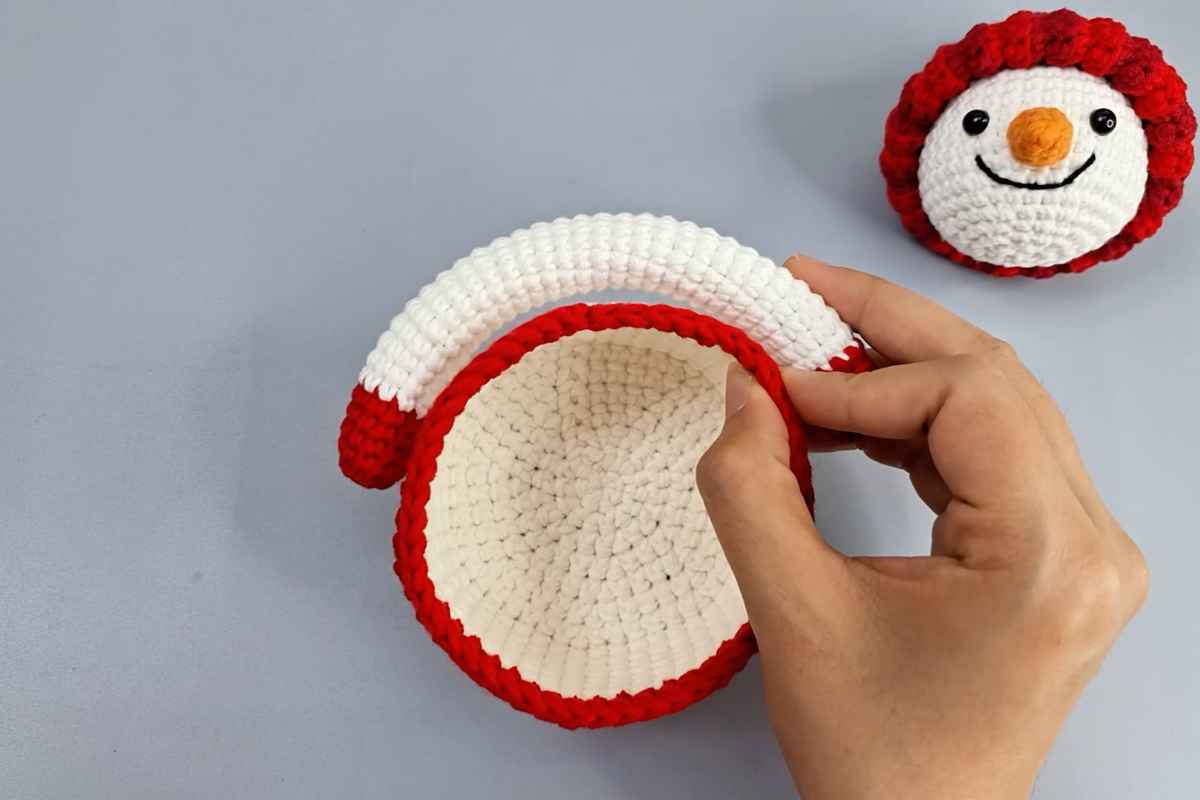
Turn your snowman into a curated present:
- Fill with hot cocoa packets, marshmallows, and a holiday mug.
- Tuck in self-care goodies like hand cream, fuzzy socks, and tea.
- Create a craft kit with mini skeins and a hook for a new crocheter.
- Add a family name tag or an embroidered initial for a personal touch.
The basket itself becomes part of the gift—sustainable and reusable long after the holidays.
Care & Storage
To keep your Crochet Snowman Basket looking crisp:
- Spot clean with a damp cloth and mild soap.
- Reshape with your hands after cleaning; stuff with towels to dry if needed.
- Store it unstuffed in a cool, dry place, or fill with linens to help maintain the shape through the off-season.
Troubleshooting Quick Guide
- Sides slouching? Tighten tension, go down one hook size, or add a crab-stitch rim.
- Base cupping or ruffling? Adjust increases—too few causes cupping, too many causes waves.
- Face looks uneven? Lightly pin features in place first, step back, then stitch once you love the placement.
Make It Yours
Your snowman can be playful, rustic, or modern depending on yarn and accents. Try heathered whites for a farmhouse look, crisp ultra-white for a modern vibe, or speckled yarn for a snowy texture.
A single bold scarf color turns the basket into a statement piece; muted tones blend effortlessly with minimalist decor. However you style it, the formula stays the same: firm base, even walls, friendly face, and polished finishing.
Ready to Crochet?
Gather your yarn, grab a hook one size smaller than usual, and start with that flat base. In just a handful of rounds you’ll see the form taking shape—and with each detail you add, your Crochet Snowman Basket becomes more charming.
Whether it lands on your mantel, greets guests in the entryway, or goes to someone special filled with goodies, it’s a feel-good, gift-worthy project you’ll want to revisit every holiday season.
Images and patterns courtesy of Tata Crochet Patterns
Enjoy The Video Tutorial

Source: Tata Crochet Patterns
More crochet projects for you