
Crochet Christmas Bow: Free Moon Fern Stitch Pattern and Video Tutorial

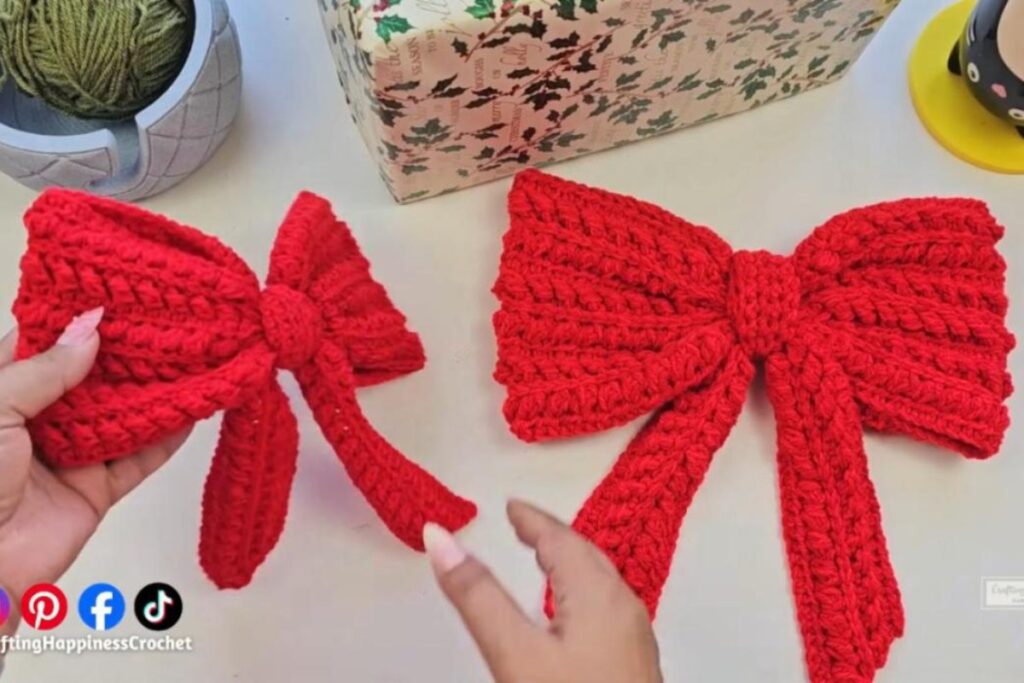
A big, squishy bow is one of the quickest ways to make a wreath, a door or a wrapped present look finished. This one from Crafting Happiness is worked in the Moon Fern Stitch, which gives each loop and tail a raised, leafy texture that catches the light. It looks far more complicated than it is, and the main piece is made in one shaped strip, so you won't be stitching lots of separate parts together at the end.
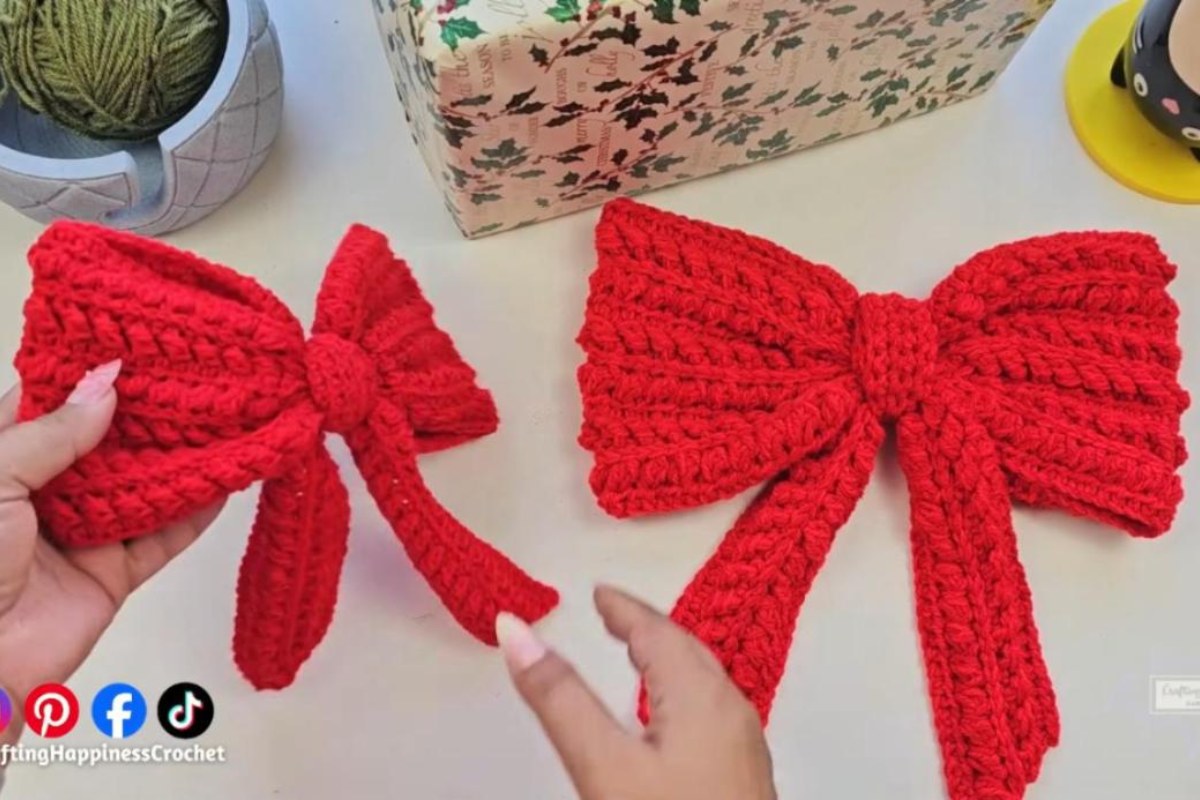
Images and patterns courtesy of Crafting Happiness
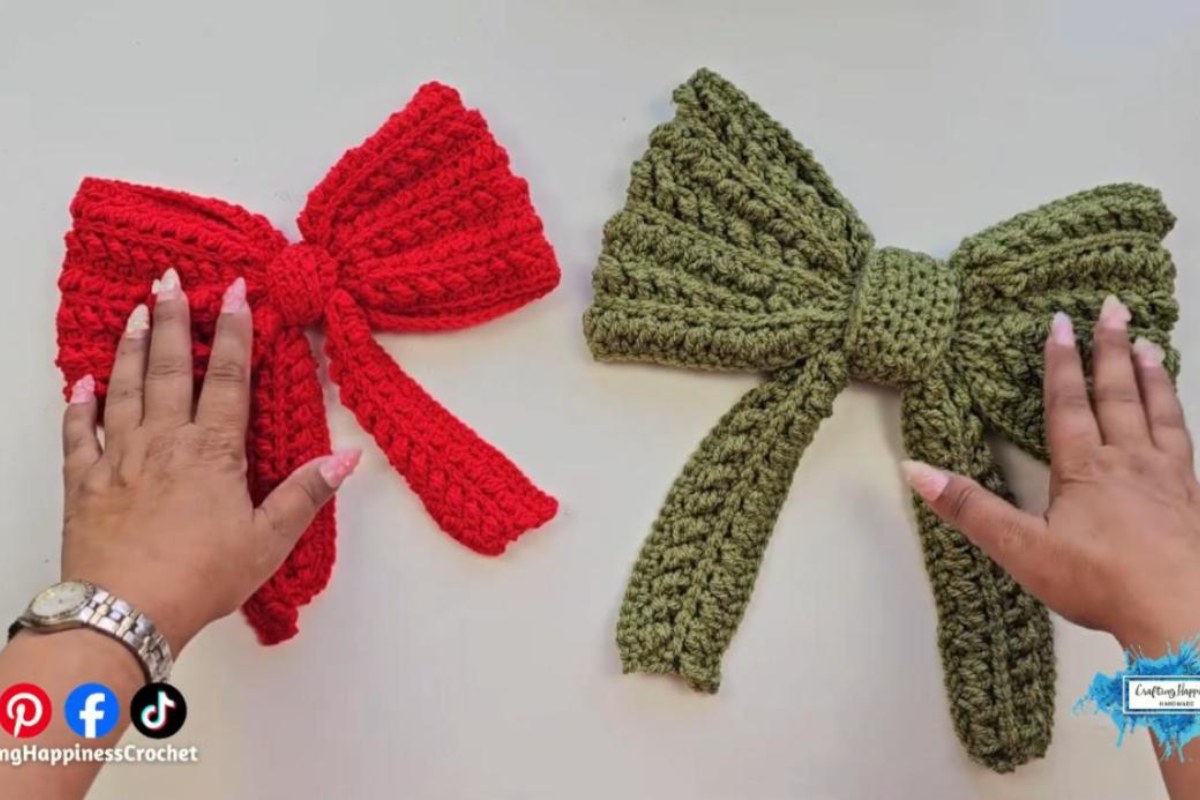
The pattern is rated easy, and the video walks through every row, including the short rows that shape the bow. Make it in classic red for a traditional look or in olive green like the second sample, then change the yarn weight to make it smaller for the tree or larger for the front door.
The Moon Fern Christmas Bow at a Glance
- Designer: Crafting Happiness
- Skill level: Easy
- Stitch pattern: Moon Fern Stitch, shaped with short rows
- Size: about 30 cm (roughly 12 in) wide when made in Aran weight yarn
- Yarn: Paintbox Yarns Simply Aran, one 100 g ball (184 m / 201 yd)
- Hook: 4 mm for the Aran sample
- Terms: US crochet terms
- Video length: 59:13
What You'll Need
- One 100 g ball of Aran weight yarn (the sample uses Paintbox Yarns Simply Aran)
- A 4 mm crochet hook, or a hook that suits your yarn
- A darning needle
- Scissors
- Pins for shaping
Besides basic stitches such as single crochet, half double crochet and slip stitches, the pattern uses three special stitches: a modified double crochet two together (Mdc2tog), extended single crochet (esc) and front post single crochet (FPsc). All of them are demonstrated in the video, so you can learn them as you go.
How the Bow Comes Together
1. Work the main bow piece
The bow starts as one long piece worked back and forth. Short rows are what turn this strip into the familiar bow shape, building the wider loops and narrower tails without any separate pieces. The Moon Fern Stitch creates the raised ridges that run along the loops, so the texture grows as you go.
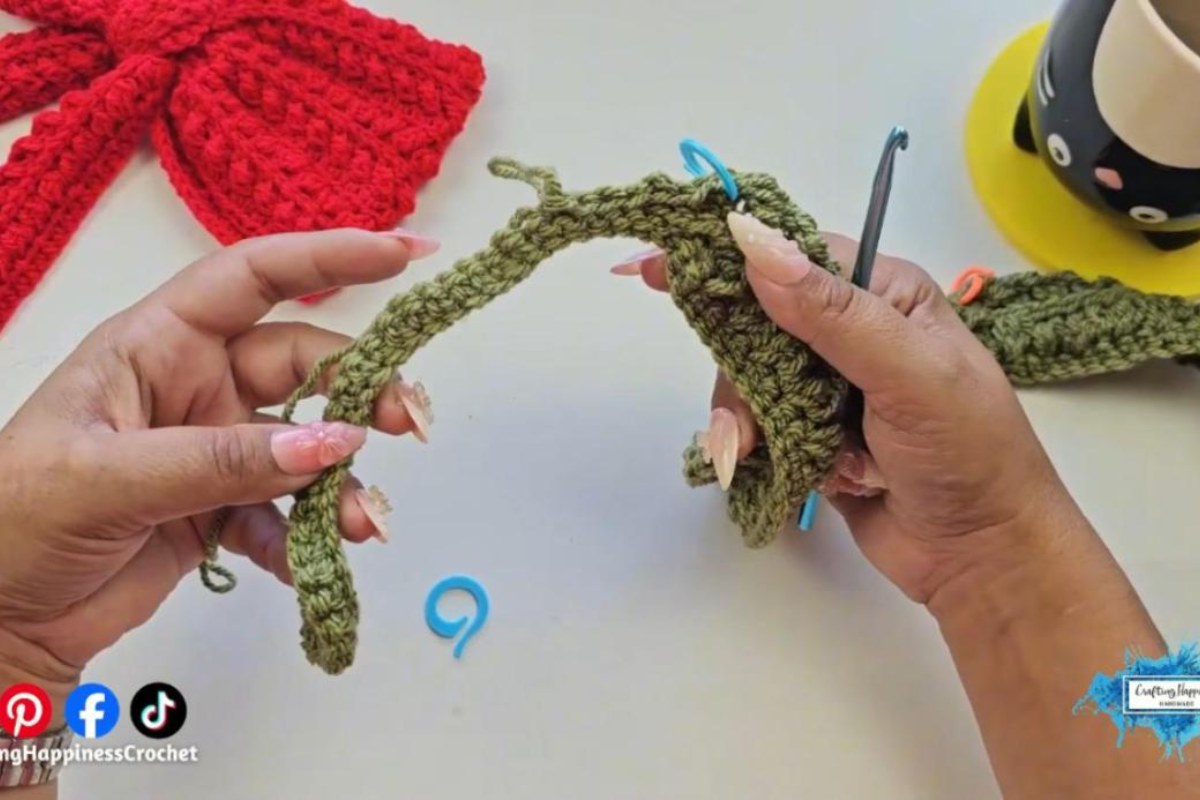
2. Crochet the centre strip
Next comes a separate long, narrow strip. This becomes the "knot" in the middle of the bow, so it's worth keeping your tension even for a neat finish.
3. Fold, wrap and secure
To assemble, the main piece is folded with the two ends crossed to form the tails. The centre strip is then wrapped around the middle and sewn at the back. This is the only sewing in the project. The final part of the video shows this step up close.
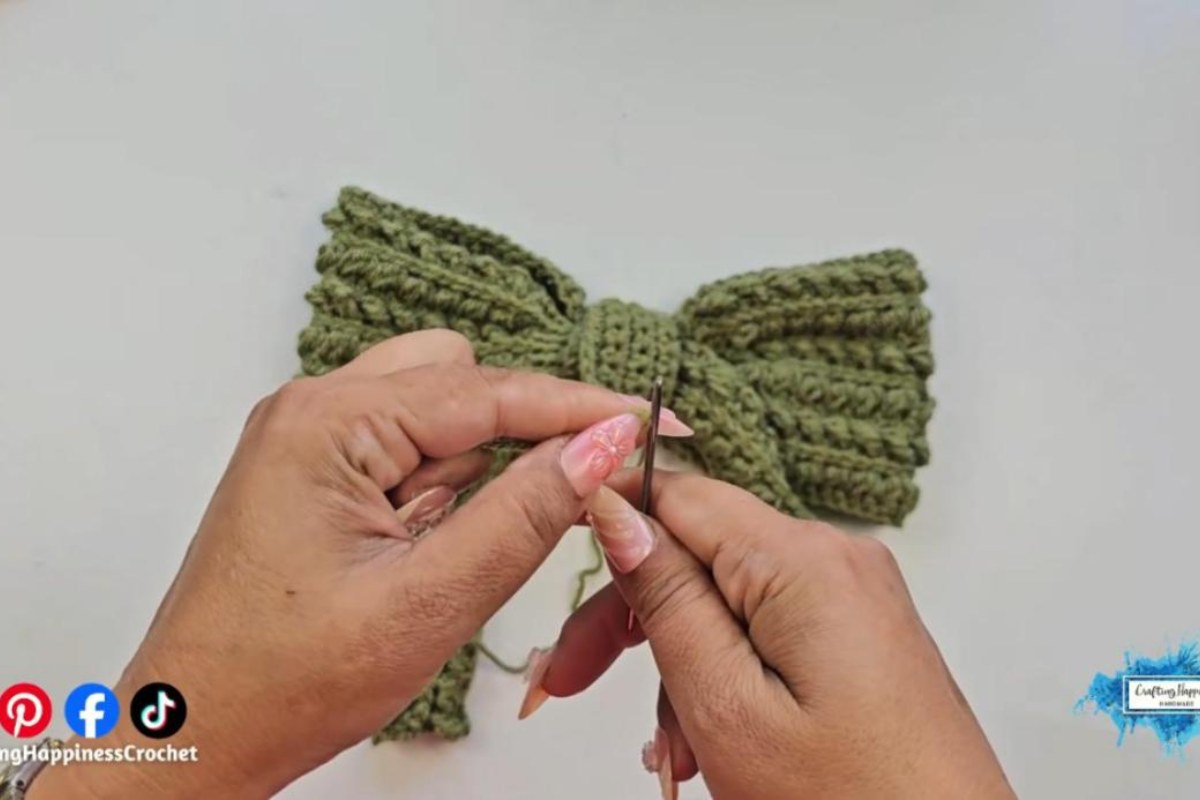
4. Shape the loops and tails
Once the strip is in place, shape the loops and tails by hand until the bow sits the way you like.
Tips for a Bow That Holds Its Shape
- Aim for a firm fabric. The designer recommends a yarn and hook combination that gives a sturdy fabric, so the loops stand up instead of flopping.
- Watch before you start. The short rows are easier to follow once you've seen them worked, so it helps to watch that part of the video first.
- Change the size with yarn, not stitches. The pattern stays the same for every size. A lighter yarn with a smaller hook gives a smaller bow for the tree or gift wrap, while a heavier yarn gives a statement bow for a wreath or door.
- Make a matching set. Crafting Happiness also has a Moon Fern Christmas stocking and bauble, so a bow in the same colours ties the whole look together.
Where to Use Your Crochet Bow
These bows work almost anywhere you want a festive touch: on a wreath, along a mantel, on the front door, at the top of the Christmas tree or tied onto presents. Because they're made from yarn rather than ribbon, you can pack them away after the holidays and bring them out again year after year. They also make a thoughtful handmade gift on their own.
You'll find the full written pattern for free on the Crafting Happiness blog.
Enjoy the Video Tutorial

Source: Crafting Happiness
Frequently Asked Questions
Do I need to sew this crochet bow?
Only a little. The main bow is worked in one piece, and the only sewing is securing the centre strip at the back during assembly.
How big is the finished bow?
The Aran weight sample measures about 30 cm (roughly 12 in) across. The size changes with your yarn and hook, so a lighter yarn gives a smaller bow.
Is this pattern suitable for beginners?
The pattern is rated easy. It uses a few special stitches and short rows, but the video shows each step, which makes it manageable for confident beginners.
More from Crafting Happiness
- How to Crochet the Sedum Stitch for a Beautiful Leaf Texture
- Crochet Strawberry Stitch Tutorial – A Sweet and Simple Pattern for Beginners
- Crochet Mini Christmas Stocking Gift Card Holder: Free No-Sew Pattern
- Crochet Elf Wind Spinner: Free Spiral Christmas Ornament Video Tutorial
More crochet projects for you