
Crochet Bobble Stitch Headband: Free Twist Ear Warmer Pattern in 3 Sizes

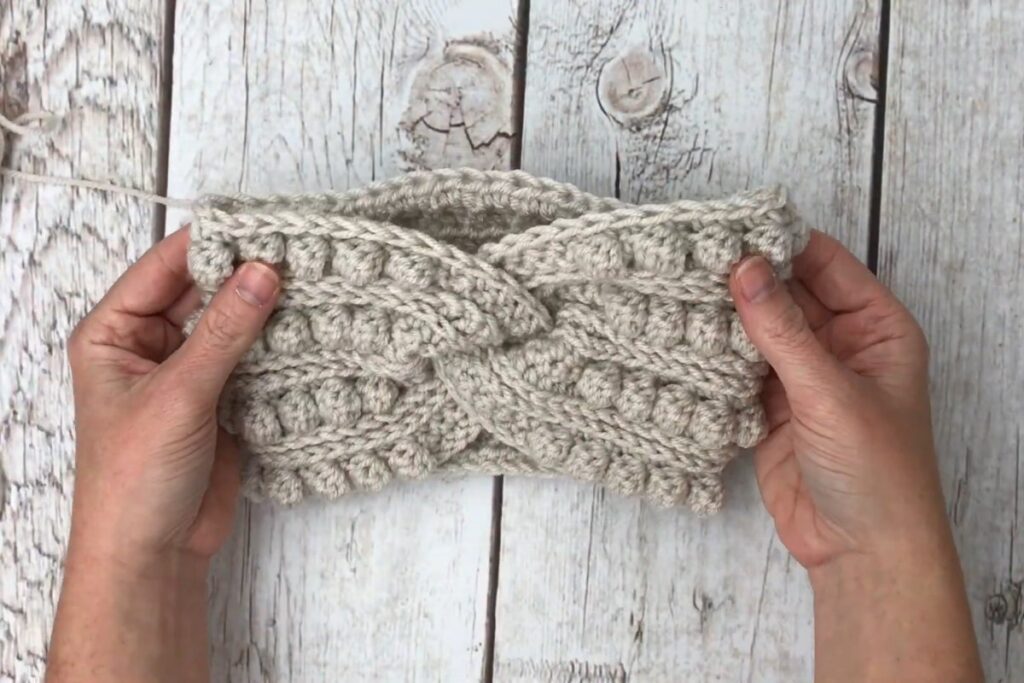
A twisted headband is one of those projects that looks clever but turns out to be very friendly. You crochet a simple flat rectangle, fold it in a zigzag and join the ends, and the twist appears at the front almost by itself. This crochet bobble stitch headband adds rows of little bobbles and a knit-look texture, so it keeps your ears warm and still looks soft and cosy rather than bulky.
The design is the Boho Bobble Twist Headband by Ashley from A Crafty Concept. The written pattern is free on her blog and includes three sizes, while the video follows the adult size from the first chain to the final twist.
Bobble Twist Headband at a Glance
- Designer: Ashley, A Crafty Concept (pattern name: Boho Bobble Twist Headband)
- Level: easy, with two techniques that are clearer on video
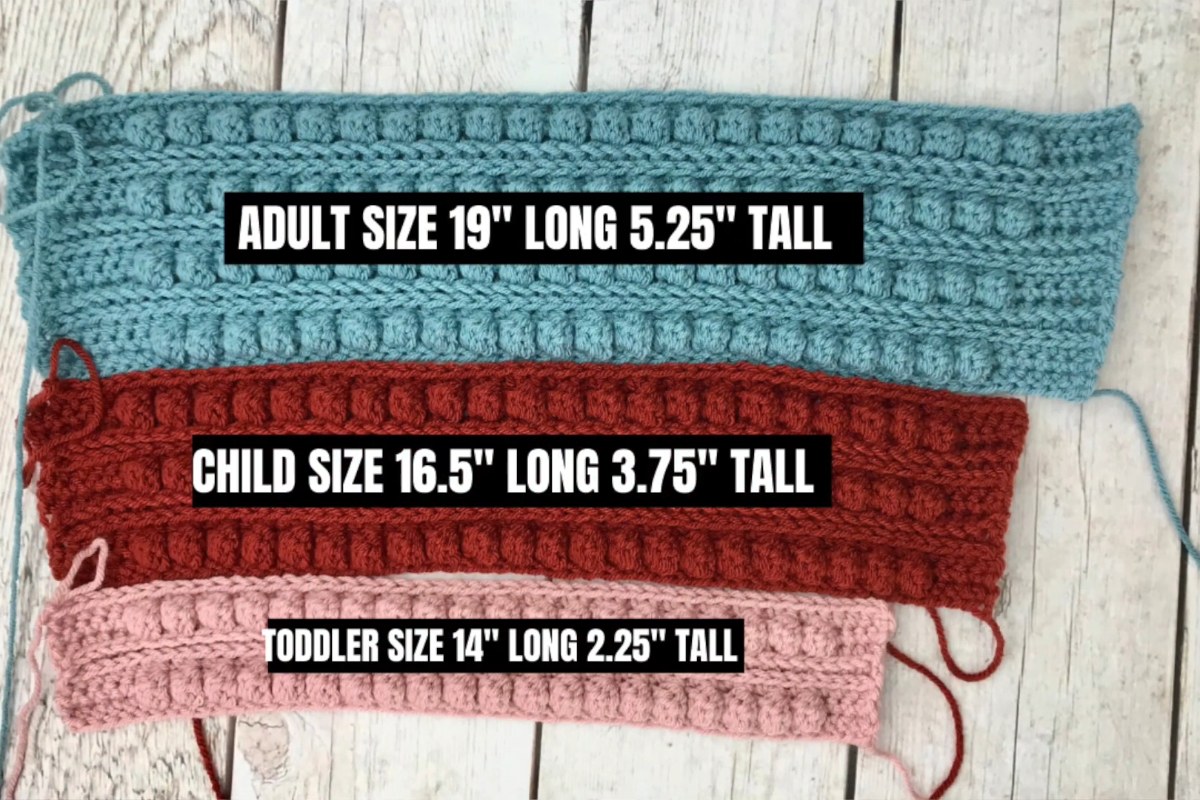
- Sizes: toddler (about 14" x 2.25"), child (about 16.5" x 3.75") and adult (about 19" x 5.25")
- Yarn: about 3 oz of worsted weight yarn
- Hook: 5.0 mm (US H)
- Gauge: 15 single crochet and 15 rows = 4" x 4"
- Video length: about 25 minutes
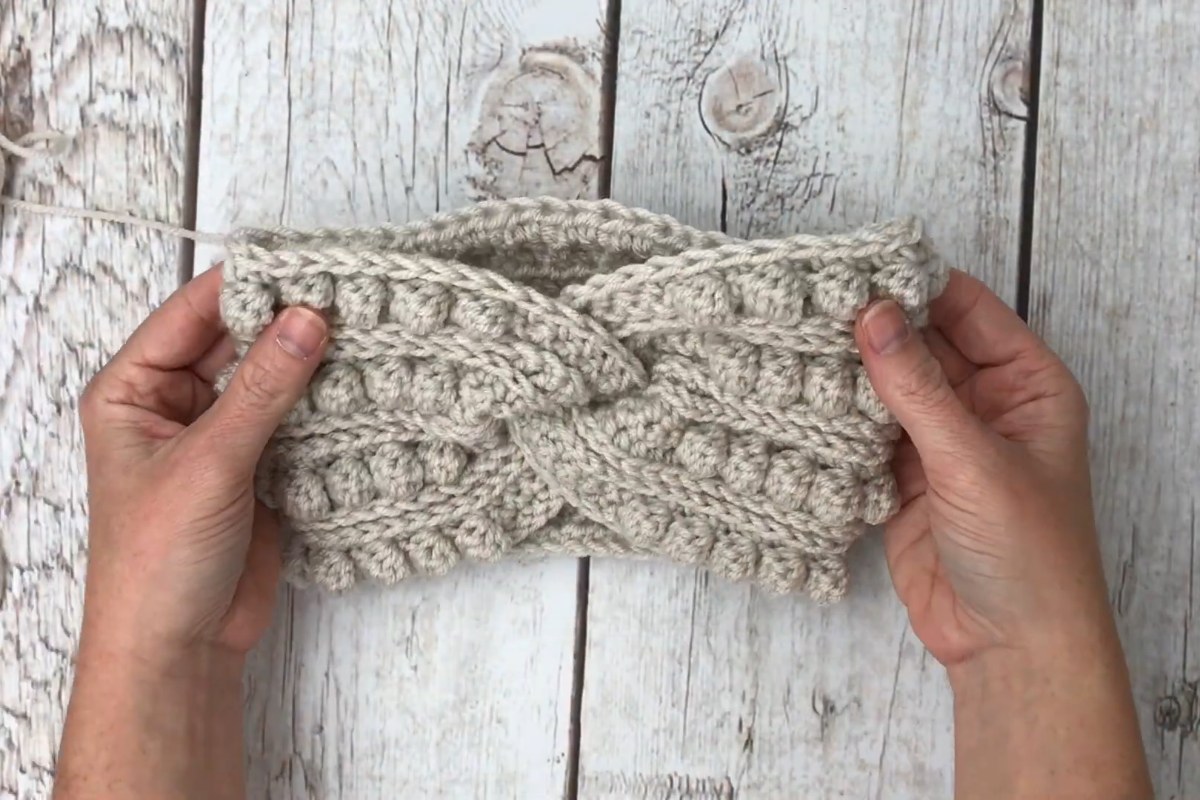
Images and patterns courtesy of A Crafty Concept
Why This Headband Works So Well
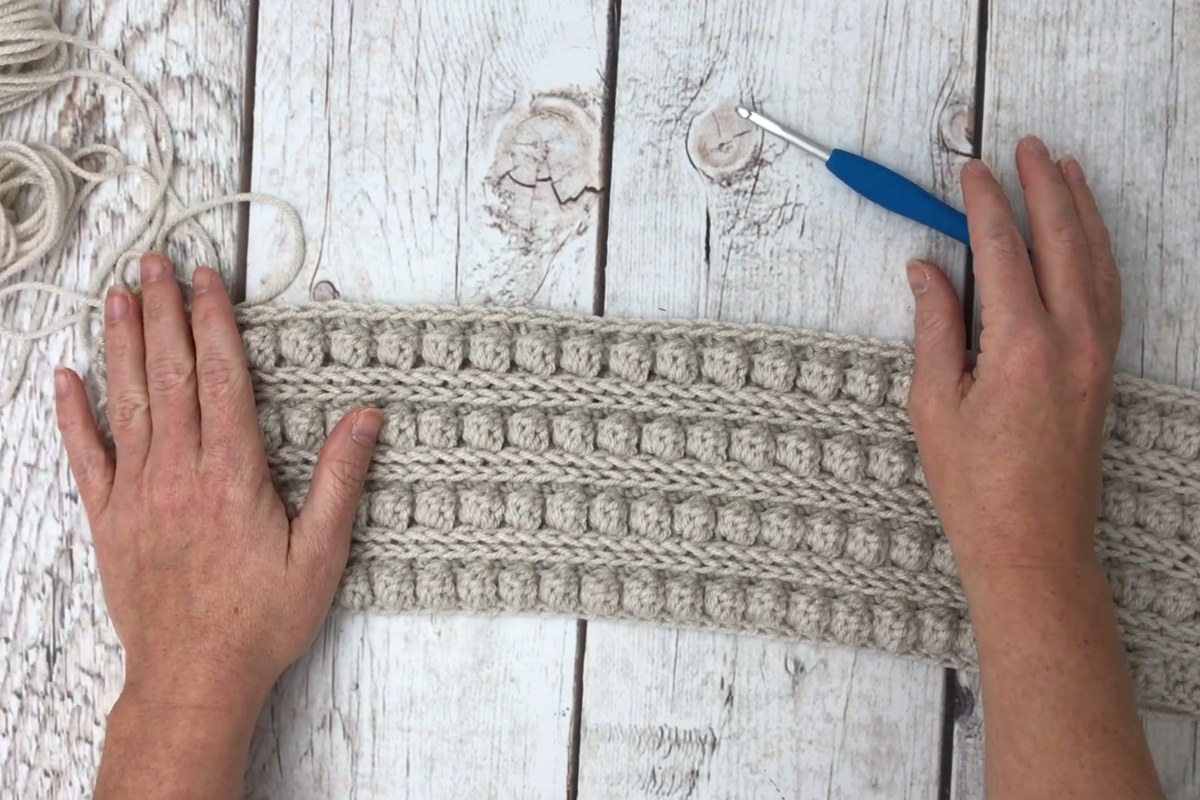
Ear warmers are great quick gifts, but plain ones can look a little flat. Here the texture does the work. Rows of bobbles sit between rows of half double crochet worked in the "camel hump", the horizontal bar behind the stitch, which gives a ribbed look that reminds many people of knitting. When the band is twisted, all that texture gathers at the front into a soft knot.
It is also a practical size chart in one pattern. According to the designer, the toddler size fits heads of about 18" to 19", the child size about 20" to 21" and the adult size about 22" to 23". That makes it easy to crochet matching headbands for a whole family from the same skein colors.
What You'll Need
- About 3 oz of worsted weight yarn (the blog post lists 3 to 4 oz; Ashley uses I Love This Yarn)
- 5.0 mm (H) crochet hook
- Tapestry needle
- Scissors
- A clip or clothes peg to hold the fold while you join (optional, but helpful)
How the Headband Comes Together
The video has no chapters, but the steps follow a clear order:
- Foundation. The headband starts with a row of foundation half double crochet, worked to the stitch count for your size (57 for adult, 53 for child and 49 for toddler).
- Texture rows. You then alternate bobble rows with half double crochet rows worked in the camel hump. The bobbles pop out on the right side, and the camel hump rows add the ribbed lines between them.
- Length check. Each size stops at a different row. This is where the disclaimer at the start of the video matters: Ashley found that her skein of yarn was a little thinner than usual and her headband came out slightly small. Watch around the 15 minute mark before you start so you know how she adjusts.
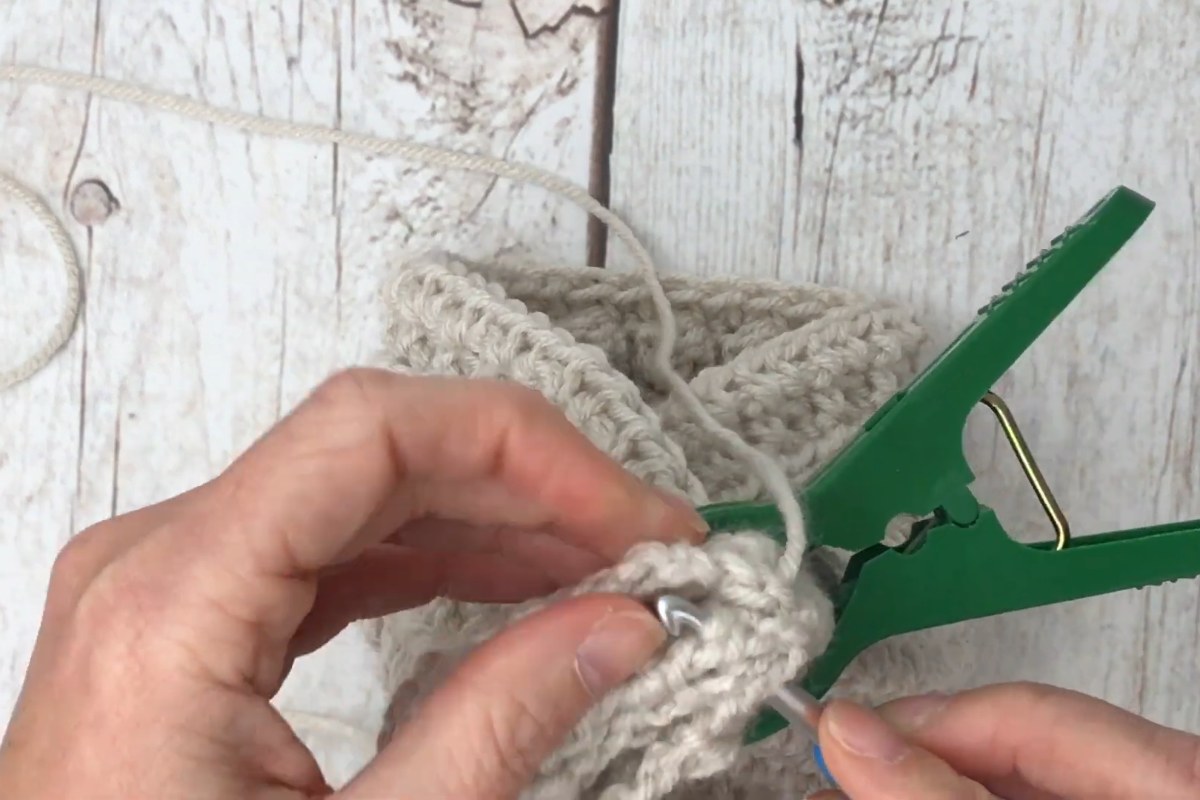
- Fold and twist. The finished panel is folded in a zigzag, with a clip holding the layers in place.
- Join. The raw edges are joined with slip stitches, and when you turn the band right side out, the twist sits neatly at the front.
Tips for a Neat Twist
- Measure the head first. Ear warmers should feel snug, not tight. If you are between sizes, the larger one is usually the safer choice.
- Check your gauge. A thinner or thicker yarn changes the length quickly. Measure the flat panel against the sizes above before you fold it.
- Keep the bobbles on the same side. Bobbles only show properly on one face, so take a moment to check which side faces out before you start the twist.
- Use the clip. Holding the zigzag fold with a clip makes the joining row much easier and keeps the layers lined up.
- Pick a calm color. Solid or tonal yarn shows off the bobbles and the twist best. Busy variegated yarn can hide the texture.
Enjoy the Video Tutorial

Source: A Crafty Concept
Frequently Asked Questions
What is the camel hump in crochet?
It is the horizontal bar that sits just below the top loops of a half double crochet, on the back of the stitch. Working into it pushes the top loops forward and creates a ridge that looks similar to knitting.
Can I make the headband wider or longer?
Yes. The three sizes in the pattern already change both the stitch count and the number of rows. For a custom fit, add or remove stitches in the foundation row and check the length against the head before folding.
Is this a good beginner project?
It is a good second or third project. The stitches are basic, but the bobbles, the camel hump and the twist are easier to learn while watching the video alongside the written pattern.
More from A Crafty Concept
More crochet projects for you