
Crochet Amigurumi Chick: Free Beginner Pattern and Video Tutorial

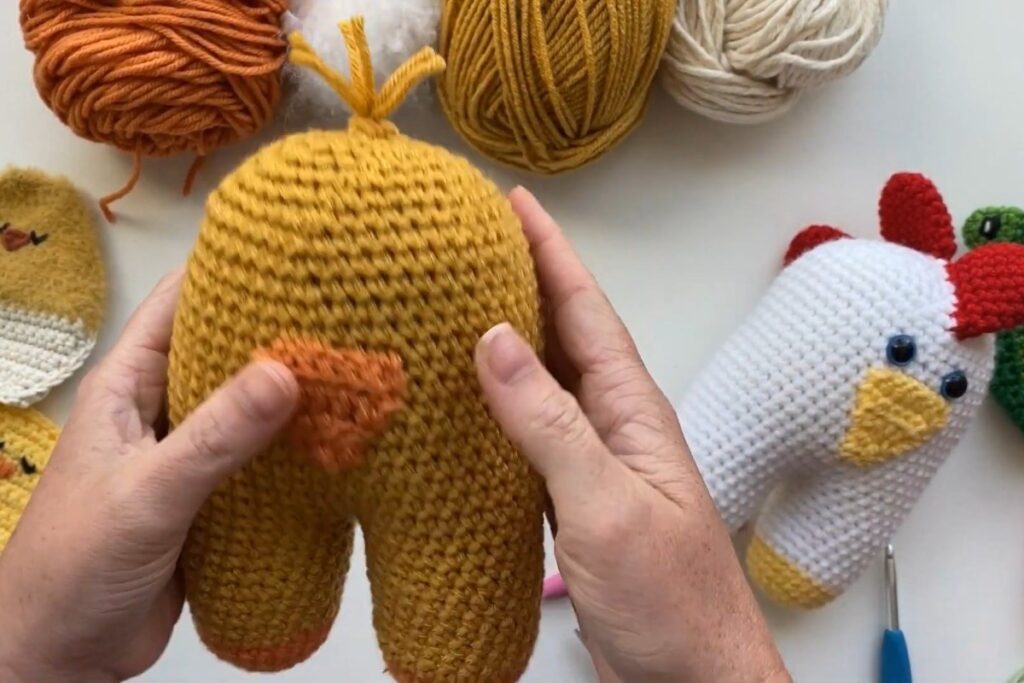
A crochet amigurumi chick is one of those projects that makes people smile before it is even finished. This one, designed by Ashley from A Crafty Concept, has a rounded body that grows straight out of two little legs, a small triangle beak and a tuft of yarn hair on top. It is worked in continuous rounds with only a few extra pieces, which is why it is such a good first amigurumi, and the video tutorial breaks every round into its own chapter so you never lose your place.
Amigurumi Chick at a Glance
- Designer: Ashley, A Crafty Concept
- Level: beginner-friendly
- Finished size: about 7.5 in tall and 4.25 in wide (according to the written pattern)
- Yarn: size 4 worsted weight yarn in two colors, one for the feet, beak and hair and one for the body
- Hook: 3.75 mm (US F)
- Video length: about 39 minutes
- Pattern: free written pattern on the designer's blog
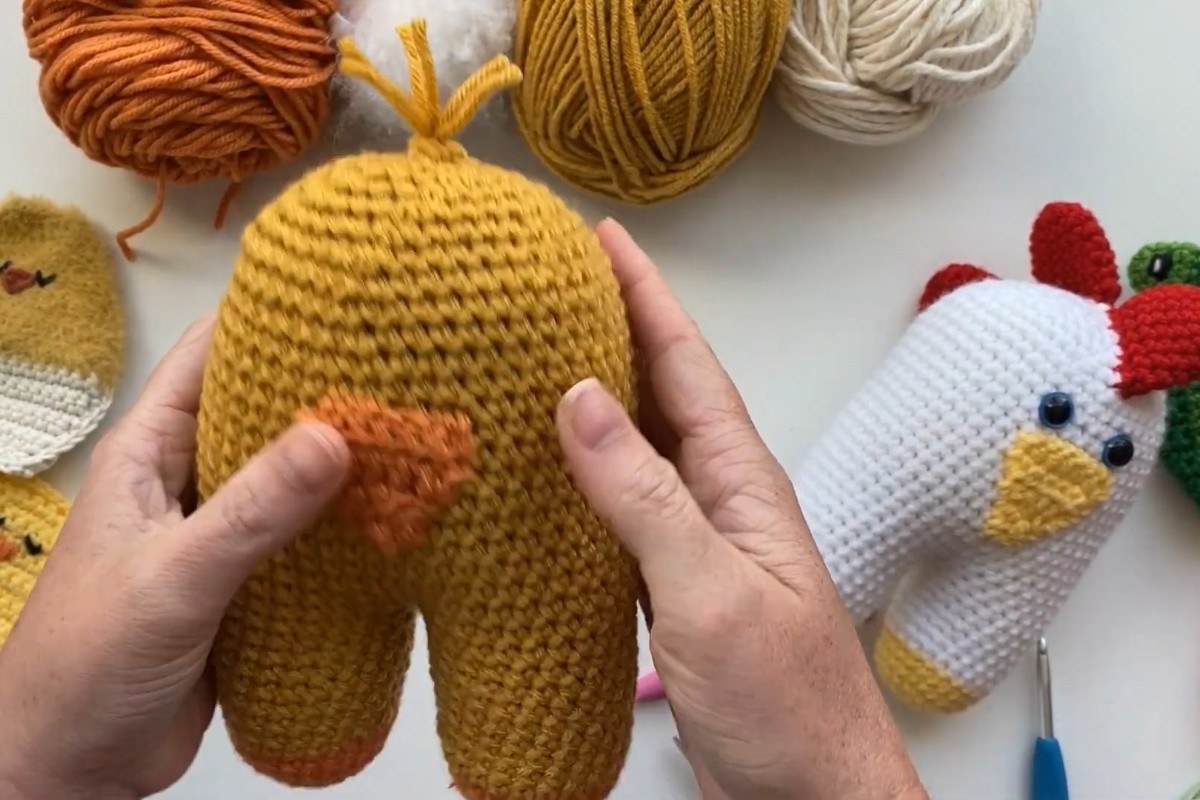
Images and patterns courtesy of A Crafty Concept
Why This Chick Is Perfect for Beginners
Many amigurumi animals are made from a head, a body, arms and legs that all have to be sewn together. This chick skips most of that. The two legs are crocheted first and then joined in a single round, and from there the body is worked upward in one piece until the top is closed. The only parts you sew on are the beak and the hair, so the amount of assembly is small and the result looks tidy even on a first attempt.
It is also a lovely seasonal make. A little group of chicks in different colors works well as Easter decor, a spring basket filler or a soft toy for a child (for very young children, consider embroidered eyes instead of safety eyes).
What You'll Need
- Size 4 worsted weight yarn in two colors (for example orange for the feet, beak and hair, and yellow for the body)
- 3.75 mm (US F) crochet hook
- Safety eyes
- Stuffing (polyester fiberfill)
- Tapestry needle and scissors
Step by Step: How the Chick Is Made
The video chapters follow the pattern closely, which makes it easy to pause and come back later:
- Materials (2:35): a quick look at the yarn and tools.
- Feet, rounds 1 to 6 (2:50 to 7:18): each foot starts from a magic circle in the feet color.
- Legs, rounds 7 to 13 (7:56): switch to the body color and work the leg. At 9:09 Ashley shows how to sew in the tails, then you repeat rounds 1 to 13 for the second leg (10:30).
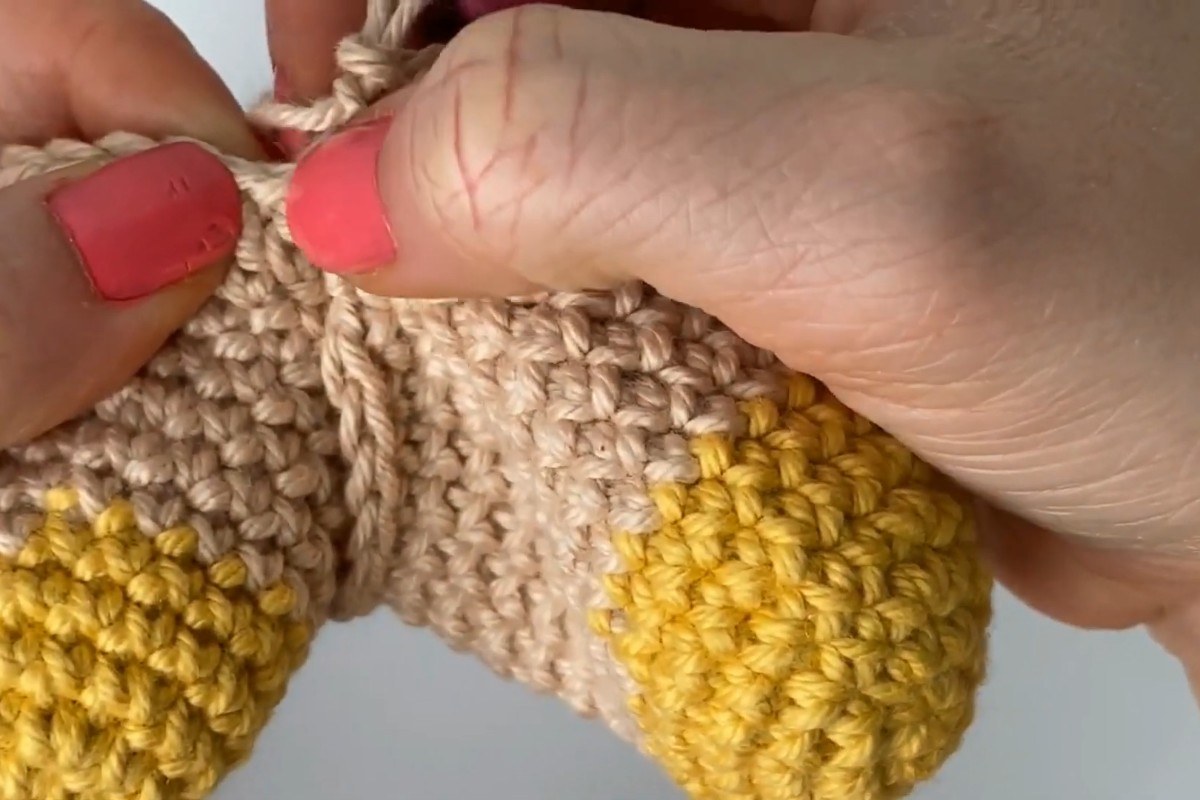
- Joining the legs (10:50): round 14 connects both legs into one piece. This is the step most beginners worry about, so it is worth watching closely.
- Body, rounds 15 to 31 (13:55): straightforward rounds that build the height of the chick.
- Safety eyes (16:21): the eyes go in before the body gets too narrow to reach inside.
- Body, rounds 32 to 36 (19:37 to 24:24): the decrease rounds that shape the top of the head.
- Closing the top (25:45): stuffing and closing the opening neatly.
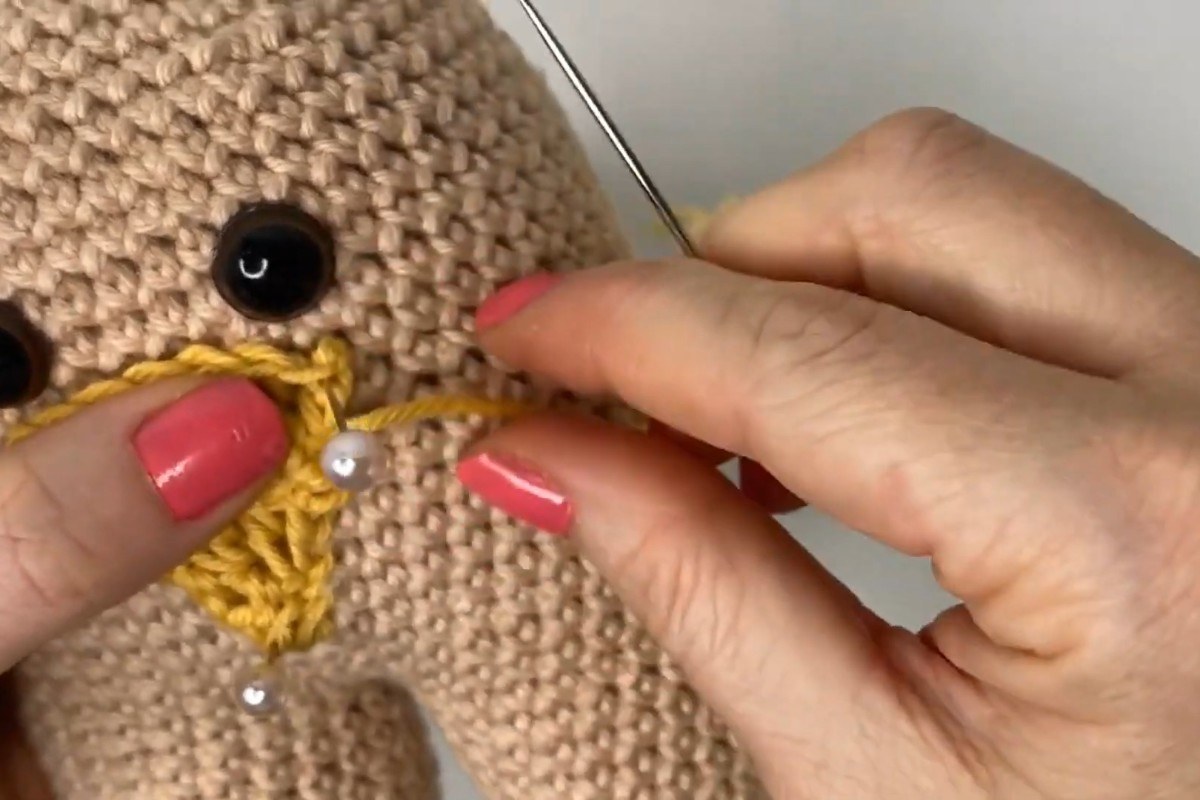
- Beak (27:24) and attaching the beak (30:28): a small flat triangle sewn onto the face.
- Chick hair (34:28): strands of yarn pulled through the top of the head and trimmed.
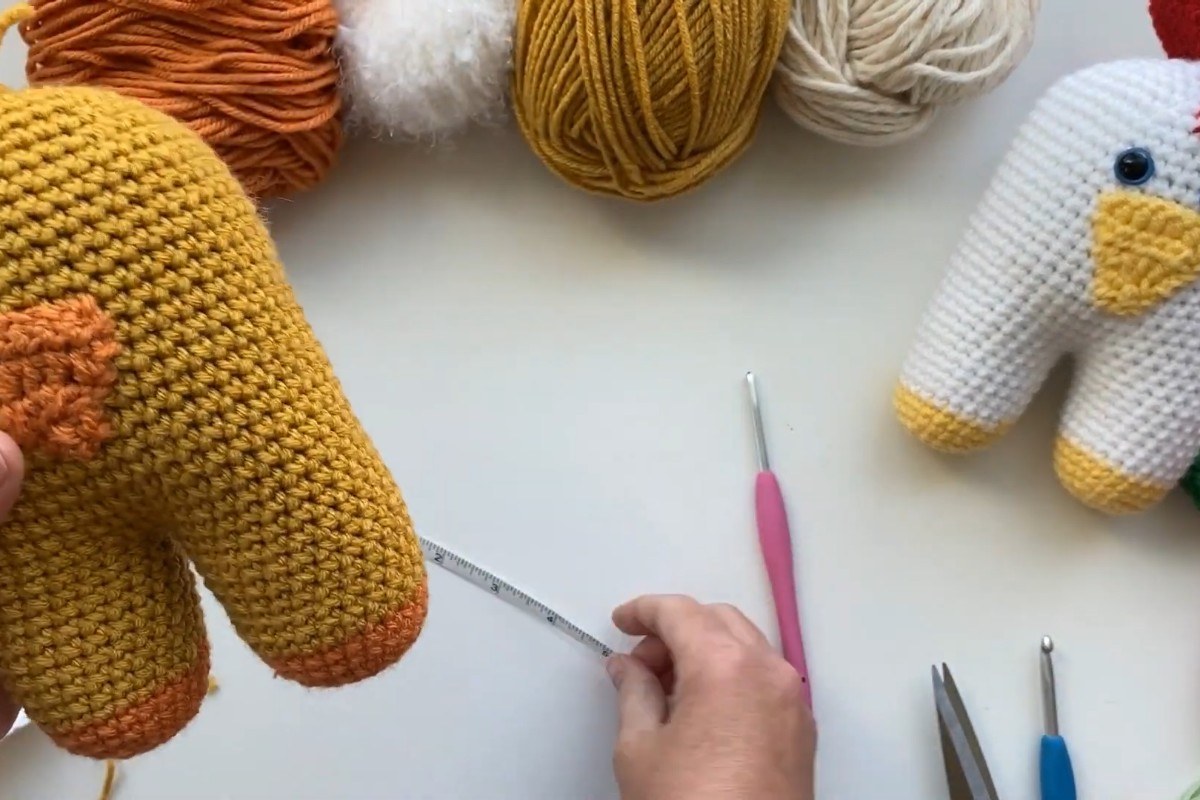
- Finished measurements (36:24): how big your chick should be when it is done.
Tips for a Cute, Even Chick
- Weave in leg tails early. Once the legs are joined, it is hard to reach inside them, so finish the tails before round 14 as shown in the video.
- Move your marker every round. The body is worked in continuous rounds, and a marker in the first stitch keeps your count correct through the long middle section.
- Stuff the legs well. Firm legs help the chick stand up on its own and keep the base flat.
- Pin the beak before sewing. Try a few positions between the eyes until the face looks right, then stitch it down.
- Trim the hair last. Pull the strands through, then cut them to the length you like. Shorter hair stands up more.
Enjoy the Video Tutorial

Source: A Crafty Concept
Frequently Asked Questions
How big is the finished chick?
According to the designer's written pattern, the chick is about 7.5 inches tall and 4.25 inches wide when made with worsted weight yarn and a 3.75 mm hook. A thicker yarn and a bigger hook will give you a larger chick.
Do I need to know how to make a magic circle?
It helps, because each foot starts with one. If you have not tried it before, practice a few magic circles with scrap yarn first. Once you can pull the center closed tightly, the rest of the pattern uses basic stitches worked in the round.
Can I make the chick in other colors?
Absolutely. The video shows more than one color combination, and any two colors of worsted weight yarn will work. A soft beige or white body with mustard feet looks just as sweet as the classic yellow.
More from A Crafty Concept
- Crochet a Cute Mini Witch Hat for Halloween
- Crochet Baby Stuff: How to Make a Rainbow Rattle
- How to Crochet a Daisy Granny Square Backpack
More crochet projects for you