
Crochet Burger Plushie: Free No-Sew Amigurumi Pattern for Beginners

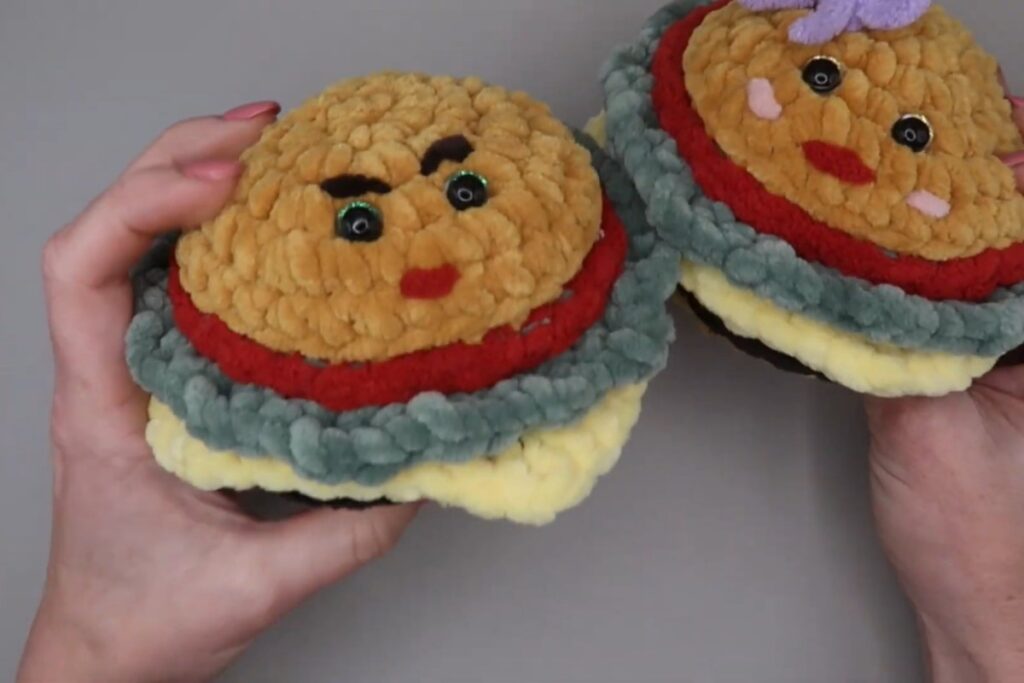
There is something irresistible about a burger with a face. This little crochet hamburger has a golden bun, a dark patty, a layer of cheese, ruffled lettuce and a slice of tomato, plus two safety eyes and rosy cheeks that make it look like it is about to say hello. It is soft, squishy and just the right size to hold in two hands, which makes it a great toy for a play kitchen, a funny gift for a burger lover or a quick make for a craft fair table.
The pattern is designed by Anita Louise Crochet, and the best news is that it is completely no-sew. Every layer is crocheted straight onto the burger as you go, so there are no separate pieces to stitch together at the end. In the video tutorial Anita works through each part on camera, and she describes it as a project you can finish in about an hour.
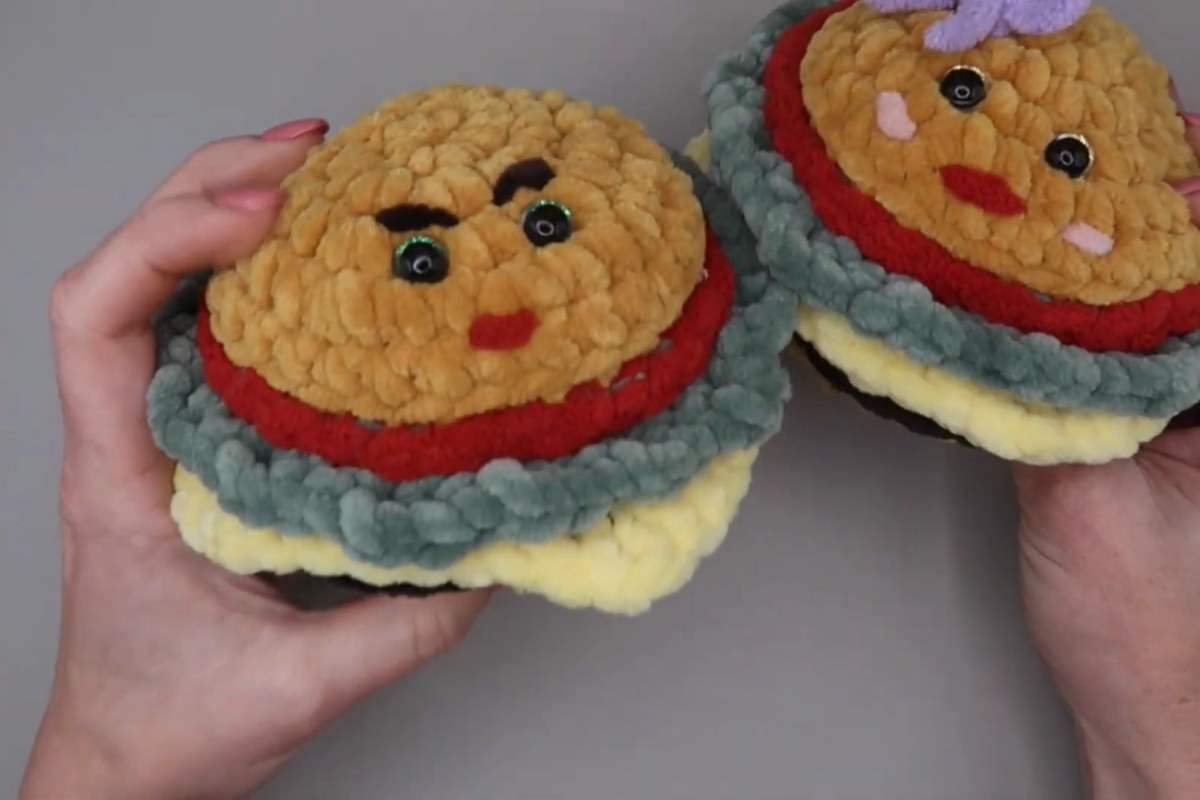
Images and patterns courtesy of Anita Louise Crochet
Crochet Burger at a Glance
- Designer: Anita Louise Crochet
- Skill level: Beginner friendly
- Finished size: about 3.5 inches tall and 5 inches wide
- Yarn: super bulky (#6) chunky blanket yarn
- Hook: 6 mm (J/10)
- Construction: worked in continuous spirals, no sewing
- Video length: about 37 minutes
What You'll Need
- Super bulky #6 blanket yarn in gold (bun), dark brown or black (patty), yellow (cheese), light green (lettuce) and red (tomato)
- A small amount of pink yarn for the cheeks
- 6 mm (J/10) crochet hook
- 10 mm safety eyes
- A large handful of polyester stuffing
- Stitch markers
- Yarn needle and scissors
Anita made her burgers with chenille-style blanket yarn, and she notes that any size 6 super bulky yarn will work well. The stitches used are all basics: chain, single crochet, single crochet increase, slip stitch, half double crochet and double crochet, with some rounds worked in the front or back loops only.
How the Burger Comes Together
The video has chapters, so you can jump straight to the part you are working on. Here is the order Anita follows.
1. Materials and getting started (01:04)
Anita shows the yarn colors and tools before she starts. The rounds are worked in a continuous spiral, so there is no slip stitch and chain at the end of each round. A stitch marker in the first stitch of every round keeps your count honest.
2. The top bun (02:12)
The bun starts at the center and grows outward with increase rounds until it forms a rounded dome. This is the part that gives the burger its shape, so take your time and count carefully.
3. Face details (11:14)
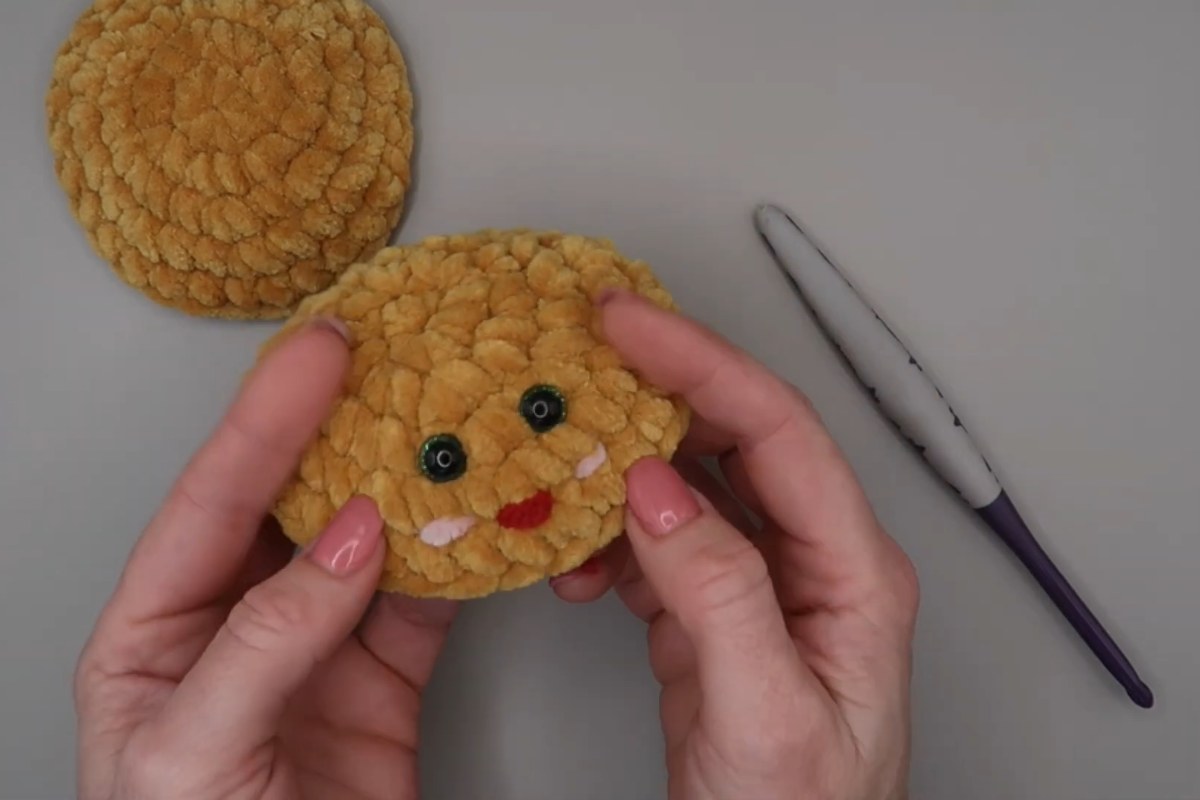
Before the bun is closed, the safety eyes go in and the cheeks are added in pink. Placing the eyes now is much easier than trying to fit them once the burger is stuffed. You can also give your burger a little personality: one of the burgers in the video has bold eyebrows and the other has a bow.
4. Patty, cheese, lettuce and tomato (13:17 to 29:20)
This is where the no-sew approach really shines. Each filling layer is crocheted right onto the burger, so it builds up like a real stack: first the dark patty, then the yellow cheese at 19:10, the ruffled green lettuce at 24:50 and the red tomato at 29:20. The rounds worked in the front or back loops only help each layer stand out from the one before it.
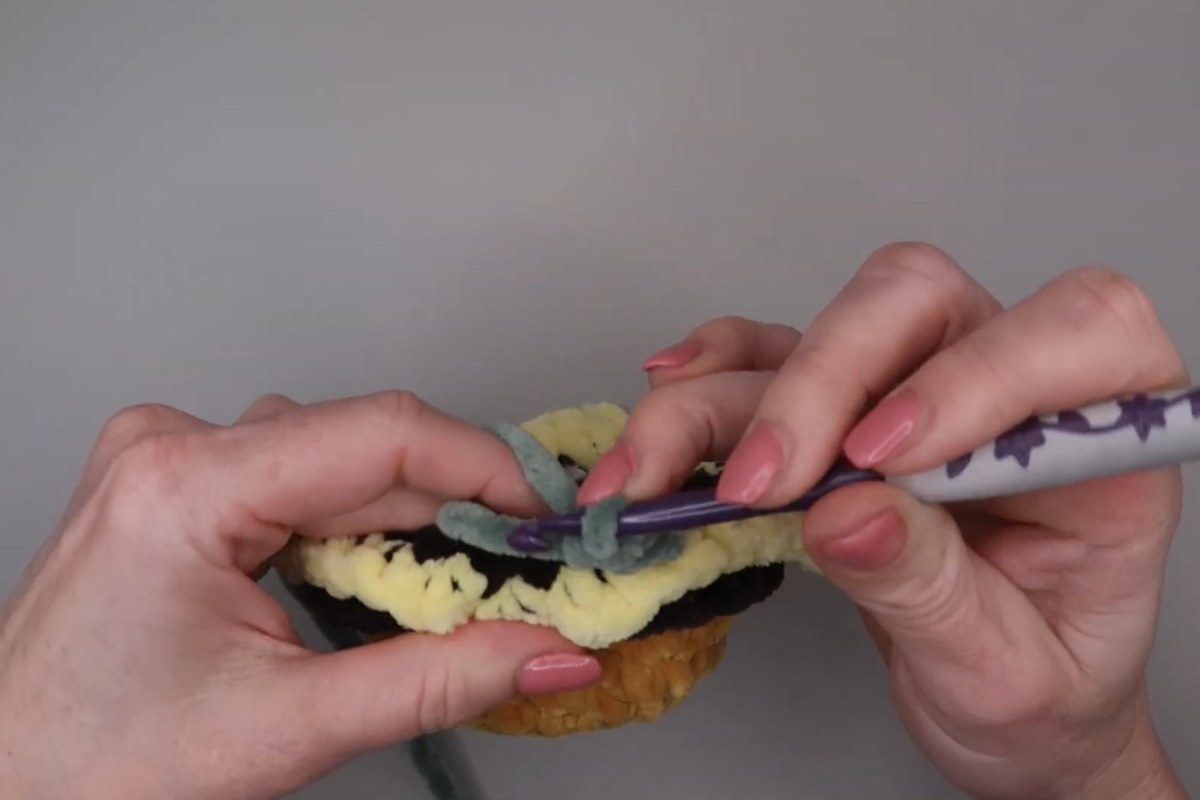
5. Stuffing and finishing up (32:12 and 33:06)
Stuff the burger firmly but not so much that the stitches stretch, then close the opening and weave in your ends. That is it, there are no pieces to attach.
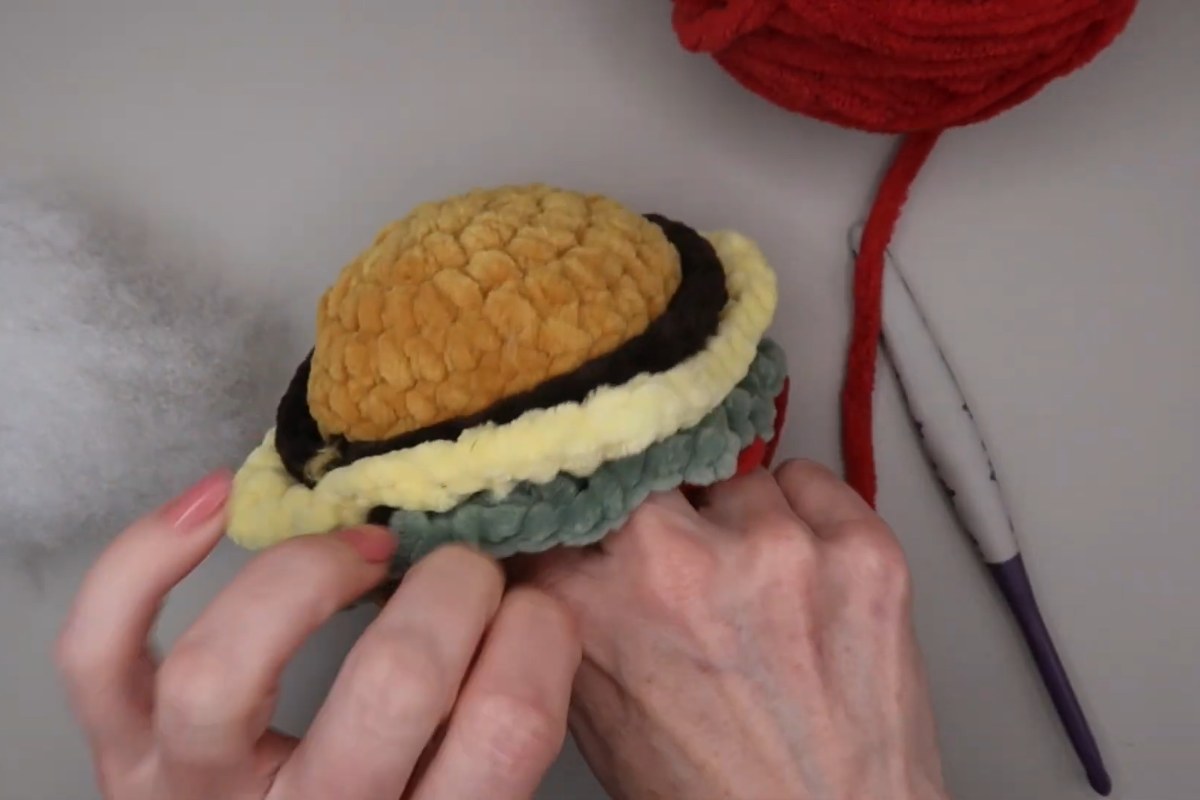
Tips for a Neat Crochet Burger
- Use a marker every round. Blanket yarn is fluffy, which makes stitches hard to see. A marker in the first stitch saves a lot of counting.
- Feel for the stitches. If you cannot see where to insert the hook, run your finger along the top of the round to find each loop.
- Avoid frogging too often. Chenille yarn can shed or worm when it is pulled out again and again, so check your count at the end of each round.
- Embroider the eyes for little ones. If the burger is for a baby or toddler, stitch the eyes with black yarn instead of using safety eyes.
- Play with the fillings. Once you know the method, you can skip the tomato, double the cheese or swap the colors to make a veggie burger.
If you are left-handed, Anita also has a left-handed version of this tutorial linked from her pattern page.
Enjoy the Video Tutorial

Source: Anita Louise Crochet
Frequently Asked Questions
Do I need to sew anything for this crochet burger?
No. All the layers are worked directly onto the burger with your hook. You only need the yarn needle to weave in the ends.
How big is the finished burger?
Made with super bulky blanket yarn and a 6 mm hook, it measures about 3.5 inches tall and 5 inches wide. With a thinner yarn and a smaller hook you will get a smaller burger.
How long does it take to make?
Anita says it can be worked up in an hour or less. The video runs about 37 minutes, so if you are new to blanket yarn, plan for a little longer.
More from Anita Louise Crochet
- Crochet Leggy Heart: Free No-Sew Valentine Plushie Pattern for Beginners
- Crochet Leggy Frog Tutorial: Fun and Easy No-Sew Crochet Animals
- How to Crochet a Dish Scrubby for Beginners
More crochet projects for you