
Crochet Daisy Granny Square Blanket: Free Baby Blanket Pattern with Video

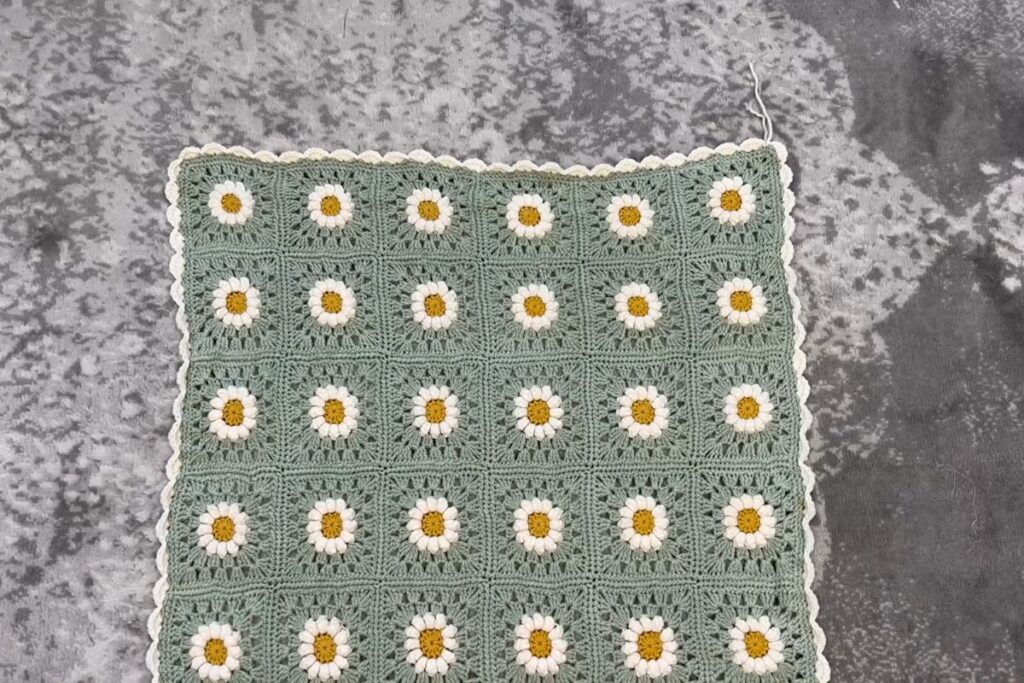
Few crochet motifs say spring as clearly as a little daisy. This crochet daisy granny square blanket sets ivory popcorn-stitch petals and mustard centers on soft sage squares, then finishes everything with a scalloped shell border. It works beautifully as a baby blanket, a stroller cover or a lap throw for the nursery chair, and because every square is small, it is easy to carry around and work on in short sessions.
The pattern is the free Daisy Granny Square Blanket by Ashley of A Crafty Concept. Her blog has the complete written pattern along with an assembly chart, and her hour-long video covers every stage: the square itself, weaving in ends, joining the squares as you go and adding the border. Below you will find an overview of the project, the supplies and the order of work, so you can plan your blanket before you start.
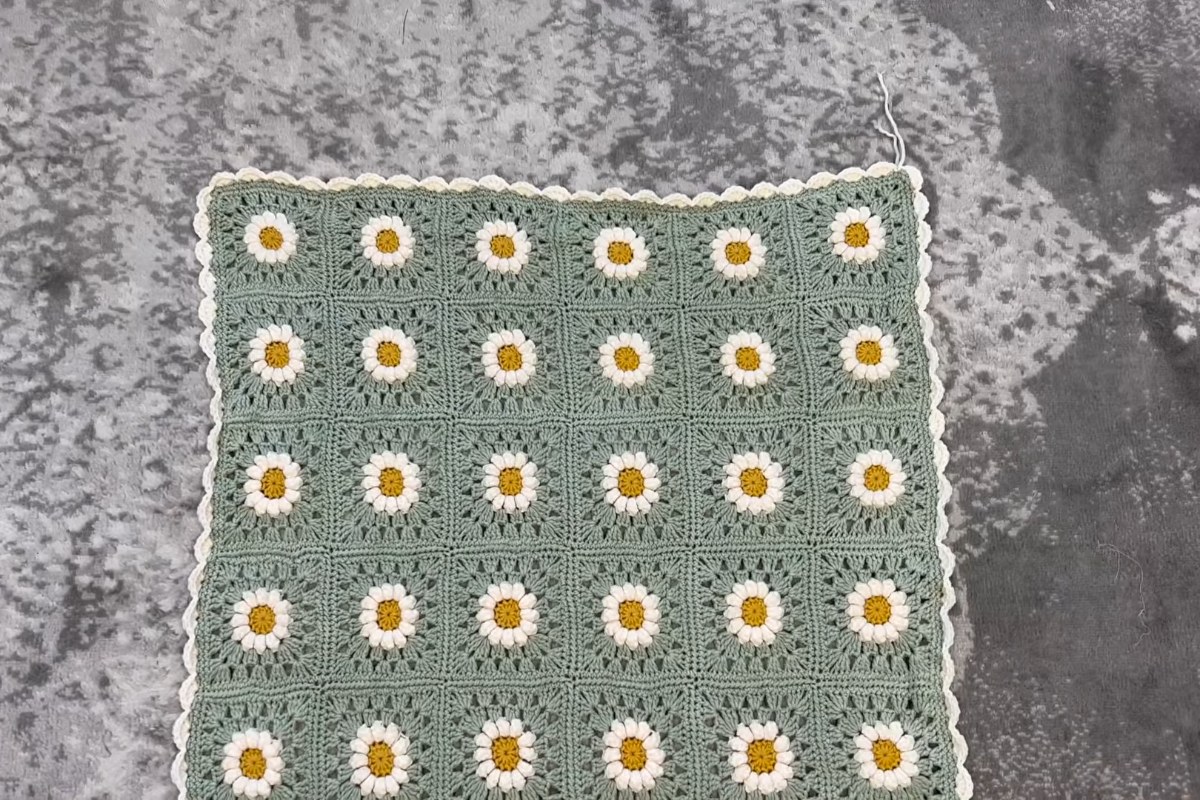
Images and patterns courtesy of A Crafty Concept
Daisy Granny Square Blanket at a Glance
- Designer: Ashley, A Crafty Concept (pattern name: Daisy Granny Square Blanket)
- Finished size: about 32" x 39", a good size for a baby blanket
- Squares: 42 daisy granny squares, six squares per row
- Square size: about 4" before blocking and about 4.25" after blocking
- Yarn: worsted weight (#4) in three colors: Mustard for the centers, Ivory for the petals and border, Sage for the background. The designer used Yarn Bee Soft & Sleek.
- Hook: 5.0 mm (H)
- Stitches: magic circle, chain, slip stitch, single crochet, half double crochet, double crochet and popcorn stitch (US terms)
- Joining: join-as-you-go, following a layout chart
- Video length: about 1 hour 2 minutes
What You'll Need
- Worsted weight yarn in mustard, ivory and sage (sage is the main color and takes the most yarn)
- 5.0 mm crochet hook
- Tapestry needle for weaving in ends
- Scissors
- Stitch markers or a few scraps of yarn
- The free written pattern and assembly chart from the designer's blog
The designer's page does not list yardage per color, so buy a little extra sage. With 42 squares and a sage round on every one, that color goes fastest, and running short halfway through the joining is no fun when you are trying to match a dye lot.
How the Blanket Comes Together
1. Make the daisy squares (01:44)
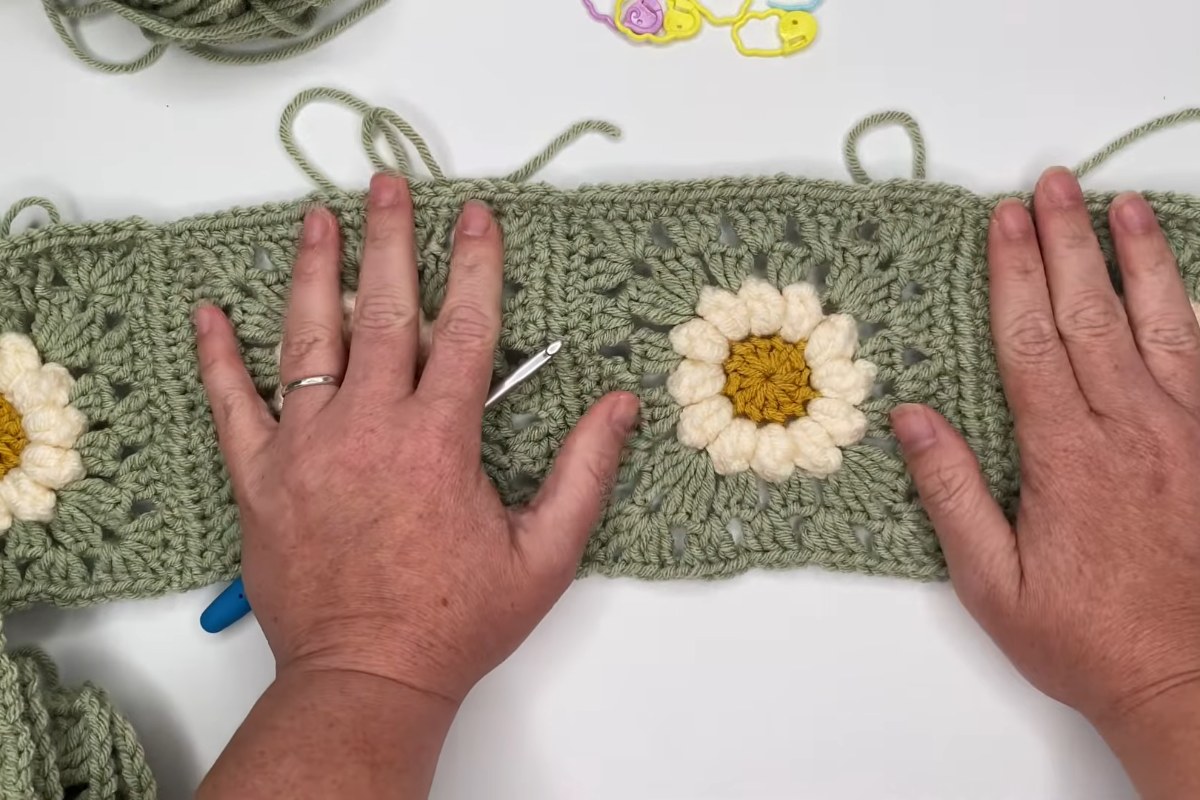
Each square starts with a magic circle in mustard for the flower center. The petals are worked in ivory with popcorn stitches, which puff up and give the daisy its rounded, almost 3D look. The sage rounds then turn the round flower into a square with neat corners. Ashley works one complete square slowly in the video, so this is the section to watch closely before you make the rest on your own.
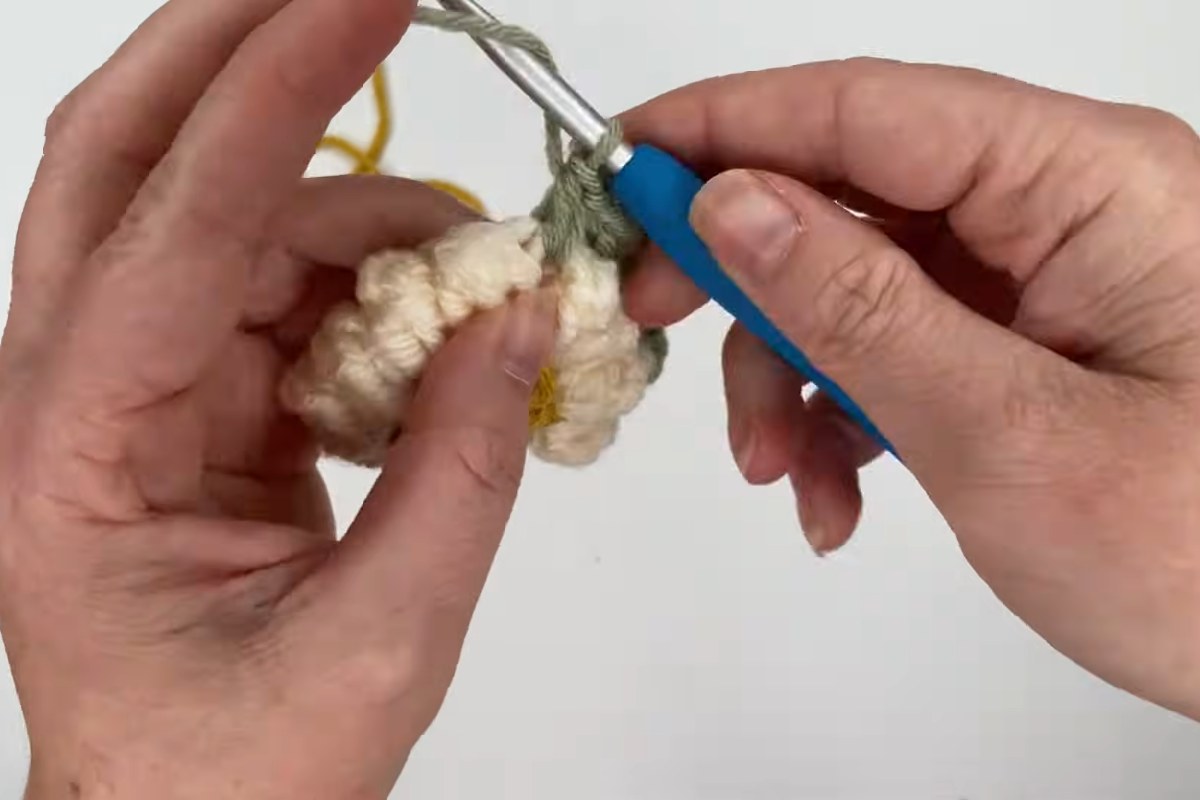
2. Weave in the tails (15:47)
Three colors per square means plenty of ends. The video shows how to weave them in so they stay hidden behind the stitches of the same color. Doing this square by square, instead of saving all of it for the end, makes the finishing stage far less tedious.
3. Read the assembly chart (19:49)
Before joining anything, Ashley explains the layout chart, which shows the order in which squares are attached and the direction you travel along each row. Spend a minute with it: the join-as-you-go method only works smoothly when you know which square comes next and which sides are already connected.
4. Join as you go (21:21)
Instead of sewing finished squares together, each new square is connected to its neighbors while you work its last round. This is the longest part of the video, and for good reason. Once you get the rhythm, the blanket grows row by row and there is no big seaming job waiting at the end.
5. Add the border (43:55 and 55:20)
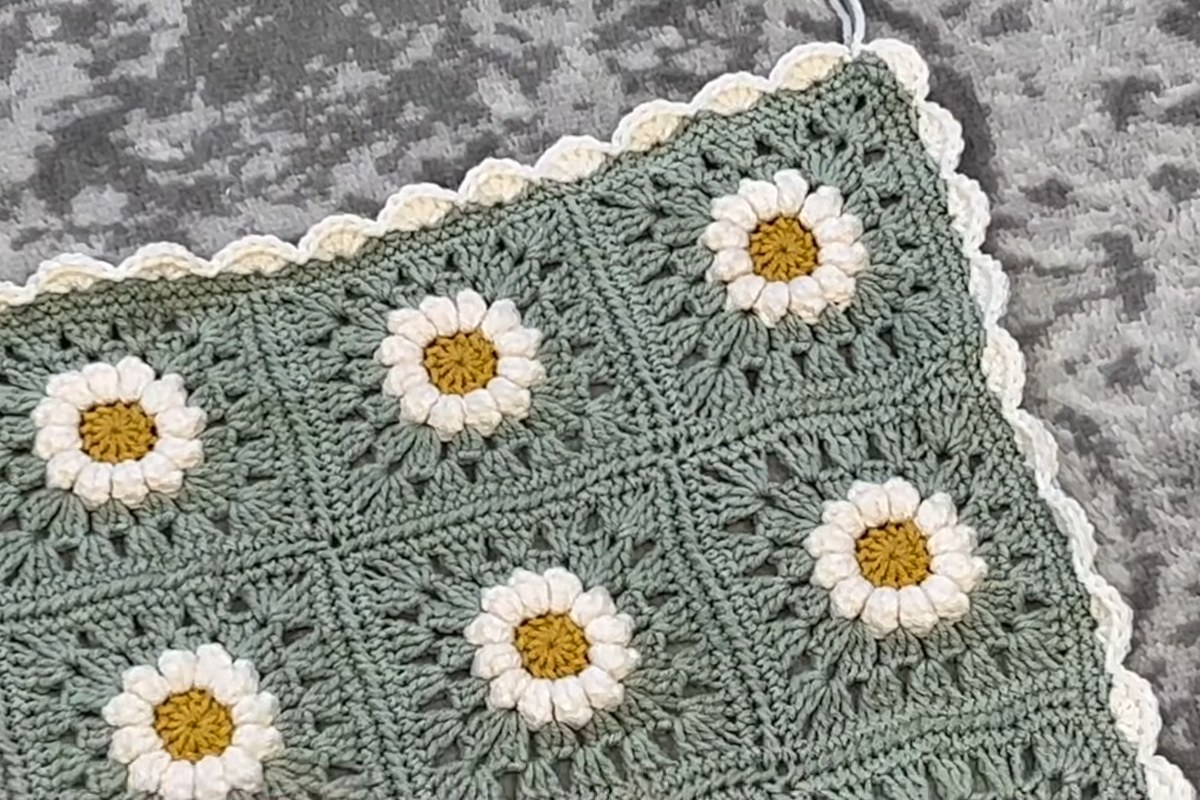
The border starts with a round of single crochet all the way around the blanket to even out the edges. After that comes a shell edging in ivory, made of five double crochet shells separated by slip stitches. The ivory ties the border back to the petals and gives the blanket its soft scalloped edge. You can see the finished blanket at 59:44.
Tips for a Neat Daisy Blanket
- Make one test square first. Measure it against the designer's 4" (unblocked) before you commit to all 42. If yours is noticeably bigger or smaller, try another hook size.
- Keep the popcorns on the right side. Popcorn stitches pop toward one side of the fabric. Check that every petal faces the front so all your daisies look the same.
- Work in batches. Many makers crochet all the centers first, then all the petals, then all the sage rounds. Fewer color changes means fewer interruptions.
- Block the squares. A light block brings each square to roughly 4.25" and squares up the corners, which makes joining easier.
- Change the size. Because the blanket is modular, you can add rows or squares per row for a larger throw, keeping in mind that you will need more yarn for the extra squares and the longer border.
The designer also sells an ad-free PDF of the pattern in her shop, but the full written pattern is free on her blog, which is linked in the credit above.
Enjoy the Video Tutorial

Source: A Crafty Concept
Frequently Asked Questions
How big is the daisy granny square blanket?
The designer's finished blanket measures about 32 by 39 inches and uses 42 squares. Each square is about 4 inches before blocking and about 4.25 inches after.
Is this blanket good for beginners?
It is a comfortable next step once you know chains, single crochet and double crochet. The popcorn stitch and the join-as-you-go method are both shown step by step in the video, so an advanced beginner can follow along.
Do I have to sew the squares together?
No. The squares are joined as you go, during the last round of each new square, so there is no separate seaming at the end. You only need the tapestry needle for weaving in ends.
More from A Crafty Concept
- How to Crochet a Daisy Granny Square Backpack
- Crochet Bunny Backpack: Free Drawstring Bag Pattern with Ears and Video
- Crochet House Slippers: Free Boho Slipper Pattern in 9 Sizes with Video
- Crochet Bobble Stitch Headband: Free Twist Ear Warmer Pattern in 3 Sizes
More crochet projects for you