
Crochet Bunny Backpack: Free Drawstring Bag Pattern with Ears and Video


A drawstring backpack with two long floppy ears and a fluffy pom pom tail is the kind of make that gets noticed. This crochet bunny backpack is roomy enough for a snack, a book and a few small treasures, which makes it a lovely Easter basket alternative, a birthday gift or a sweet bag for a little one heading to the park.
The pattern is the free Bunny Backpack by Ashley of A Crafty Concept. The full written pattern, with step-by-step photos, is on her blog, and her video tutorial walks through every part of the bag, from the outer and inner ears to the cord straps and the tail. Here you will find an overview of the project, the materials and the order of construction, so you know what to expect before you pick up your hook.

Images and patterns courtesy of A Crafty Concept
Bunny Backpack at a Glance
- Designer: Ashley, A Crafty Concept (pattern name: Bunny Backpack)
- Finished size: about 11.25" tall x 9.25" wide
- Yarn: worsted weight (#4) in three colors: body, inner ears and tail. You need more than 232 yards of the body color; the designer used Yarn Bee Soft & Sleek and needed more than one skein, but not quite two.
- Hook: 4.5 mm (plus 4 mm only if you make i-cord straps)
- Stitches: chain, single crochet, half double crochet, slip stitch, increases and single and half double crochet decreases (US terms)
- Video length: about 68 minutes
What You'll Need
- Worsted weight yarn in a body color, an inner ear color and a tail color
- 4.5 mm crochet hook
- Tapestry needle and scissors
- Stitch markers or scrap yarn
- 4 mm cotton cord for the straps, about 50" to 52" per strap (two pieces)
- A pom pom maker for the tail
How the Backpack Comes Together
The video is divided into chapters that follow the order of construction, so you can easily come back to a step later.
1. Outer ears (from 1:14)
Each outer ear is worked in half double crochet, then shaped with single crochet decreases to close the tip. The ears are long, so they hang down the front of the bag once it is finished.
2. Inner ears (from 11:01)
The inner ears are made separately in the contrasting color. The designer suggests leaving a long starting tail, about 3 feet, because you will use it to sew the inner ear in place.
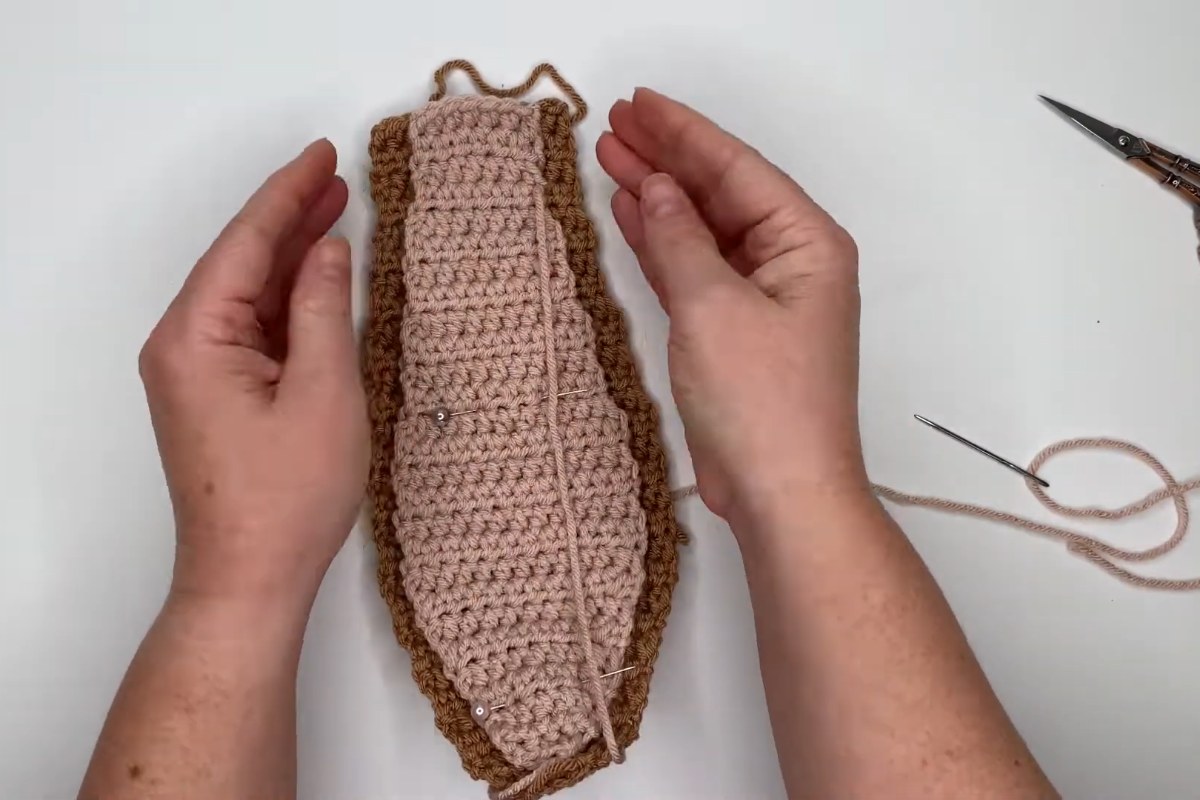
3. Assembling the ears (from 19:21)
Each inner ear is whip stitched onto an outer ear. Take your time here, since neat seams make the finished bunny look much more polished.
4. Main body and tunnels (from 25:12 and 28:43)
The body starts as two rectangles worked flat. They are then joined to form tunnels at the top, which later hold the drawstring straps. The rectangles are worked into the back bump of the starting chain, which gives a clean edge.
5. Attaching the ears and working the body (from 33:01)
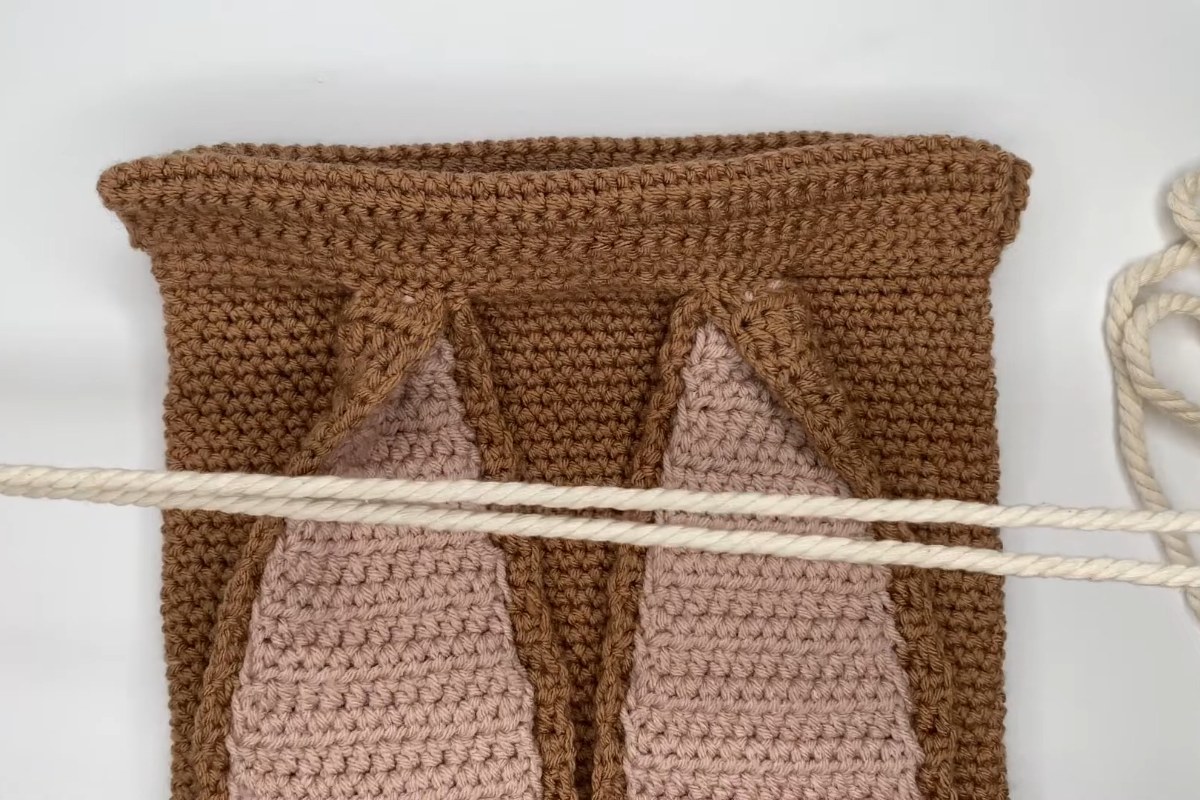
The ears are crocheted into place during the first round of the body, and then the bag is worked in continuous rounds. A long piece of scrap yarn in a contrasting color makes a handy marker for the last stitch of each round.
6. Closing the bottom (from 46:55)
The bottom of the bag is closed last. The designer notes that after the final round your last stitch may not land exactly on the corner of the bag, so she works a few extra stitches to reach it before closing.
7. Straps (from 53:50)
Two lengths of cotton cord are threaded through the front and back tunnels and knotted at the bottom corners, which turns the bag into a drawstring backpack. When cutting the cord, remember the designer's advice: too long is better than too short.
8. Pom pom tail (from 1:03:04)
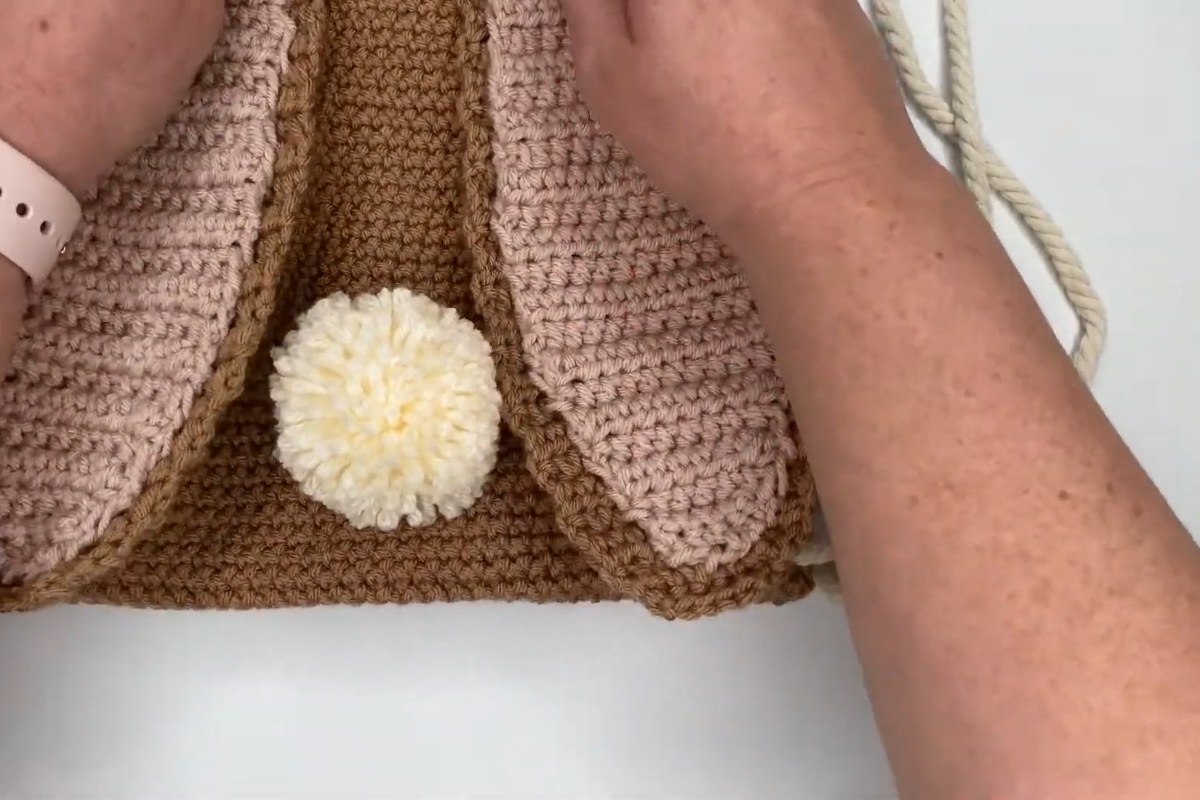
Finally, a pom pom is attached to the center of the bag, about 10 to 11 rows up from the bottom.
Tips for a Great Bunny Backpack
- Check your yarn amount. The body takes more than one skein of Yarn Bee Soft & Sleek, so buy enough of the same dye lot before you start.
- Mark every round. Because the body is worked in continuous rounds, a contrasting scrap yarn marker saves a lot of counting.
- Choose your strap style. Cotton cord is sturdy and quick. The pattern page also mentions crochet i-cord or chunky yarn straps as alternatives.
- Shape the tail. With a pom pom maker, wrapping only one arm gives a tail that sits flat against the bag, while wrapping both arms makes it fluffier.
- Play with colors. The video shows a brown bunny and a grey bunny, both with pink inner ears and a cream tail. White with pale pink makes a classic Easter version.
If you would like a printable version, the designer also sells an ad-free PDF of the pattern. The free blog post and the video are all you need to make the bag, though.
Enjoy the Video Tutorial

Source: A Crafty Concept
Frequently Asked Questions
How big is the crochet bunny backpack?
According to the pattern, the finished bag measures about 11.25 inches tall and 9.25 inches wide, a good size for a child or as a small drawstring bag for adults.
Can I crochet the straps instead of using cord?
Yes. The pattern uses 4 mm cotton cord, but it also mentions crochet i-cord straps, made with a 4 mm hook, or straps made from chunky yarn as alternatives.
How long does the video tutorial take?
The video runs a little over an hour and covers every step, from the materials to attaching the pom pom tail, with chapters for each part of the bag.
More from A Crafty Concept
- How to Crochet a Daisy Granny Square Backpack
- Crochet Amigurumi Chick: Free Beginner Pattern and Video Tutorial
- Crochet Mouse Ears Beanie: Free Puff Stitch Hat Pattern with Video
- Crochet a Cute Mini Witch Hat – Beginner Project for Halloween Fun
More crochet projects for you