
How to Crochet the Surface Slip Stitch: Easy Beginner Tutorial with Video

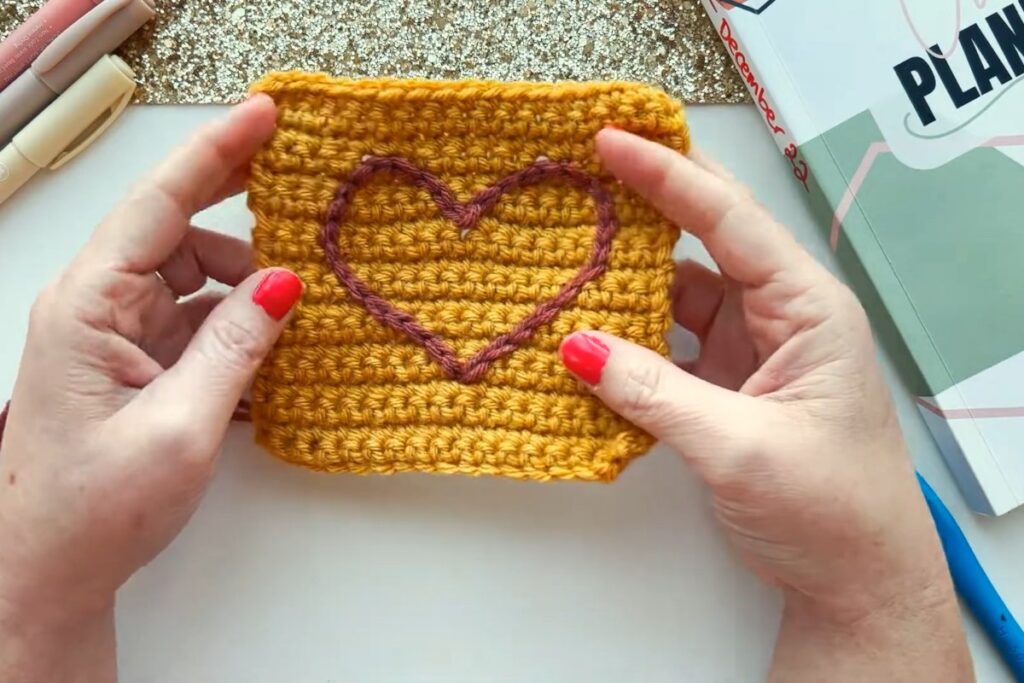
Some crochet techniques change the way you look at every finished piece, and the surface slip stitch is one of them. Instead of planning colorwork row by row, you crochet a line of chain-like stitches right on top of fabric that is already finished. A plain square can become a sweet heart, a bag can get whiskers, and a stocking can carry a name, all with one strand of yarn and a hook.
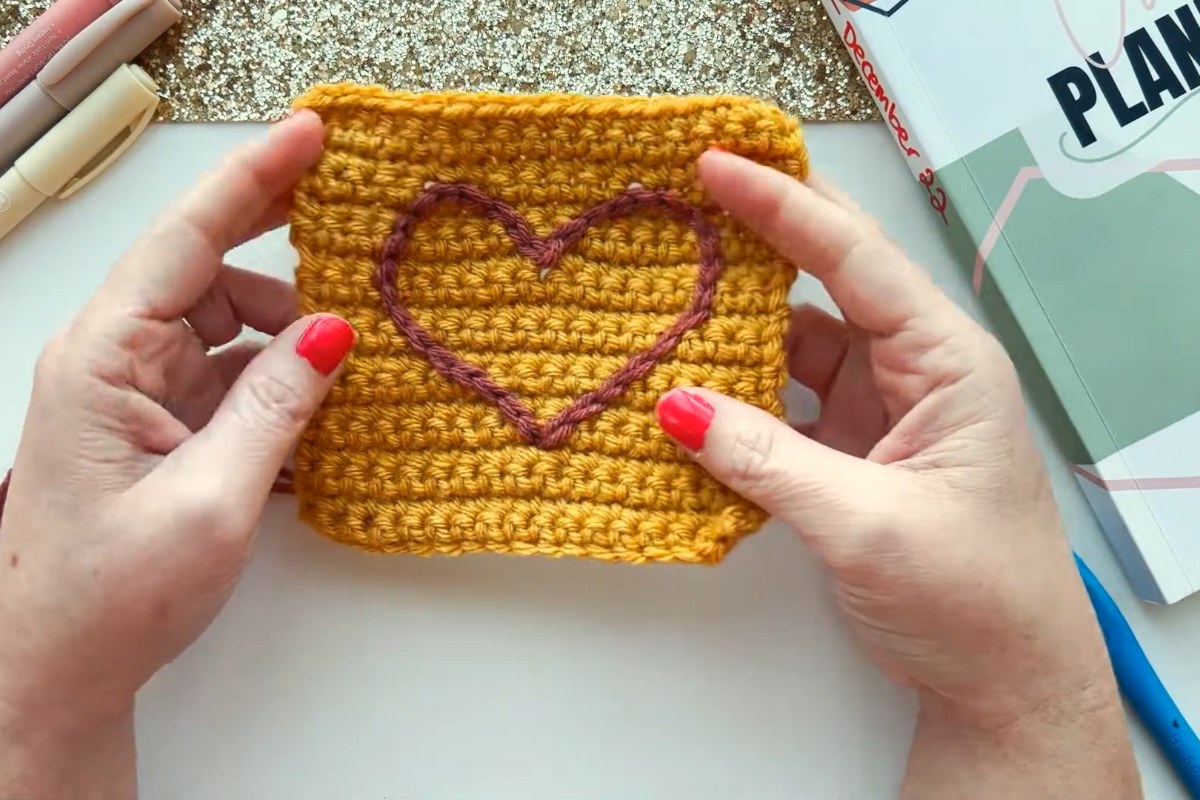
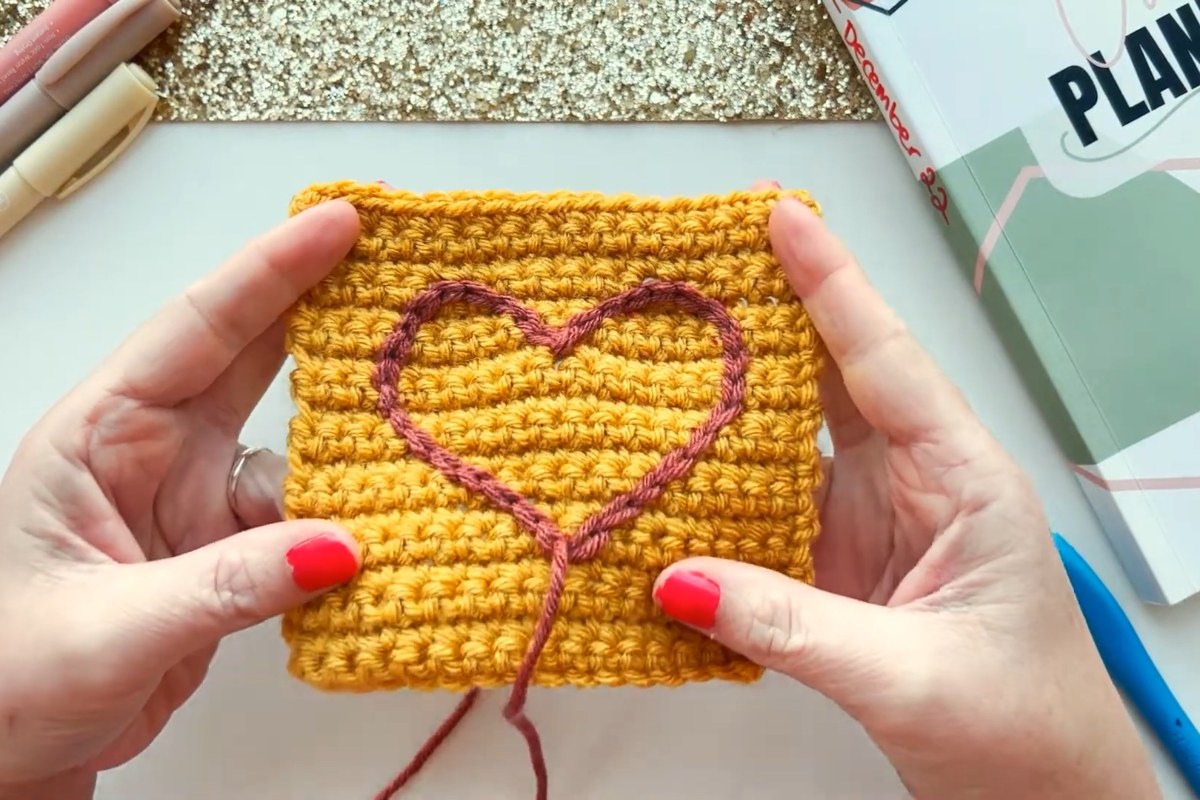
This beginner tutorial comes from Ashley of A Crafty Concept. It opened her "Stitches Be Crazy" series, where she shares a new crochet stitch every month, and it is one of the easiest ways to add a personal detail to a project. In the video she works on a simple single crochet swatch and outlines a heart in a contrasting color, so you can see every movement of the hook up close.
Images and patterns courtesy of A Crafty Concept
Surface Slip Stitch at a Glance
- Designer: Ashley, A Crafty Concept (first tutorial in her Stitches Be Crazy series)
- Level: beginner
- Practice piece: a single crochet swatch with a heart outline
- Yarn: worsted weight (#4); the designer used Hobby Lobby I Love This Yarn in a color that contrasts with the swatch
- Hook: 5 mm
- Video length: about 14 minutes
What You'll Need
- A finished piece of crochet to decorate. A single crochet swatch is the easiest place to practice.
- Worsted weight yarn in a contrasting color
- A 5 mm crochet hook
- A tapestry needle for weaving in the ends
- Something to mark your design, such as a fabric marker, so you have a line to follow
What Is the Surface Slip Stitch?
A surface slip stitch is worked through the fabric rather than into the top of a row. The working yarn stays on the back of the piece, and the hook goes in from the front. Each time you pull up a loop and draw it through the loop already on the hook, a small V appears on the right side. Lined up one after the other, those Vs look like a neat chain, very similar to embroidered chain stitch, but you make it with your hook in a fraction of the time.
Because it sits on top of the fabric, the stitch is ideal for details you decide on after the main work is done: outlines, initials, stripes, plaid lines, faces on amigurumi or the whiskers on a cat bag.
How the Tutorial Is Organized
The video has chapters, so it is easy to jump back to the part you want to watch again:
- 0:00 to 1:40: introduction to the series and the materials
- 1:40 Surface slip stitch description: what the stitch is and where you can use it
- 2:20 Heart outline: marking the shape on the swatch before you crochet
- 4:11 Surface slip stitch heart: working the stitches along the outline, including how to handle the point and the curves
- 11:55 Finishing: ending the line and securing the tails on the back
Working the Stitch, Step by Step
1. Mark your design
Draw the shape you want on the right side of the fabric first. Ashley outlines a heart on her swatch. Having a visible line means you only have to think about the stitch itself, not where the next one should go.
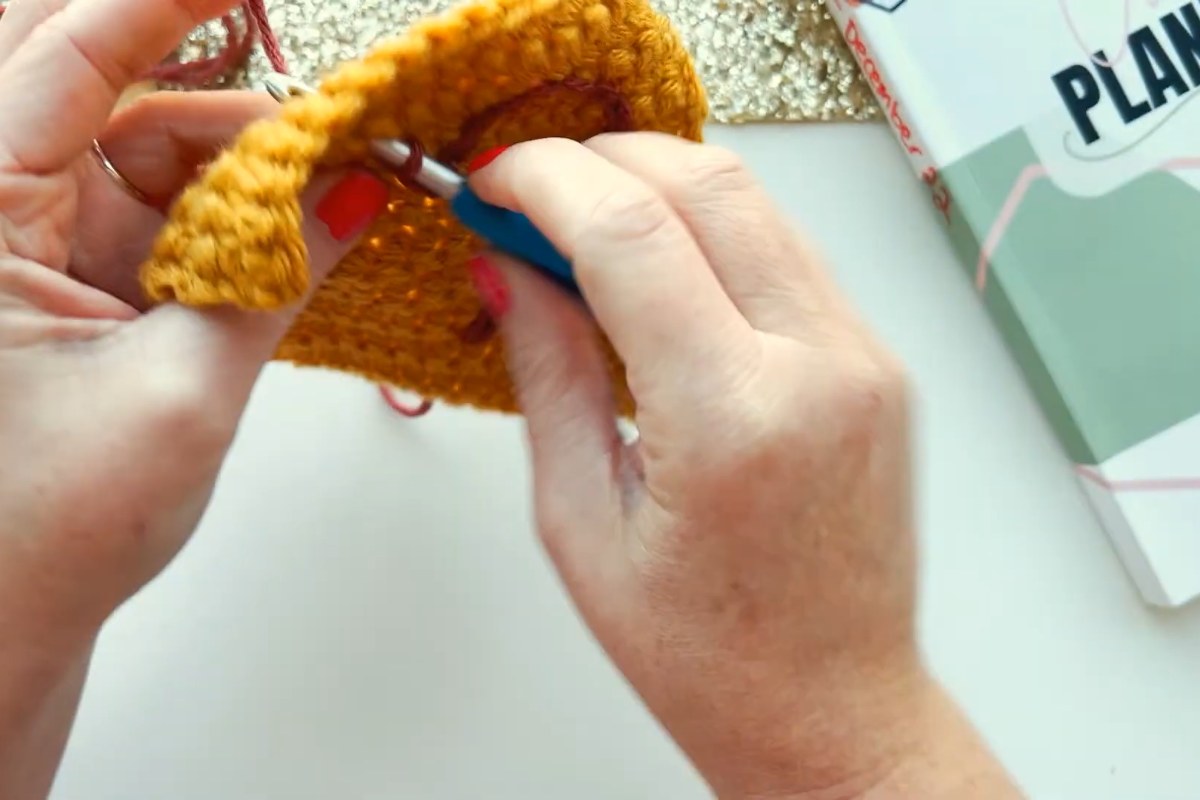
2. Bring the yarn up from the back
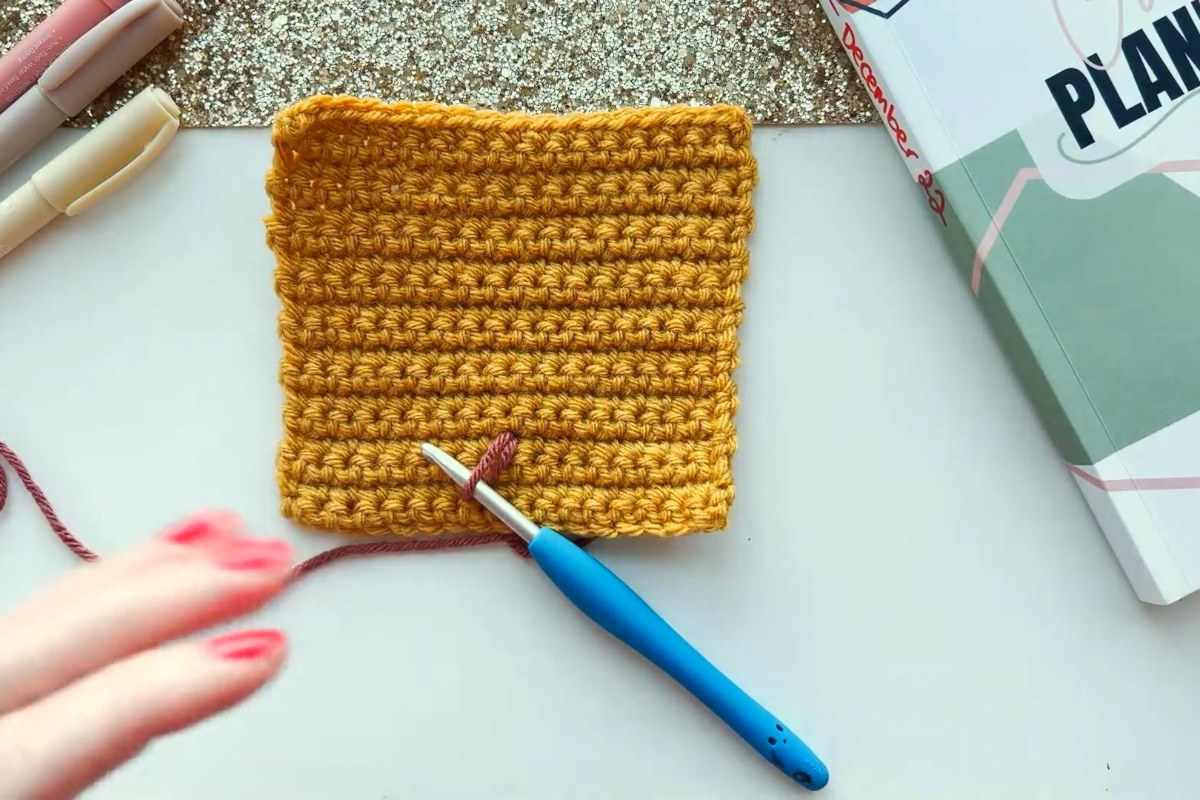
Hold the contrasting yarn behind the work. Insert the hook from the front at the start of your line, catch the yarn on the back and pull up a loop, leaving a tail on the wrong side.
3. Follow the line
Insert the hook into the next space along your outline, pull up another loop and draw it through the loop on the hook. Keep moving in the direction of the next space, so each stitch points the way the line is going. Repeat until the shape is complete.
4. Finish neatly
At the end, cut the yarn, pull the tail through to the back and weave both ends in with a tapestry needle. Weaving them along the back of the stitches keeps them hidden from the front.
Tips for Even Surface Stitches
- Keep your tension relaxed. Tight surface stitches pull the fabric together and make it pucker. If your line looks tight, go up a hook size.
- Choose strong contrast. A dark color on a light background, or the other way round, makes the line stand out, just like the deep rose heart on a mustard swatch in the video.
- Use the spaces between stitches. Working into consistent spaces gives a smooth line. On curves, take smaller steps so the shape stays round.
- Practice on a swatch first. A small single crochet square, as in the tutorial, lets you get the feel of the stitch before you decorate a bag or blanket.
- Turn the work as you go. Rotating the piece so you always stitch toward yourself makes corners and points easier to control.
Ideas for Using the Surface Slip Stitch
Once you know the stitch, you will find uses for it everywhere. The designer uses it for the whiskers on her Bitty Kitty bag, and she suggests it for names on Christmas stockings and for adding stripes to blankets or bags. It also works well for vertical stripes on a plain hat, for a plaid effect on a cushion cover, or for a simple outline on a granny square.
Enjoy the Video Tutorial

Source: A Crafty Concept
Frequently Asked Questions
Is the surface slip stitch hard to learn?
No. If you can make a slip stitch, you can make a surface slip stitch. The only difference is that you work through the fabric with the yarn held at the back, and the video shows that clearly.
Can I add surface slip stitches to any crochet fabric?
It works best on dense fabric such as single crochet, which is why the tutorial uses a single crochet swatch. Very open or lacy stitches have fewer places to anchor the line, so the result can look uneven.
What yarn should I use for the surface stitches?
The tutorial uses worsted weight yarn with a 5 mm hook. Using a yarn of a similar weight to your fabric keeps the line in proportion; just make sure the color contrasts so the design shows.
More from A Crafty Concept
- Crochet Bobble Stitch Headband: Free Twist Ear Warmer Pattern in 3 Sizes
- Bobble Stitch Crochet Blanket: Simple Pattern
- Crochet Mouse Ears Beanie: Free Puff Stitch Hat Pattern with Video
- How to Crochet a Daisy Granny Square Backpack
More crochet projects for you