
How to Crochet the Bump Stitch: Easy Textured Stitch Tutorial with Free Pattern and Video

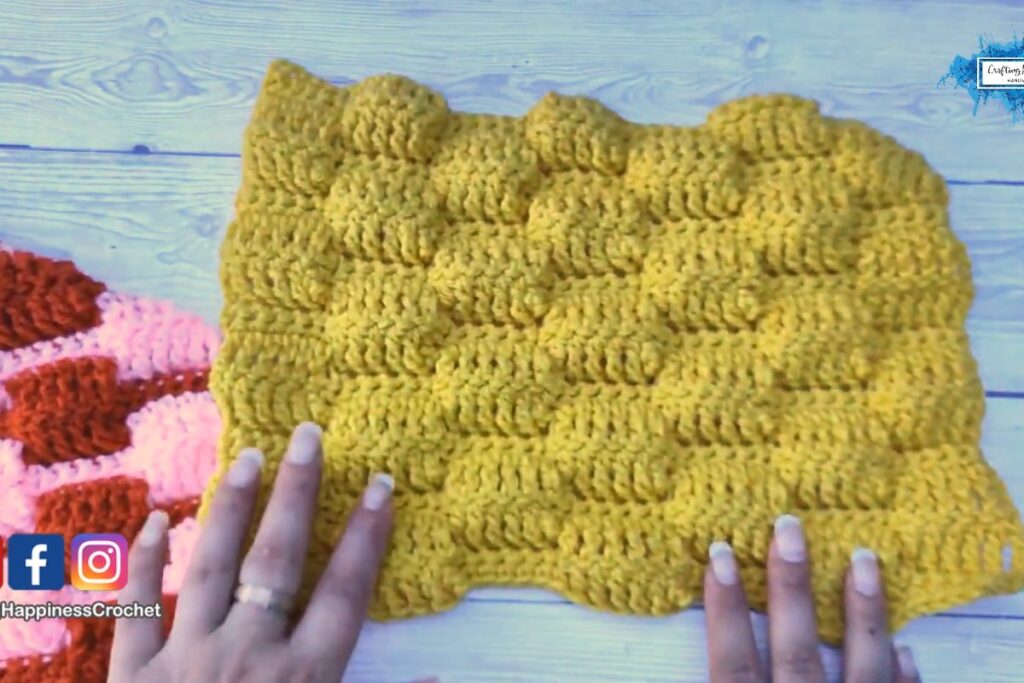
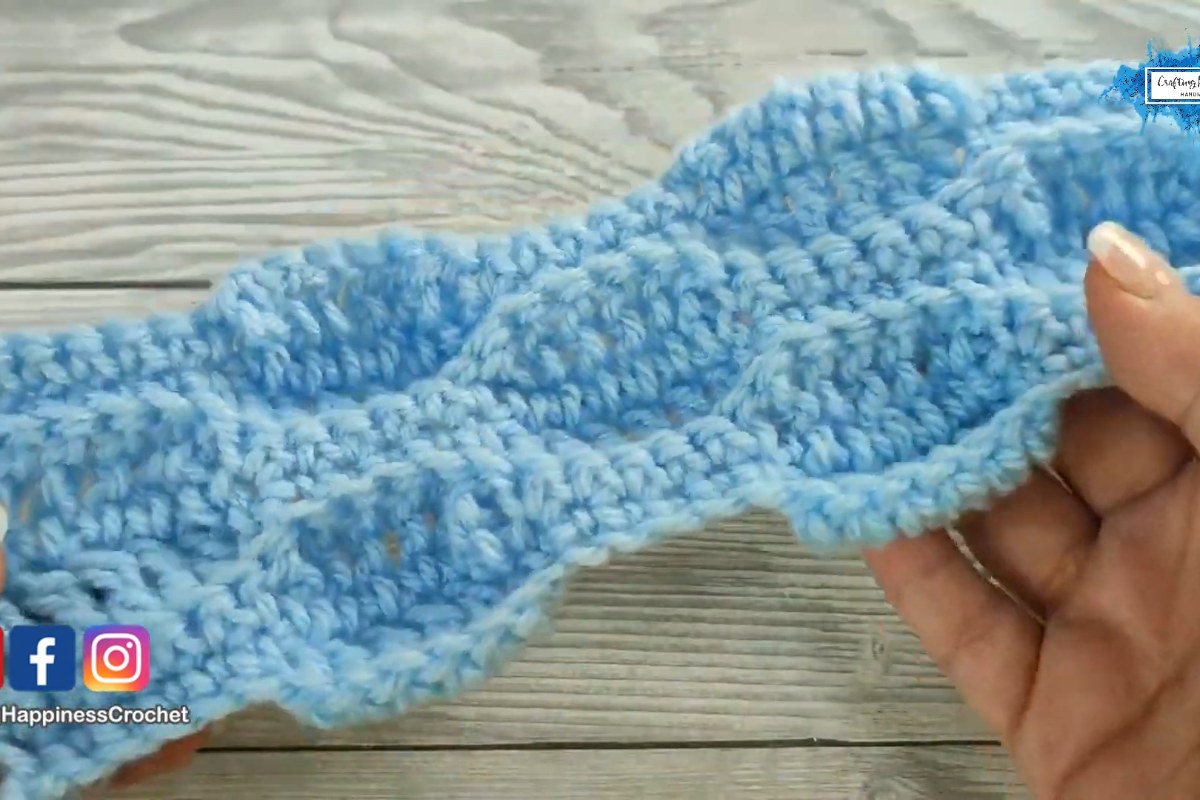
If you like stitches that look impressive but are secretly simple, the bump stitch is one to add to your collection. It creates rows of soft, rounded bumps that sit in a staggered pattern across the fabric, a little like a checkerboard of tiny pillows. Crafting Happiness describes it as a modified version of the textured wave stitch, worked with bigger stitches so the bumps stand out more clearly.
The secret is the contrast between short and tall stitches. Blocks of single crochet sit next to blocks of treble crochet, and because the tall stitches have nowhere to go, they puff outward. Swap the blocks every couple of rows and add some back loop work, and you get a deeply textured, reversible-looking fabric from just two basic stitches. It is easier than it looks, which makes it a great next step for confident beginners who want to try something with more depth.
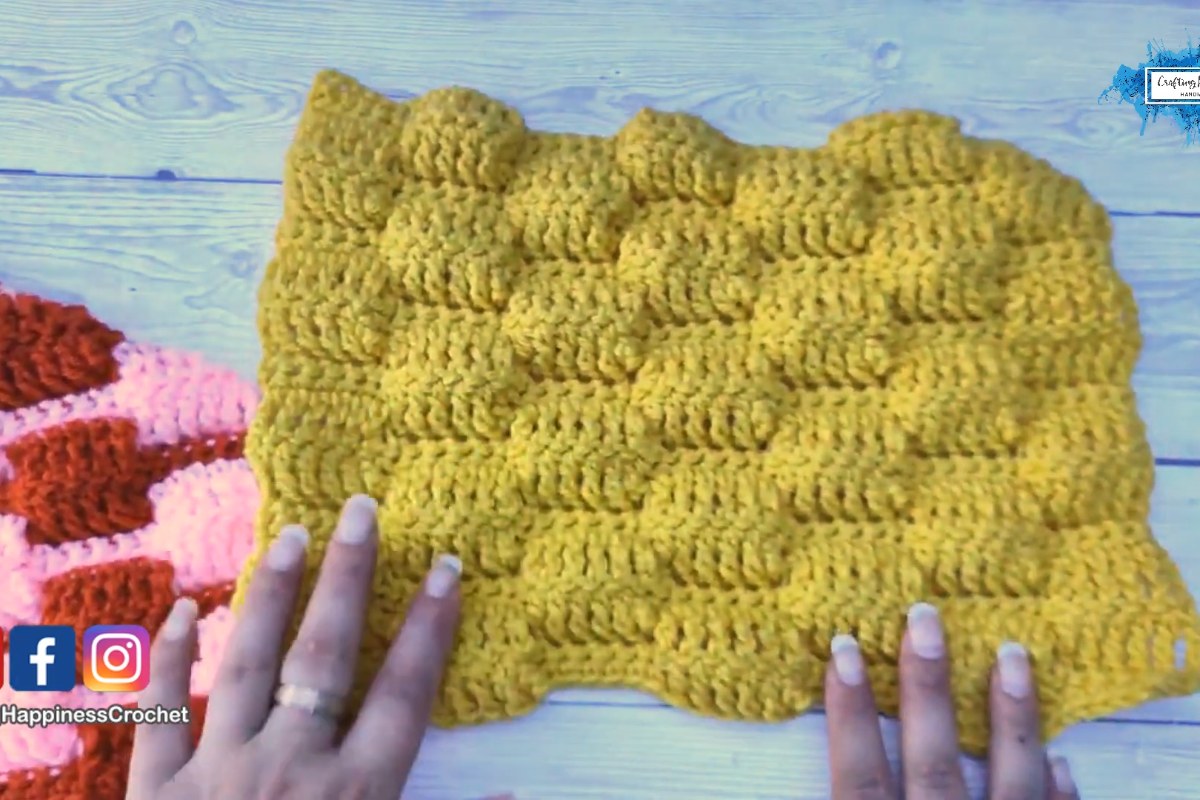
Images and patterns courtesy of Crafting Happiness
Crochet Bump Stitch at a Glance
- Designer: Crafting Happiness (Ariana Wimsett)
- Level: beginner friendly
- Texture: solid, raised bumps in a staggered layout
- Stitch multiple: multiples of 12 chains plus 7
- Repeat: 4 rows
- Stitches used: single crochet, treble crochet and their back loop only versions (US terms)
- Yarn and hook used in the sample: acrylic DK yarn with a 5 mm hook
- Video length: about 19 minutes
What You'll Need
- DK weight yarn (the designer used acrylic DK for her swatches)
- A 5 mm crochet hook
- Scissors and a yarn needle
- Optional: a second color if you want to try the two-tone version
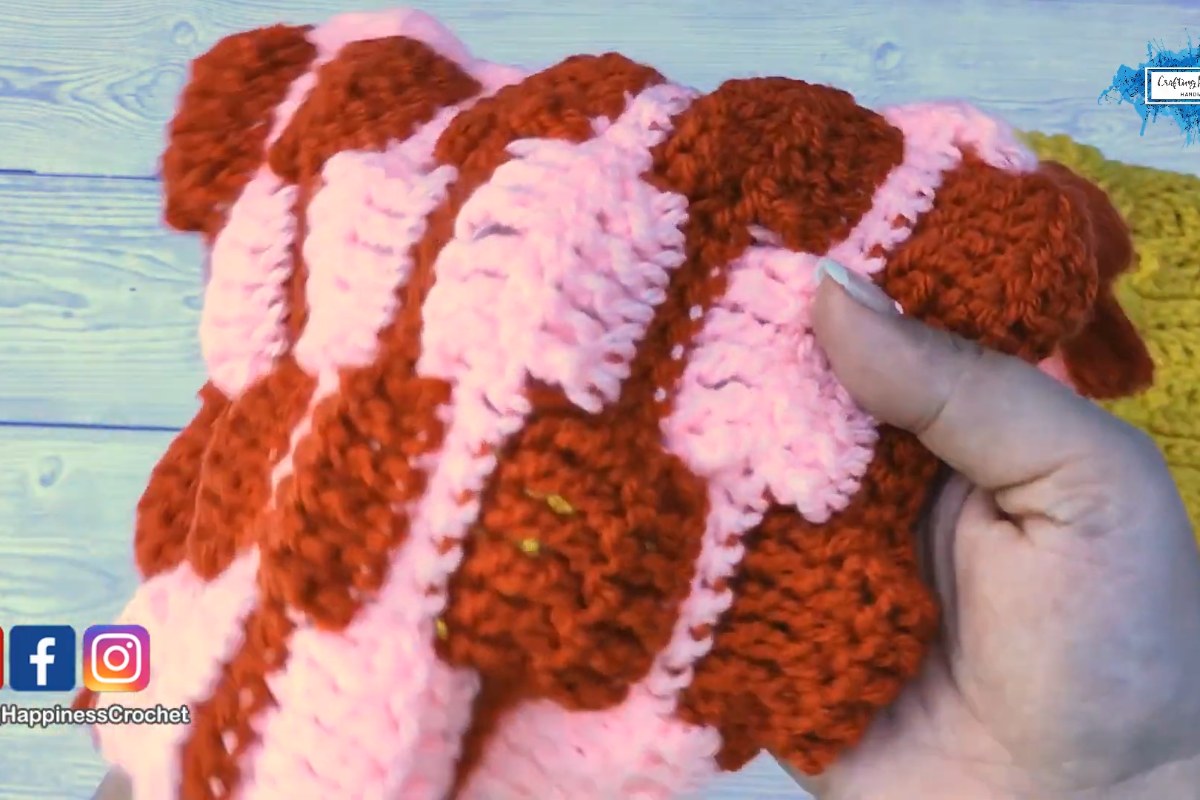
A smooth, light-colored yarn shows the texture best while you learn. Once you are comfortable with the rhythm, try it in a bolder shade: the designer made swatches in mustard yellow, in light blue, and in a two-color combination of pink and rust.
How the Bump Stitch Works
The video walks through a small swatch row by row, so you can see exactly where each stitch goes and how the bumps start to form. Here is an overview of each part, with timestamps to help you find your place.
1. Starting Chain and Row 1 (1:01)
Begin with a chain in a multiple of 12 plus 7. The first row sets up the whole design: a block of single crochet, then a block of treble crochet, alternating across the row. Count carefully here, because every later row depends on these blocks lining up.
2. Row 2 (3:26)
The second row works across the first in the same alternating blocks, stacking short stitches over short stitches and tall over tall. This is where you first see the fabric start to ripple.
3. Row 3 (5:52)
Now the blocks switch places: tall stitches go over the short ones and short stitches over the tall ones, and this row is worked in the back loop only. The video shows a neat way to start a row with a treble that keeps the edge tidy, so watch this section closely if your edges tend to look uneven.

4. Rows 4 to 6 (11:05, 14:40 and 16:46)
The following rows continue the same logic, alternating between rows worked through both loops and rows worked in the back loop only, and swapping the blocks every two rows. After row 6 you simply repeat rows 3 to 6 until your piece is the size you want. By the end of the video you will have seen the full four-row repeat at least once, which is all you need to keep going on your own.
Tips for Neat, Defined Bumps
- Count your blocks. The pattern only works if every block has the same number of stitches. A quick count at the end of each row saves a lot of frogging later.
- Remember the turning chains. The written pattern tells you which rows end with a chain one and which do not. Check this as you go, because an extra or missing stitch at the edge will shift the blocks.
- Do not pull the trebles tight. Keep an even, relaxed tension on the tall stitches so they have room to puff out.
- Changing colors. If you want to use two or more colors, the designer recommends changing color every two rows. That is how the pink and rust swatch above was made.
- Left-handed? A left-handed version of the tutorial is linked in the video description.
Project Ideas
Because the bump stitch makes a thick, cozy fabric, it is a natural fit for baby blankets, modern throws and cushion covers. The designer also suggests it for garments, where a panel of bumps can add interest to a simple sweater or cardigan. If you are making a blanket, work a swatch first and measure it, because the texture uses more yarn than flat stitches like plain single or double crochet.
About the Designer
Crafting Happiness is the crochet blog and YouTube channel of Ariana Wimsett, who shares free patterns and stitch tutorials with clear close-up videos and right- and left-handed versions. You can find the full written instructions, along with step-by-step photos, on her website through the credit link above.
Enjoy the Video Tutorial

Source: Crafting Happiness
Frequently Asked Questions
Is the bump stitch hard for beginners?
Not really. It only uses single crochet and treble crochet, plus working in the back loop. If you can make both stitches and count to six, you can follow this tutorial. The main challenge is keeping track of which block comes next, and the video makes that clear.
What is the difference between the bump stitch and the wave stitch?
The bump stitch is a modified version of the textured wave stitch. It uses taller stitches, so the raised sections are bigger and the bumps are more visible.
How many chains do I need for a blanket?
Any multiple of 12 plus 7 will work. Make a small swatch first, measure how wide one repeat is with your yarn and hook, and then multiply to reach the width you want.
More from Crafting Happiness
- Crochet Easter Egg Shape: Free Amigurumi Egg Pattern in 3 Sizes with Video
- How to Crochet the Spring Bunny Square
- Crochet Christmas Bow: Free Moon Fern Stitch Pattern and Video Tutorial
More crochet projects for you