
Crochet TikTok Bee: Free Amigurumi Bumblebee Pattern in 3 Sizes with Video

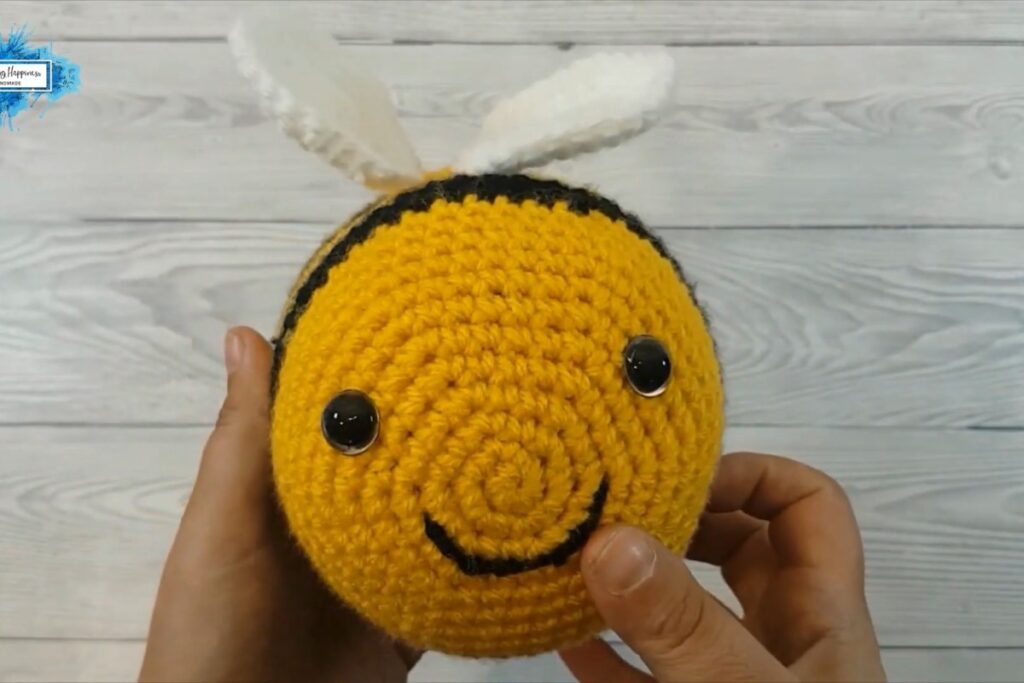
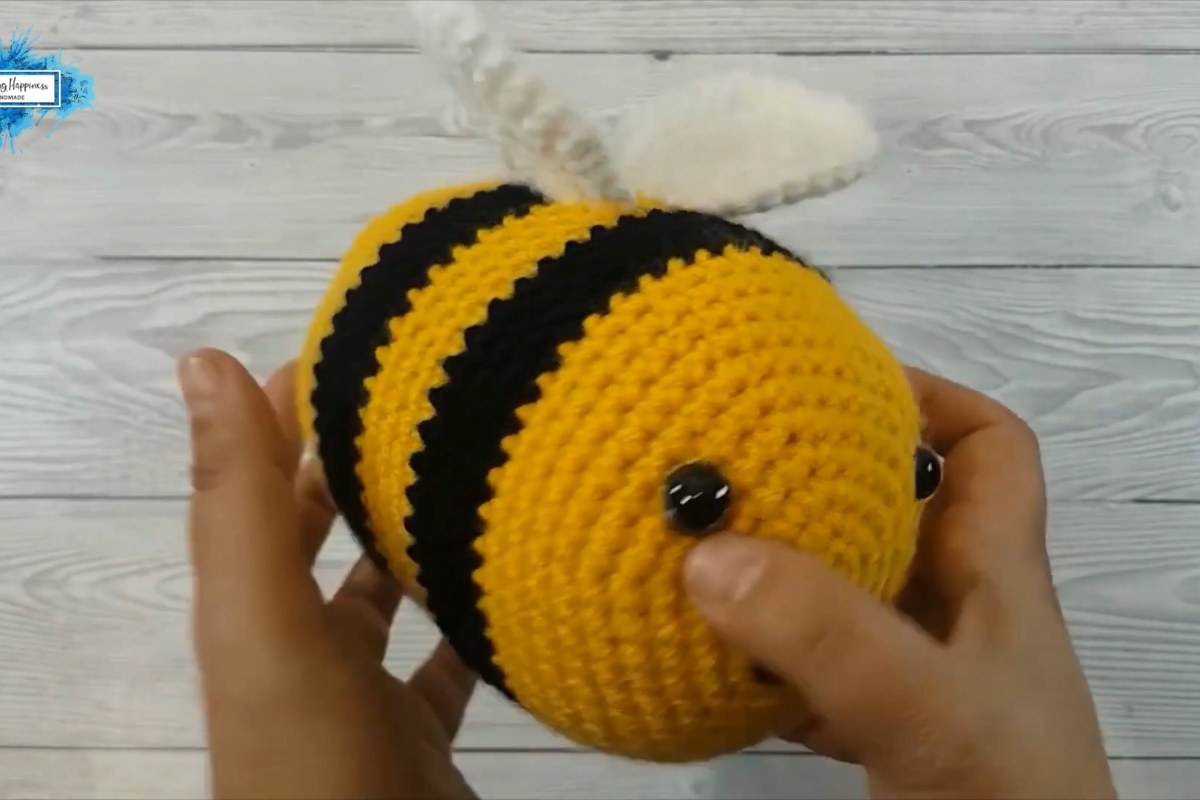
Some crochet patterns go viral for a reason, and the chubby little TikTok bee is one of them. Round, striped and smiling, it has popped up in countless videos, usually worked in thick, squishy yarn. Crafting Happiness kept getting requests for it, so she finally sat down and wrote her own version, and the result is a cheerful amigurumi bumblebee that works up in one piece with two small wings sewn on at the end.
What makes this pattern especially handy is that it comes in three sizes. The stitch counts never change; you simply switch the yarn weight and the hook. The idea came almost by accident: the designer started with super bulky yarn, planning a bee cushion for kids, until a family comment pointed out that smaller bees hanging under a big one would make a sweet baby mobile. One pattern, three bees.
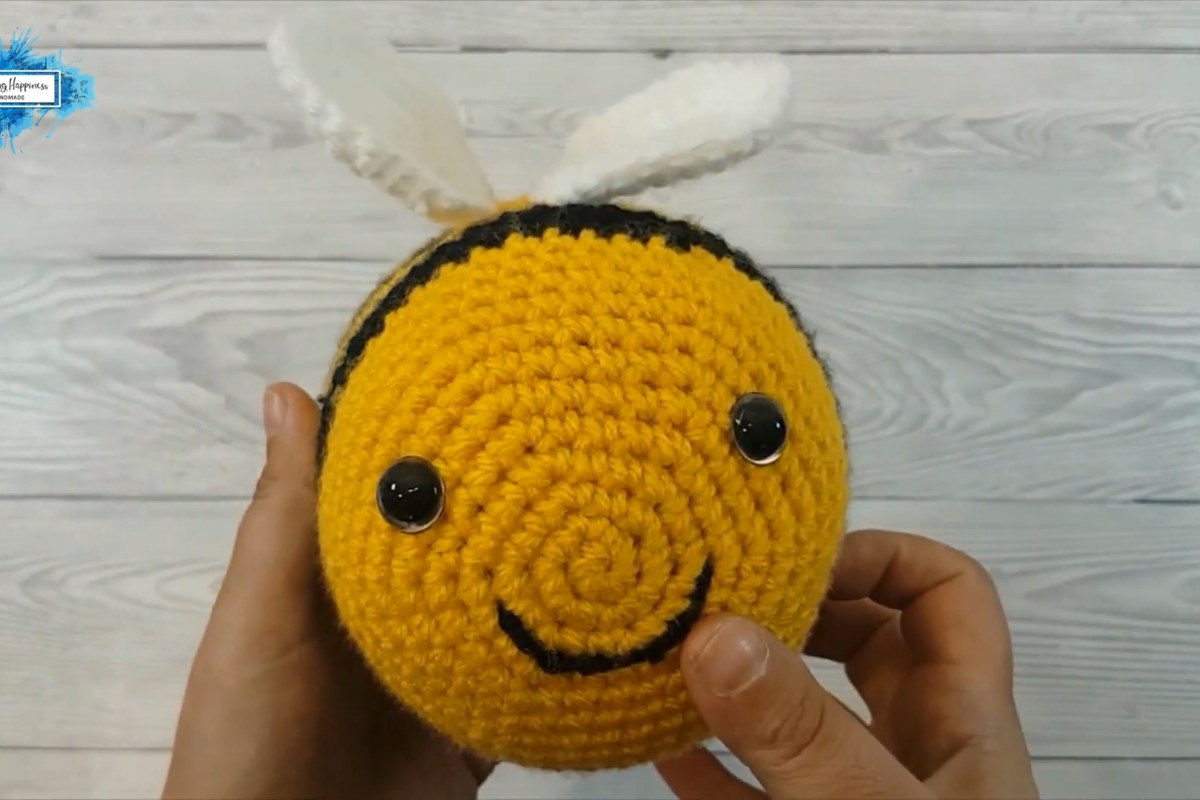
Images and patterns courtesy of Crafting Happiness
Crochet TikTok Bee at a Glance
- Designer: Crafting Happiness (Ariana Wimsett)
- Level: easy
- Sizes: small (13 cm long, 9 cm across), medium (17 cm long, 12 cm across) and large (26 cm long, 20 cm across)
- Yarn: DK, Aran or super bulky in yellow, black and white, depending on the size
- Hooks: 3.5 mm, 5 mm or 8 mm, depending on the size
- Terms: US crochet terms
- Video length: about 48 minutes, with timestamps for every round
What You'll Need
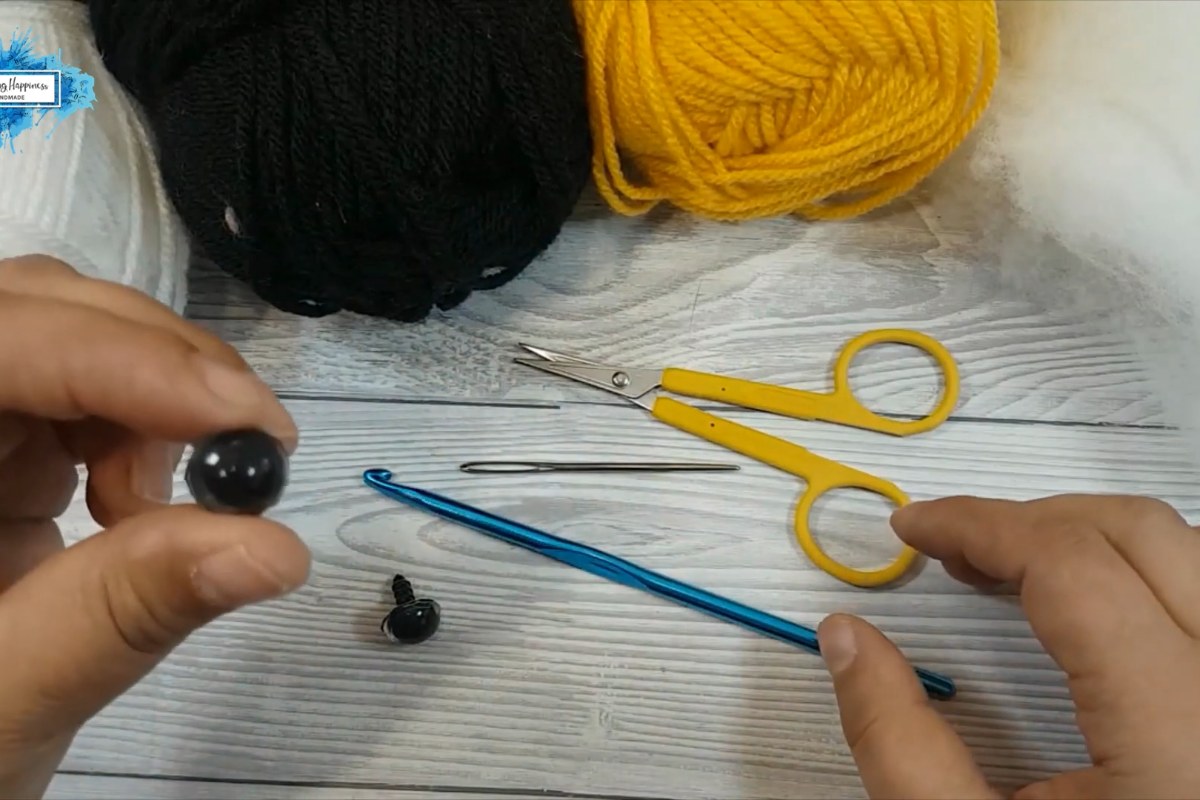
- Yellow, black and white yarn. The designer used about half a skein of each color.
- For the small bee: DK (light worsted) yarn and a 3.5 mm hook
- For the medium bee: Aran (worsted) yarn and a 5 mm hook
- For the large bee: super chunky yarn and an 8 mm hook
- Safety eyes: 12 mm for small, 14 mm for medium, 20 mm for large
- Toy stuffing
- A yarn needle with an eye big enough for your yarn
- A stitch marker or a scrap of yarn to mark the start of each round
How the Bee Comes Together
The body is one continuous piece worked in the round without turning. You start at the face, add the eyes and smile while the opening is still wide, then build the stripes and close the bottom. The video timestamps below make it easy to jump back to any round.
1. The face (0:00 to 14:43)
After a short look at the three finished sizes, the tutorial works the first eight rounds in yellow to form the bee's face (Round 1 at 1:02 through Round 8 at 7:44). At 8:36 you will see where to place the face details. The safety eyes go in at 8:55, and from 10:35 the designer shows how to embroider the little smile with black yarn. Doing this now, before the body is closed, is much easier than working through a stuffed shape later.
2. Stripes and body (14:43 to 34:58)
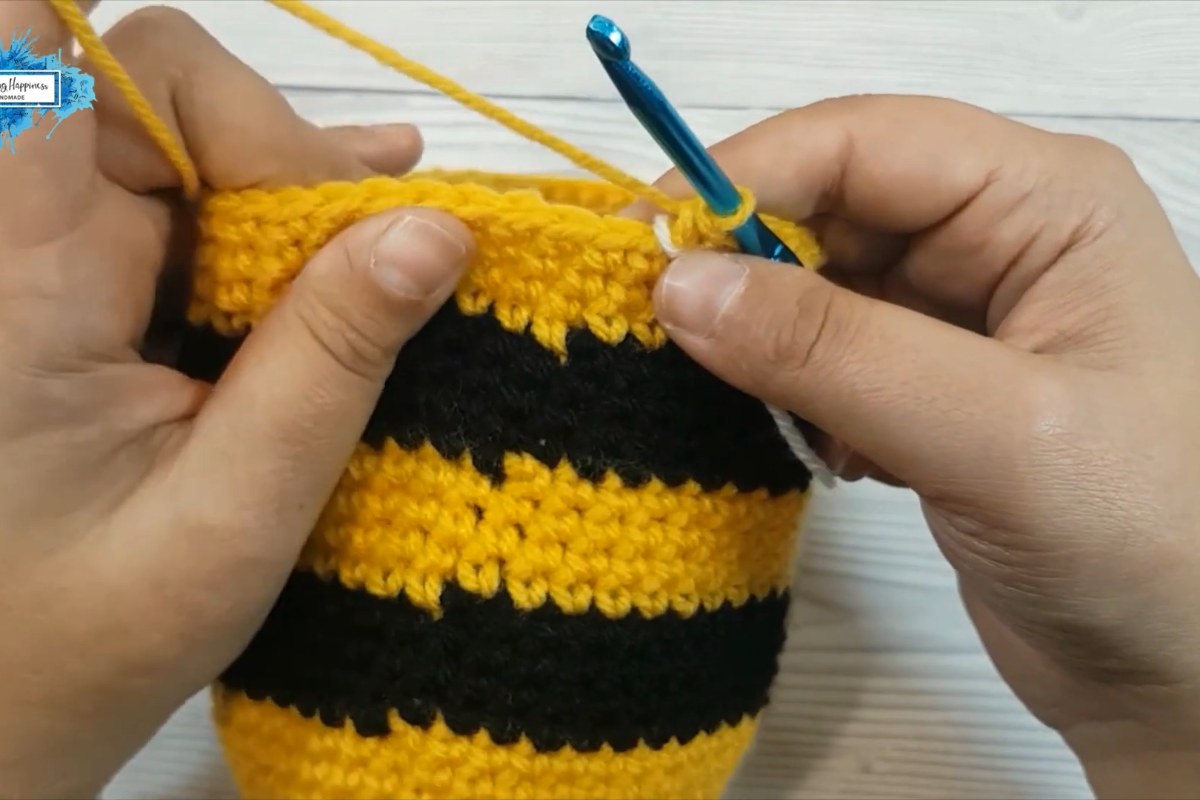
Rounds 9 to 12 follow, and at 16:01 there is a clear demonstration of how to change colors. From Round 13 the body alternates between yellow and black to create the classic bumblebee stripes. The designer also shares her trick for keeping the stripes straight instead of letting them drift into a jog at the color change, so it is worth watching this part even if you already know how to switch yarns. Rounds 29 to 34 (24:43 to 33:41) are each shown separately as the body is shaped and rounded off at the back.
3. Stuffing and closing (34:58 to 38:23)
At 34:58 you fasten off, and from 35:56 the video shows how to close the remaining hole neatly. Stuff the bee firmly before the opening gets too small; a well-filled body keeps the stripes smooth and helps the bee hold its round shape.
4. Wings (38:23 to 46:44)
The two wings are small white pieces worked in five rounds (38:23 to 40:47). From 42:48 the designer sews them to the top of the body. The final chapter at 46:44 shows the three sizes side by side, which helps you pick the yarn you want before you even start.
Tips for a Neat Bumblebee
- Keep the marker moving. Amigurumi is worked in a spiral, so a stitch marker in the first stitch of each round is the easiest way to keep your counts right.
- Carry or cut the black yarn. When a stripe is only a few rounds tall, you can carry the unused color up the inside of the body instead of cutting it each time.
- Place the face before stuffing. Pin the eyes in first and check the spacing from a distance before you snap the backs on.
- Making it for a baby? Safety eyes can be a choking hazard for very young children. Embroidered eyes in black yarn are a safer choice for toys and mobiles meant for babies.
- Build a mobile. Make one large bee and a couple of small ones, then hang the small bees under the big one, just as the designer suggests.
About the Designer
Crafting Happiness is run by Ariana Wimsett, who shares free crochet patterns, stitch tutorials and blanket projects on her blog and YouTube channel. Her videos are known for calm, round-by-round explanations and handy timestamps, and she writes her patterns in US terms. You can find the full written TikTok bee pattern, including the round-by-round counts, on her website through the credit link above.
Enjoy the Video Tutorial

Source: Crafting Happiness
Frequently Asked Questions
Is the TikTok bee hard to crochet?
No. The pattern is rated easy and uses only basic amigurumi stitches: single crochet, increases and decreases worked in the round. If you can make a magic ring and change colors, you can make this bee.
How do I make a bigger or smaller bee?
Keep the same pattern and change the yarn and hook. DK yarn with a 3.5 mm hook gives a bee about 13 cm long, Aran with a 5 mm hook about 17 cm, and super chunky with an 8 mm hook about 26 cm.
How long does the bee take to make?
The video runs about 48 minutes from the first round to the sewn wings. Most crocheters will need a bit longer than that, especially for the large bee in super chunky yarn, but it is still a project you can finish in an afternoon or two.
More from Crafting Happiness
- Crochet Easter Egg Shape: Free Amigurumi Egg Pattern in 3 Sizes with Video
- How to Crochet the Spring Bunny Square
- Crochet Christmas Bow: Free Moon Fern Stitch Pattern and Video Tutorial
More crochet projects for you