
Crochet Mesh Shirt with Flowers: Easy Sizing and Assembly Guide

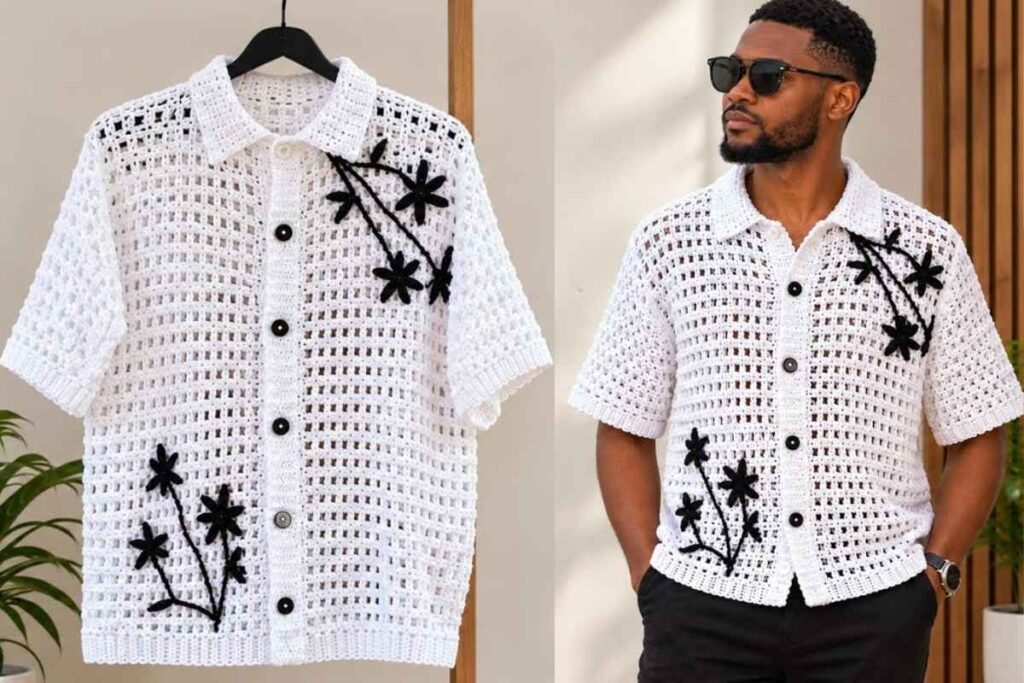
This crochet mesh shirt is a button-up, short-sleeved top in airy white mesh, finished with black crochet flowers along the hem and shoulders. LaDenser Crochets shares it in a six-minute project video, and the most useful part is not a row-by-row pattern but her simple way of sizing a shirt from three body measurements and putting five flat panels together. If you can work a basic mesh stitch, this is a very approachable first garment.
Crochet Mesh Shirt at a Glance
- Designer: LaDenser Crochets (video tutorial)
- Construction: five rectangles (one back panel, two front panels, two sleeves) joined together
- Shaping: no increases or decreases at all
- Sample size: 2XL, with an explanation of how to adjust it to any size
- Hook: 3.5 mm (US E/4)
- Finishing: ribbing on the front edges, buttonholes, a collar, black flowers and hand-stitched lettering on the back
- Video length: about 6 minutes
Images and patterns courtesy of LaDenser Crochets
Why This Shirt Is Easier Than It Looks
A collared shirt with buttons sounds like a big project, but this one is built from straight rectangles. LaDenser does not shape the armholes or the waist. Instead, she picks one width that fits your widest measurement and lets the open mesh give the shirt a relaxed drape.
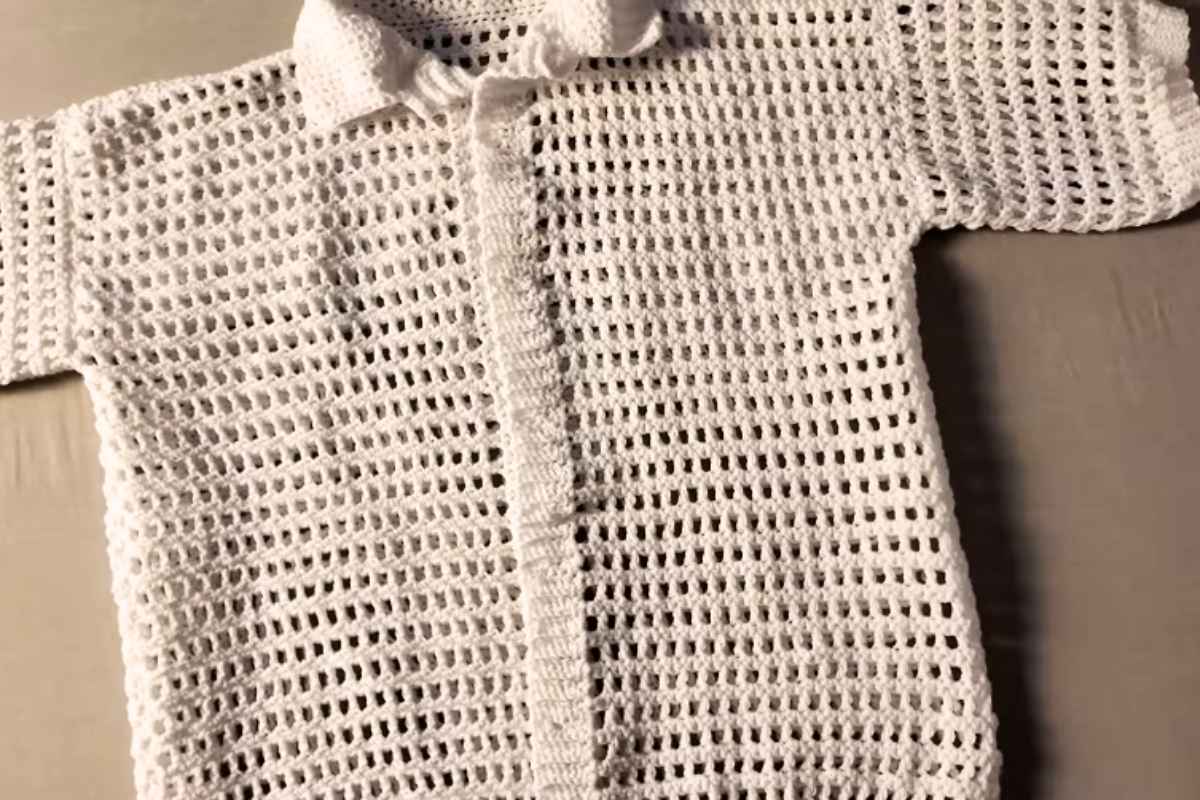
She also says she barely counts her stitches. With a mesh fabric you can fold a panel in half and line up the spaces to find the middle, or hold two panels side by side and match them hole for hole. That makes the joining stage much less stressful than it would be with solid stitches.
Materials
- 3.5 mm crochet hook (US E/4)
- 9 balls of white medium-weight acrylic yarn for the shirt
- 2 balls of black yarn for the flowers
- 7 buttons (4 black and 3 white)
- Stitch markers or pins
- Yarn needle and scissors
These amounts are for the 2XL sample. A smaller size will use less yarn, and your total also depends on your tension and the meterage of the yarn you choose.
How to Size the Shirt with Three Measurements
This is the heart of the video. LaDenser takes three measurements, halves two of them, and works with whichever number is the biggest:
- Shoulder to shoulder. In her example this is 17 in.
- Chest, divided by two. A 44 in chest gives 22 in.
- Waist, divided by two. A 42 in waist gives 21 in.
The largest of the three numbers (22 in here) becomes the width of the back panel. Each front panel is half of that, so 11 in. Then she adds two lengths:
- Shirt length: 27 in for the back and for both front panels.
- Sleeve length: 8 in, with a sleeve width of 18 in (a 9 in armhole, folded in half).
| Piece | How to work it out | Sample shirt |
|---|---|---|
| Back panel width | Largest of: shoulder width, chest ÷ 2, waist ÷ 2 | 22 in |
| Each front panel width | Back panel width ÷ 2 | 11 in |
| Panel length | Shoulder to wherever you want the hem | 27 in |
| Sleeve width | Armhole depth × 2 | 18 in |
| Sleeve length | Shoulder seam to where you want the sleeve to end | 8 in |
Working out a smaller size: if your shoulders measure 15 in, your chest 36 in and your waist 32 in, the three numbers are 15, 18 and 16. You would make an 18 in back panel and two 9 in front panels. Our tip: if you prefer a looser fit than the sample, add an inch or two to the back width and half of that to each front panel before you start.
The Five Panels
LaDenser starts with the back panel, then the two front panels, then the two sleeves. The sleeves and the bottom of each front panel get a ribbed edge, which gives the finished shirt neat cuffs and a clean hem.
This video focuses on measuring and assembly rather than teaching the mesh stitch itself.
How the Shirt Is Assembled
The video is split into chapters, so you can jump straight to the part you need:
- 0:00 Project overview. A look at the finished sleeves and panels.
- 0:44 Taking measurements. The sizing method explained above.
- 2:26 Joining the panels. Find the center of the back panel by folding it, then count five mesh spaces (about 3 in) out from the center on each side and place a marker. The space between those two markers becomes the neckline. Line each front panel up with the outer edge of the back panel and join from the edge to the marker to form the shoulder seams.
- 4:30 Attaching the sleeves. Pin a sleeve to each side, join it to the body, then sew one continuous seam from the end of the sleeve, through the underarm and down the side of the shirt.
- 4:58 Finishing touches. Add ribbing around the front opening, work the buttonholes and sew on the buttons, add the collar, then attach the black flowers at the hem and on the shoulders. LaDenser also stitched a word freehand across the back, because tapestry lettering is not possible on a mesh fabric.
Enjoy the Video Tutorial
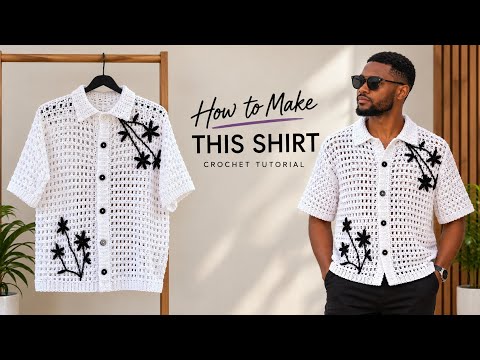
Source: LaDenser Crochets
Tips for a Better Fit and Finish
- Block the panels before joining. Mesh stretches a lot. Pinning each panel to its measurements and letting it dry makes the edges much easier to match.
- Try it on before the side seams. Once the shoulders are joined, hold the shirt up against you to check the length and neckline while changes are still easy.
- Choose the yarn for the season. The sample uses acrylic. A cotton or cotton blend in the same weight will feel cooler in summer and keep its shape well.
- Plan the buttons with the ribbing. Space the buttonholes evenly along the front band, and sew the buttons on only after you have checked that they line up.
- Make the flowers your own. Black on white is striking, but any contrast color works. You could also skip the lettering for a simpler look.
Frequently Asked Questions
Is this crochet mesh shirt suitable for beginners?
LaDenser describes it as perfect for beginners, and the construction really is simple. The video assumes you can already make mesh panels, so if you are completely new, practice a small mesh swatch first to get comfortable with the stitch.
What size is the shirt in the video?
The sample is a 2XL. The sizing method works for any size, because every panel is based on your own measurements.
Do I need to count stitches?
Not much. Folding and matching mesh spaces is enough to find the center and to line up the panels.
How much yarn do I need?
The 2XL sample used 9 balls of white medium-weight yarn plus 2 balls of black for the flowers. Smaller sizes need less.
More Crochet Garments to Try
If you enjoy LaDenser's made-to-measure approach, you might also like her fast crochet tank top, the spider web dress and the granny stitch dress with flower accents. For another airy top with a full size range, see this crochet mesh top in sizes XS to XXL, or browse more summer crochet patterns.
A white mesh shirt with a few bold flowers is the kind of piece that looks store-bought until someone asks where you got it. Measure carefully, take your time with the joins, and enjoy wearing something made exactly to your size.
More crochet projects for you