
Easy Crochet Amigurumi Cow: Free Mia Moo Moo Pattern and Video

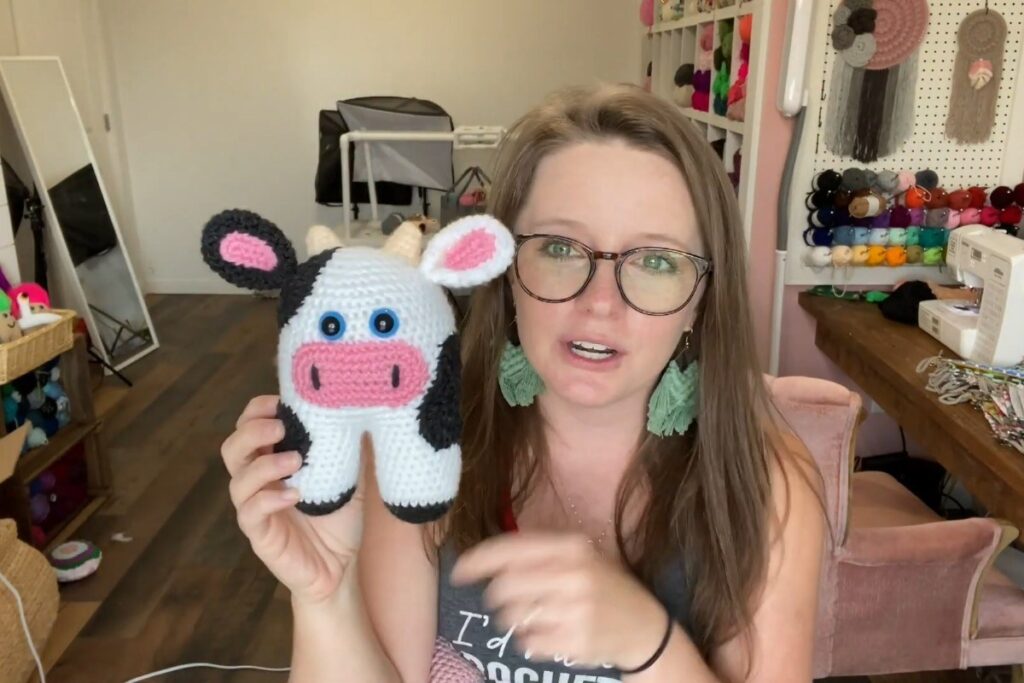
Some amigurumi patterns look simple in the photos and then hide a dozen fiddly pieces. This crochet amigurumi cow is honest about what it is: a round, chubby little cow with a pink snout, floppy gray ears, two small horns and a few dark gray patches, built on a body shape that is easy to work even if you have only made one or two plushies before. Ashley from A Crafty Concept calls her Mia Moo Moo, and she walks through every cow detail in a long, patient video that is ideal for learning how to shape and place small amigurumi parts.
Amigurumi Cow at a Glance
- Designer: Ashley, A Crafty Concept (pattern name: Mia Moo Moo)
- Level: beginner-friendly
- Yarn: We Crochet Brava in White, Asphalt Heather and Cotton Candy, plus a tiny amount of cream worsted weight yarn
- Hook: 3.75 mm (US F)
- Eyes: 12 mm safety eyes
- Video length: about 61 minutes
- Pattern: free written pattern on the designer's blog
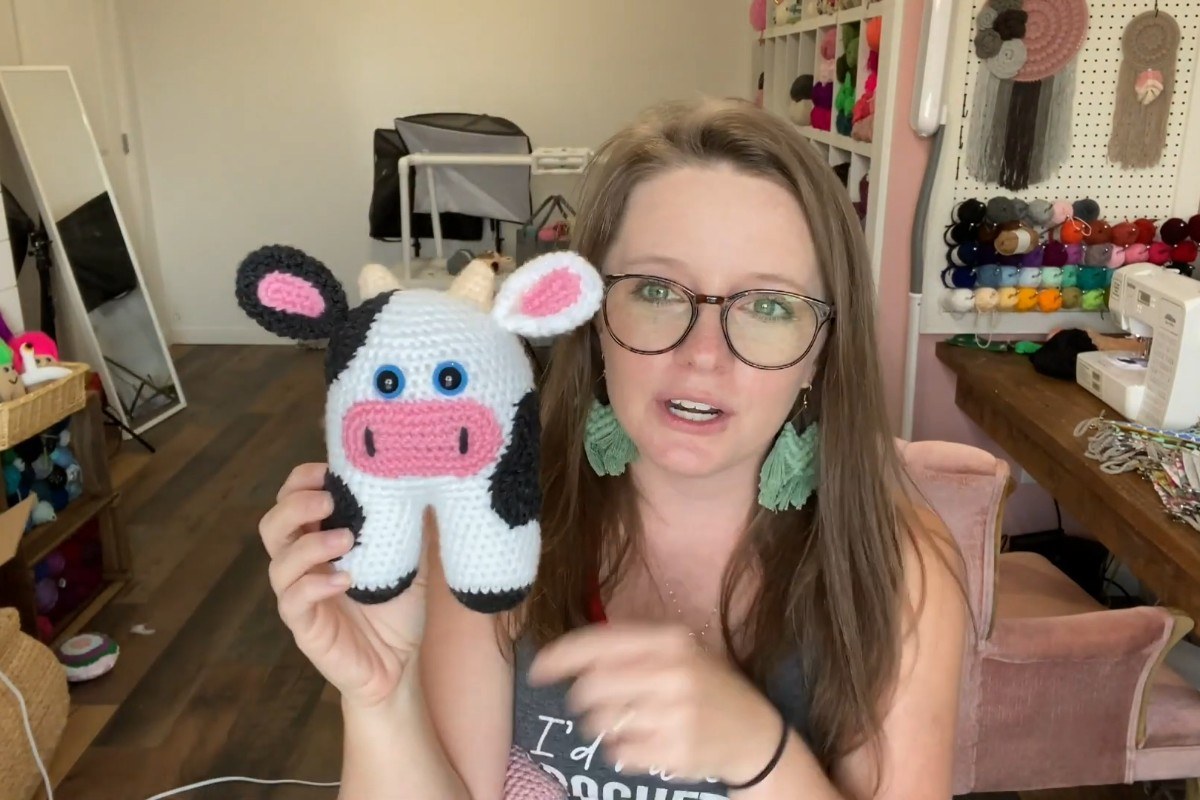
Images and patterns courtesy of A Crafty Concept
Why This Cow Is a Good Amigurumi Project
The body of Mia Moo Moo uses the same construction as Ashley's Ava Bunny, so the cow is really a set of "cow bits" added to a shape that already works. That makes it a smart project for anyone who wants to practice the parts of amigurumi that usually feel hardest: making small pieces that match in size, pinning them in the right place and sewing them on so they sit flat and stay put.
The finished cow is soft and rounded, with no thin limbs to stuff, which also makes it a sweet handmade gift for a baby shower, a farm-themed nursery or anyone who simply loves cows.
What You'll Need
- We Crochet Brava yarn in White, Asphalt Heather (gray) and Cotton Candy (pink)
- A small amount of cream worsted weight yarn for the horns
- 3.75 mm (US F) crochet hook
- 12 mm safety eyes
- Polyester fiberfill stuffing
- Tapestry needle and scissors
- Sewing pins to hold the pieces in place before you sew
How the Cow Comes Together
The video focuses on the cow details. If you have never made the base body before, Ashley points you to her Ava Bunny video for the body techniques, then picks up with the pieces that turn that shape into a cow. The chapters make it easy to jump straight to the part you are working on:
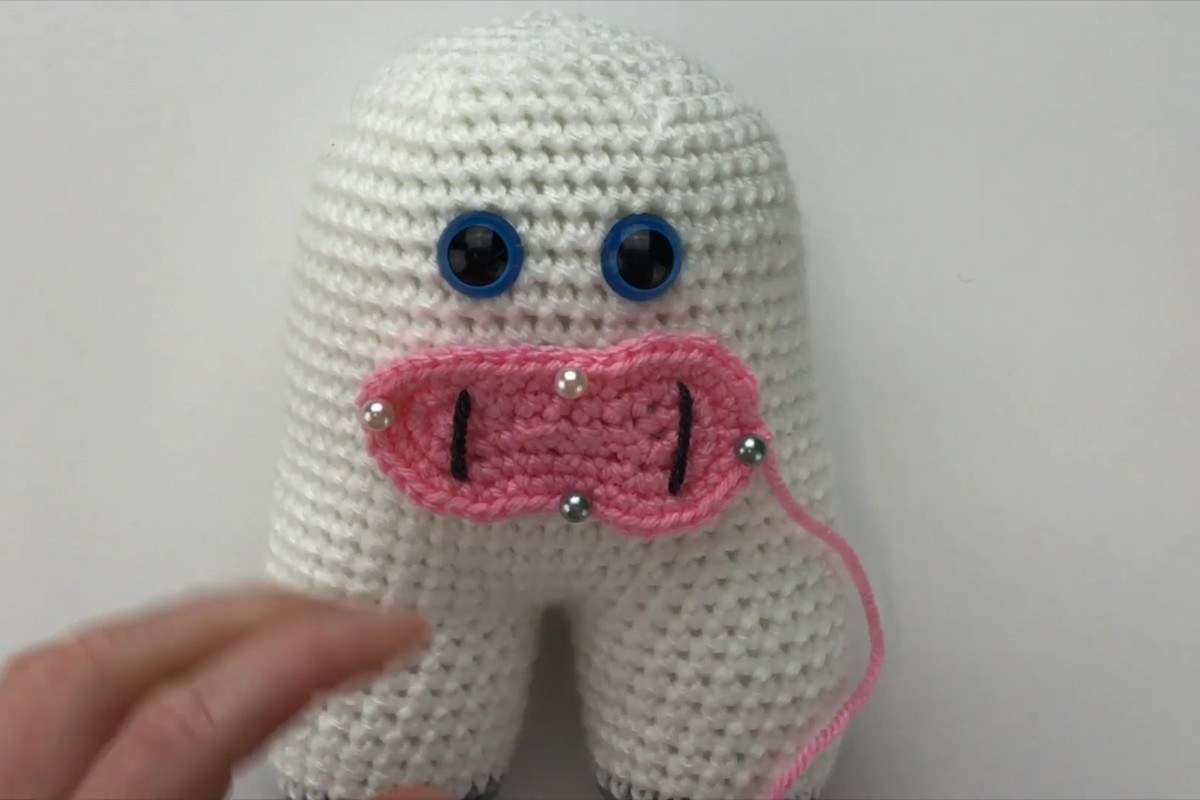
- Snout (1:23): a flat pink oval that becomes the most recognizable part of the face. Take your time here, because a neat, even snout makes the whole cow look polished.
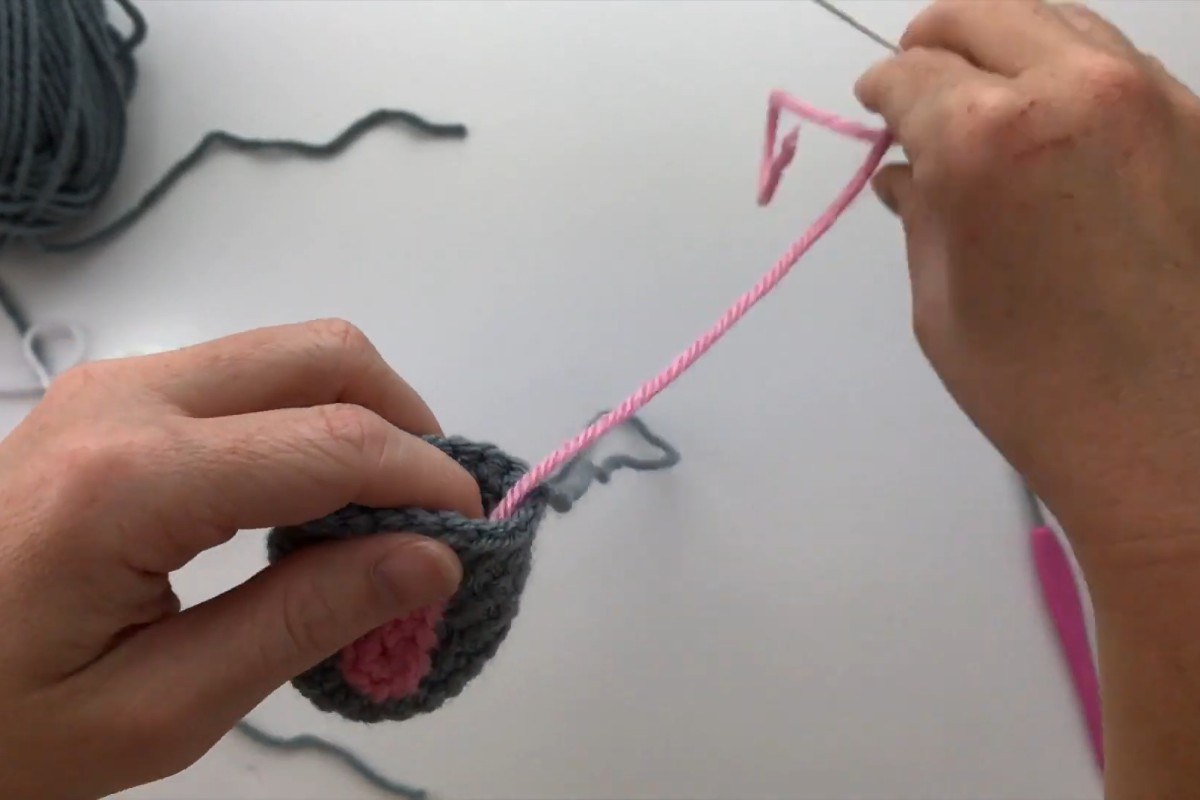
- Ears (11:27) and inner ears (15:30): gray ears with a smaller pink piece inside. The inner ear is attached at 17:30, before the ears go on the head.
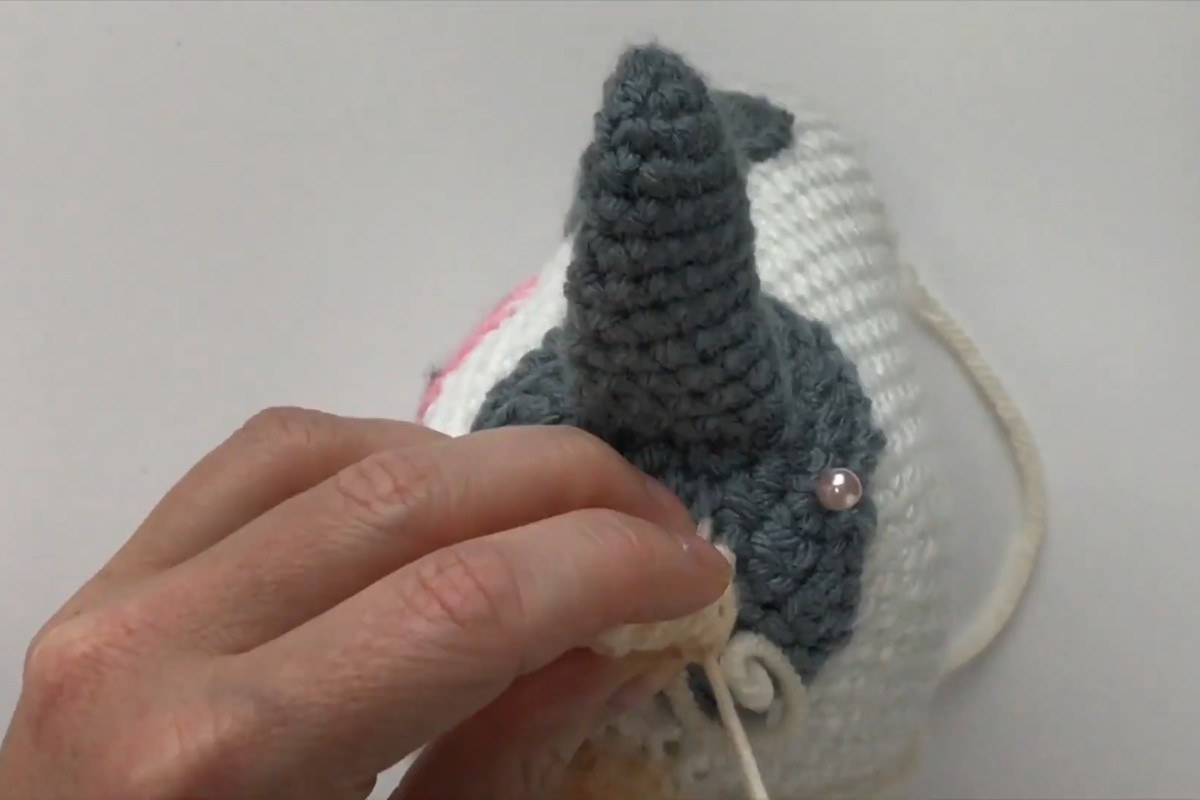
- Horns (20:30): two tiny cream pieces worked with the extra worsted weight yarn.
- Patches (24:44): the dark gray spots that give the cow its classic look. You make a large and a small version so they look natural rather than identical.
- Snout assembly (35:33): pinning and sewing the snout below the eyes.
- Patches assembly (40:40): placing the spots around the body.
- Ear assembly (44:44) and horn assembly (53:30): the final details on top of the head.
Tips for a Neat Finish
- Pin everything first. Ashley uses sewing pins to test the position of the snout, patches and ears before sewing a single stitch. Move them around until the face looks the way you want, then sew.
- Leave long tails. Every small piece is sewn on, so a generous yarn tail on each one saves you from joining new yarn later.
- Place the eyes with the snout in mind. The snout sits just below the eyes, so check the spacing with the snout pinned on before you lock the safety eye backs.
- Keep patches asymmetrical. Real cows are not perfectly balanced, and a slightly off-center patch usually looks more charming than a tidy pattern.
- Stuff firmly but evenly. A smooth, well-stuffed body gives you a flat surface to sew the snout and spots onto.
Enjoy the Video Tutorial

Source: A Crafty Concept
Frequently Asked Questions
Is this crochet cow suitable for beginners?
Yes. The designer describes it as a beginner pattern, and the video is very detailed. If you already know how to work in the round, increase and decrease, you have the skills you need. The trickiest part is sewing the small pieces on neatly, and the pinning method shown in the video makes that much easier.
Where do I find the instructions for the body?
The cow uses the same body as the designer's Ava Bunny. The written pattern for the full cow is free on A Crafty Concept's blog, and the video explains where to find the body techniques if you want to see them worked step by step.
Can I use a different yarn?
The sample is made with We Crochet Brava. If you swap yarns, keep a similar weight and use a hook that gives you a tight fabric, so the stuffing does not show through the stitches.
More from A Crafty Concept
- Halloween Crochet Patterns for a Skeleton Doll
- Crochet Baby Stuff: How to Make a Rainbow Rattle
- Crochet Chapstick Holder Keychain: Free Pattern and Video Tutorial
More crochet projects for you