
Crochet Snowflake Garland: Free Christmas Pattern with Stiffening Video Tutorial

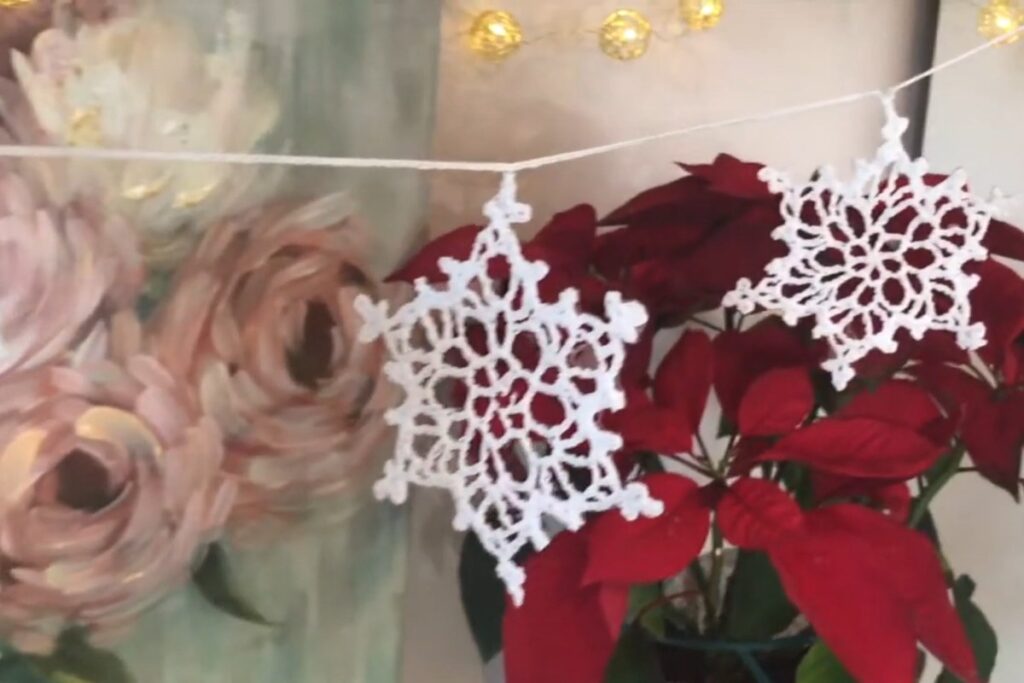
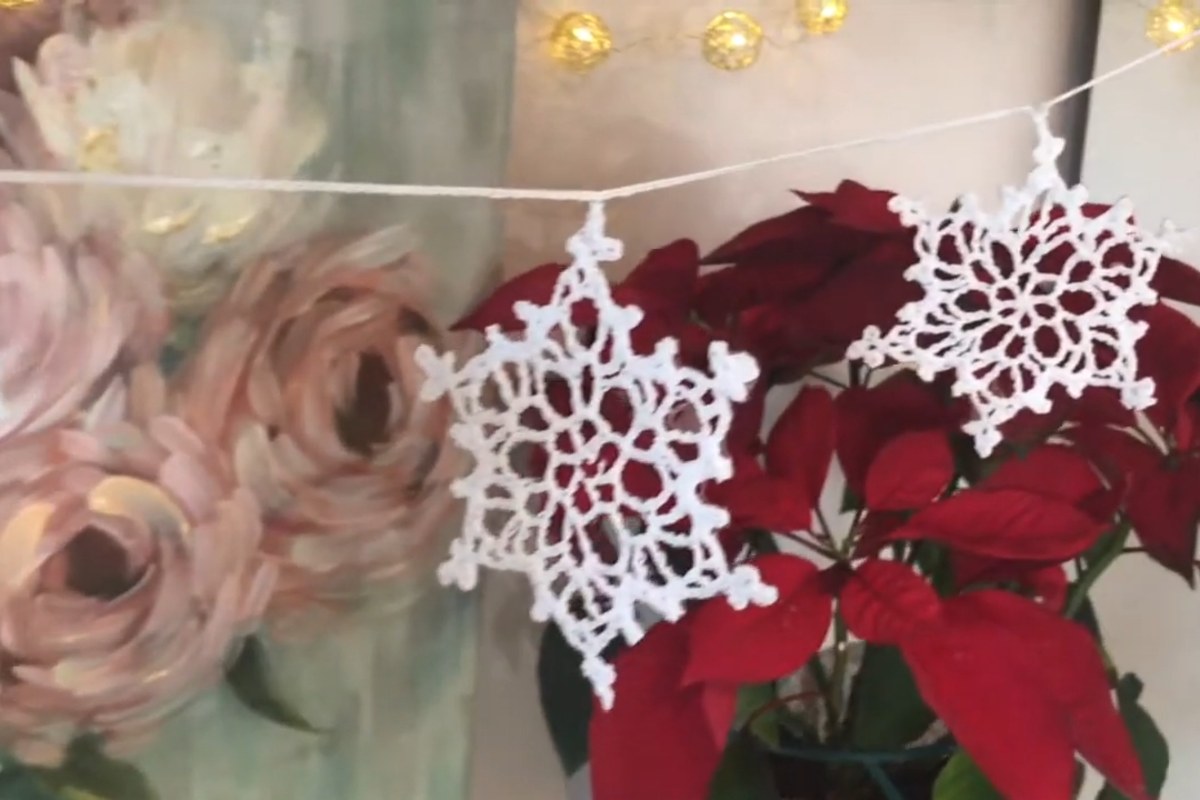
Crochet snowflakes are a winter favorite, but they often end up as single ornaments scattered around the tree. This crochet snowflake garland gives them a new job. A row of white lace snowflakes is linked onto a crochet chain so they hang together across a mantel, a window frame or a bookshelf. It looks delicate and frosty, and it sits beautifully next to fairy lights and a red poinsettia.
The garland is by Anita Louise Crochet. After crocheting snowflakes for many years, this was the first snowflake pattern she designed herself. In this short video she shows how she links the finished snowflakes with a chain and then stiffens them so they keep their shape and hang nicely. The snowflake itself has its own crochet-along video and a free written pattern on her blog, so this tutorial is all about putting the garland together and finishing it.
Images and patterns courtesy of Anita Louise Crochet
Snowflake Garland at a Glance
- Designer: Anita Louise Crochet
- Skill level: Easy to assemble; the snowflakes are worked in thread, so a little patience with fine cotton helps
- Snowflakes: 8 in Anita's garland
- Thread: size 10 crochet cotton in white or a pearl sparkle shade
- Hook: size 6 crochet hook
- Finishing: Mod Podge Stiffy fabric stiffener
- Video length: 7 minutes 26 seconds
What You'll Need
- 8 crochet snowflakes made from Anita's free snowflake pattern
- Size 10 crochet cotton for the snowflakes and the linking chain
- Size 6 crochet hook
- Mod Podge Stiffy
- A small bowl for the stiffener
- A garbage bag or another plastic sheet to protect your work surface
How to Make the Garland
1. Intro and materials (00:00 and 00:57)
Anita starts by showing the finished garland hanging in her craft room, then runs through the supplies. Have all your snowflakes finished before you press play on the next section.
2. Attaching the snowflakes (01:17)
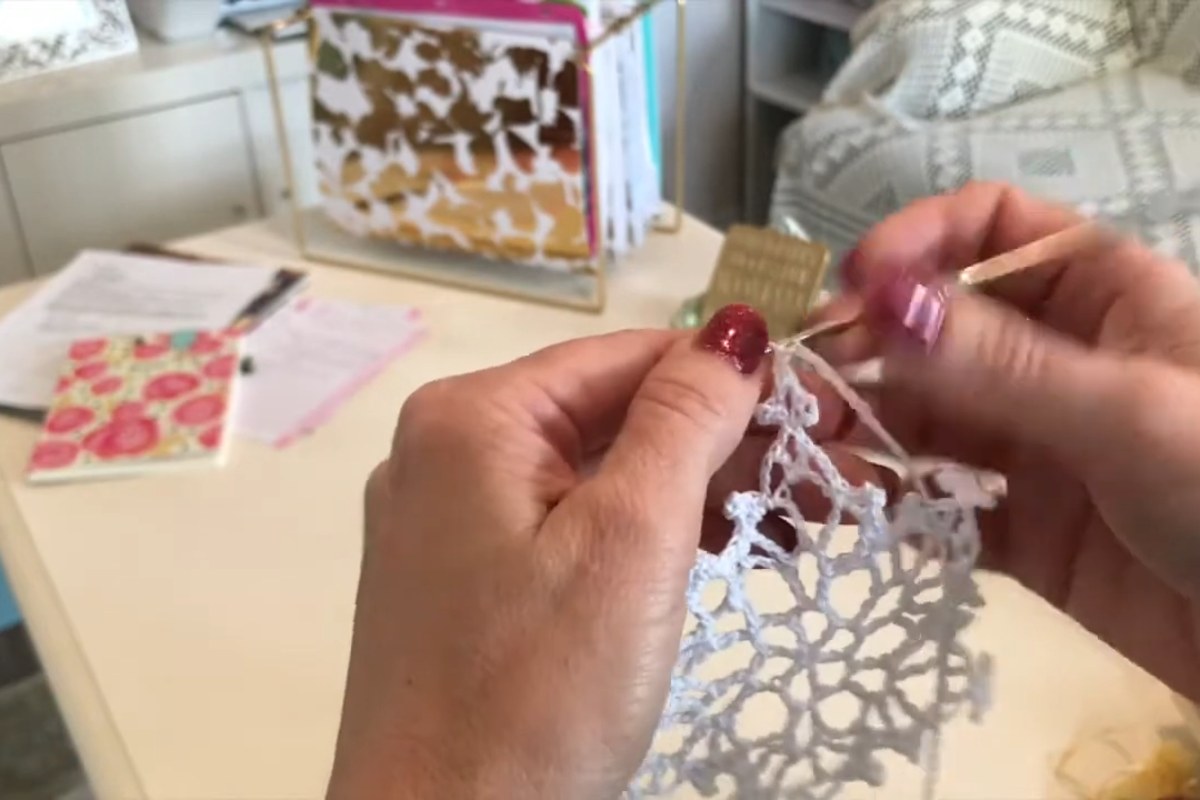
Using the same cotton, she links the snowflakes together with a crochet chain. Before you start, lay the snowflakes out in a row and decide how far apart you want them. Keeping the chain between each one the same length makes the finished garland look even when it hangs.
3. Stiffening with Mod Podge (03:20)
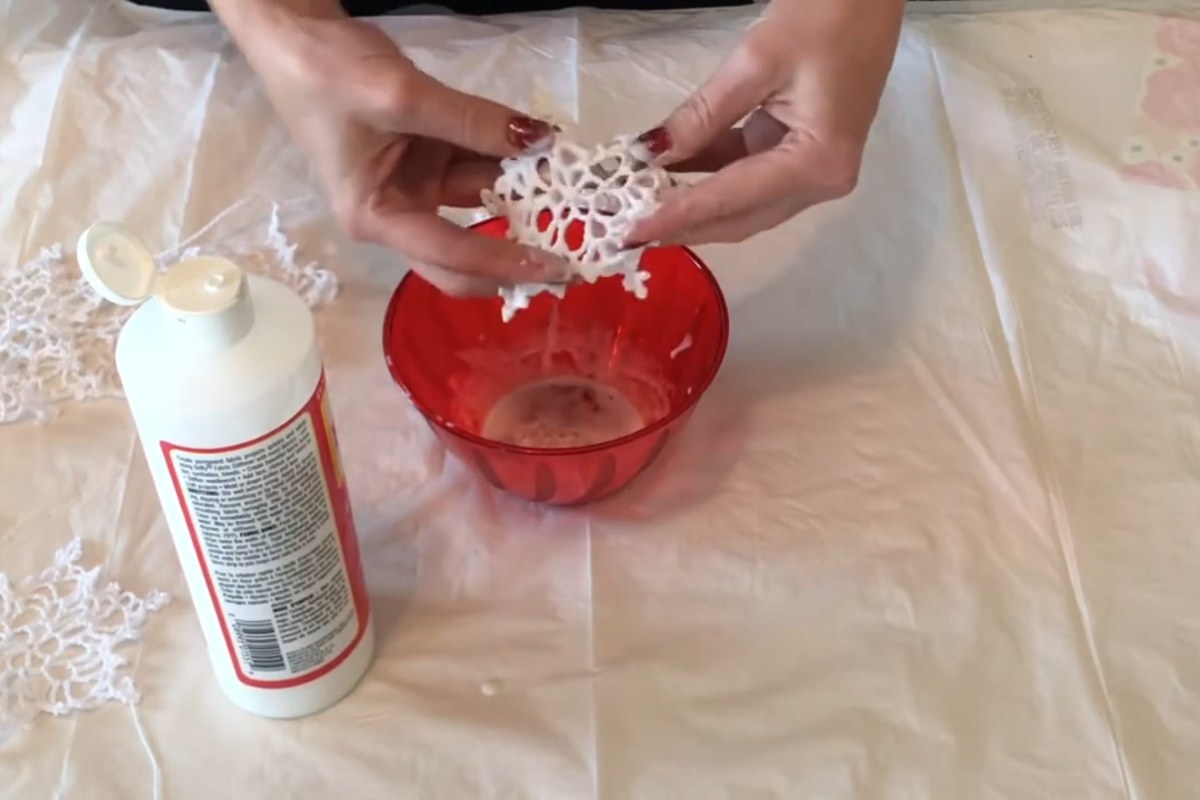
Next the snowflakes take a dip in Mod Podge Stiffy poured into a small bowl. This step gets sticky, which is why the work surface is covered with a garbage bag. Let the extra stiffener drip back into the bowl so the little holes in the lace stay open and crisp.
4. Drying and final touches (05:32)
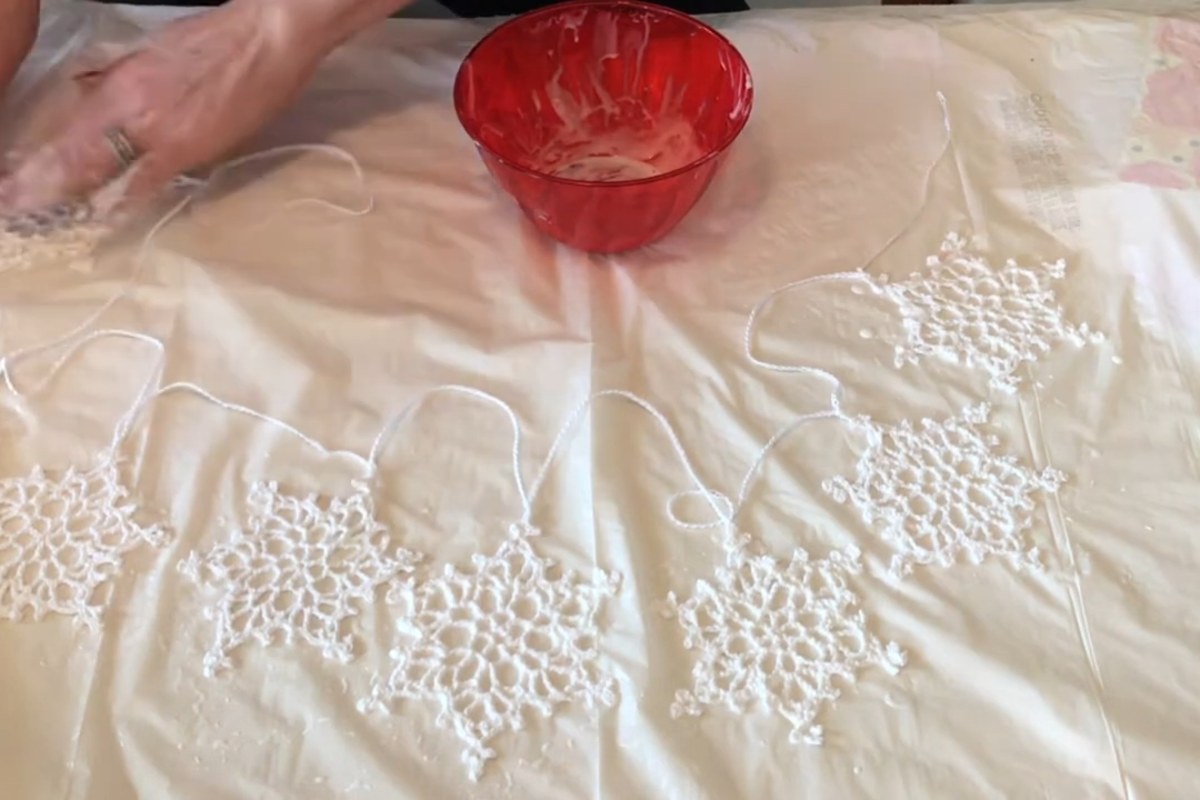
The coated snowflakes are laid out flat to dry. While they are still damp you can open up the picots and straighten each arm with your fingers, because whatever shape they dry in is the shape they keep. Once they are firm, the garland is ready to hang.
Ideas for Hanging and Gifting
A white snowflake garland fits almost any winter decor, which is why it is worth making even if your Christmas colors change every year. Drape it along a mantel with greenery, hang it across a window where daylight shines through the lace, or loop it over a mirror or headboard for a soft winter touch that can stay up until spring. Shorter strands of three or four snowflakes are lovely on a door, a shelf edge or the front of a gift box. Because the snowflakes are stiffened, the garland also packs flat, so it makes a thoughtful handmade present for a friend who loves to decorate.
Tips for a Beautiful Snowflake Garland
- Crochet all eight snowflakes before you start linking. Working them in a batch helps keep your tension, and therefore their size, consistent.
- Mix sizes or patterns if you like. A garland with two alternating snowflake designs looks charming too.
- Shape the snowflakes carefully while they are wet. Pointed tips and open lace make a big difference once they are hanging.
- Give them plenty of time to dry completely before you lift the garland, so the points do not bend.
- Pearl or sparkle cotton adds a frosty shine that catches the light from string lights.
- After the holidays, store the garland flat between sheets of tissue paper so the snowflakes stay crisp for next year.
Enjoy the Video Tutorial

Source: Anita Louise Crochet
Frequently Asked Questions
Where do I find the snowflake pattern?
Anita shares a free written pattern for the basic snowflake on her blog, on the same page linked in the credit above. She also has a separate crochet-along video for the snowflake on her YouTube channel.
Do I have to stiffen the snowflakes?
It is the step that makes the garland work. Soft cotton snowflakes tend to curl and droop on a string, while stiffened ones stay flat and show off the lace.
How many snowflakes do I need?
Anita uses 8 for her garland. For a longer garland across a wide window or mantel, simply crochet more and link them the same way.
More from Anita Louise Crochet
- How to Make a Crochet Christmas Light Garland
- Super Easy! Crochet Sweater Giftcard Holder
- Crochet DIY Taylor Swift Friendship Bracelet Garland
More crochet projects for you