
How to Join Granny Squares: Flat Slip Stitch Seam Tutorial for Beginners

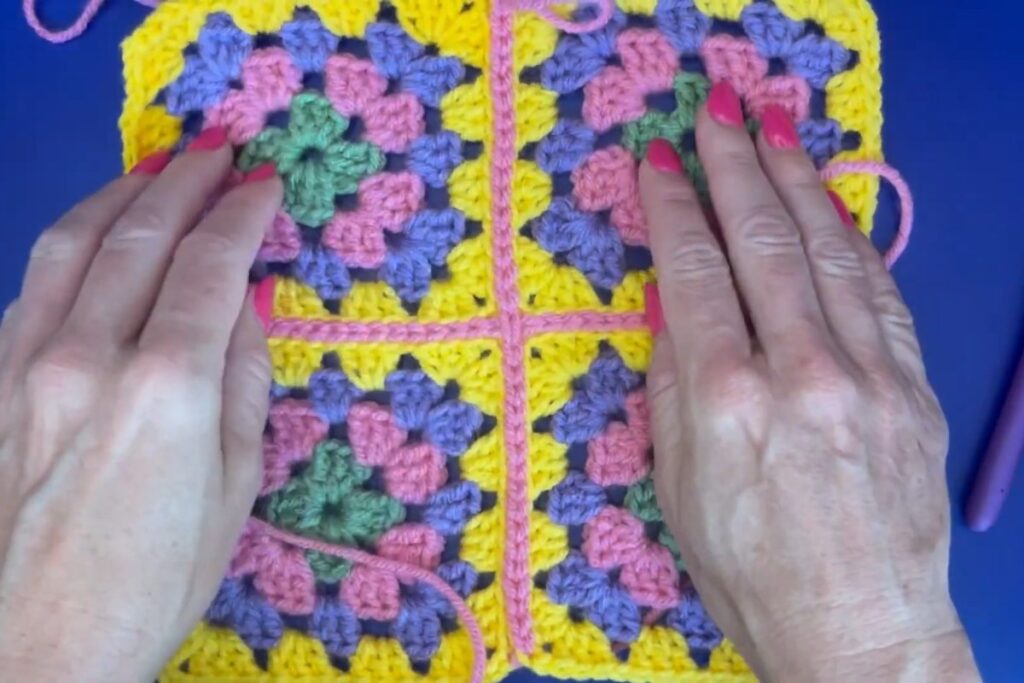
Making granny squares is the fun part. Joining them is where a lot of blankets end up stuck in a bag for months. If you have a pile of finished squares waiting for you, this tutorial is a good way to get them moving again. Anita Louise Crochet shows her favorite way to join granny squares, the flat seam slip stitch method, and takes it slowly enough for complete beginners to follow.
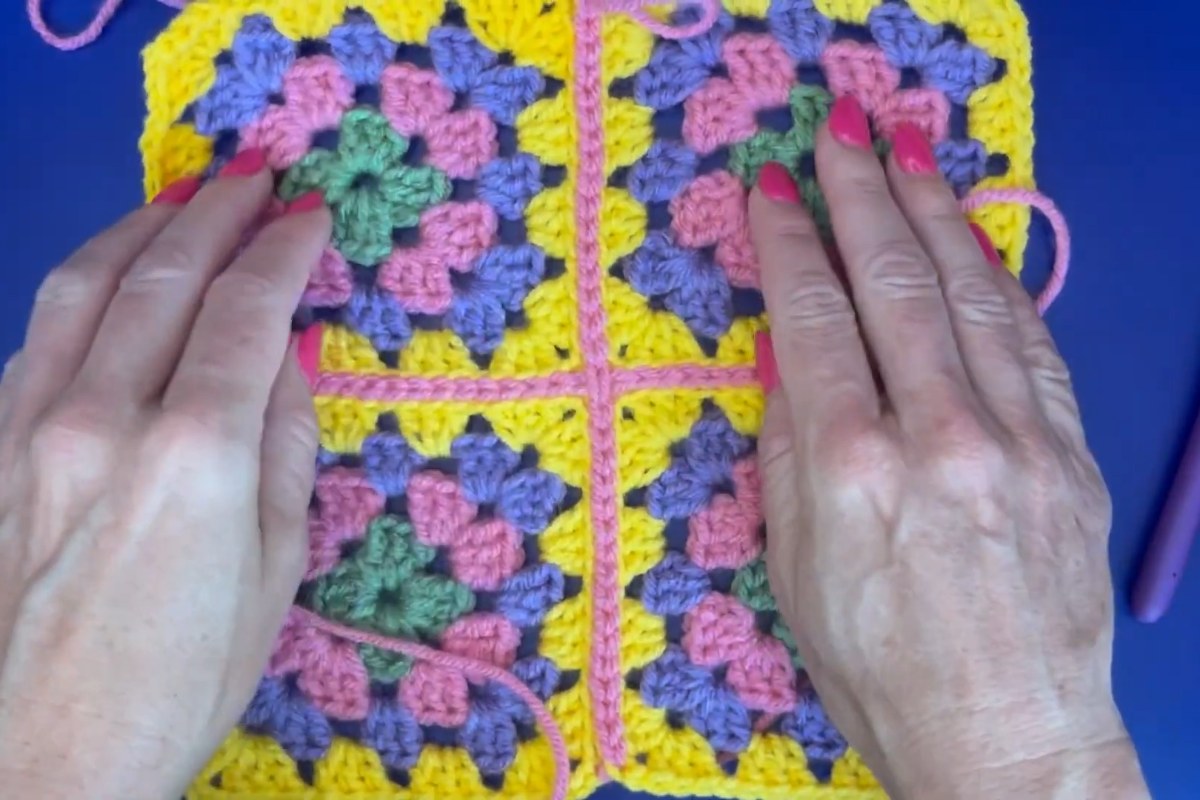
The result is a neat seam that lies flat between the squares instead of forming a bulky ridge. In the video Anita works it in a bright pink yarn on squares with yellow borders, so you can see every stitch. You can do the same for a bold, decorative grid, or use a matching color if you would rather the seams blend in.
Images and patterns courtesy of Anita Louise Crochet
Flat Slip Stitch Join at a Glance
- Designer: Anita Louise Crochet
- Skill level: Beginner
- Technique: flat seam slip stitch join
- Works for: granny square blankets, bags, cardigans and other projects made from squares
- Video length: about 19 minutes
What You'll Need
- Your finished granny squares
- Yarn for the seam, either a contrasting color or one that matches your borders
- A crochet hook that suits your yarn
- Yarn needle and scissors for the ends
Before you start joining, it helps to weave in the ends on every square and, if your squares curl, to block them so they are all the same size. Lay them out in the order you want and take a photo, so you never lose track of the layout halfway through.
How the Flat Slip Stitch Join Works
The video is split into chapters, so you can go back to any step whenever you need a reminder.
1. Introduction to the method (00:00)
Anita opens with a look at the method and the finished seam. The squares are joined while they lie flat next to each other, right side up, which is why the seam stays flat and the blanket does not pucker along the joins.
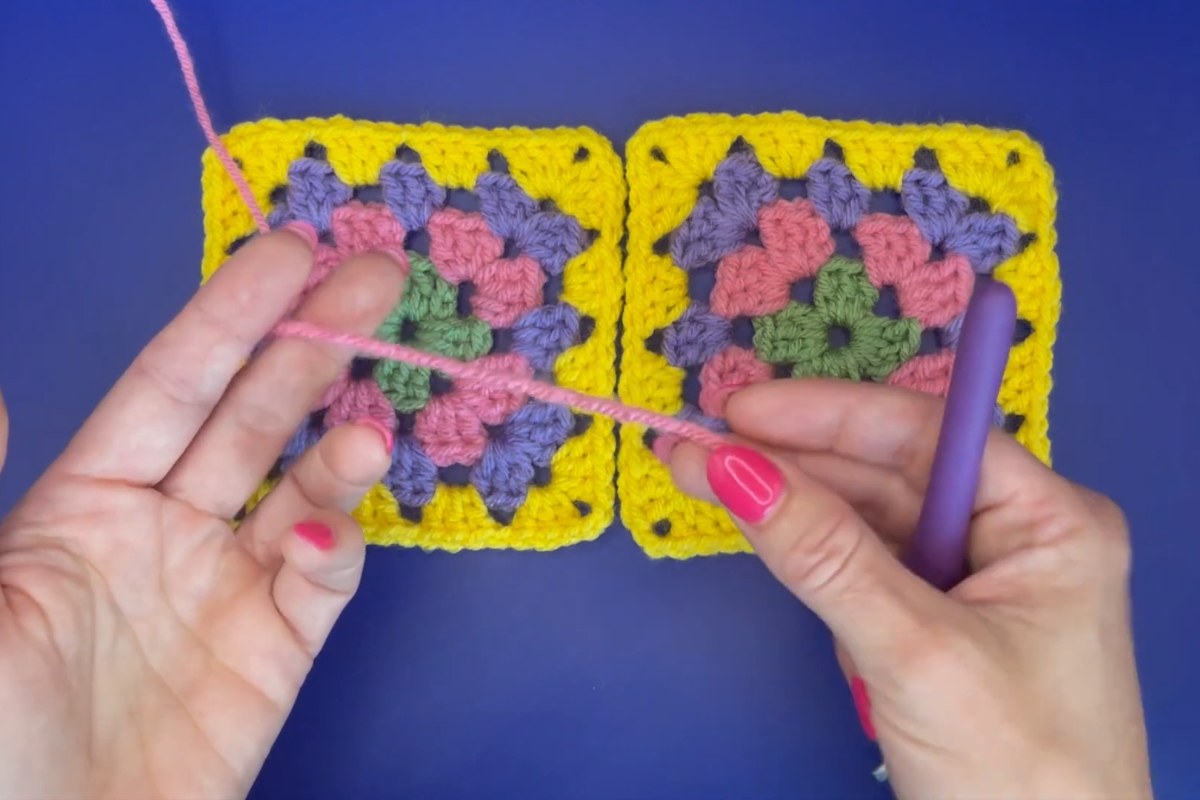
2. Joining the first squares (01:07)
Two squares are placed side by side and joined with slip stitches along their edges. Watch where Anita inserts the hook and how relaxed she keeps her tension. Tight slip stitches are the most common problem with this kind of seam, so if yours starts to gather, loosen up or try a hook one size larger.
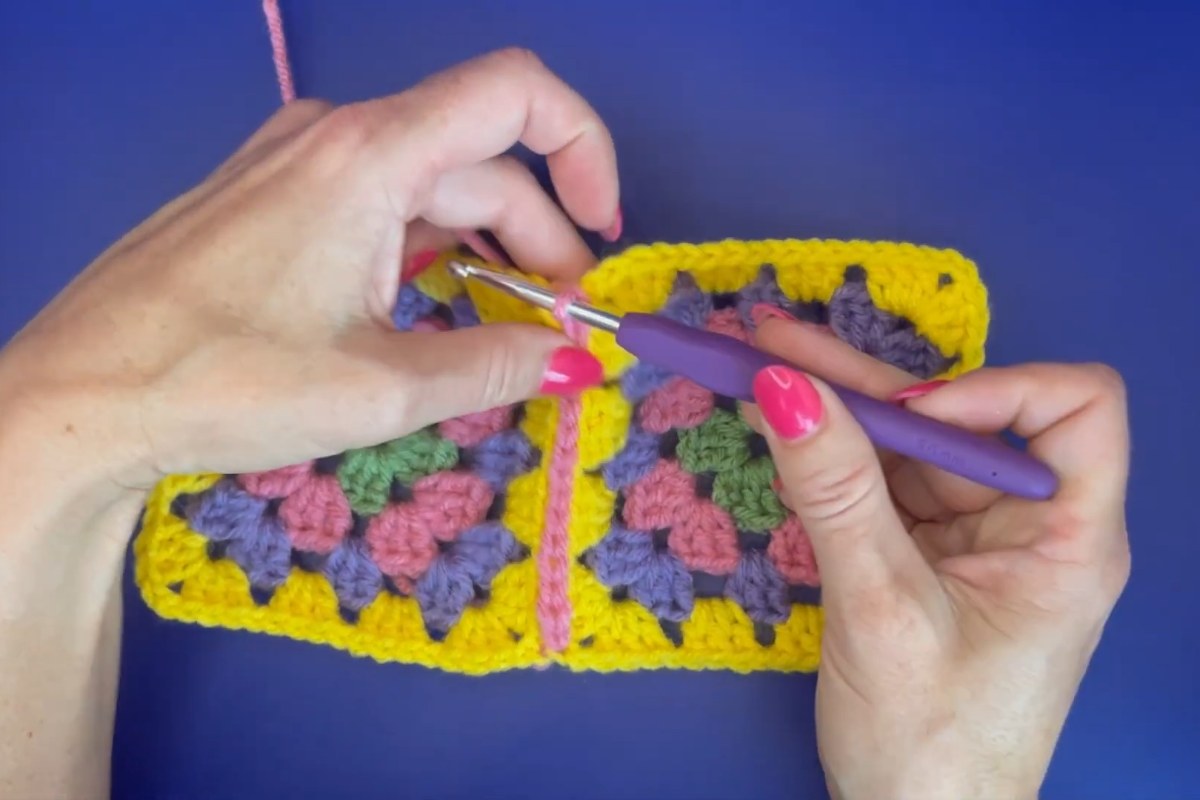
3. Working the corner transitions (06:47)
Corners are where many joins look messy. In this chapter Anita moves from one pair of squares to the next and shows how to handle the corners, so the seam carries on smoothly along the whole row.
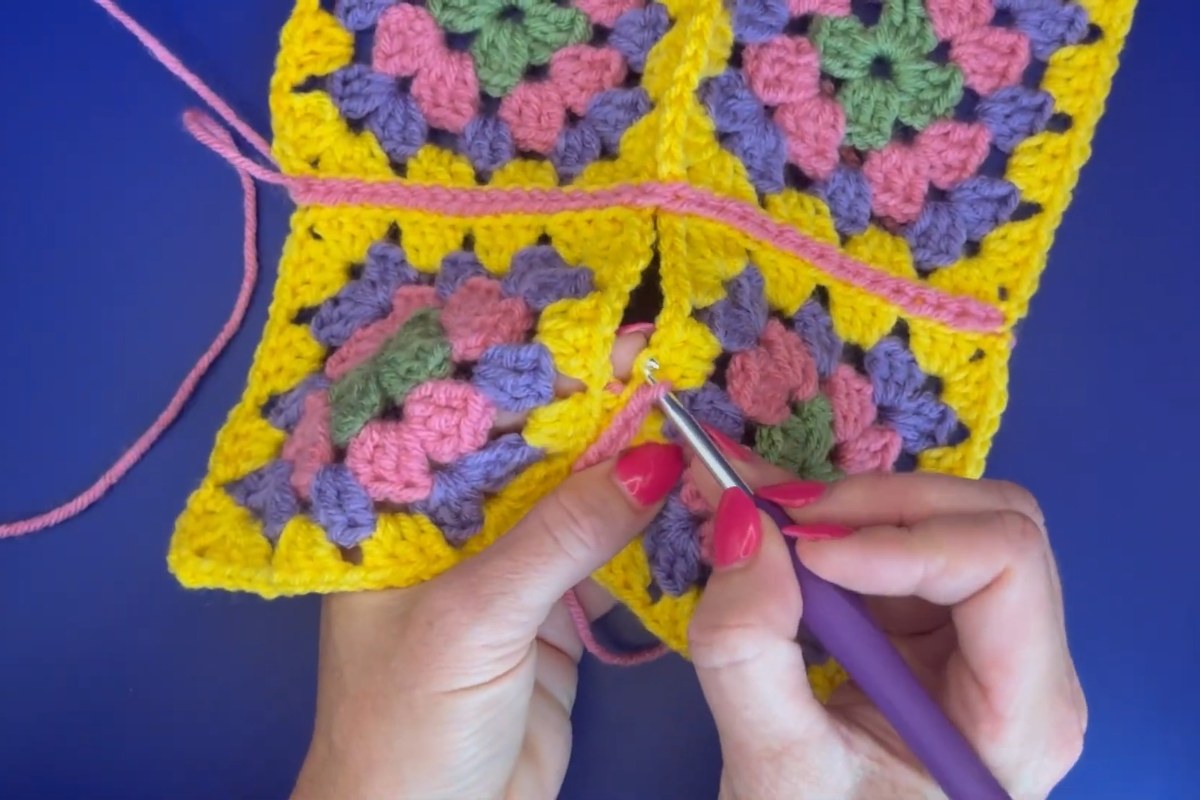
4. Joining in the other direction (10:17)
Once the seams in one direction are done, the squares are joined the other way, crossing the first seams to complete the grid. This is the chapter to rewatch when you reach the point where four squares meet.
Tips for Joining Granny Squares
- Join in long rows. Working all the seams in one direction first and then the other, as Anita does, means fewer ends to weave in than joining each square one at a time.
- Watch your tension. A seam that is tighter than the squares will make the blanket pull in. Stretch the seam gently every few inches to check.
- Count the stitches on each edge. Squares joined stitch for stitch line up much better. If one square has an extra stitch, ease it in near the middle of the edge rather than at a corner.
- Pick the seam color on purpose. A contrasting color frames each square like a window, while a matching color gives a calmer, almost seamless look.
- Practice first. Join two spare squares before you start on your blanket. It only takes a few minutes and you will feel much more confident.
Why Choose a Flat Seam?
There are many ways to join granny squares, from whip stitching with a needle to single crochet seams that sit on top as a ridge. A flat slip stitch seam is a nice middle ground. It is worked entirely with your hook, so there is no sewing, and it stays flat, which makes it comfortable for a blanket you will actually sleep under or wrap around your shoulders. It also looks the same on every seam once you get into a rhythm, which keeps a large project looking tidy.
Enjoy the Video Tutorial

Source: Anita Louise Crochet
Frequently Asked Questions
Is the flat slip stitch join good for beginners?
Yes. It only uses slip stitches, so if you can make a slip stitch you can make this seam. Anita's video is aimed at beginners and goes step by step.
Should I use the same color as my squares?
Either works. A contrasting yarn, like the pink in the video, turns the seams into part of the design. A matching yarn hides them. While you are still learning, a contrasting color makes it easier to see what you are doing.
Can I use this join for things other than blankets?
Yes. Any project made from squares can be joined this way, including bags, pillow covers and granny square cardigans.
More from Anita Louise Crochet
- Unicorn Granny Square Crochet Tutorial
- How to Crochet a Blanket for Beginners
- How to Make the Double Crochet Stitch
More crochet projects for you