
Knit-Look Crochet Beanie: Reversible Striped Hat Video Tutorial

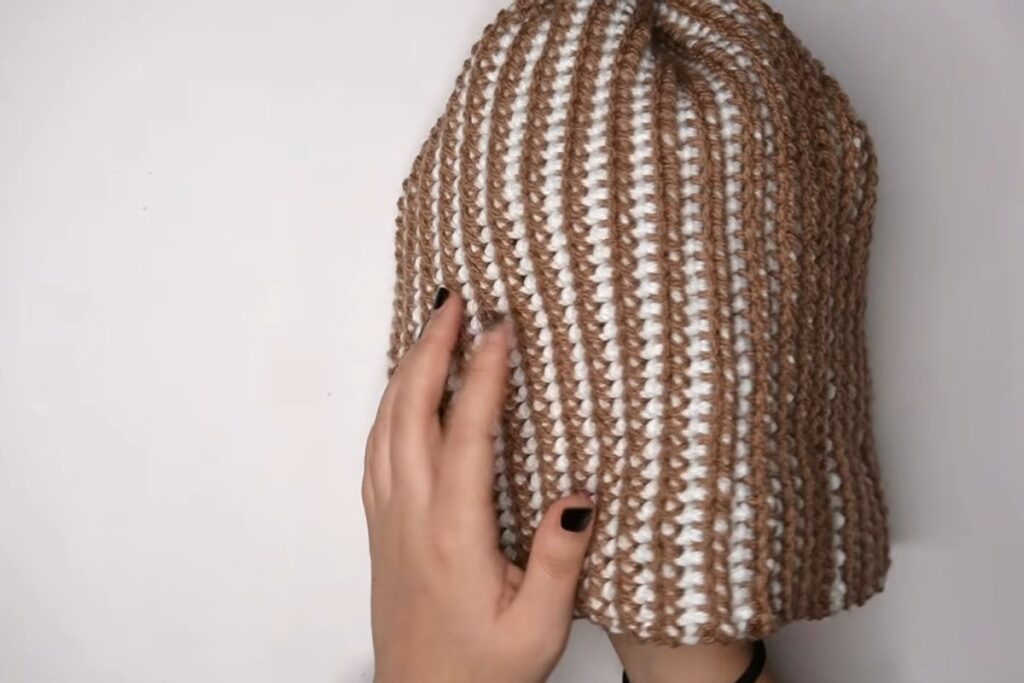
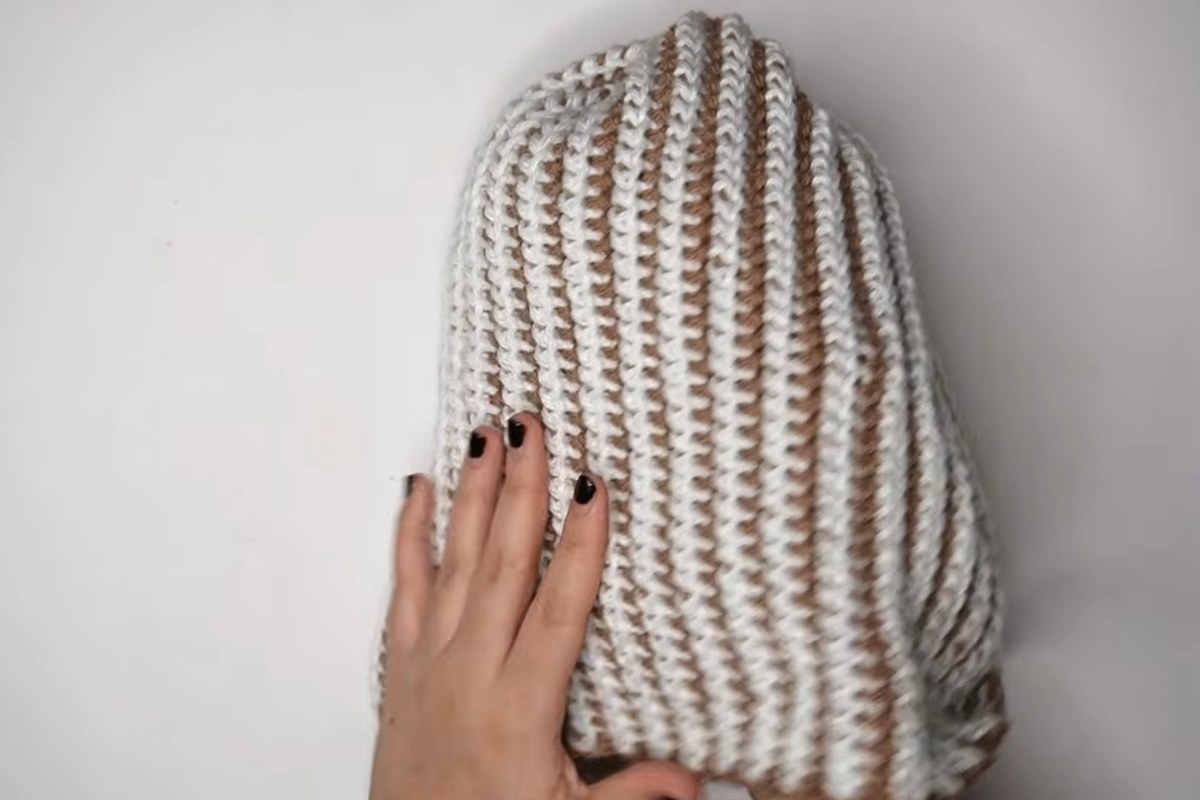
A knit-look crochet beanie gets its ribbed, knitted texture from one simple stitch: the yarn over slip stitch (also called the half double crochet slip stitch) worked in the back loop only. In this reversible version you switch between two colors every row, so one side shows bold brown ridges and the other shows white ones. You crochet a flat rectangle, sew it into a tube and gather the top, and the whole hat is shown in one 34-minute video tutorial.
This design comes from Cherilyn Q, whose cozy hats are already some of the most popular projects on this blog. If you enjoyed her knitted look beanie for beginners, this striped, two-sided version is the natural next step.
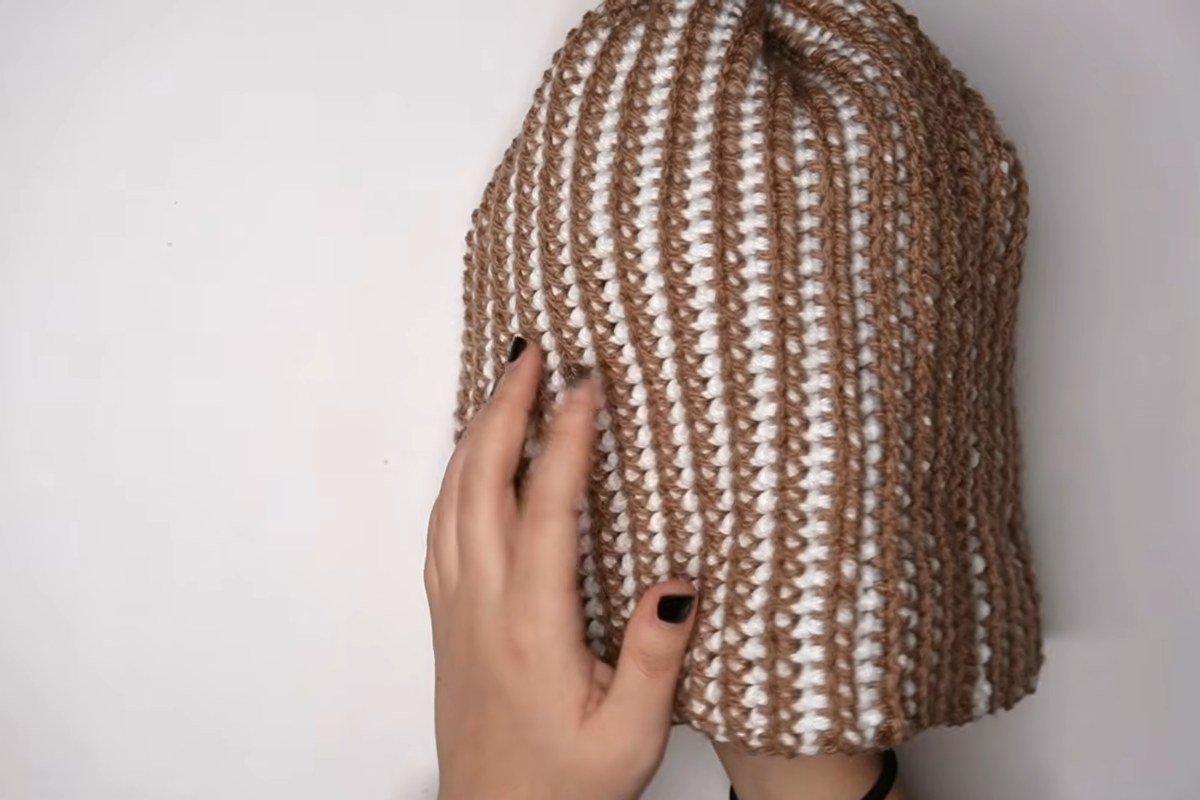
Knit-Look Crochet Beanie at a Glance
- Designer: Cherilyn Q
- Skill level: advanced beginner (complete beginners can manage it, but expect a short learning curve with the stitch)
- Main stitch: yarn over slip stitch in the back loop only
- Yarn: two colors of Four Seasons Marvel (one 8 ply, one 12 ply of similar thickness)
- Hook: 5 mm (one size up from the 4 mm the yarn label suggests)
- Finished beanie weight: about 81 g, so plan on a little more than 40 g of each color
- Sample: 40 foundation chains for the height of the hat and 66 rows around, sized for a head of about 23 in
- Video length: 34 minutes 30 seconds
What You'll Need
- Yarn in two contrasting colors (the sample uses brown and white)
- 5 mm crochet hook
- At least two stitch markers
- Yarn needle
- Scissors
If you change the size of the beanie, you will probably need more than 40 g per color, so it is worth having a little extra on hand.
How the Reversible Beanie Is Made
The structure is easy to picture before you start: a rectangle worked in rows, joined along the short edges into a tube, then closed at one end. Here is how the video is laid out, with the chapter times so you can jump straight to the part you need.
1. Intro and materials (00:00)
Cherilyn shows both sides of the finished hat and explains why each side has a brim in the opposite color and a clean top with no yarn tails showing.
2. Foundation chain (02:05)
The foundation chain sets the height of the beanie, not the width. Her 40 chains measure about 11 in (28 cm) and stretch to roughly 13 in (33 cm). Add or remove chains if you want a taller, slouchier fit or a shorter one.
3. The stitch (04:30)
Every stitch in the project is the same: yarn over, insert the hook, pull up a loop, then pull the first loop through the other two. A stitch marker in the first stitch of each row helps you find it again, which matters a lot with slip stitch fabric. After the first row you work into the back loop only, and that is what creates the ribbed, knitted look.
4. Changing color (10:05)
You switch color at the end of every row and carry the unused yarn along, working one color in one direction and the other color back. Because each color is exactly one row, the two shades end up as alternating ridges.
5. Sizing (19:42)
Keep adding rows until the piece stretches slightly to the wearer's head circumference. Her 66 rows measure a little over 22 in unstretched and comfortably fit a 23 in head. One rule to remember: finish in the opposite color to the one you started with, so your row count must always be an even number.
6. Joining the edge (21:58)
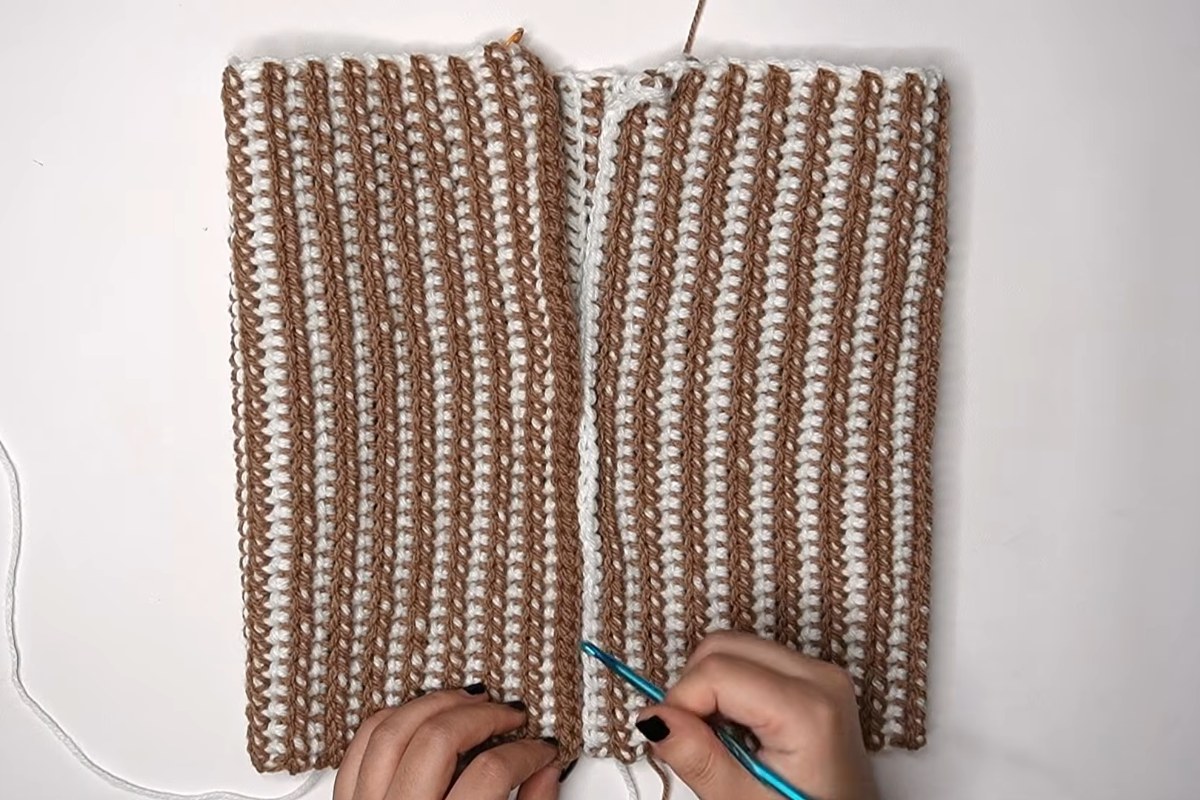
Instead of a slip stitch seam, which would add an extra ridge, the short edges are sewn together with a yarn needle so that both sides of the hat look neat. This is the step that keeps the beanie truly reversible.
7. Closing the top (26:10)
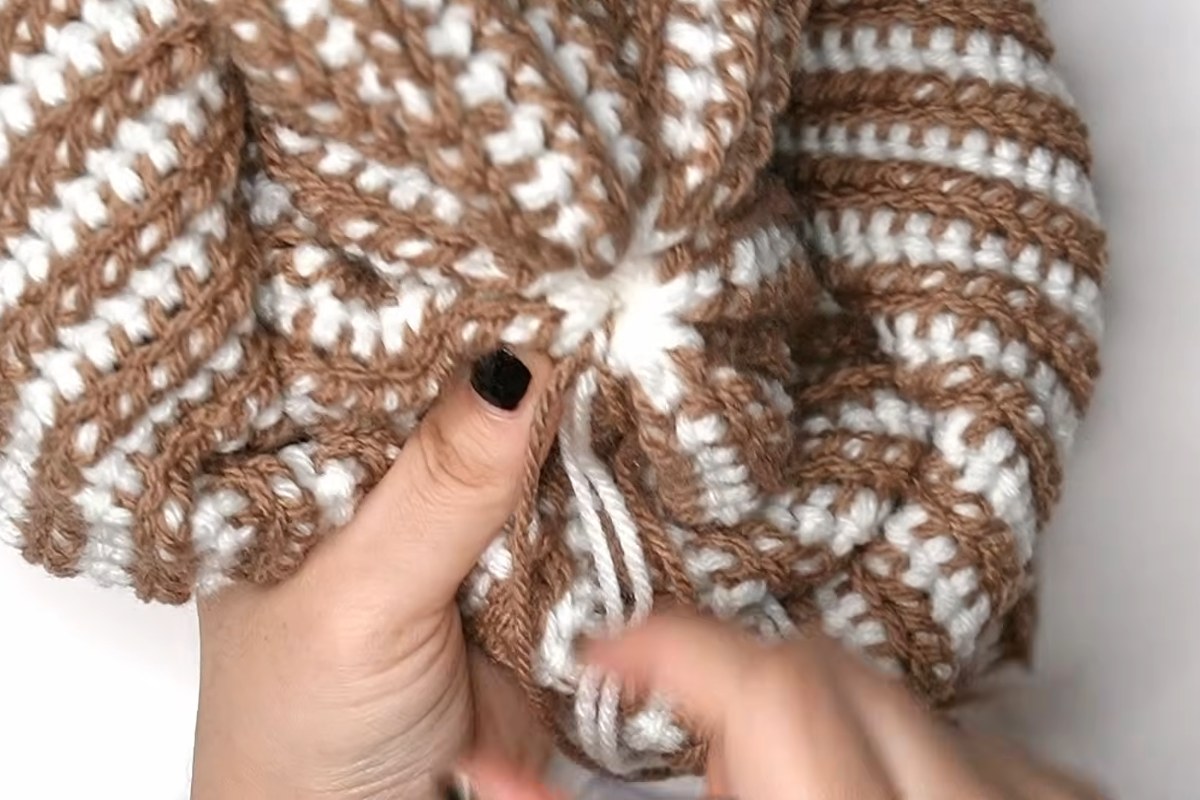
Pick the less tidy edge for the top and keep the neater one for the brim. A long tail is woven in and out around the edge and pulled tight to gather the crown.
8. Fastening off (31:33)
The remaining tails are hidden by running them through stitches of the matching color, so nothing shows on either side.
Tips for a Neat Knit-Look Finish
- Go up a hook size. Slip stitch fabric is dense and not very stretchy, which is why the designer moves from 4 mm to 5 mm. If your rows feel stiff, try going up one more.
- Pinch before you pull through. Holding the base of the stitch between the loops makes it much easier to pull the first loop through the other two.
- Mark the first stitch of every row. It is easy to lose the edge stitch in slip stitch work, and a missed stitch shows up as a slanted edge.
- Measure stretched, not flat. A ribbed hat should be a little smaller than the head so it hugs without slipping.
- Count your rows in pairs. Each pair of rows is one brown ridge plus one white ridge, which makes it quick to confirm you are on an even number.
Want a solid-color version with the same ribbed texture? Our easy ribbed crochet beanie is another good winter option, and a pair of cozy crochet fingerless gloves would make a matching gift set.
Images and patterns courtesy of Cherilyn Q
Enjoy the Video Tutorial

Source: Cherilyn Q on YouTube
Frequently Asked Questions
What stitch gives this crochet beanie a knitted look?
It is the yarn over slip stitch, sometimes called the half double crochet slip stitch, worked in the back loop only. Working rows back and forth in this stitch creates vertical ridges that look like knit ribbing once the rectangle is turned into a hat.
How do I make the beanie bigger or smaller?
The number of foundation chains controls the height of the hat, and the number of rows controls how far it goes around the head. Work rows until the piece stretches slightly to the head circumference, and always stop on an even number of rows.
Is this hat really reversible?
Yes. One side shows mostly the first color and the other side shows mostly the second, and each side has a brim in the opposite color. Sewing the seam with a yarn needle and hiding the tails in matching stitches keeps both sides clean.
More from Cherilyn Q
- Knitted Look Beanie Made Easy for Beginner Crocheters
- Crochet Cat Earflap Hat for All Ages
- How to Make Cozy Fingerless Gloves
More crochet projects for you