
Crochet a Spooky Spider: Step-by-Step Video


If you’ve been wanting a fun, slightly spooky amigurumi project, this crochet spider is such a cute one to try. In the video tutorial below, you’ll see how the spider comes together step by step, so you can follow along even if you’re newer to amigurumi.
This is a great project for using up yarn you already have and practicing the basics like working in the round, shaping, and assembling small pieces.
How a Crochet Spider Amigurumi Comes Together
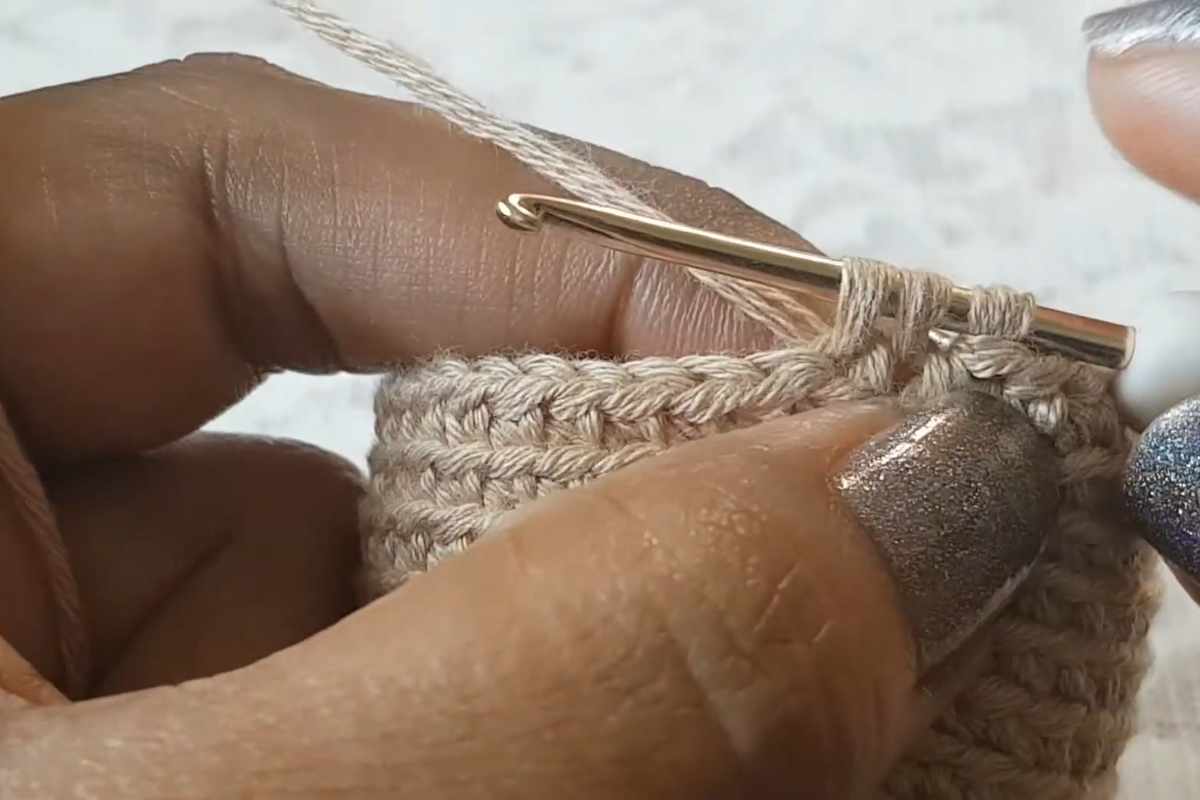
Most crochet spider amigurumi designs are built from a round body plus multiple legs that are stitched or attached into place. In the tutorial, you’ll see the construction process in a clear order, so you’re not guessing what connects where.
Refill Your Creative Cup
Feeling stuck or out of ideas? Let us bring the spark back to your hook. Our weekly emails deliver patterns, tips, and inspiration to keep your creativity blooming.
😍 Bring Your Crochet Mojo Back – Sign Up Now! Click on the image 👆🏼
As you follow along, pay attention to the little details that make amigurumi look polished—things like consistent tension, neat shaping, and taking a moment to place pieces before sewing them down. Those small steps can make your finished spider look more symmetrical and “store-bought” (in the best way).
And don’t worry if your first one isn’t perfect—amigurumi is very forgiving, and each spider you make will look better as your hands get used to the shape.
Crochet Spider Amigurumi Video Tutorial (Follow Along)

Source: Crochetwithsumi
Helpful Tips for Neater Amigurumi Legs and Assembly
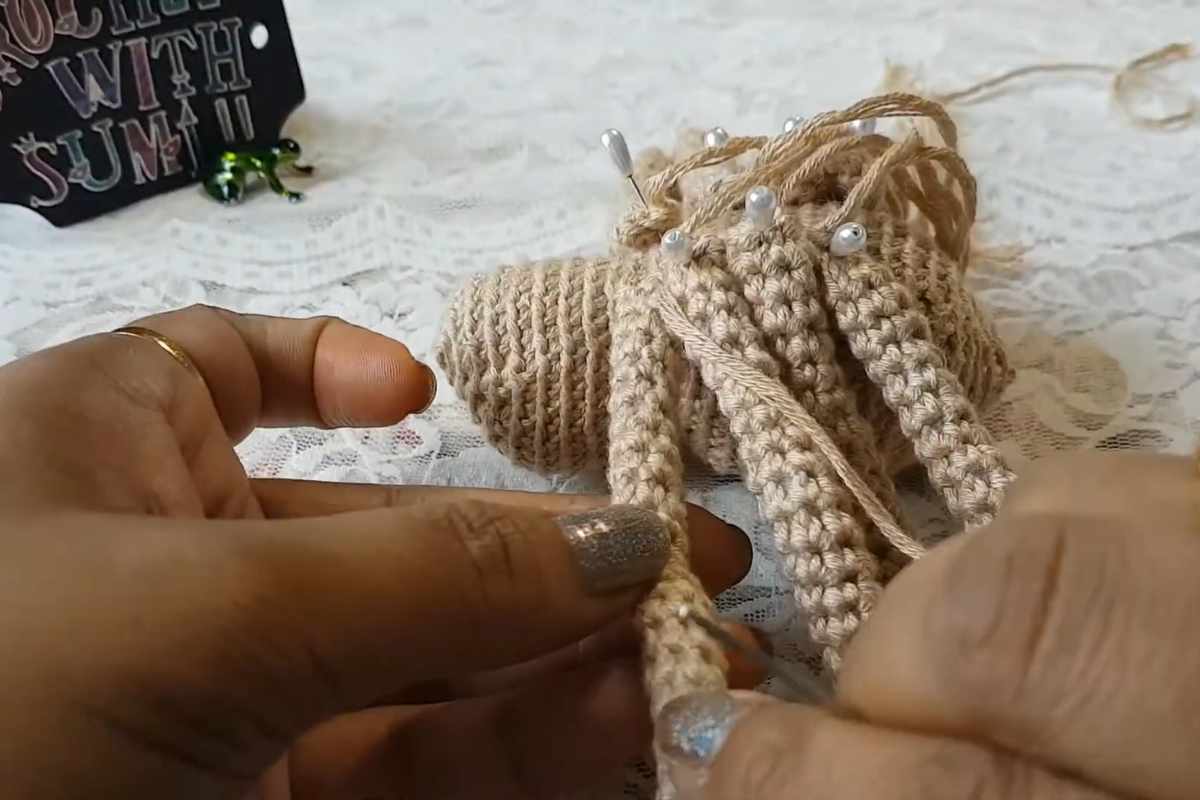
Images and patterns courtesy of Crochetwithsumi
If your legs feel a bit fiddly, you’re not alone—small parts can be the trickiest part of any amigurumi spider pattern. A couple of quick tips while you’re watching:
- Try adding a stitch marker so you always know where your round begins.
- Before sewing, pin or hold pieces in place and check the spider from multiple angles.
- If the body looks a little uneven, lightly reshaping it with your hands after stuffing can help a lot.
Once you finish, you’ll have an adorable crochet spider that’s perfect for seasonal decorating, gifting, or adding to your amigurumi collection.
Happy crocheting!
— Maggie
More crochet projects for you