
Crochet the Perfect Balaclava: A Simple and Cozy Pattern

Crocheting a balaclava is an enjoyable and practical project that can keep you warm during colder months while adding a stylish touch to your wardrobe.
Whether you’re a beginner or an experienced crocheter, this pattern is easy to follow and will help you create a perfect balaclava in no time. Let's dive into how to crochet this must-have winter accessory with a simple, yet functional design.
Materials You'll Need
Before starting, make sure you have all the necessary materials to crochet your balaclava. Here’s a list of what you’ll need:
- Yarn: Choose a medium-weight yarn, such as worsted weight (4), for a cozy, warm balaclava.
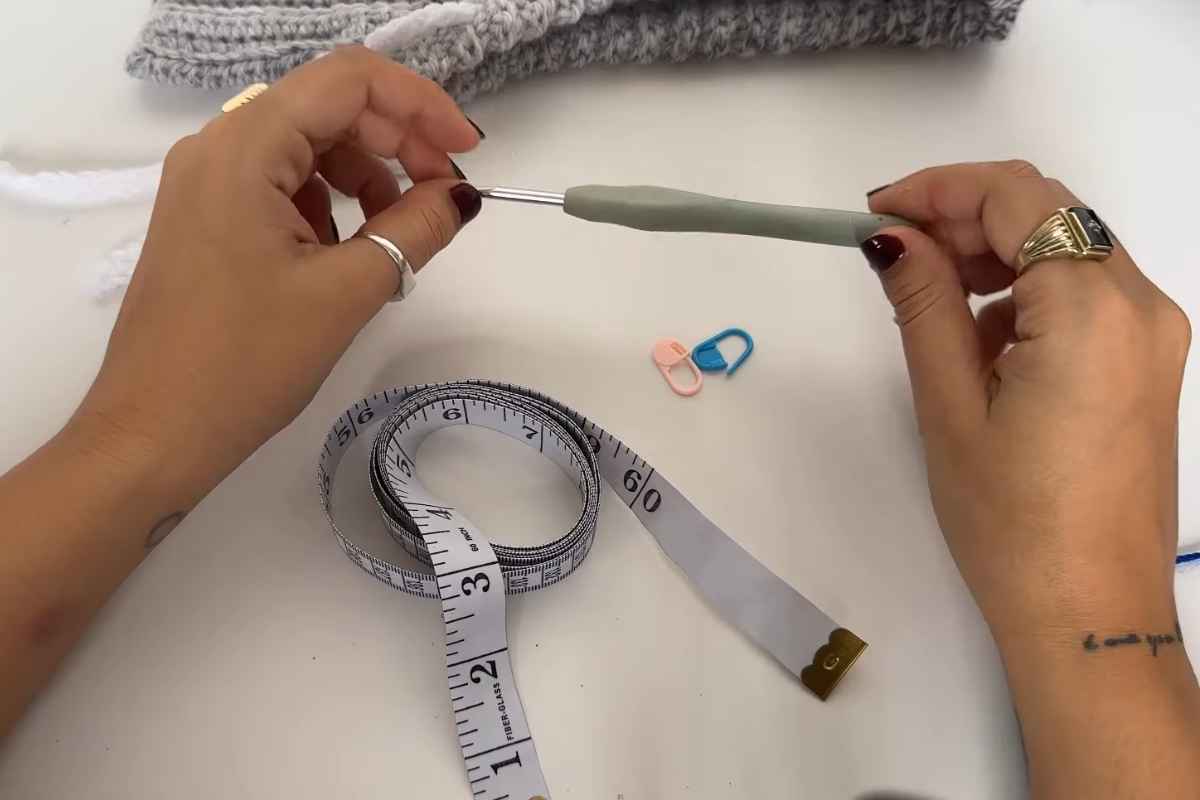
- Crochet Hook: A 5mm (H-8) crochet hook works well for this project.
- Scissors: To cut off any excess yarn once your project is complete.
- Tapestry Needle: For weaving in the ends once you've finished crocheting.
Having these items ready will ensure you can jump right into the crocheting process without any interruptions.
Refill Your Creative Cup
Feeling stuck or out of ideas? Let us bring the spark back to your hook. Our weekly emails deliver patterns, tips, and inspiration to keep your creativity blooming.
😍 Bring Your Crochet Mojo Back – Sign Up Now! Click on the image 👆🏼
Choosing the Right Yarn
The yarn you choose will play a significant role in the final look and feel of your balaclava. A soft wool or acrylic blend is perfect for warmth and comfort, but you can also opt for yarn with a bit of stretch for a snugger fit.
Consider selecting a yarn with some texture or a subtle pattern for added visual interest.
Color Options
When it comes to color, your choices are endless. Whether you want a classic black, a bold bright hue, or a neutral tone, the color you choose will reflect your personal style. You can even experiment with multicolor yarn for a fun and eye-catching balaclava!
The Basic Structure of the Balaclava
A balaclava consists of two main parts: the head and the neck opening. It’s essentially a form-fitting hood that covers your entire head and neck, with an opening for your face. This project is worked in the round to ensure a seamless look that’s both warm and comfortable.
Here’s how to get started:
Starting the Head Section
- Create a Foundation Chain
Begin by making a foundation chain that is long enough to fit around the top of your head. The number of chains will vary depending on the size of the balaclava you're making, but generally, aim for a length that comfortably fits from the back of your neck to the top of your head. - Join in the Round
Once you've made your foundation chain, connect the ends using a slip stitch to form a ring. Be sure to check for twists in the chain before joining to ensure it sits flat. - Begin Crocheting in the Round
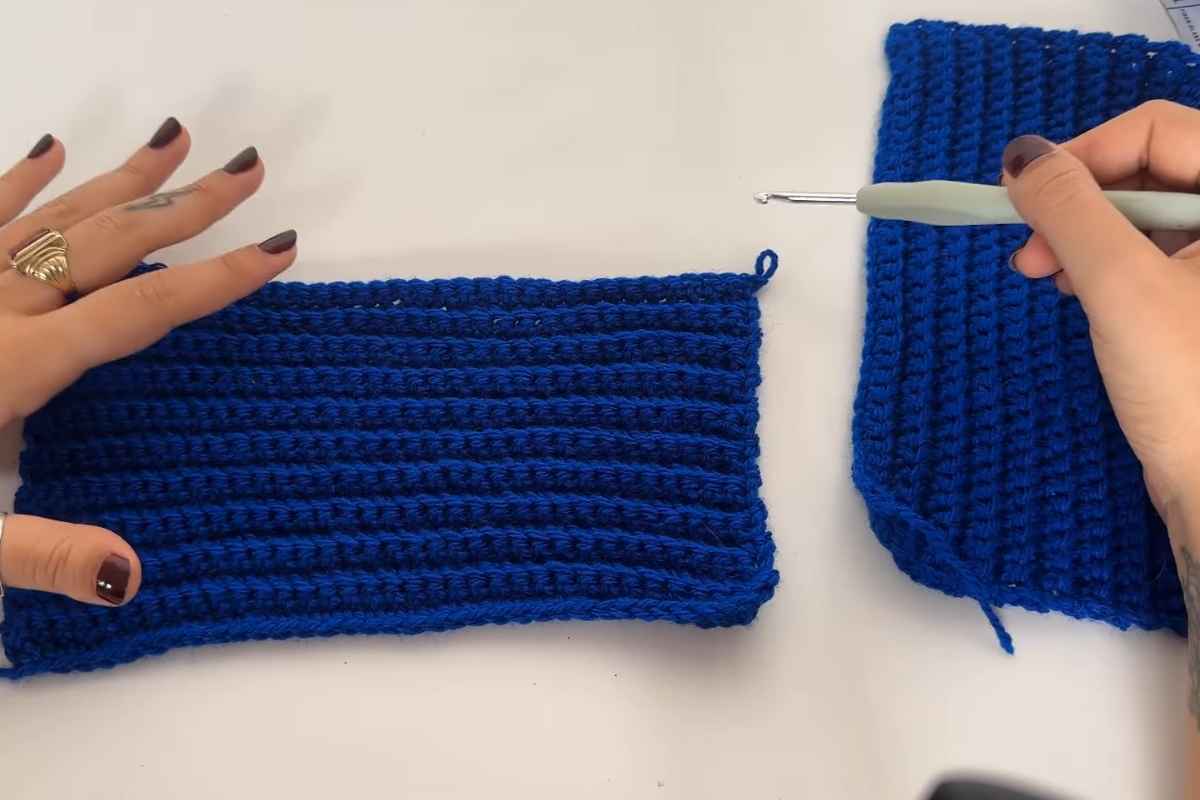
Work in single crochet (sc) or half double crochet (hdc) for a thicker fabric. Crocheting in the round allows the balaclava to maintain its shape and snug fit around your head. Continue around until you’ve created a few rows, building up the headpiece’s height. Remember to keep your stitches tight to avoid gaps that might let in cold air.
Shaping the Face Opening
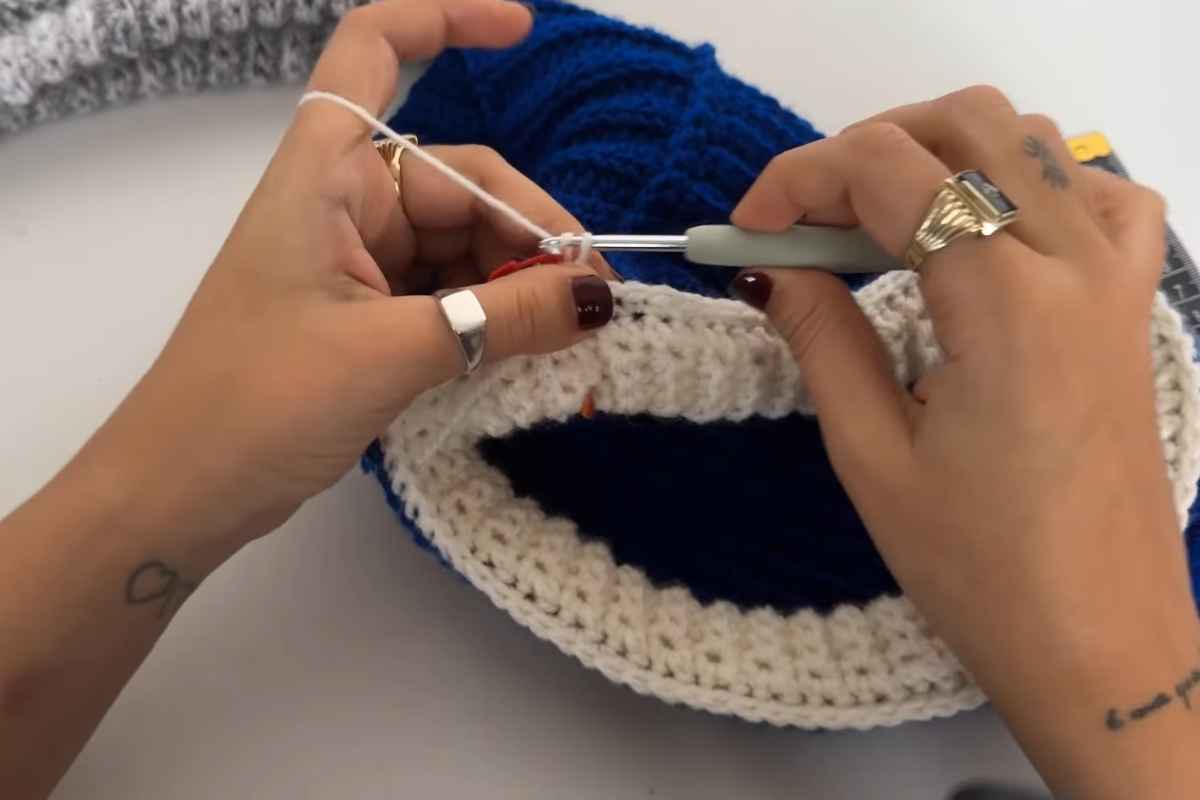
- Start the Face Hole
After a few rounds, you will need to begin shaping the face opening. The simplest way to do this is by leaving a section of the row unworked. This will create the gap for your face to fit through while keeping the balaclava snug around the rest of your head. Work the surrounding stitches to continue building up the edges of the face hole. - Crocheting Around the Face Opening
To finish off the face hole, crochet a few additional rounds around the opening to make it thicker and more defined. This will give the balaclava a polished look and ensure the opening stays the right size.
Crocheting the Neck Opening
Now, it’s time to move on to the neck section. This part should be long enough to cover your neck and provide extra warmth.
- Build Up the Neckline
After completing the head section, continue crocheting down from the face hole. You can increase the number of stitches in each round to create a wider neck opening or keep it simple by maintaining the same stitch count. The length of the neck section depends on how much coverage you want, so feel free to make it as long or short as you prefer. - Finishing the Neck Section
Once you’ve reached your desired length, finish off the neck opening with a few rounds of slip stitches for a clean edge. This will also prevent any rolling at the neck, keeping the balaclava looking neat and well-shaped.
Adding the Finishing Touches
After you’ve completed the body of the balaclava, it’s time to add the final details.
- Weave in the Ends
Use a tapestry needle to carefully weave in all the loose ends of yarn. This will ensure your balaclava holds together securely and looks neat. - Optional Edging
For a professional finish, you can add a simple border around the face hole or neck opening. You could use double crochet (dc) or a fun shell stitch to make the edges more decorative. This adds both style and durability to the balaclava.
Tips for a Perfect Fit
- Make Sure It Fits Comfortably: As you crochet, try the balaclava on frequently to ensure it’s fitting snugly around your head and neck. Adjust the number of stitches or rows as needed to ensure the best fit.
- Adjust the Length: If you prefer a longer or shorter neck section, feel free to customize it. Some like their balaclava to cover the shoulders, while others prefer a more minimalist style that ends at the neck.
- Use Stretchy Yarn: If you want the balaclava to have a bit of stretch, consider using a yarn blend with elastic properties. This will allow it to fit snugly without being too tight.
An Incredible Winter Accessory
Crocheting a balaclava is an easy and fun way to create a custom, stylish accessory that’s both functional and cozy. With the right materials and a little time, you can crochet the perfect balaclava to keep you warm all season long.
Whether you’re a beginner or an experienced crocheter, this project offers a satisfying and rewarding result. So, grab your hook and yarn and start crocheting today!
If you’re interested in learning more crochet patterns or projects, keep exploring, and happy crocheting!
Images and patterns courtesy of Lucille Pearl
Enjoy The Video Tutorial

Source: Lucille Pearl
More crochet projects for you