
Crochet Your Own Hetmongi: A Charming Amigurumi Pattern for Beginners
Crocheting stuffed animals is one of the most rewarding and relaxing hobbies for crafters of all skill levels. Among the myriad of amigurumi patterns available, Hetmongi stands out as an especially popular choice for those looking to create something both cute and customizable.
This delightful plushie features a charming, simplistic design that makes it perfect for beginners and experienced crocheters alike.
Whether you're creating it for yourself or as a gift, Hetmongi offers a chance to explore the world of amigurumi while enjoying the process of crafting a lovable character.
What is Hetmongi?
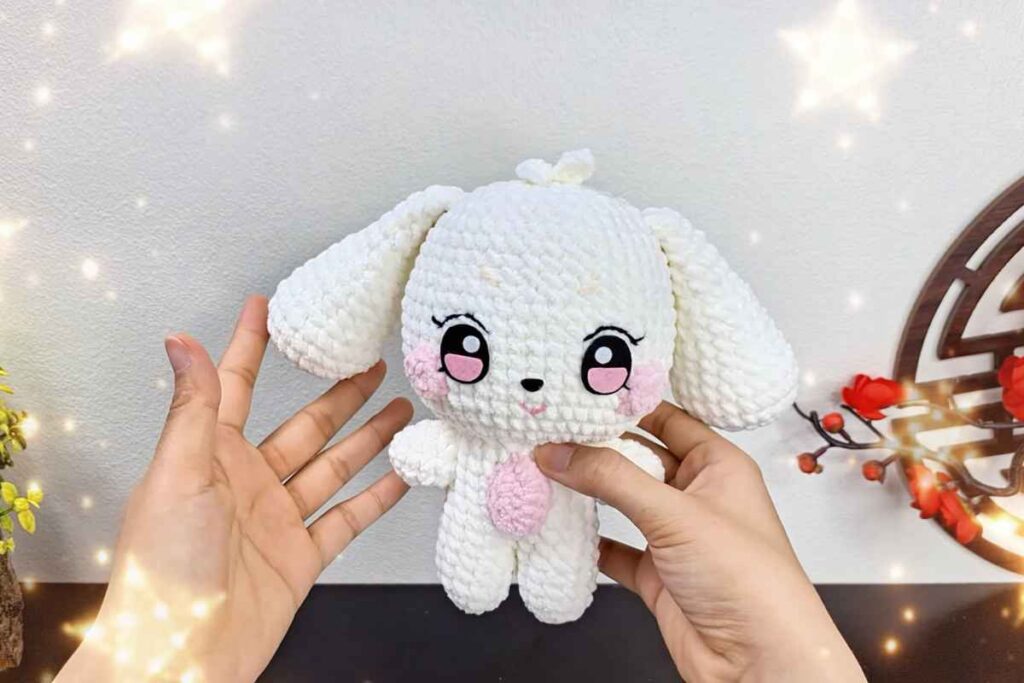
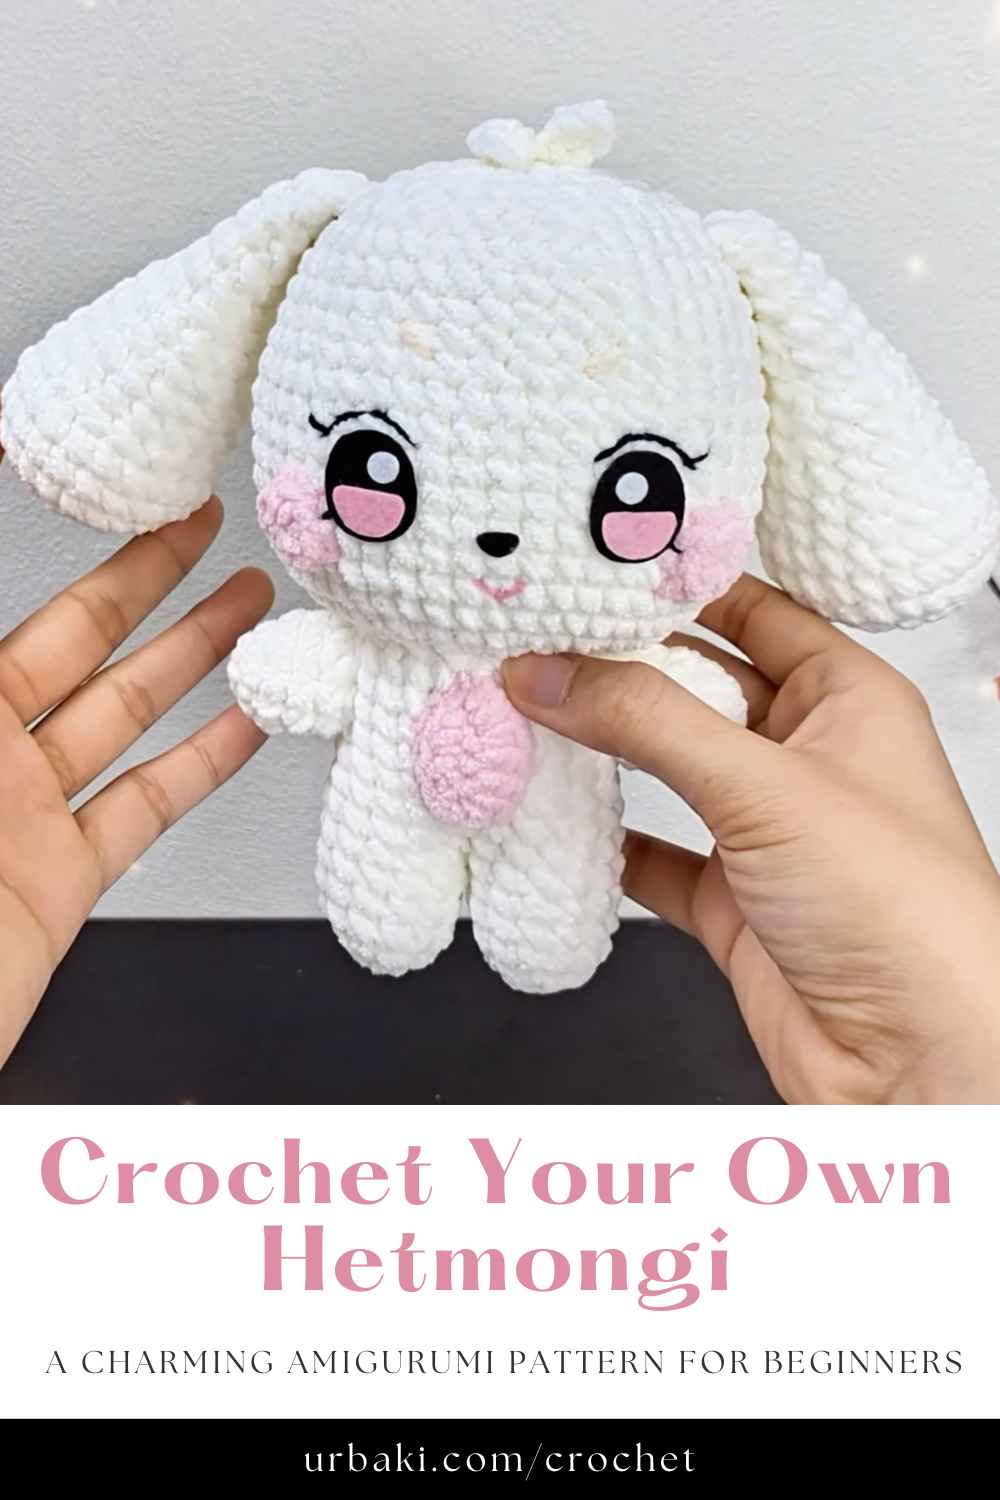
Hetmongi is an adorable amigurumi pattern designed to create a small, soft plushie resembling either a bunny or a puppy. It is often depicted with gentle, soft features that make it a favorite among amigurumi enthusiasts. Some of its key features include:
Refill Your Creative Cup
Feeling stuck or out of ideas? Let us bring the spark back to your hook. Our weekly emails deliver patterns, tips, and inspiration to keep your creativity blooming.
😍 Bring Your Crochet Mojo Back – Sign Up Now! Click on the image 👆🏼
- Floppy ears: A signature design feature that adds to its endearing appearance.
- Blush-colored cheeks: Adding a touch of cuteness and warmth to the face.
- Large, expressive eyes: These give the Hetmongi plushie a soulful, endearing expression that makes it even more lovable.
- A small heart-shaped embellishment: Located on its chest, this feature adds a sentimental touch to the plushie’s overall design.
When made with 4-ply cotton yarn, a Hetmongi plushie typically measures about 11 x 14.5 cm, which makes it the perfect size for both display and cuddling. Its small size and simple construction make it an ideal project for beginners looking to hone their crochet skills.

Materials Needed
Before diving into the actual crochet process, you’ll need to gather your supplies. The following materials are essential for crafting the Hetmongi amigurumi:
- Yarn: 4-ply cotton yarn is recommended, with white, pink, and black being the primary colors needed for the body, cheeks, and eyes.
- Crochet Hook: A hook size between 2.5 mm and 3.5 mm is suitable for this project.
- Polyester Fiberfill: This is used for stuffing the plushie to give it a soft, cuddly texture.
- Safety Eyes: Approximately 8 mm in size.
- Embroidery Thread: This will be used for the nose and mouth details.
- Tapestry Needle: For weaving in ends and assembling the parts.
- Stitch Markers: Optional but helpful for marking your rounds and keeping track of your work.
These materials are easily available at most craft stores or online retailers, making it simple to gather everything you need before beginning your crochet project.
Pattern Overview
The Hetmongi amigurumi pattern is a digital PDF, which means you’ll have instant access once you purchase it. The pattern is written in a clear, easy-to-follow format, and it comes with detailed instructions and helpful photographs. This makes it an excellent choice for both new crocheters and seasoned crafters.
The pattern includes:
- Clear Written Instructions: The pattern provides step-by-step directions to guide you through the process of creating the Hetmongi from start to finish.
- Photographic Support: Detailed images accompany each step, helping you visualize how the pieces should look at each stage.
- Personal Use License: The pattern is for personal use only, but you are allowed to sell any finished Hetmongi plushies in small quantities, as long as you credit the designer.
The pattern is structured to be beginner-friendly, so if you're new to amigurumi, you’ll be able to follow along without difficulty. However, even experienced crocheters will enjoy the satisfying process of creating this adorable character.
Step-by-Step Construction
Creating a Hetmongi plushie involves several key steps. Here is a brief breakdown of the process:
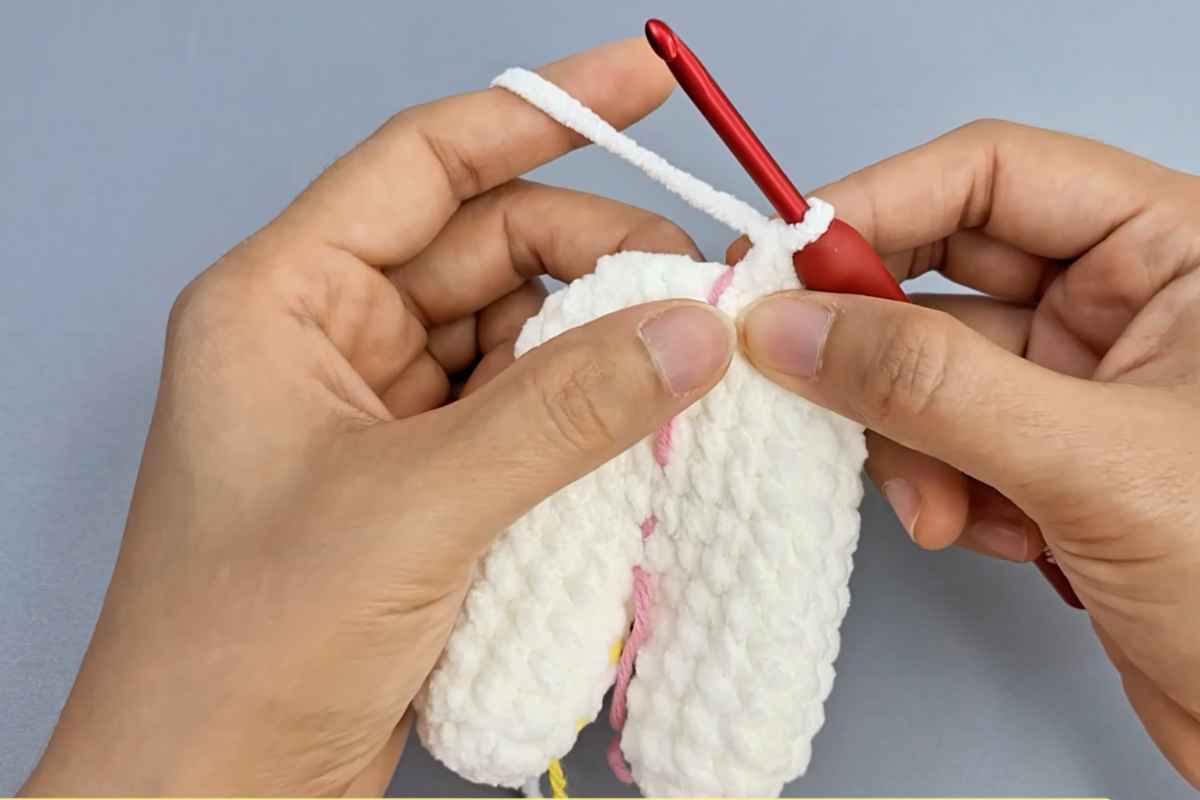
- Head and Body: The head and body are crocheted together in one continuous piece, starting at the top of the head. You will work in a spiral, which helps to avoid seams, giving the plushie a smooth finish. The body is slightly elongated, and the increases and decreases are carefully spaced to ensure a proportional shape.
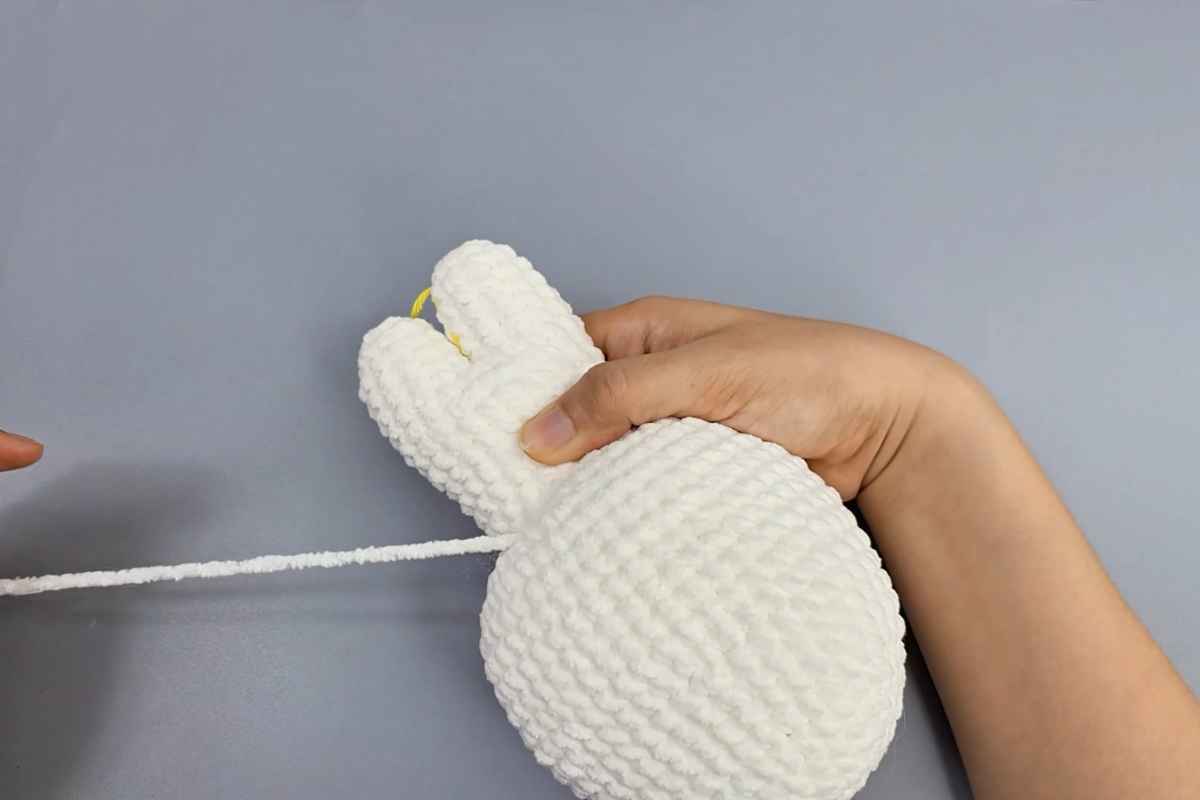
- Ears: The ears are crocheted separately and then sewn onto the head. They are designed to be floppy, adding to the charm and softness of the plushie. This step requires a bit of shaping to ensure that the ears sit naturally.
- Arms and Legs: Like the ears, the arms and legs are crocheted separately and then attached to the body. The arms are small and slightly rounded, while the legs are a bit more elongated, creating the perfect balance for the overall design.
- Tail: The tail is a small, round piece that adds a sweet finishing touch to the back of the Hetmongi.
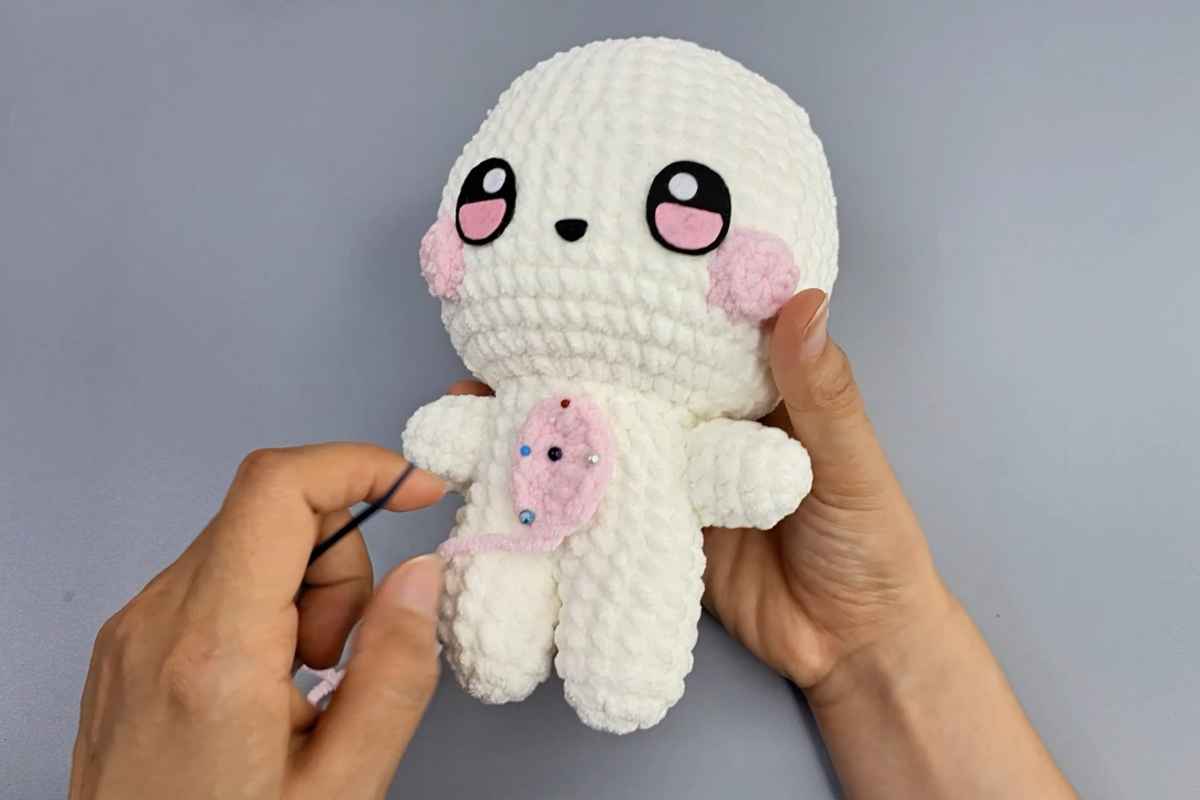
- Facial Features: This is the most detailed part of the process. Attach the safety eyes and embroider the nose and mouth carefully to bring the face to life. The facial features are key to the character's expression, so take your time to ensure they are symmetrical and evenly spaced.
- Assembly: Finally, the various pieces—head, body, ears, arms, legs, and tail—are sewn together. The key to a successful assembly is to sew all parts securely, making sure they are well attached to avoid any loose pieces.
As you move through each step, make sure to regularly check the size and shape of your plushie to ensure it meets your expectations.

Tips for Success
- Maintain Consistent Tension: One of the most important aspects of creating amigurumi is to keep your tension consistent. This helps ensure that the stitches are even, and the plushie will hold its shape.
- Use the Right Stitch: The pattern calls for basic crochet stitches, so it’s important to follow the instructions closely and use the correct stitch for each part of the plushie.
- Attach Parts Carefully: When assembling the Hetmongi, be sure to attach the parts securely. Use a whip stitch or mattress stitch for a seamless finish, and be gentle to avoid distorting the shape of the plushie.
- Gradual Stuffing: Stuffing is a delicate process, and it’s essential to add the polyester fiberfill gradually. Too much stuffing at once can cause the yarn to stretch and distort, so take your time to evenly distribute the filling.
Customization Ideas
One of the best things about amigurumi is the ability to customize your creations. Here are some ways you can add a personal touch to your Hetmongi:
- Color Variations: While the classic Hetmongi is made using white, pink, and black yarn, feel free to experiment with different colors. Try a pastel-colored Hetmongi for a spring-themed version or go bold with vibrant shades for a unique twist.
- Add Accessories: Consider crocheting small accessories like hats, scarves, or tiny outfits to dress up your Hetmongi. This not only adds personality but can also make your plushie a fun gift for any occasion.
- Facial Expressions: Play with different facial expressions by altering the way you embroider the eyes, nose, and mouth. You can make your Hetmongi look happy, sleepy, or even mischievous, depending on the vibe you want to convey.
Sharing Your Creations
Sharing your Hetmongi creations with the crochet community is a great way to get feedback, inspire others, and feel part of a larger creative group.
There are many online communities, including social media platforms and crochet-focused websites like Ravelry, where you can share your finished projects and exchange tips.
From Yarn to Joy
Crocheting Hetmongi is a fun and fulfilling project that allows you to explore the world of amigurumi while creating a charming plushie. The pattern is beginner-friendly, and the customization options make it a versatile project.
Whether you’re making a Hetmongi for yourself, a friend, or a special occasion, this cute crochet animal will bring joy to anyone who receives it. So grab your yarn, hook, and start crocheting your own Hetmongi today!
Images and patterns courtesy of Tata Crochet Patterns
Enjoy The Video Tutorial
")
Source: Tata Crochet Patterns
Did you find this post useful or inspiring? Save THIS PIN to your Crochet Board on Pinterest!
More crochet projects for you