
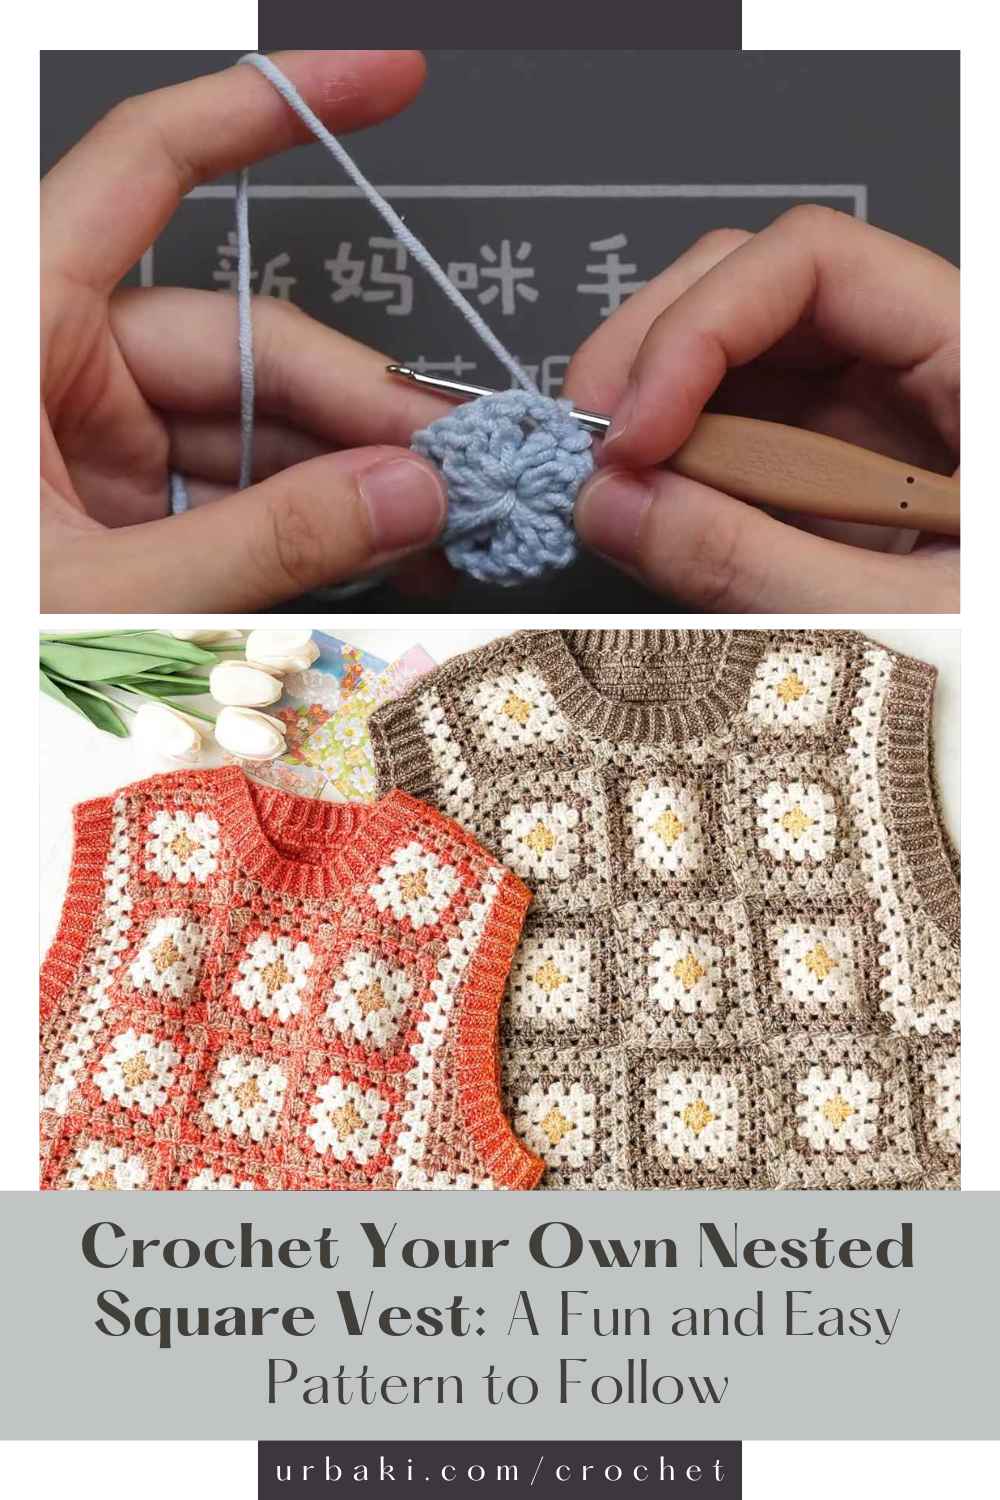
Crochet Your Own Nested Square Vest: A Fun and Easy Pattern to Follow

Crocheting a vest with a beautiful and unique design is a rewarding project that allows you to express your creativity. The Nested Square Couple Vest combines the classic appeal of granny squares with a modern twist, making it an excellent addition to any wardrobe.
Whether you're an experienced crocheter or a beginner, this tutorial will guide you through the entire process, ensuring that your final piece is both stylish and comfortable.
Materials You Will Need
Before you dive into the crochet process, make sure you have everything you need. Gathering your materials beforehand will ensure a smooth and efficient crafting experience. Here's a list of what you'll require:
Stop Scrolling, Start Stitching
No more endless searches for the ‘perfect’ project. Each week, The Crochet Club delivers 5 curated patterns and tips right to your inbox—so you can spend your time making, not hunting.😍 Get Your Weekly Crochet Fix – Join Now! Click on the image 👆🏼
- Yarn: Choose a yarn that suits your desired texture and drape. For a structured vest, worsted weight yarn is typically the best choice. You can also experiment with lighter or thicker yarns, depending on your preference.
- Crochet Hook: The size of your crochet hook should complement your yarn. For worsted weight yarn, a 5mm (H-8) crochet hook is a great starting point. Adjust the hook size if you're working with different yarn types.
- Tapestry Needle: A tapestry needle is essential for weaving in ends and sewing the squares together.
- Scissors: You'll need scissors to trim yarn ends after finishing each section.
- Measuring Tape: Keep a measuring tape on hand to ensure that your vest fits properly.
- Stitch Markers: These will help mark important stitch points, such as the beginning of rounds, armholes, and necklines.
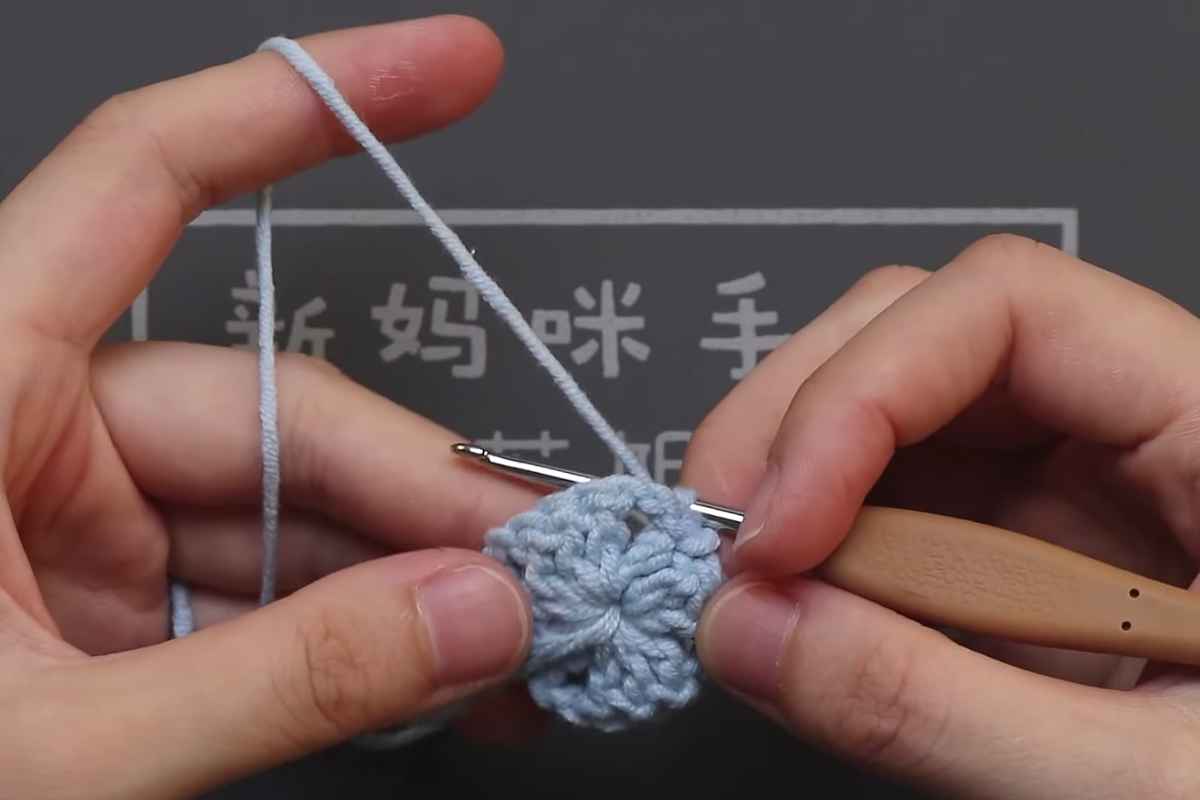
Step 1: Crochet the Granny Squares
The foundation of your vest will be made up of individual granny squares. The number of squares you need depends on the size of your vest and the desired fit. Typically, each granny square will consist of four rounds, though you can adjust this depending on your style.
- Make a Chain: Start by creating a foundation chain for your granny square. The number of chains will depend on the pattern you follow. A common method is to create a magic ring and work into it.
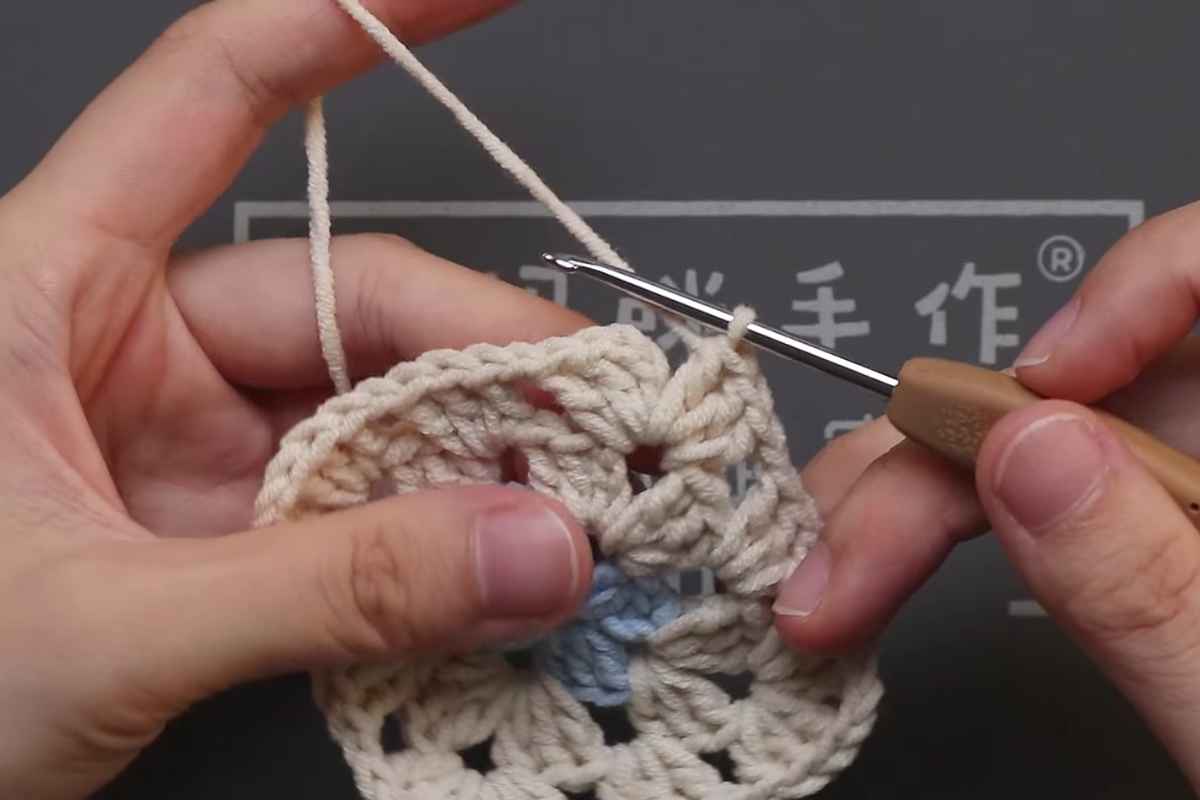
- Work in Rounds: Begin crocheting in the round, using a combination of chain stitches, double crochet (dc), and slip stitches. Each round of the granny square will progressively get larger, creating the characteristic shape.
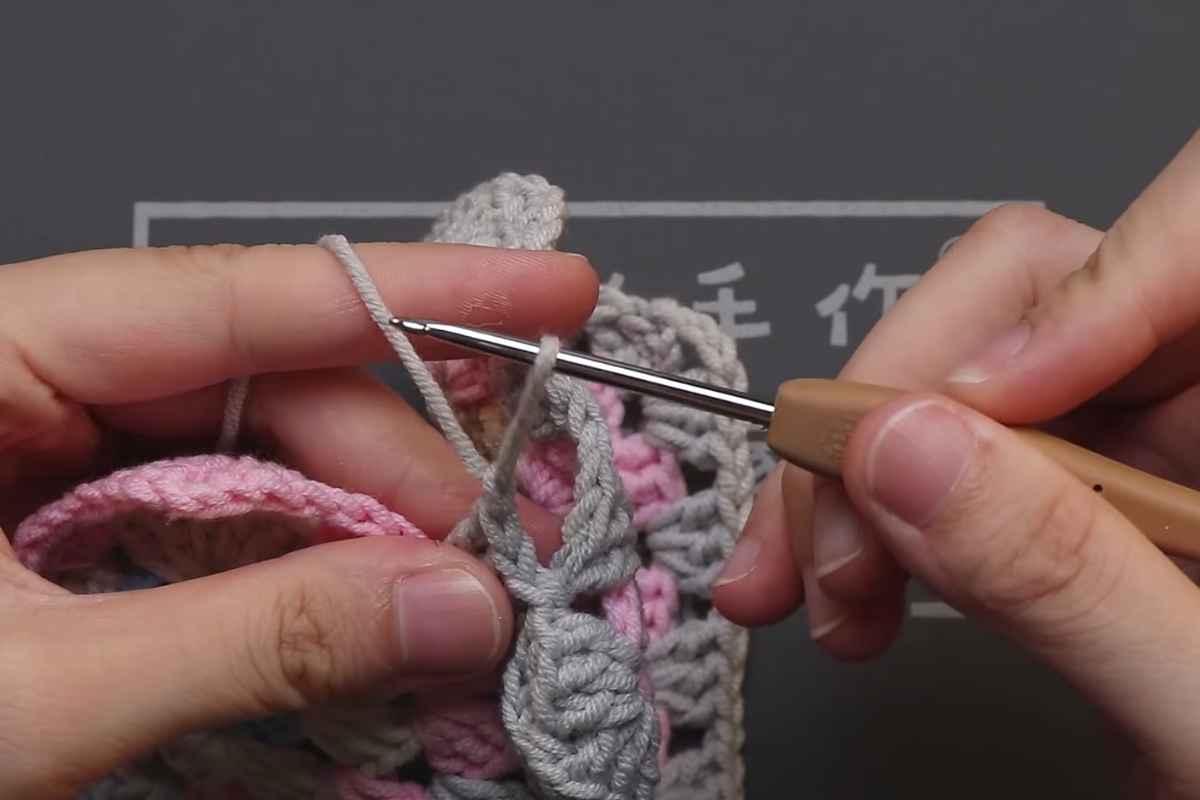
- Join the Squares: Once you've completed your granny squares, join them together using your preferred method. You can whip stitch, slip stitch, or use a more intricate joining technique such as the join-as-you-go method. This step is where your design starts coming together.
Tip: To give the vest a unique touch, consider alternating different colors for each square. This creates a vibrant, patchwork effect that adds a modern feel to the piece.
Step 2: Assemble the Front and Back Panels
Now that you have your granny squares, it’s time to assemble them into the main structure of the vest. The goal is to create two rectangular panels, one for the front and one for the back.
- Front Panel: Lay out the squares in a rectangular shape. You may want to design the front panel with a combination of large and small squares for visual interest. Join the squares together in rows, ensuring that the width matches the measurements for the front of the vest.
- Back Panel: Repeat the process for the back. It should mirror the size and shape of the front panel but can be customized to your liking. Ensure the back panel is large enough to cover your entire back comfortably.
Step 3: Create Armholes and Neckline
To make your vest wearable and flattering, you’ll need to create armholes and a neckline. The design and depth of these openings depend on your style preferences. You can make the armholes as deep or shallow as you like, and the neckline can be straight, rounded, or V-shaped.

- Armholes: To create the armholes, decide how deep you want them to be. Mark the appropriate squares that will form the armhole, leaving them unjoined. This will create an opening on each side of the vest for the arms to pass through.
- Neckline: Similarly, shape the neckline according to your preferences. You can make it a round or V-shape by leaving certain squares unjoined at the top. If you prefer a higher neckline, you can add more squares to the upper section.
Tip: Try on the vest as you go along to ensure the armholes and neckline are the right fit. You can adjust the size by adding or removing squares.
Step 4: Add the Ribbing
Adding ribbing around the edges of the vest enhances the structure and gives it a polished, finished look. Ribbing can be added to the armholes, neckline, and bottom hem for a more refined appearance.
- Start the Ribbing: Begin by attaching yarn at the edge of the vest. Choose a color that complements or contrasts the granny square panels.
- Work the Ribbing: Use a combination of single crochet (sc) and double crochet (dc) to create a textured ribbing effect. For a tighter ribbing, use a smaller hook size than you used for the rest of the vest.
- Round 1: Chain 1, then sc in the first stitch, dc in the next stitch; repeat this sequence around the armhole, neckline, or hem.
- Round 2: Chain 1 and repeat the pattern for the next round, continuing until you achieve the desired ribbed effect.
- Repeat for All Edges: Complete this process for each edge of the vest, ensuring the ribbing is consistent throughout.
Tip: For a more structured finish, consider using a different crochet stitch for the ribbing, such as front post or back post double crochet.
Step 5: Weaving in Ends and Blocking
Once you’ve finished the ribbing and completed all your crochet work, it’s time to tidy up the vest.
- Weave in Ends: Use a tapestry needle to weave in all the loose ends of yarn. This step ensures that your vest will hold together and look neat.
- Blocking: Lay your vest flat on a surface and pin it into place. Blocking helps to shape the crochet work and smooth out any uneven stitches. Allow the vest to dry completely before removing the pins.
Tip: Blocking is especially important for garments, as it helps even out tension and ensures the vest fits correctly.
Step 6: Putting the Vest Together
At this point, your vest should be almost complete. If necessary, sew together any remaining seams or openings. You may also want to add additional embellishments, such as buttons, patches, or embroidery, to personalize the vest.

Styling Your Nested Square Couple Vest
Now that your vest is finished, it’s time to incorporate it into your wardrobe:
- Layering: The Nested Square Couple Vest can be worn over a fitted top, t-shirt, or dress. Layer it for warmth in the cooler months or wear it as a light cover-up during spring and summer.
- Accessories: Add a belt to cinch the waist for a more tailored look, or leave it open for a relaxed, bohemian style. You can also accessorize with scarves, necklaces, or statement earrings.
- Footwear: Pair your vest with comfortable footwear. Boots work well for a rustic look, while sandals or sneakers can give a more casual vibe.
A Fun Crochet Project
The Nested Square Couple Vest is a fun and stylish crochet project that allows you to experiment with color, texture, and fit. Whether you wear it as a statement piece or a layering item, this vest is sure to turn heads.
Follow this tutorial, and you’ll create a beautiful, custom piece that’s as comfortable as it is fashionable. Enjoy crocheting!
Images and patterns courtesy of Susudiy.com
Enjoy The Video Tutorial Part 1

Part 2

Source: Susan's Family 蘇蘇姐家
Did you find this post useful or inspiring? Save THIS PIN to your Crochet Board on Pinterest!
More crochet projects for you