
Easy! How to Crochet a Sweater

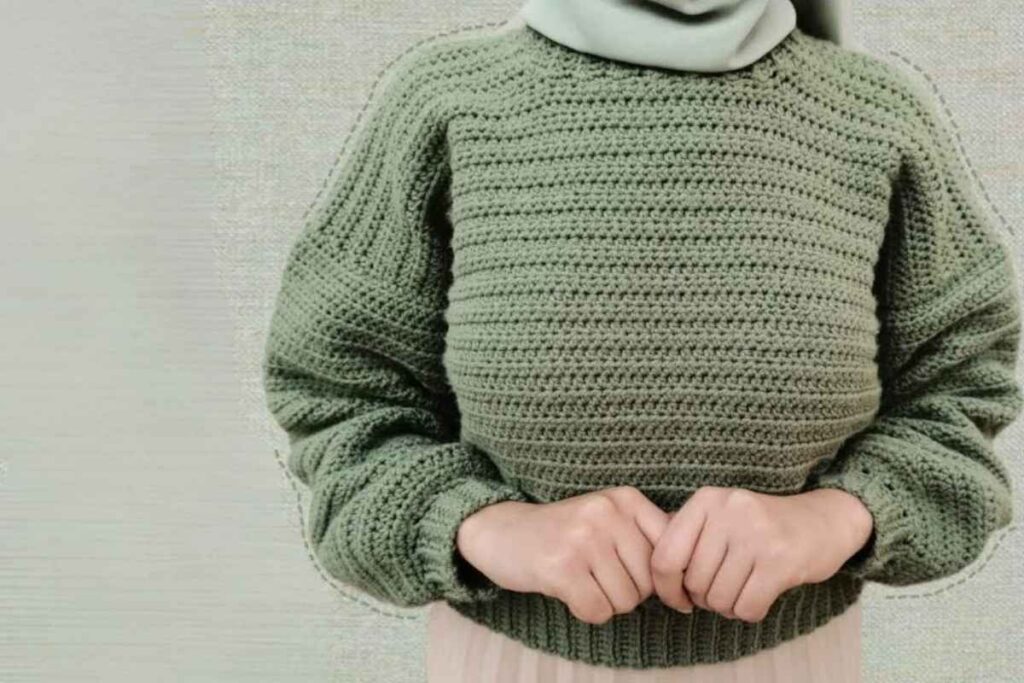
Crocheting your sweater is an incredibly rewarding experience. It’s not only a practical garment that you can wear, but also a creative project that allows you to customize colors, textures, and fit.
Whether you’re a beginner or have some crochet experience, this easy sweater pattern will guide you through the process of making a cozy, stylish piece of clothing.
You’ll discover how simple it is to create a beautiful, functional sweater that fits just right. Let's dive in and learn how to crochet your sweater with an easy pattern that’s perfect for anyone!
Choosing the Right Stitch for Your Sweater
Refill Your Creative Cup
Feeling stuck or out of ideas? Let us bring the spark back to your hook. Our weekly emails deliver patterns, tips, and inspiration to keep your creativity blooming.
😍 Bring Your Crochet Mojo Back – Sign Up Now! Click on the image 👆🏼
The stitch pattern you choose will determine the texture and feel of your sweater. Some popular crochet stitches for sweaters include:
Double Crochet: This is a classic stitch that creates a soft, open fabric, perfect for a cozy sweater. Double crochet works up quickly, making it a favorite among beginners and experienced crocheters alike.
Half Double Crochet: This stitch is a little shorter than the double crochet and creates a denser fabric, offering a bit more warmth and structure for your sweater.
Single Crochet: If you want a firmer, tighter fabric, the single crochet stitch is an excellent choice. It results in a solid texture that works well for colder-weather sweaters.
Shell Stitches or V-Stitches: These create a more decorative texture, giving your sweater a lacy or airy look.
The key is to experiment with different stitches to find one that gives you the desired outcome. The beauty of crochet is that you can easily switch between stitches as you go, so don’t hesitate to try something new or mix and match stitches for different effects.
Creating the Sweater Pieces
When crocheting a sweater, it’s typically made up of several parts: the front, back, sleeves, and possibly a collar or cuffs. Crocheting each part separately and then assembling them is the most common approach, and it gives you flexibility with the sizing and shape.
Body: Start by crocheting the body of the sweater, which usually consists of a front and a back panel. These two pieces are worked in rectangles, and you can adjust the length based on how long you want your sweater to be. You may also choose to crochet the body in a circular style for a more relaxed fit.
Sleeves: The sleeves are crocheted separately from the body and then attached later. Depending on your pattern, you might work the sleeves in one piece or two pieces (front and back). You can make the sleeves as fitted or as loose as you like, depending on the style of sweater you're going for.
Neckline: The neckline is an essential element of any sweater, and it’s something you can personalize. You can make a round, square, or V-neckline. For a more cozy look, you might prefer a high neckline or even add a small turtleneck.
Assembling Your Crochet Sweater
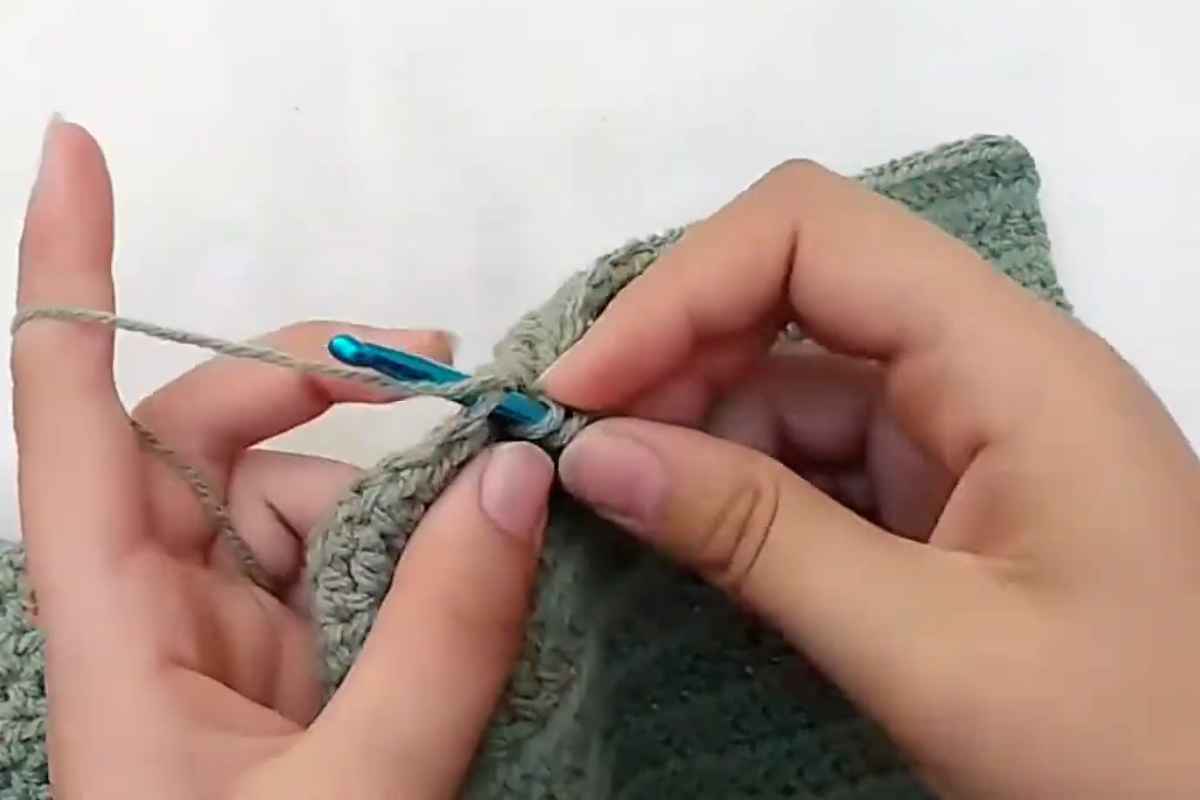
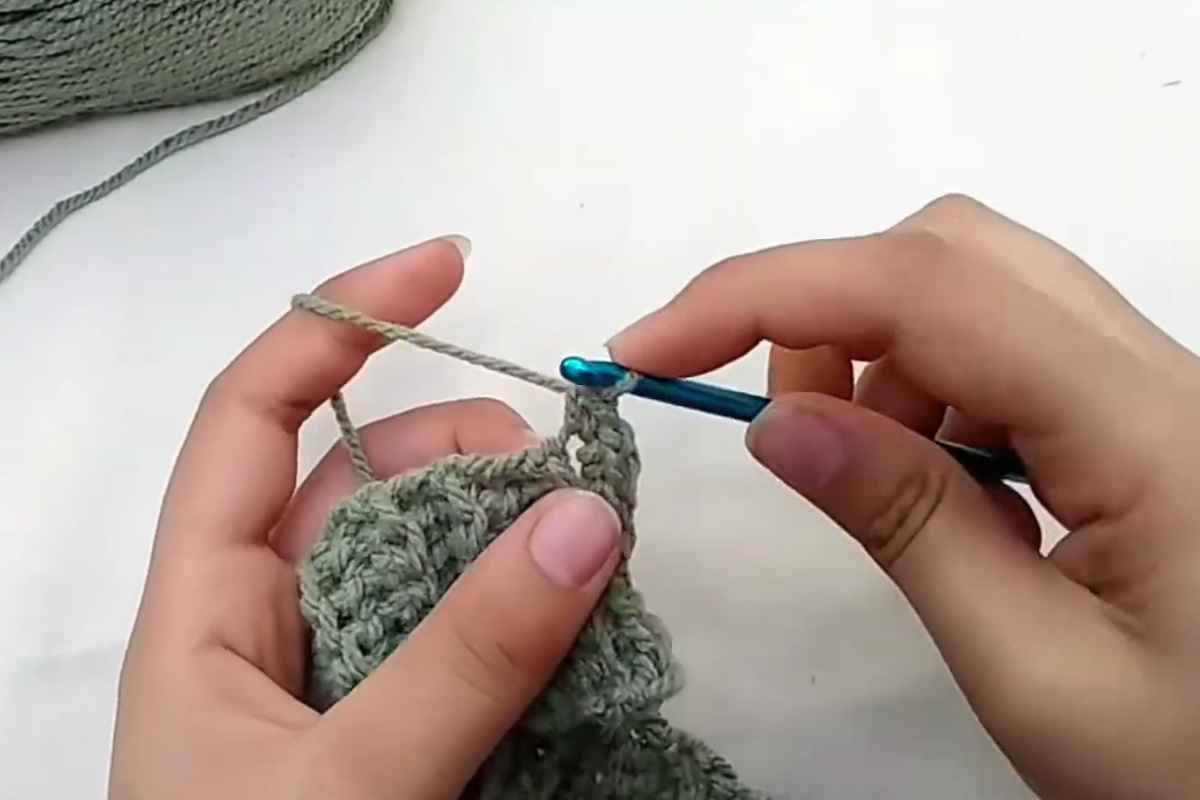
Once you’ve completed the individual parts of the sweater, the next step is to assemble them. This is where the sweater truly starts to come together. Using a tapestry needle and the yarn from your project, stitch the pieces together carefully.
Joining the Front and Back: Start by aligning the front and back panels. Secure the sides and ensure that the fabric is aligned evenly. If you want a looser fit, leave a little extra room along the side seams.
Attaching the Sleeves: The sleeves are stitched into the armholes, and you can sew them in either with a whip stitch or a slip stitch, depending on the look you want. Make sure to evenly space the sleeve openings to maintain a balanced fit.
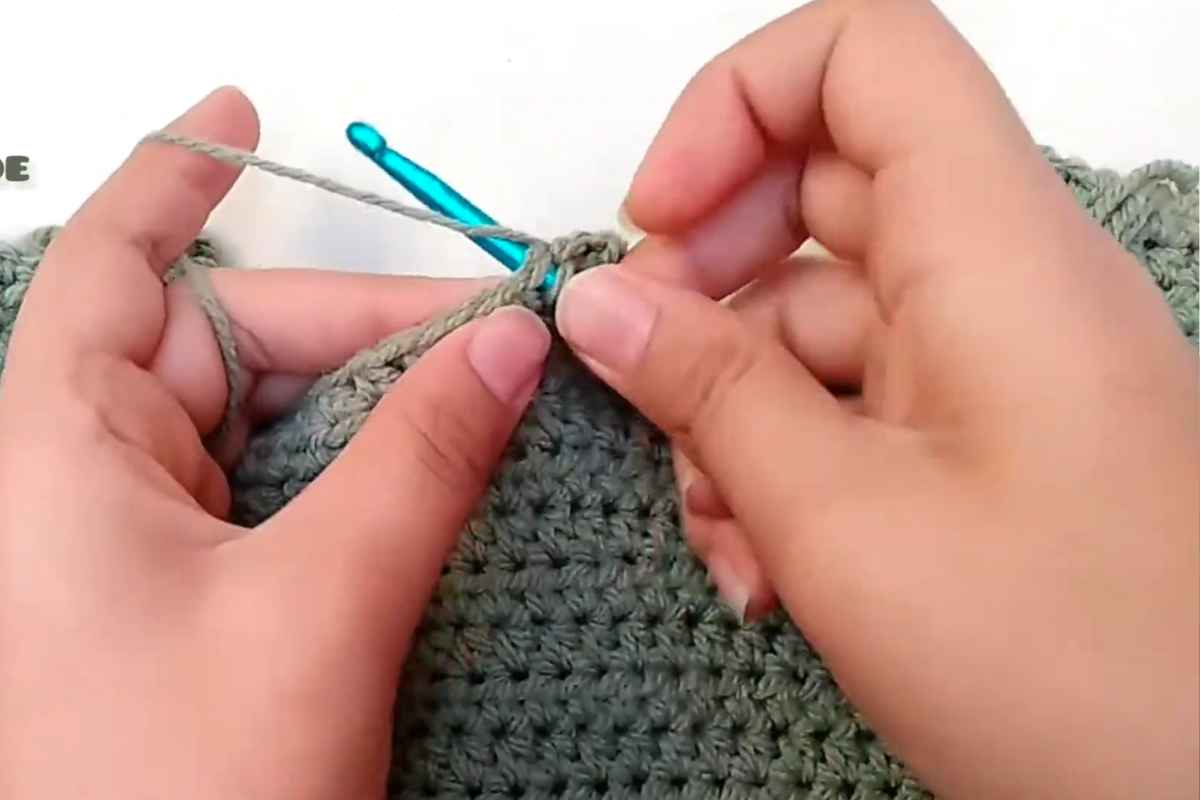
Neckline and Finishing Touches: Finally, work the neckline. You can use simple single crochet or double crochet stitches to create a neat edge. Add any additional finishing touches, such as cuffs or decorative elements, to complete the look of your sweater.
Caring for Your Crocheted Sweater
Once your sweater is complete, it’s important to care for it properly to ensure it lasts for many years. Depending on the type of yarn you used, washing instructions will vary.
Generally, hand washing your crocheted sweater in cool water and laying it flat to dry will help maintain its shape and softness. Always check the yarn label for specific care recommendations.
Crocheting a sweater may seem like a big project, but with the right materials, a simple pattern, and a bit of patience, it’s a rewarding and enjoyable task.
Whether you’re making a cozy pullover for yourself or gifting a handmade sweater to someone special, this easy crochet pattern is perfect for anyone looking to try their hand at garment-making. So grab your yarn, hook, and creativity, and start crocheting your very own stylish sweater today!
Images and patterns courtesy of Sahar Elkady
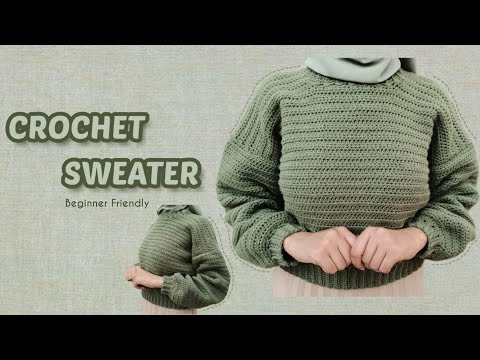
Enjoy The Video Tutorial
Source: Sahar Elkady
More crochet projects for you