
DIY Crochet Sun Hat: A Stylish and Practical Summer Accessory

Warm-weather crochet projects are the best kind of satisfying—quick to make, fun to wear, and super giftable. If you’ve been wanting a handmade sunhat you can actually use, this tutorial is a great place to start. It’s designed to be approachable, and the video walks you through the process in a clear, step-by-step way.
Whether you’re making your first wearable or you’ve crocheted a few hats before, you’ll pick up helpful techniques you can reuse for other summer accessories.
How this easy crochet sunhat comes together
Images and patterns courtesy of MJ's Off The Hook Designs
Refill Your Creative Cup
Feeling stuck or out of ideas? Let us bring the spark back to your hook. Our weekly emails deliver patterns, tips, and inspiration to keep your creativity blooming.
😍 Bring Your Crochet Mojo Back – Sign Up Now! Click on the image 👆🏼
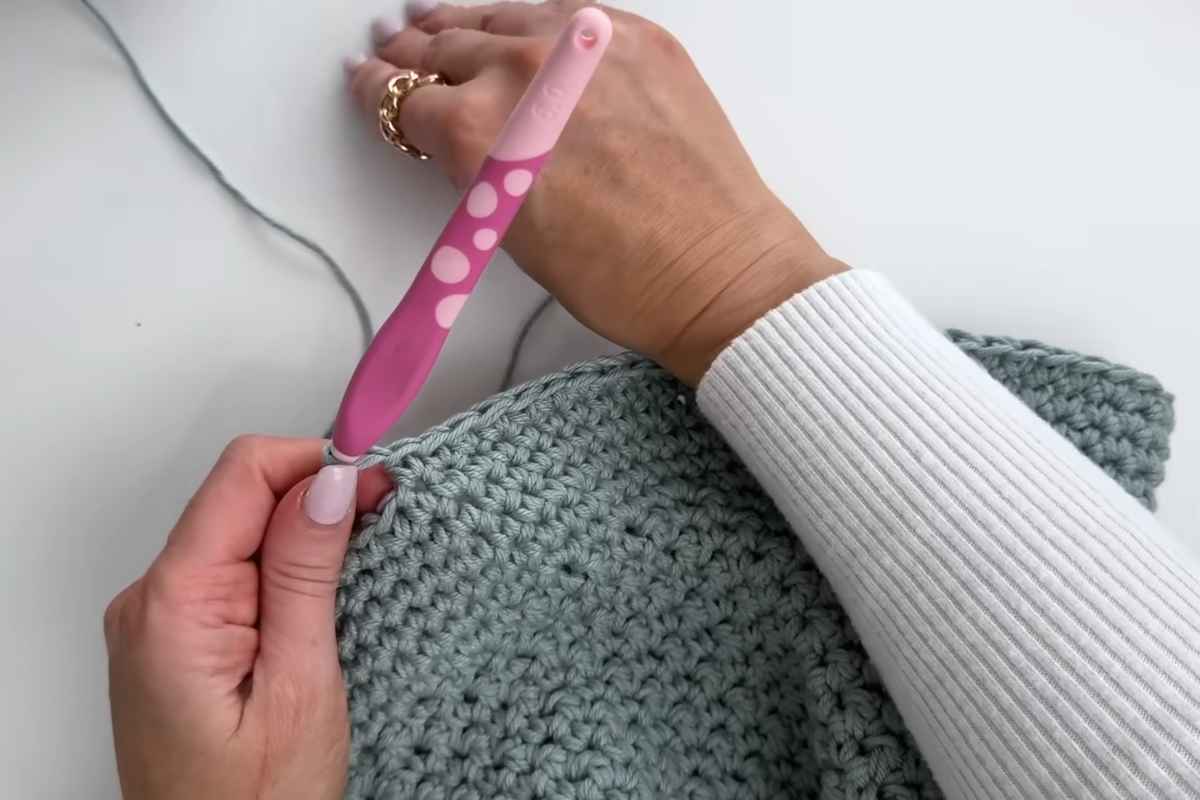
A crochet sunhat is usually built in simple stages: you create the top, shape the sides, then finish with the brim. In the video, you’ll see exactly how those sections connect so the hat holds its shape while still feeling comfortable to wear.
As you follow along, pay attention to the moments where shaping happens—those small adjustments are what turn a basic hat into a sunhat with a wearable fit. If you ever feel unsure, the step-by-step pacing makes it easy to pause, replay, and keep going without stress.
One of the best things about a project like this is how customizable it can be. Even if you don’t change anything in the tutorial, you’ll learn methods you can later use to adjust brim width, overall height, or the finishing details to match your style.
Step-by-step crochet sunhat video tutorial
Source: MJ's Off The Hook Designs
If you’re crocheting along, I recommend watching once all the way through first, then going back and working step-by-step. That way you’ll know what each section is building toward—and it’s easier to spot where you might want to slow down or double-check your stitch count.
Happy crocheting, and I hope this sunhat becomes one of your go-to summer makes!
— Maggie
More crochet projects for you