
Easy Crochet Braided Beanie Hat - Cozy and Stylish Design


If you love the look of braided or cable-style hats but want something you can crochet, this easy braided beanie is a great project. The texture gives that eye-catching “twist” effect, while the construction stays approachable—so you can focus on getting clean, defined braids as you stitch.
In the video, you’ll see how the braided texture is created, how the hat is shaped, and how to finish it so it looks polished and feels comfortable to wear.
How to Get That Braided Texture in a Crochet Beanie (Without the Stress)
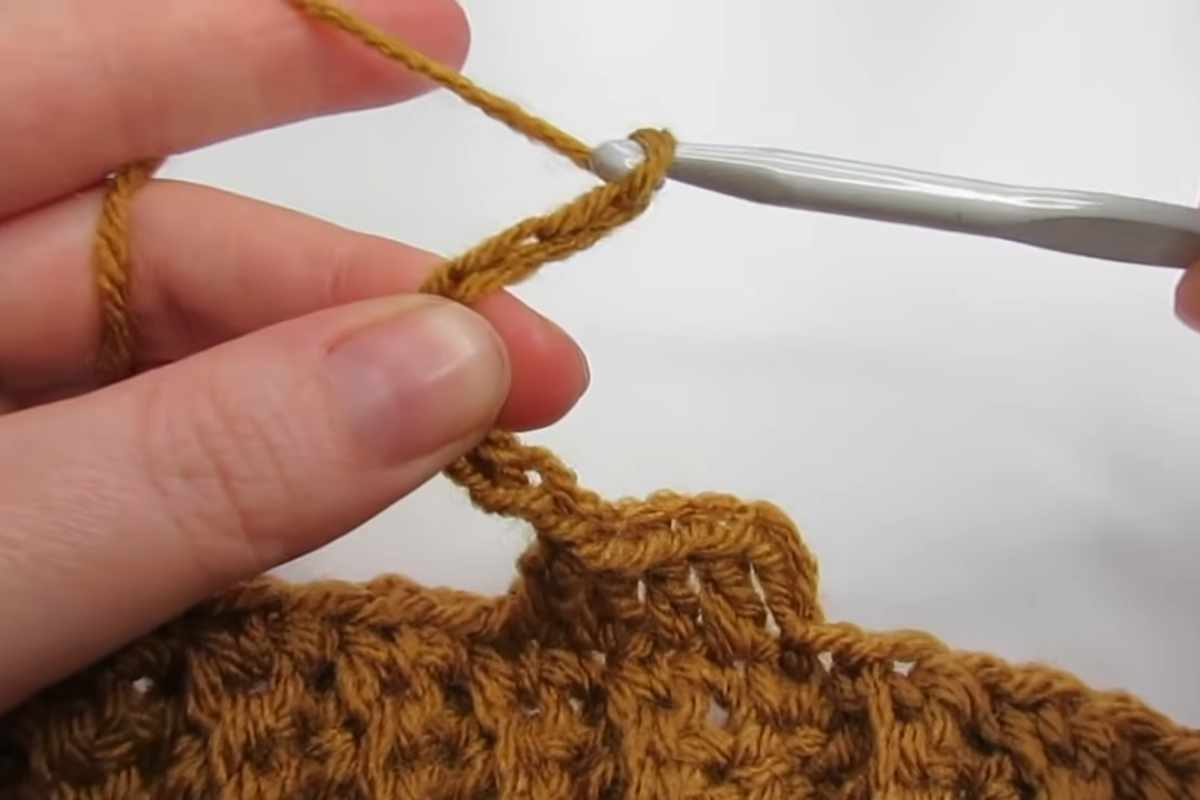
Braided crochet textures usually come down to repeating a small sequence of stitches in the right places so the “braid” lines stack neatly. Once you’ve completed a couple of repeats, it gets much easier to recognize the pattern and keep the texture consistent.
Refill Your Creative Cup
Feeling stuck or out of ideas? Let us bring the spark back to your hook. Our weekly emails deliver patterns, tips, and inspiration to keep your creativity blooming.
😍 Bring Your Crochet Mojo Back – Sign Up Now! Click on the image 👆🏼
A few quick things that help braided beanies look their best:
- Keep your tension steady so the braid lines stay even and crisp.
- Use a yarn that shows stitch definition (super fuzzy yarn can hide the braid effect).
- Count your repeats as you go—braids look best when the texture stays aligned.
If the braid looks subtle at first, don’t worry. As the hat grows, the raised texture becomes much more obvious.
Easy Crochet Braided Beanie Hat Video Tutorial (Step-by-Step)
Follow along with the full video here to see the braided stitch pattern up close and how the beanie is finished.
Images and patterns courtesy of Hey Carrie

Source: Hey Carrie
Finishing Tips for a Neat, Comfy Braided Beanie
The last steps can make a textured hat feel “store-bought.” As you finish, pay attention to tidy edges and clean transitions so the braid pattern doesn’t shift. And when you weave in ends, try to keep them flat so the inside of the hat stays comfortable.
If your hat looks slightly uneven right after you finish, gentle shaping can help the stitches settle and make the braid texture stand out even more.
Happy crocheting!
— Maggie
More crochet projects for you