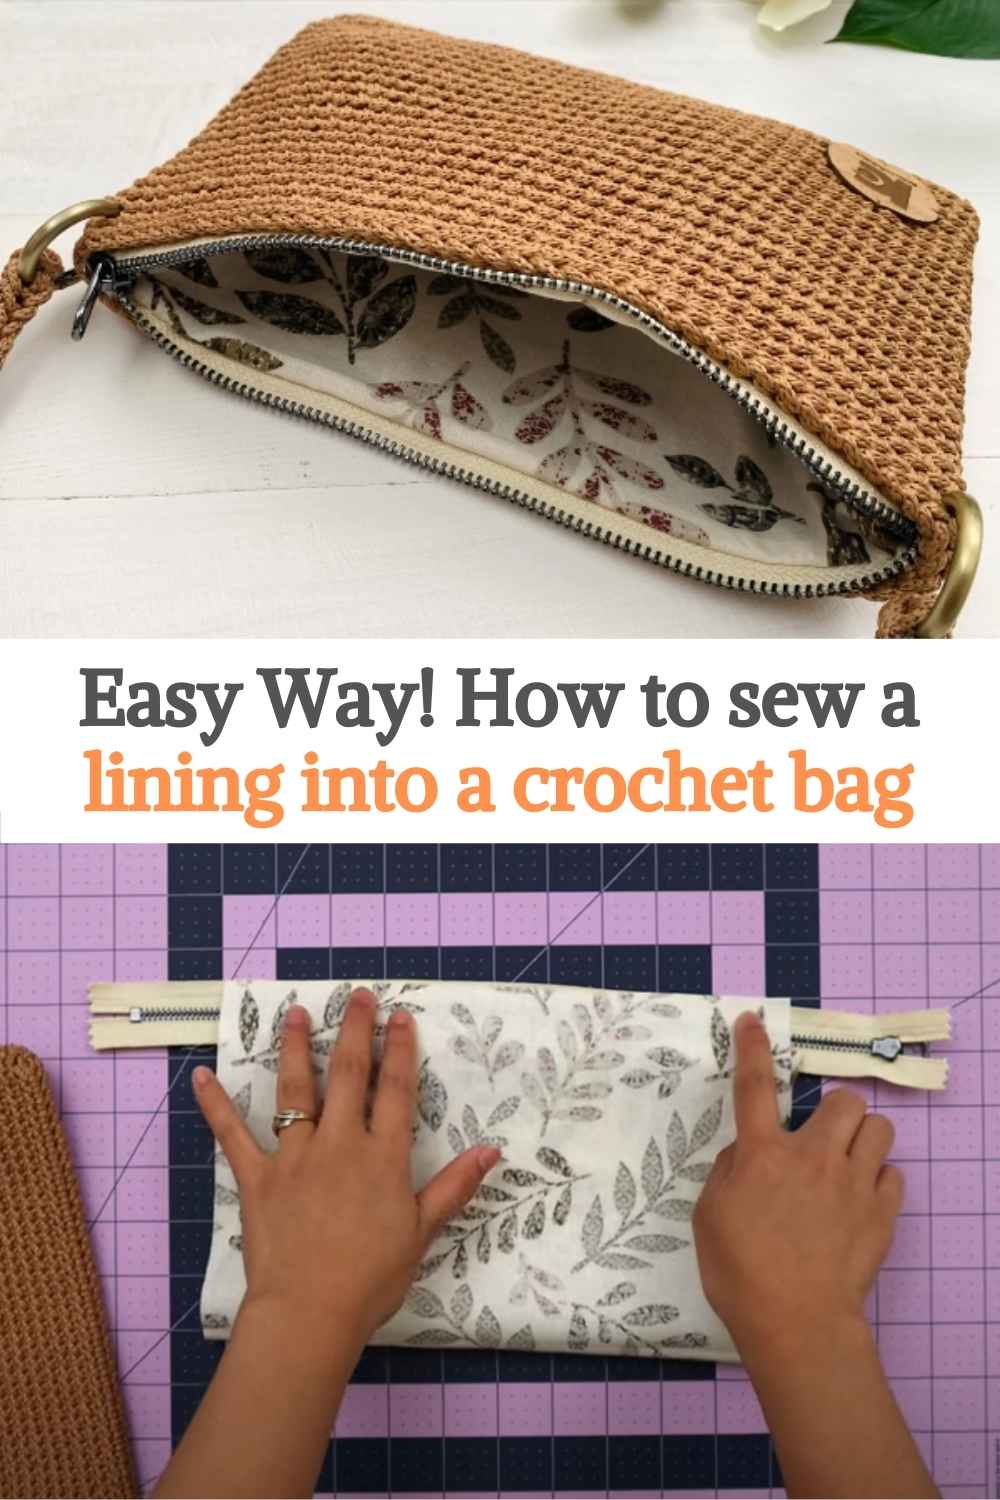
Easy Way! How to Sew a Lining Into a Crochet Bag

Crocheted bags are a great way to showcase creativity and style, but one common issue many crocheters face is the bag's tendency to stretch or lose its shape over time. This is especially true if the bag is used regularly to carry items.
A simple and effective solution is to add a fabric lining to the inside of the crochet bag. This not only helps the bag maintain its shape but also adds a layer of protection for your belongings and gives the bag a professional finish.
In this article, we’ll cover the basic steps and important tips to help you confidently sew a lining into your crochet bag.
Materials You’ll Need
Before getting started, it’s essential to gather the materials. Here’s what you’ll need:
- Fabric for the lining (choose a material and color that complements the crochet design)
- Zipper (optional, but useful for closure)
- Pins
- Scissors
- Sewing machine or needle and thread (for hand-sewing)
Selecting the right fabric is a crucial part of the process. You want to pick a fabric that is durable but not too thick, as it needs to sit comfortably inside the crochet bag without adding bulk.
The fabric should also complement the style and color of the bag, so the final product looks cohesive. A plain or lightly patterned fabric is often a good choice for adding subtle elegance.
Preparing the Fabric for Lining
Once you have all your materials ready, the next step is to prepare the fabric. This involves cutting the fabric to fit the inside of your bag. Be sure to measure carefully.
It’s always a good idea to give yourself a little extra fabric to work with rather than cutting it too short. If you cut too little, you may struggle to sew the fabric securely to the crochet bag, which could cause problems later.
One important step before sewing is pinning the fabric in place. Pinning ensures the fabric will stay in the correct position while you sew.
This helps avoid crooked stitches or fabric bunching up in certain areas. For best results, pin all around the edges of the fabric, especially near the corners.
Sewing the Lining
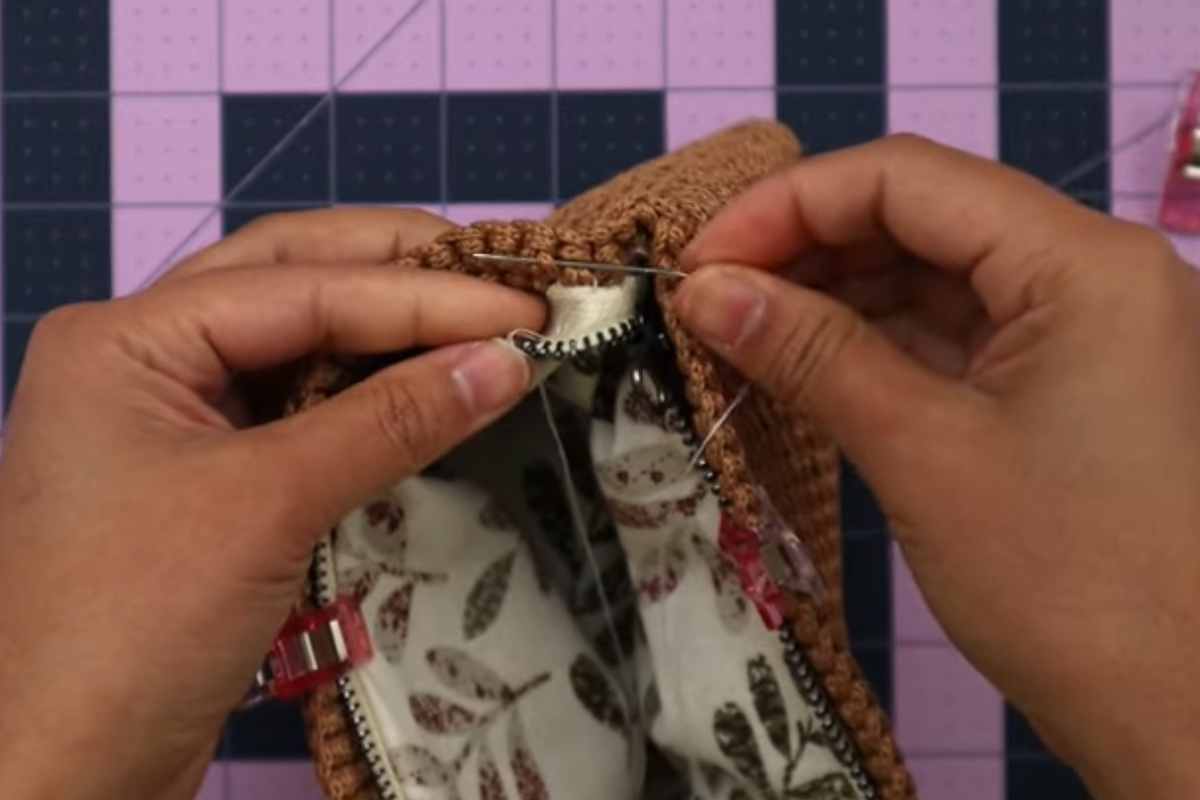
Now that your fabric is pinned and ready to go, it’s time to start sewing. Whether you are using a sewing machine or sewing by hand, take your time to sew around the edges and corners carefully.
If you’re using a sewing machine, you may want to set it to a slower speed to give you more control.
When sewing the corners of the bag, be sure to pivot the fabric gently to keep the stitches smooth and even. One tip to prevent puckering is to make sure the fabric lies flat as you sew and to gently pull the fabric through the machine rather than forcing it.
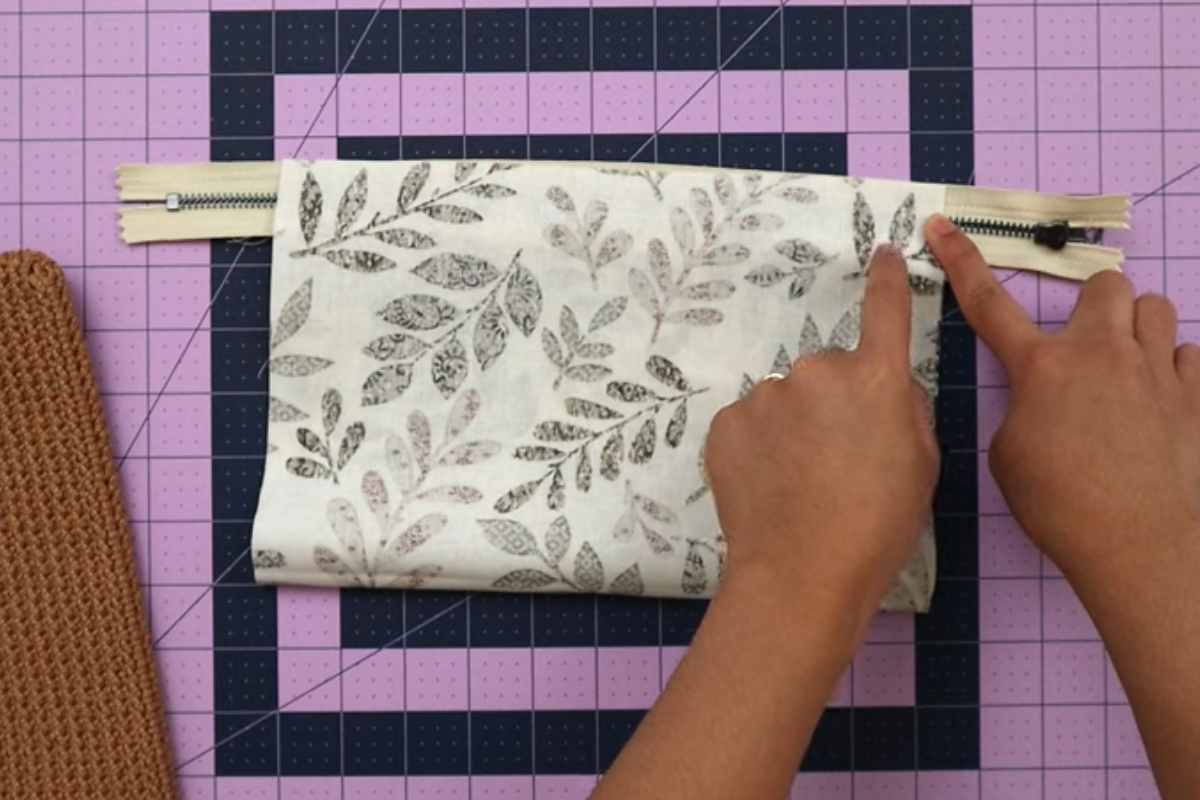
If you’re adding a zipper, now is the time to sew it in place. Make sure the zipper is aligned properly before stitching, and use pins to secure it while sewing.
Adding a zipper not only makes the bag more functional but also gives it a polished and professional look.
Finishing Touches
Once the fabric is sewn into place, the bag should have a sturdy and stylish lining that helps maintain its shape.
The lining also acts as an extra layer to protect the crochet material from stretching or tearing, which is especially useful if the bag is used for carrying heavier items.
The addition of a lining adds a refined, sophisticated touch to any crochet bag. It enhances the bag’s overall look and functionality, turning a simple crochet project into a polished accessory.
Whether you're creating a casual tote or a dressy handbag, a fabric lining can make all the difference.
Final Thoughts
Sewing a lining into a crochet bag might seem like a daunting task, especially if you’re new to sewing. However, with a little practice and patience, you’ll be able to master this skill and elevate the quality of your crochet bags.
The process of measuring, pinning, and sewing may take some time, but the results are well worth the effort.
Not only will your crochet bag look more professional, but it will also be more durable and functional. Give it a try, and you’ll see how this simple addition can transform your crochet projects!
Images and pattern courtesy of KnitcroAddict
Enjoy The Video Tutorial

Source: KnitcroAddict
Did you find this post useful or inspiring? Save THIS PIN to your Crochet Board on Pinterest! 😊


More crochet projects for you