
Free Pattern: Crochet Your Own Axolotl Amigurumi

If you’ve been wanting to crochet an adorable plush that’s both quirky and cute, this axolotl amigurumi is such a fun pick. This tutorial is split into two video parts, so you can follow along step by step without feeling rushed.
Whether you’re newer to amigurumi or you’ve made a few plushies already, you’ll love seeing how the axolotl shape comes together and how the details give it that “aww” factor.
How this axolotl amigurumi comes together (and what to pay attention to)

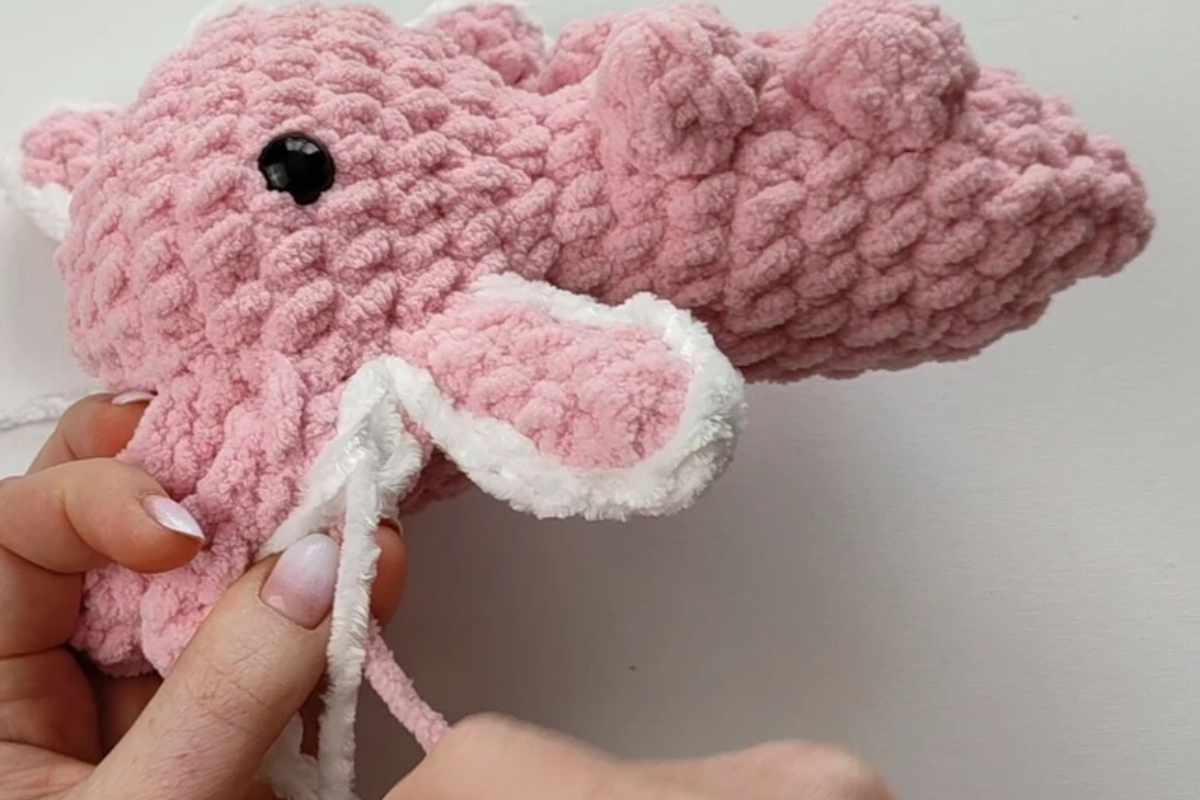
Amigurumi projects are all about the small details—tight stitches, consistent shaping, and clean finishing. In this tutorial, you’ll see how the body is formed in rounds and how the plush look is created with smooth shaping and even tension.
As you follow along, keep an eye on the little things that make a big difference: counting stitches each round, placing facial features evenly, and stuffing gradually so the shape stays neat (not lumpy). If you ever struggle with gaps, it usually helps to use a slightly smaller hook for tighter fabric—especially on plush toys.
Refill Your Creative Cup
Feeling stuck or out of ideas? Let us bring the spark back to your hook. Our weekly emails deliver patterns, tips, and inspiration to keep your creativity blooming.
😍 Bring Your Crochet Mojo Back – Sign Up Now! Click on the image 👆🏼
Axolotl amigurumi video tutorial
Start with Part 1 to build the foundation of the project, then continue with Part 2 to finish the axolotl and bring all the pieces together.
Part 1: Axolotl Amigurumi Crochet Tutorial Free Pattern

Part 2: How to Crochet Amigurumi Plush Cute Axolotl PART 2

Source: Hobbi CROCHET
Quick troubleshooting for a cleaner plush finish
Images and patterns courtesy of Hobbi CROCHET
If your axolotl doesn’t look quite like the one in the video, these quick fixes usually help:
- Visible holes between stitches: tighten tension and focus on consistent stitch size.
- Lopsided face placement: use stitch markers (or scrap yarn) to mark the center line before attaching eyes/features.
- Bumpy stuffing: add stuffing in small amounts and shape it with your fingers as you go—slow stuffing looks better.
Once you finish, give your axolotl a gentle squeeze-and-shape pass—amigurumi often looks best after a little final “sculpting.”
Happy crocheting, and I hope this plushy axolotl makes you smile the whole way through.
— Maggie
More crochet projects for you