
Stylish Crochet Chevron Headband Tutorial

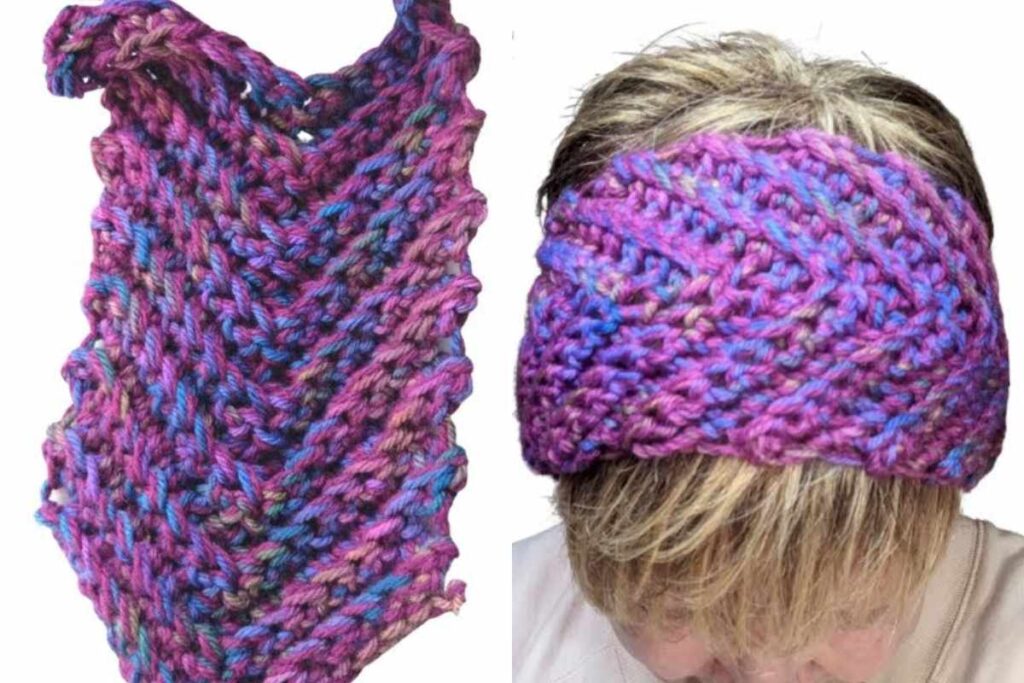
If you’ve been wanting to try the classic chevron (zig zag) look in crochet, a headband is the perfect quick project. In this tutorial, you’ll see how the chevron pattern is built row by row so it looks crisp and consistent. It’s a great option for using up yarn and practicing stitch rhythm without committing to a big blanket.
Whether you’re brand new to chevrons or just want a cleaner finish, this video will walk you through the process in a simple, follow-along way.
How the Chevron Crochet Pattern Works (So Yours Looks Even)
Images and patterns courtesy of JoannesWeb
Refill Your Creative Cup
Feeling stuck or out of ideas? Let us bring the spark back to your hook. Our weekly emails deliver patterns, tips, and inspiration to keep your creativity blooming.
😍 Bring Your Crochet Mojo Back – Sign Up Now! Click on the image 👆🏼
Chevron crochet is all about repeating a rhythm of peaks and valleys. Those shapes are created by working increases at the “peaks” and decreases at the “valleys,” which is what gives the fabric that signature zig zag look.
A few tips that make a big difference:
- Keep a steady tension so the points don’t pull too tight.
- Count your repeats (especially early on) so the chevron pattern stays balanced.
- If your edges start to drift, it usually means an increase/decrease was missed—catching it quickly saves time.
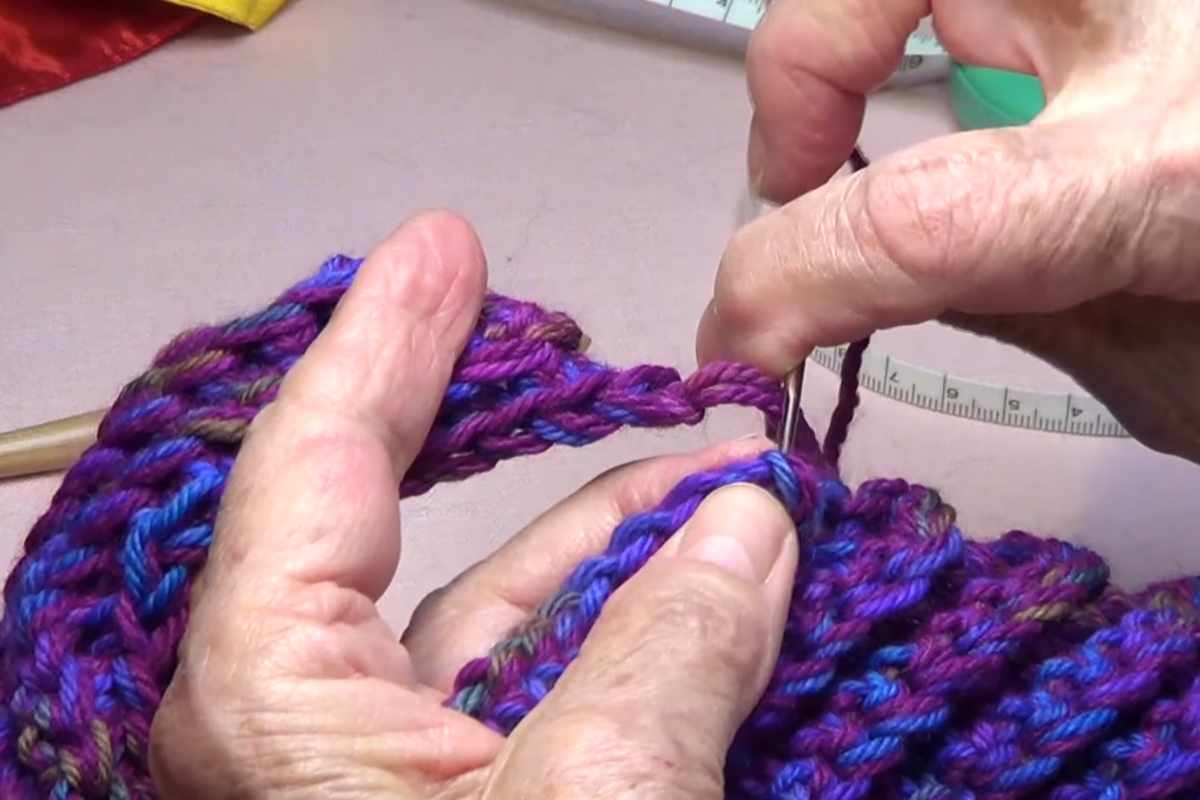
In the video, you’ll see exactly where those increases and decreases happen, and how to keep the chevron stitch pattern looking tidy as the headband grows.
Crochet Chevron Headband Video Tutorial + Pattern Walkthrough
Follow along to learn the crochet chevron stitch and how it’s used to create a comfy, wearable headband with that bold zig zag texture.

Source: JoannesWeb
If you want to make your own version, consider experimenting with different yarn weights or color changes to highlight the chevron rows—just keep the stitch pattern consistent so the points line up.
Thanks for crocheting along with me today! I hope this chevron headband gives you a fun way to practice the chevron crochet pattern and end up with something you’ll actually wear.
— Maggie
More crochet projects for you