
Make Your Own Crochet Front Tie Vest Top: A Full Guide

Crocheting a front tie vest top is an exciting project that blends fashion with functionality. This stylish piece is versatile and can be worn for casual outings or dressed up for a more polished look.
If you're looking to enhance your crochet skills while creating a fashionable garment, this tutorial will guide you through every step of the process.
By the end, you'll have a beautifully crafted front tie vest top that reflects your creativity and craftsmanship.
Materials Needed
Before you start your crochet project, gather all the necessary materials. Having everything on hand ensures a smooth process.
- Yarn: Choose a yarn that suits your desired texture and drape. For a lightweight vest, cotton or bamboo yarn is ideal, while for a warmer option, wool or acrylic yarn would work better.
- Crochet Hook: Select a crochet hook that matches the yarn's recommended size. Make sure the hook size fits your tension for the best results.
- Measuring Tape: Accurate measurements are essential for a good fit. Make sure to measure the length and width of the vest according to your body.
- Scissors: You will need scissors to cut the yarn when you're finished with a section.
- Yarn Needle: This is used for weaving in the loose ends and stitching together different parts of the vest.
Step-by-Step Instructions
1. Foundation Chain
The first step is to create the foundation chain. The length of this chain will depend on your body measurements and how wide you want the vest to be.
For a fitted look, keep it smaller, while for a looser fit, make it longer. Be sure to keep the chain loose to allow the stitches to flow freely as you crochet.
2. Establishing the Pattern
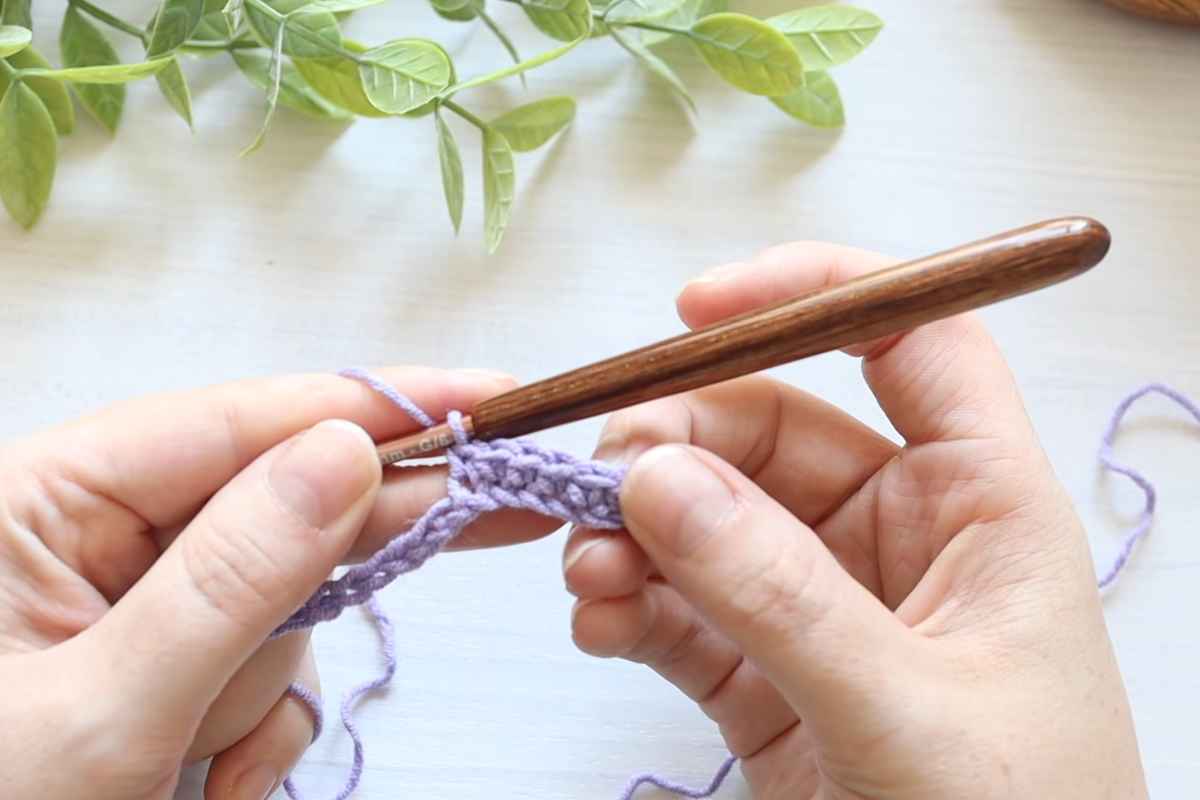
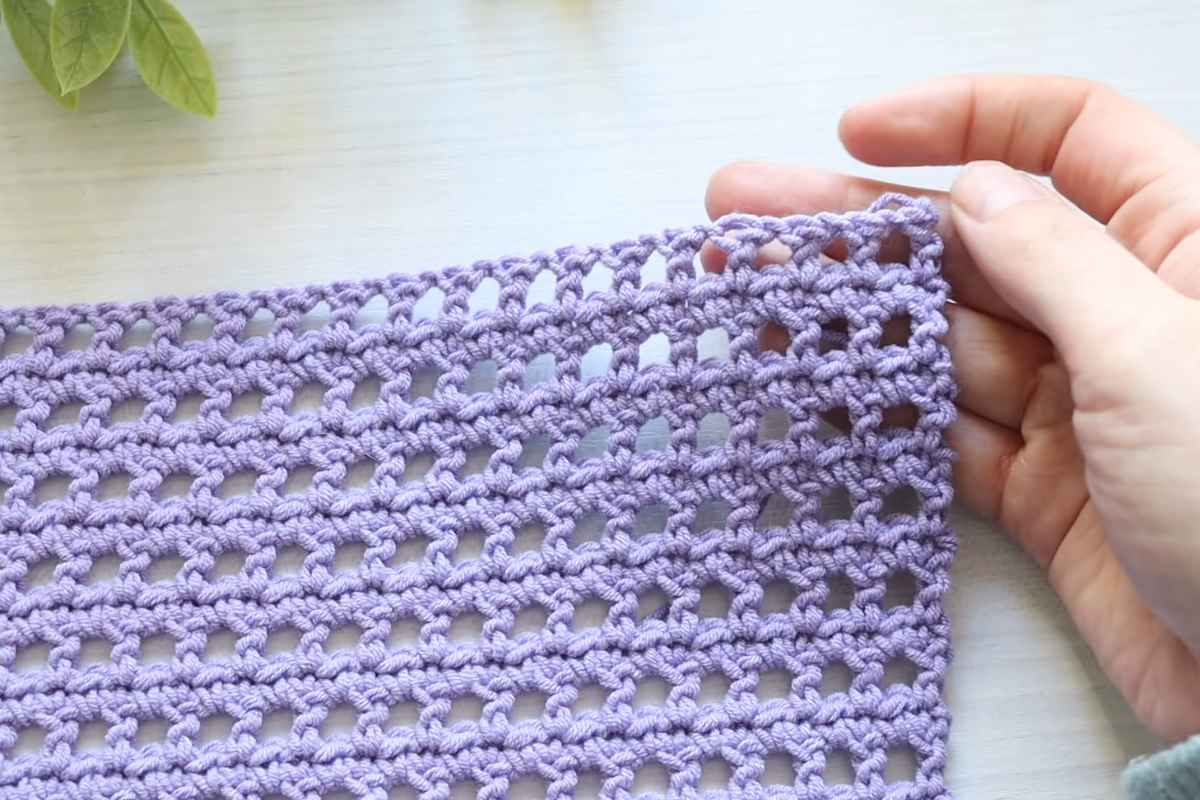
For the main body of the vest, you will use a stitch pattern that provides both flexibility and structure. Commonly used stitches include double crochet (dc) or half double crochet (hdc).
These stitches create a solid yet breathable fabric, perfect for a summer vest. Work the stitches in rows, turning your work at the end of each row.
3. Shaping the Armholes
To shape the armholes, you will need to decrease stitches on both sides of your work. This can be done by skipping a set number of stitches at the beginning and end of each row.
The number of stitches you skip will depend on your measurements and the desired armhole size.
4. Creating the Front Tie
After completing the body of the vest, it’s time to add the front tie, a key feature of this design. For the tie, crochet two long strips that are long enough to tie at the front of the vest.
Attach these strips to the front edges, making sure they are even and aligned for a symmetrical look.

5. Finishing Touches
Once the front tie is attached, weave in any loose yarn ends using a yarn needle. You may also want to add a border around the edges of the vest for a finished look.
This can be done using single crochet (sc) stitches or another decorative stitch of your choice.
Tips for Success
- Gauge Swatch: Before starting your vest, it’s always a good idea to create a gauge swatch. This ensures that your stitches match the pattern's required tension. It’s crucial for making sure the vest fits well.
- Sizing: Accurate measurements are critical when it comes to crochet clothing. Take the time to measure yourself and adjust the pattern to suit your body type. A well-fitting vest is both comfortable and flattering.
- Yarn Substitution: If you're using a yarn that differs from the one suggested in the pattern, make sure it has the same weight and texture. This will help maintain the integrity of the design and ensure the vest holds its shape.
- Blocking: After completing your vest, blocking is an important step. Blocking helps to set the stitches and smooth out any wrinkles. It’s a great way to make your crochet project look professional and polished.
Crochet Your Own Style
Creating your own crochet front tie vest top is a rewarding project that allows you to combine fashion with craftsmanship.
With the right materials, techniques, and a little patience, you'll have a stunning vest to wear and enjoy. Follow the steps in this guide, watch the accompanying tutorial, and you’ll soon be rocking your handmade crochet top. Happy crocheting!
Images and patterns courtesy of Hey Carrie
Enjoy The Video Tutorial

Source: Hey Carrie
Did you find this post useful or inspiring? Save THIS PIN to your Crochet Board on Pinterest!

More crochet projects for you