
Mini Santa Claus Amigurumi: Free Crochet Christmas Ornament Pattern


Get ready for the holidays with this mini Santa Claus amigurumi by Ana of Little Crochet Farm. Standing about 4.3 inches (11 cm) tall, he makes a sweet Christmas tree ornament, a stocking stuffer or a little shelf decoration. Ana is known for her clear, calm explanations, and the free written pattern comes with a two-part video tutorial, so it is a lovely project even if you are new to amigurumi.
Mini Santa Claus Amigurumi at a Glance
- Designer: Ana of Little Crochet Farm
- Finished size: about 4.3 in (11 cm) tall
- Yarn: sport weight 100% cotton in beige, white, black and red
- Hook: 1.75 mm or 2 mm
- Skill level: beginner friendly
- Video: two parts (Part 1: legs, body and head; Part 2: hat, arms, beard and assembly)

What You'll Need
- Sport weight cotton yarn in beige, white, black and red (Ana uses Mondial Lane cotton; Schachenmayr Catania is a similar option)
- A 1.75 mm or 2 mm crochet hook
- Fiberfill stuffing
- Black embroidery thread for the eyes, or small safety eyes
- A sewing needle and scissors
Gauge is not critical for an ornament like this. A small hook with sport weight cotton gives tight stitches, so the stuffing does not show through.
How Santa Is Made
Refill Your Creative Cup
Feeling stuck or out of ideas? Let us bring the spark back to your hook. Our weekly emails deliver patterns, tips, and inspiration to keep your creativity blooming.
😍 Bring Your Crochet Mojo Back – Sign Up Now! Click on the image 👆🏼
Santa is worked in the round in a few simple pieces:
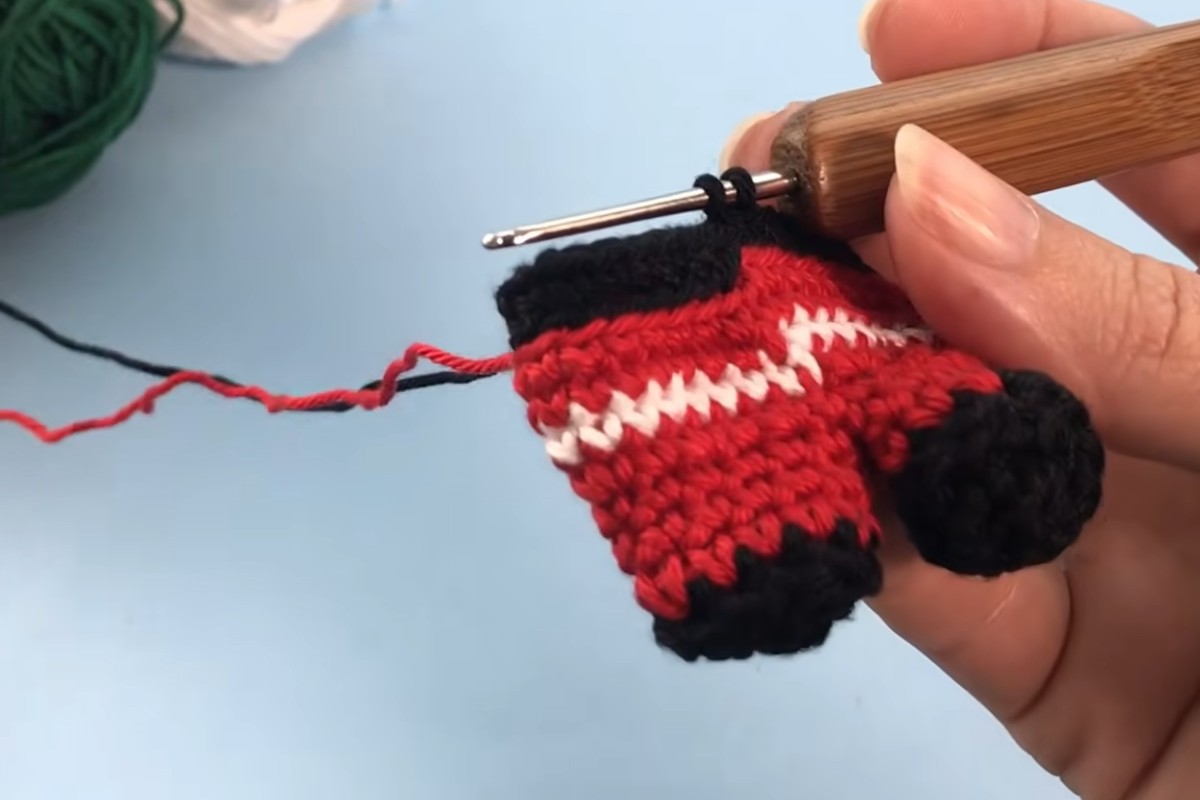
- Legs: two small legs start in black for the boots and change to red. They are joined together to begin the body.
- Body: worked in bands of red, white and black for the coat, the trim and the belt, tapering toward the neck.
- Head: a round beige head worked in the same piece, stuffed firmly before closing.
- Hat: a red hat with a white brim and a white pompom on top.
- Arms and beard: beige hands with white and red sleeves, and a curly beard made with chains and slip stitches.
Finally, the arms are sewn on, the eyes are embroidered and the beard and hat are attached.
Techniques You Will Practice
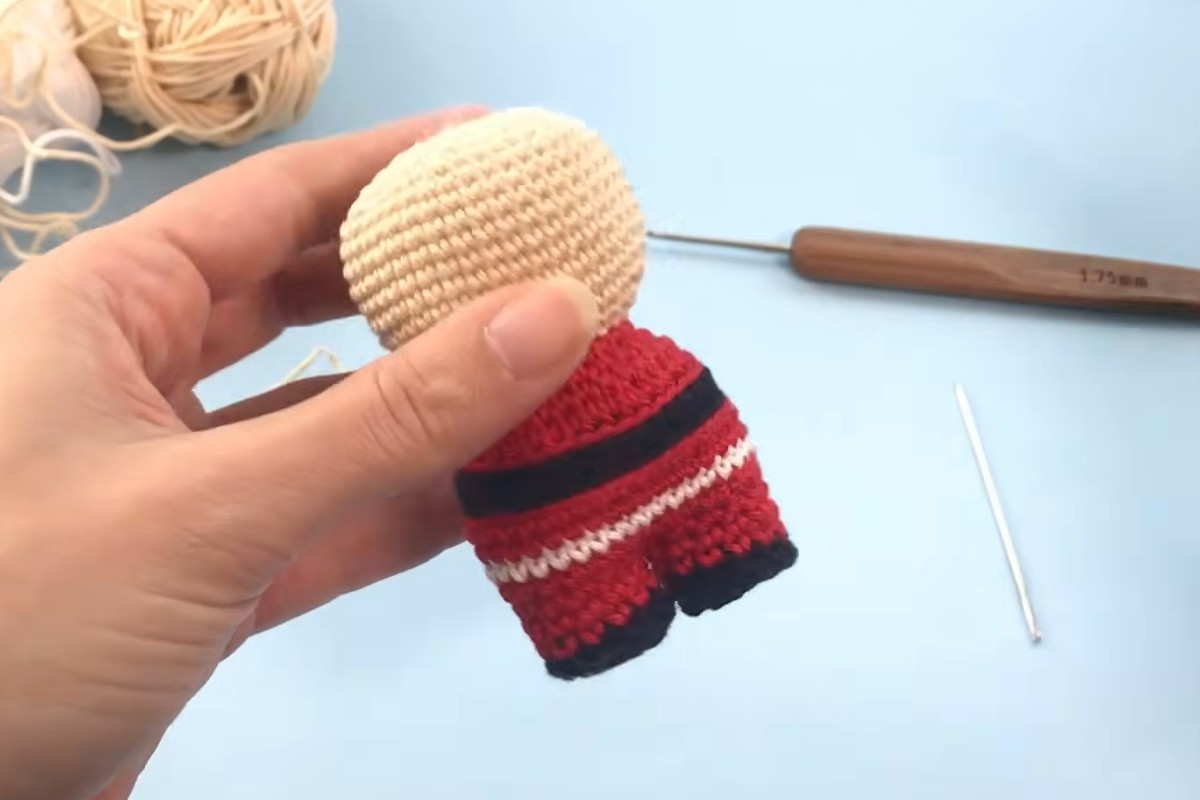
This little Santa is a great way to learn the basics of amigurumi: the magic ring, single crochet in the round, increases, the invisible decrease, back loop slip stitch, front loop single crochet and clean color changes. Ana also has separate tutorials for each of these techniques, which is handy if you get stuck on a step.
Images and pattern courtesy of Little Crochet Farm
Enjoy the Video Tutorial
Part 1: Legs, Body and Head

Part 2: Hat, Arms, Beard and Assembly

Source: Little Crochet Farm
Tips for a Neat Amigurumi

- Use a stitch marker at the start of each round so you never lose count.
- Stuff as you go. Add stuffing to the legs and body before the opening gets too small, and stuff the head firmly so it keeps its round shape.
- Embroider eyes for kids. If the ornament will be a gift for a small child, embroidered eyes are safer than safety eyes.
- Add a loop. Sew a thin ribbon or yarn loop to the top of the hat to hang Santa on the tree.
Frequently Asked Questions
Is this pattern good for beginners?
Yes. It only uses basic amigurumi stitches, and the video shows every round step by step.
Can I make a bigger Santa?
Use a thicker yarn, like DK or worsted, with a matching larger hook. The pattern stays the same and Santa will come out bigger.
Where is the written pattern?
The free written pattern is on the Little Crochet Farm website, linked in the credit above.
More Holiday Amigurumi from Little Crochet Farm
Keep the festive makes going with the mini Grinch amigurumi and the speedy Christmas tree appliqué. If you are new to amigurumi, start with the step-by-step guide to your first amigurumi doll.
Did you find this post useful or inspiring? Save THIS PIN to your Crochet Board on Pinterest! 😊

More crochet projects for you