
Best 3 Ways To Propagate Spider Plantlets!


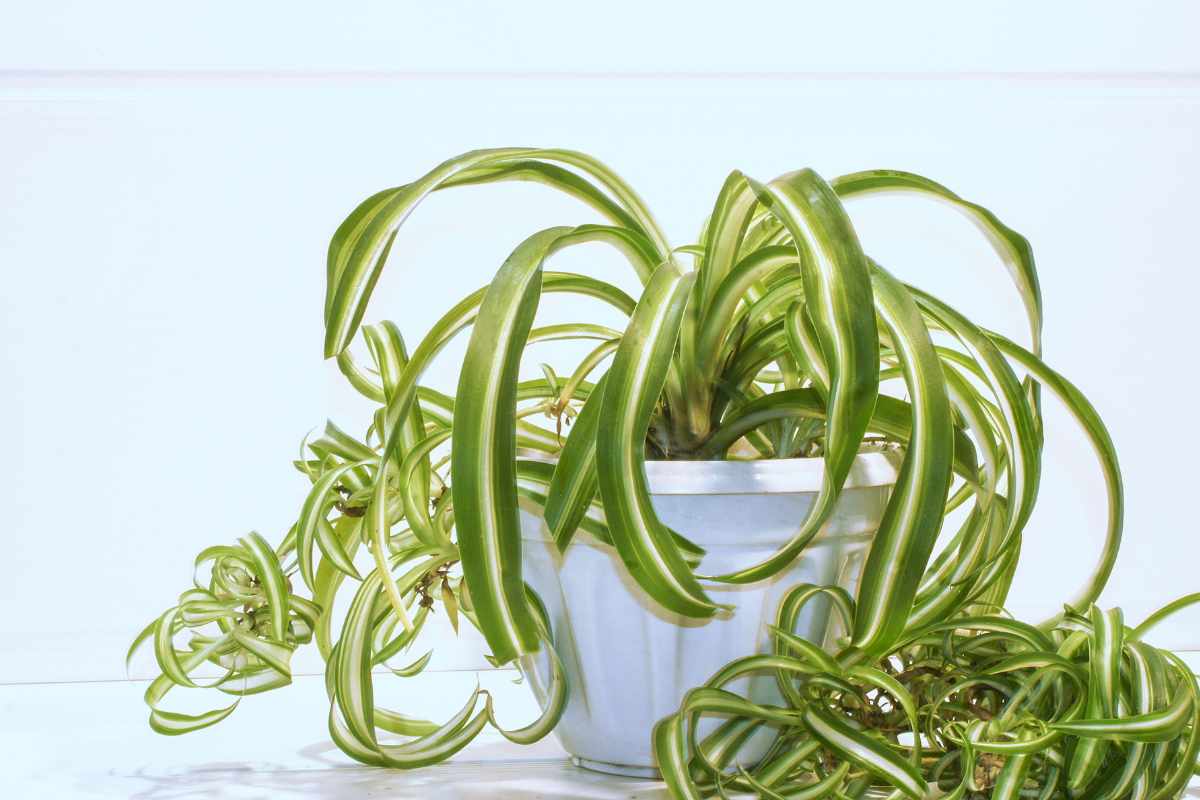
If you’ve ever admired the long, arching stems of a spider plant covered with tiny baby offshoots, you’ve probably wondered how to grow more of them.
The good news? Spider plant propagation is incredibly simple — and it’s one of the most rewarding ways to expand your indoor jungle.
In this guide, we’ll explore the three best methods to propagate spider plantlets, how to care for them during rooting, and which technique suits your space and experience level best.
Why Propagate Spider Plantlets?
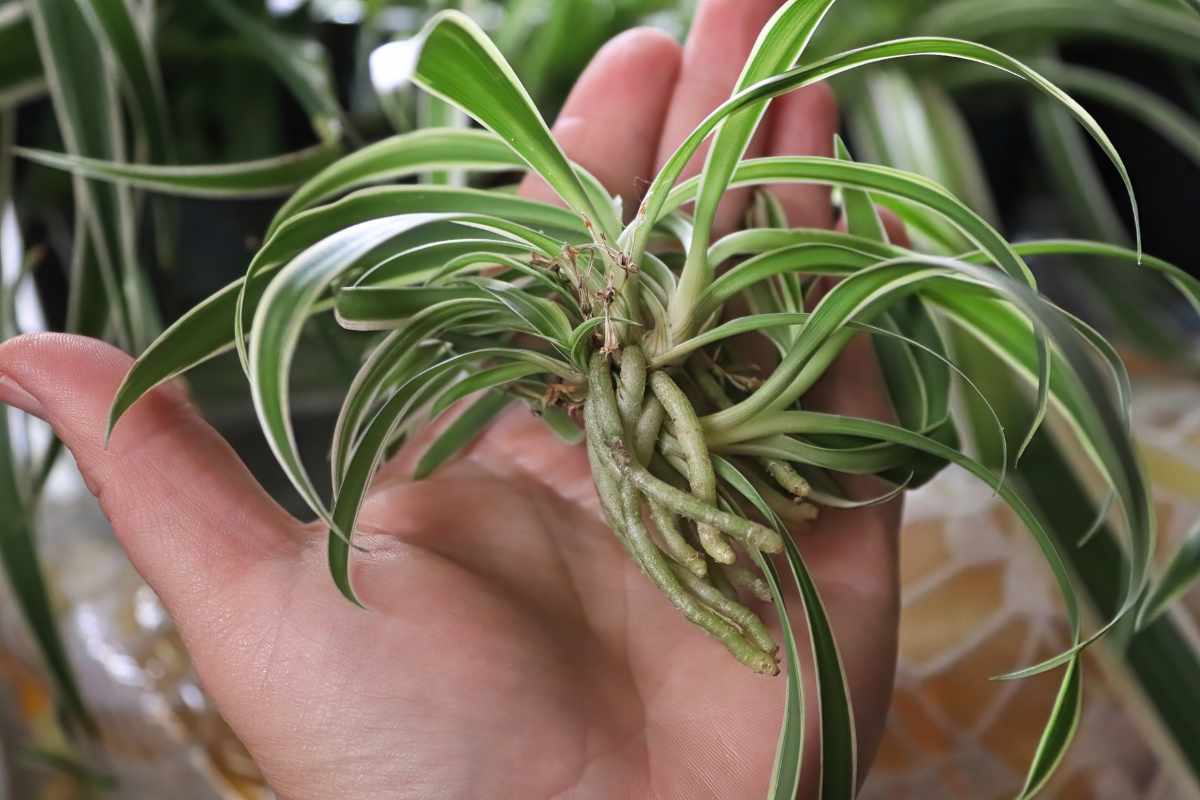
Spider plants (Chlorophytum comosum) are among the easiest houseplants to multiply.
Each “baby” or spiderette grows from a stem called a stolon and can become a whole new plant with just a bit of care.
Propagating your plant not only helps you grow more greenery for free but also keeps the mother plant healthy and tidy.
Before you start, gather a few essentials: sharp scissors, small pots, fresh potting mix, and clean water.
1. Propagating Spider Plantlets in Water
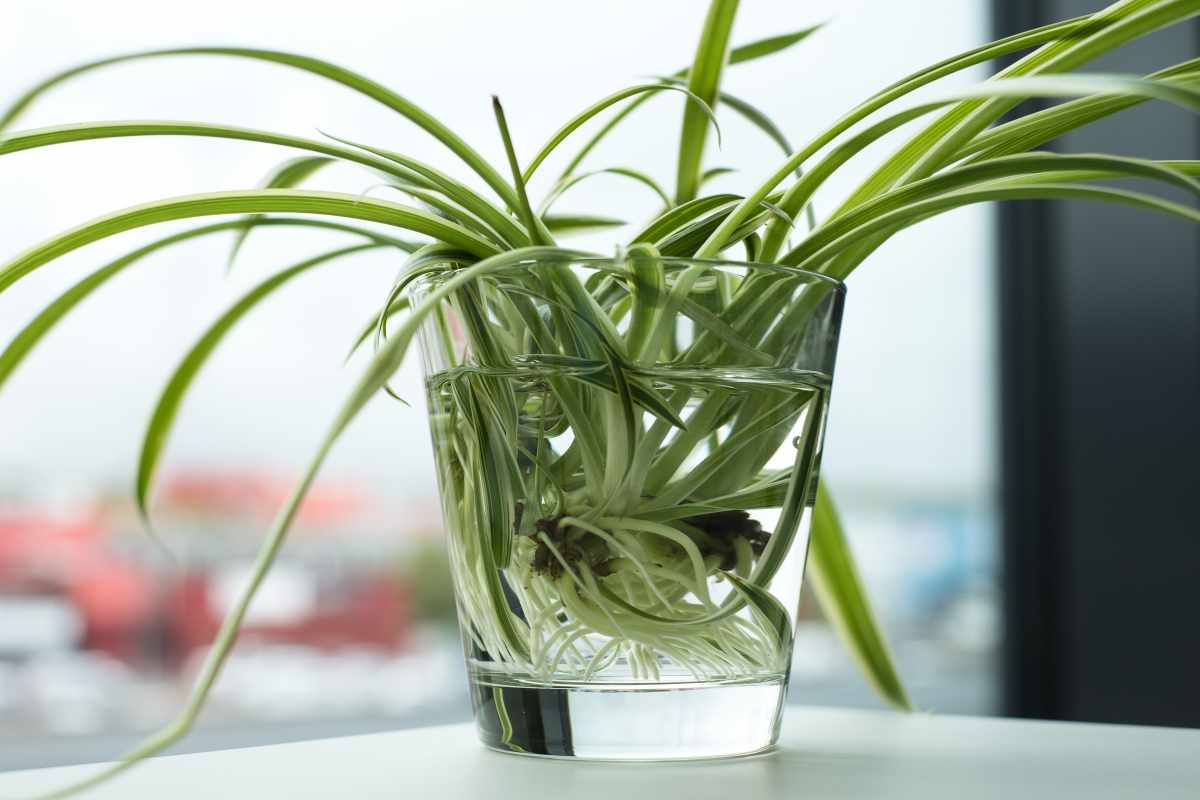
This is the most popular method because it’s easy and lets you watch the roots form right before your eyes.
Steps:
Cut a healthy spiderette from the mother plant, ideally one that already shows small root nubs.
Place the baby in a glass of room-temperature water, making sure only the root section is submerged.
Keep the glass in bright, indirect light — avoid direct sunlight.
Change the water every few days to prevent stagnation.
Once the roots are about 2 inches (5 cm) long, transplant the baby into potting soil.
Pro Tip: Use filtered or rainwater if possible, as tap water high in chlorine can slow root growth.
2. Propagating Spider Plantlets in Soil
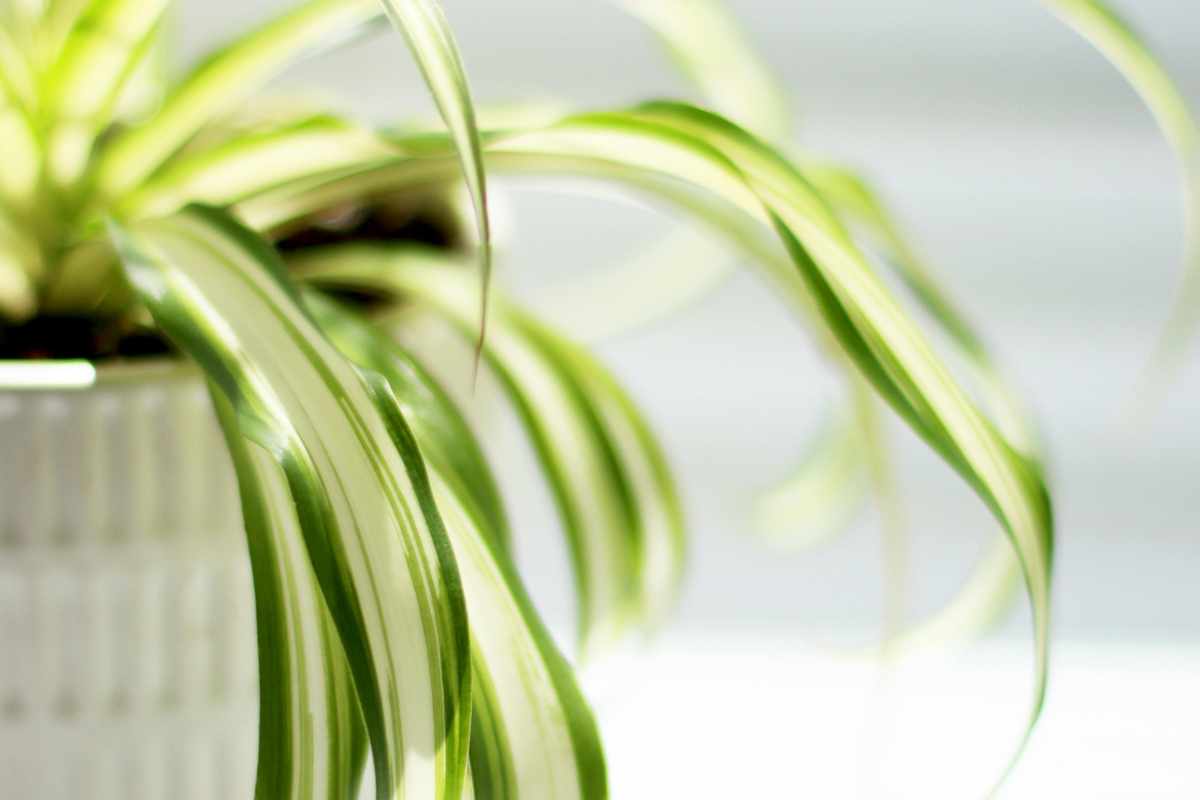
This method is great if you prefer to skip the water stage and grow directly in soil.
It encourages stronger, more stable root systems.
Steps:
Prepare a small pot with well-draining soil (a mix of potting soil and perlite works well).
Plant the spiderette directly into the soil, ensuring its base makes good contact.
Water lightly — the soil should stay moist but not soggy.
Cover the pot loosely with a plastic bag to maintain humidity (optional).
Place in bright, indirect light and watch for new growth in 2–3 weeks.
Pro Tip: To increase your success rate, you can leave the spiderette attached to the mother plant while it develops roots, then cut it once it’s established.
3. Propagating by Division
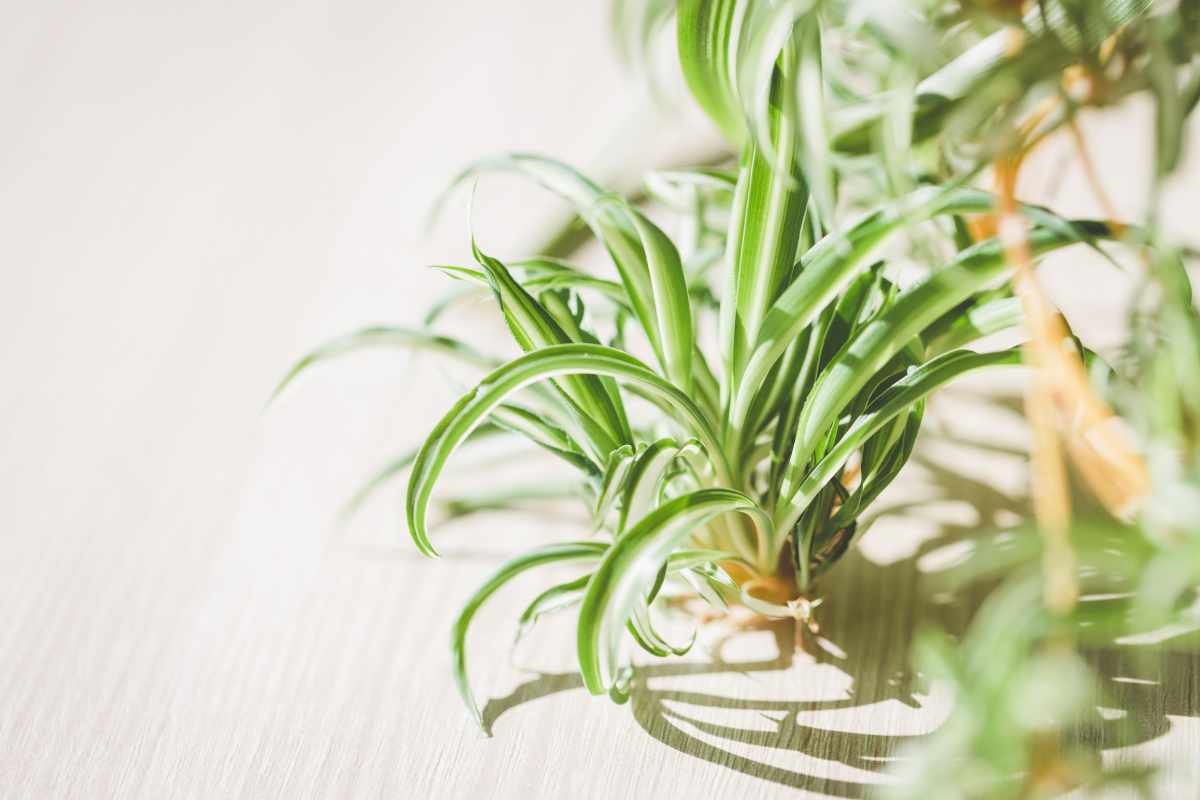
Mature spider plants often produce multiple crowns that can be divided into separate plants.
This is ideal when your spider plant outgrows its pot.
Steps:
Gently remove the plant from its pot and shake off excess soil.
Identify sections with their own root systems.
Separate the clumps carefully with your hands or a clean knife.
Repot each division into a new container with fresh soil.
Water thoroughly and keep in a bright spot.
Pro Tip: Spring or early summer is the best time for division, as plants are actively growing and recover faster.
Common Mistakes to Avoid
Overwatering: Too much water leads to root rot. Keep moisture moderate.
Poor lighting: Avoid dark corners; bright indirect light encourages healthy growth.
Using old soil: Always use fresh, sterile potting mix to prevent pests and disease.
Cutting too soon: Make sure spiderettes have small root nubs before propagation.
Growing a Green Family of Spider Plants
Propagating spider plantlets is more than just creating new plants — it’s a way to share greenery with friends and family.
With these three simple propagation methods, you can fill your home with lush, air-purifying spider plants and enjoy their easy beauty for years to come.
Enjoy This Video Tutorial

Source: Harli G
Don’t forget to Subscribe to our Newsletter to receive amazing tips and tricks about Gardening and the FREE Ebook Green Living Strategies!
Did you find this post Useful or Inspiring? Save THIS PIN to your GARDENING Board on Pinterest! 😊

Once again, thank you for visiting our website!
We hope you've enjoyed exploring the content we've created for you.
Give yourself the chance to learn, get inspired, and have even more fun, keep browsing...
More Gardening Tips 👇🏼👇🏼