
Grow Sweet Strawberries Right From Your Windowsill


The idea of plucking fresh, juicy strawberries right from your windowsill might sound like a dream, but it's entirely possible—and surprisingly enjoyable. Growing strawberries indoors offers a fun way to enjoy fruit without needing a large garden or even a backyard. Whether you’re limited by space, or climate, or simply want to try something different, cultivating these sweet berries indoors is both rewarding and practical.
While strawberries are typically seen as outdoor plants, they adapt well to container growing, and with the right setup, they’ll thrive in your home. It’s all about recreating the conditions they love—plenty of light, consistent moisture, and good airflow.
Choosing the Right Variety Makes a Difference
Not all strawberry plants behave the same way. If you're growing indoors, day-neutral or everbearing varieties are your best bet. These types produce fruit steadily throughout the season and aren’t as dependent on long days of sunlight as their June-bearing counterparts.
Day-neutral varieties like ‘Albion’ or ‘Seascape’ are ideal because they focus on producing fruit rather than spreading runners, which is helpful in smaller spaces. Everbearing plants also produce multiple harvests a year, offering a more consistent yield in indoor conditions.
Starting with a bare-root plant or healthy seedling is recommended for indoor setups, as these give you a head start and reduce germination uncertainty. Avoid growing from seed unless you’re ready for a slower, more experimental process.

Light Is the Key to Healthy Growth
Strawberries are sun lovers, and when grown inside, they still need generous light exposure to develop properly. Ideally, they should receive at least 6–8 hours of sunlight per day. A south-facing window is the best natural source, but in many cases, that alone may not be enough.
Supplemental lighting using full-spectrum grow lights can make a big difference. These lights mimic natural sunlight and give your plants the energy they need to grow lush leaves and sweet fruit. Position the lights just a few inches above the plant, adjusting as it grows to keep the intensity effective.
Without sufficient light, strawberry plants may become leggy, flowerless, or produce small, underwhelming fruit. Keeping the light source steady and close helps encourage strong growth and better yields over time.
Choosing the Right Container and Soil
Strawberries don’t have deep roots, but they do appreciate room to breathe and drain. Choose a pot that’s at least 6 inches deep, with ample drainage holes. Hanging baskets, rectangular window boxes, or tiered planters are also excellent choices for growing strawberries indoors, especially if you're short on floor space.
Use a lightweight potting mix that holds moisture but drains well. Avoid heavy garden soil, which can compact in containers and restrict root development. A mix that includes coco coir, perlite, or composted bark is ideal for keeping roots healthy and oxygenated.
Make sure to place a saucer or tray underneath your pots to catch excess water—strawberries need moisture, but they don’t like sitting in soggy soil.
Watering and Feeding With Care
Consistent moisture is one of the most important elements of indoor strawberry care. While they don’t like being soaked, they do need evenly moist soil to thrive. Check the top inch of soil regularly, and water when it feels dry to the touch.
A small indoor watering can with a narrow spout is perfect for delivering water directly to the soil, avoiding splashing on the leaves, which can invite disease in a humid indoor environment.
When it comes to nutrition, strawberries are modest feeders but benefit from a balanced liquid fertilizer every two to three weeks during the growing season. Choose a formula with even levels of nitrogen, phosphorus, and potassium to support both foliage and fruit development.
Pollination Indoors: Helping Nature Along
One challenge of growing fruit indoors is the lack of pollinators. Since bees and insects aren’t buzzing through your living room, you’ll need to hand-pollinate your strawberry blossoms to ensure fruit forms.
Fortunately, the process is simple. When the flowers open, use a small, clean paintbrush or cotton swab to gently transfer pollen from one flower to another. A light circular motion is enough to mimic what bees would naturally do outdoors. This step is essential if you want a consistent fruit harvest indoors.
Even a gentle shake of the plant can help distribute pollen, especially if you're short on time. Just be sure to repeat the process daily while the flowers are blooming.

Managing Pests and Maintaining Airflow
Though indoor strawberries are less exposed to pests than outdoor crops, they're not completely immune. Keep an eye out for fungus gnats, spider mites, or aphids, especially around the base of the plant or undersides of leaves.
Maintaining good airflow and avoiding overwatering helps prevent many common issues. If needed, a small fan near your plants on a low setting can improve air circulation and reduce the risk of mold or mildew.
Neem oil or insecticidal soap can be used safely indoors if pests become persistent, but be sure to use them sparingly and away from pets and children. Keeping your growing area clean and checking your plants regularly is the best prevention.
Enjoying the Fruits of Your Indoor Garden
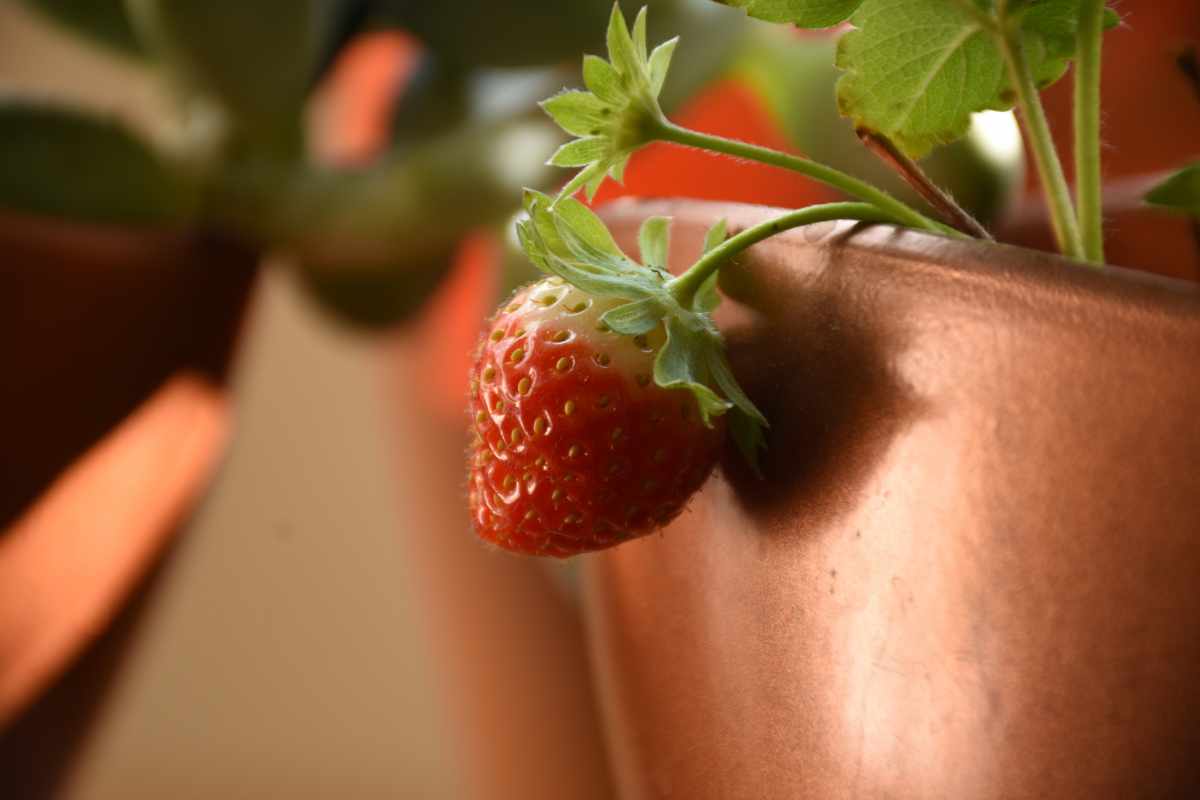
Watching strawberries ripen in your home is a small joy that never gets old. Once they turn bright red and plump, they’re ready to pick. Don’t wait too long—berries are best enjoyed fresh and have a short window between perfectly ripe and overripe.
Pick them with the stem still attached to preserve freshness, and rinse just before eating. You can enjoy them on their own, with yogurt, or even in a morning smoothie. Indoors, the fruit may be smaller than garden-grown varieties, but the flavor is just as sweet—if not sweeter because you grew them yourself.
If you care for your plants well, they’ll continue to produce for several months. After the fruiting cycle, they may rest briefly before sending out new buds. Trim dead leaves, continue gentle feeding, and they’ll be ready to go again.
Did you find this post useful or inspiring? Save THIS PIN to your GARDENING Board on Pinterest! 😊

More Gardening Tips 👇🏼👇🏼