- Urbaki Gardening
- Planting Flowers
- Planting Roses from Stem [Day by Day]
Planting Roses from Stem [Day by Day]
Emily Brooks
05/03/2020 · Updated on: 04/02/2026

If you love roses and want more of your favorites, propagating roses from stem cuttings is a satisfying, budget-friendly way to grow new plants.
This guide walks you through the essentials—when to take cuttings, how to prepare them, the best rooting medium, and the simple humidity tricks that help roots form.
You’ll finish with clear aftercare steps, realistic timelines, and tips to avoid common pitfalls so your rose cuttings have the best chance to thrive.
Materials & Quick Prep
Clean, sharp pruners or a sterile knife
Rubbing alcohol (for tool sterilization)
6–8 inch (15–20 cm) healthy rose stems
Rooting hormone (powder or gel)
Small pots or cell trays
Airy, sterile mix (1:1 perlite and peat/coir, or sand and peat)
Clear humidity dome or plastic bag + stakes
Labels (variety + date)
Prep first: Sterilize tools, pre-moisten your potting mix until evenly damp (not soggy), and set pots where they’ll receive bright, indirect light.
When to Take Cuttings
Softwood cuttings (best for most home gardeners)
Late spring to early summer, when growth is flexible and green. Softwood roots quickly and is ideal for modern shrub, floribunda, and many climbing roses.
Semi-ripe and hardwood cuttings
Semi-ripe: Mid to late summer, slightly firmer stems.
Hardwood: Late autumn through winter (dormant, leafless stems). Best for species roses and rugged, old garden varieties; rooting takes longer but can be very reliable.
The Cutting: What to Look For
Choose a healthy, non-flowering stem about pencil thickness.
Avoid stems with pests, disease spots, or blossoms (flowers divert energy away from rooting). Aim for 6–8 inches (15–20 cm) long with at least 3–4 nodes.

Step-by-Step: Rooting a Rose Cutting
1. Cut just below a node. Make a clean, angled cut ¼ inch (6 mm) beneath a node at the base.
2. Trim the top. Cut straight across ½–1 inch (1–2 cm) above a node to set the final length.
3. Strip lower leaves. Remove leaves from the bottom half. Keep the top pair or two to fuel photosynthesis. Pinch off any buds.
4. Optional “wound” for woody stems. Lightly scrape the outer bark on one side of the lower inch (2–3 cm) to expose cambium—this can encourage faster rooting, especially on semi-ripe/hardwood pieces.

5. Dip in rooting hormone. Tap off the excess. Rooting hormone meaningfully improves success for most gardeners.
6. Pot into an airy, sterile mix. Insert the cutting so that at least one node is buried. Firm gently for support and good stem-to-mix contact.
7. Create gentle humidity. Cover with a clear dome or a ventilated plastic bag propped up with stakes—humidity reduces wilting while roots form.
8. Place in bright, indirect light. Avoid harsh midday sun that can overheat a covered cutting. Keep the mix evenly moist, never waterlogged.
9. Timeline: Many softwood cuttings begin forming roots in 4–8 weeks. Semi-ripe or hardwood may take longer.
Resist tugging; instead, watch for new leaf growth—a reliable sign roots are forming.

Ideal Conditions While Rooting
Light: Bright, indirect is best. Morning sun + afternoon shade works well.
Temperature: 18–24°C (65–75°F) speeds rooting. Bottom heat (propagation mat) can help in cooler rooms.
Moisture: Keep the medium lightly moist. If condensation heavily beads inside the bag/dome, vent daily to prevent fungal issues.
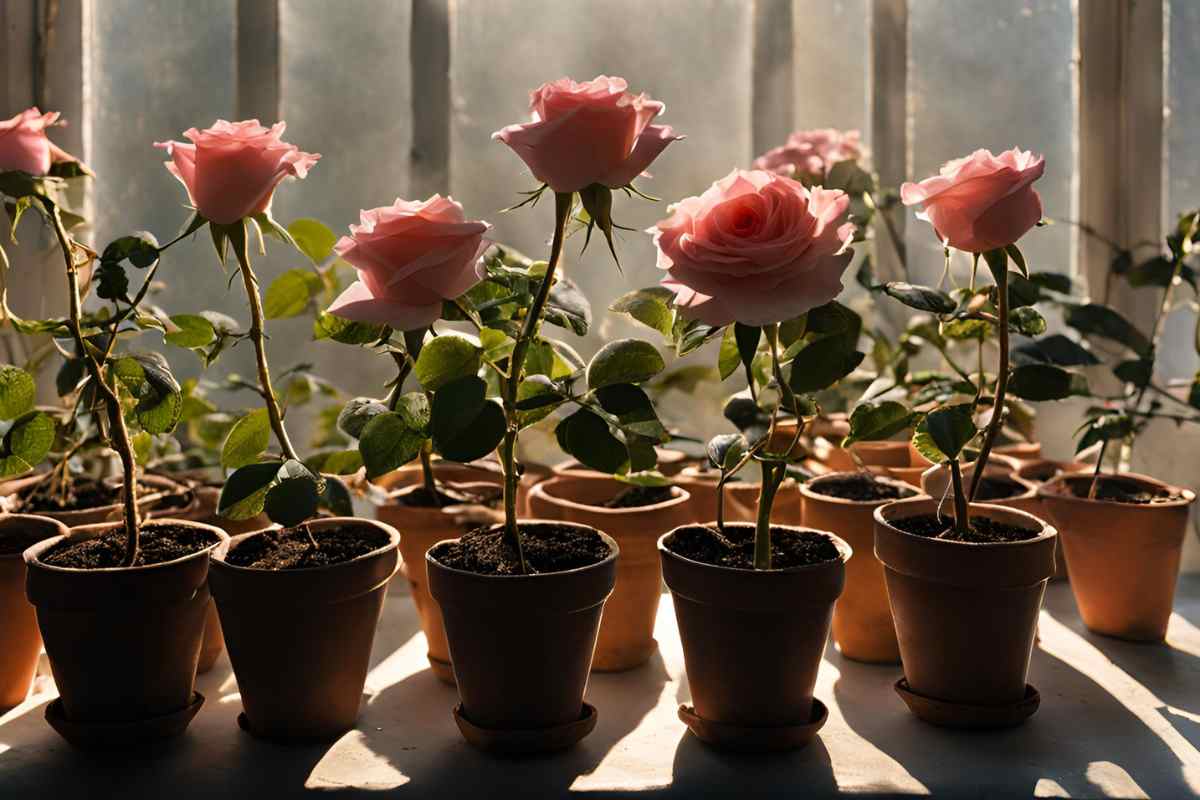
Potting On & Early Care
Once you see steady new growth or feel gentle resistance when you nudge the cutting, it’s time to pot up:
Transplant to a quality potting mix in a slightly larger container.
Continue with bright light and modest humidity for a week, then remove the cover.
Harden off gradually outdoors over 7–10 days before planting into the garden.
Feed lightly with a balanced, diluted fertilizer after 3–4 weeks in their new pots.
Troubleshooting: Quick Fixes
Cutting wilts and collapses: Too hot or too dry. Move to a softer light, re-mist the foliage, and ensure the bag/dome is sealed but vented.
Leaves blacken or mold appears: Humidity is too high or stagnant. Increase ventilation, remove affected leaves, and ensure the medium isn’t soggy.
No roots after 8+ weeks (softwood): Try fresher, non-flowering stems; refresh your rooting hormone; use a lighter, more well-aerated mix; check that temperatures are warm enough.
Cuttings rot at the base: The Tools or medium weren’t clean, or watering is excessive. Start over with sterilized tools and a sterile, airy mix.
Own-Root vs. Grafted: What You’re Growing
Cuttings produce own-root roses—plants that grow on their own roots rather than on a grafted rootstock.
Own-root roses: Uniform growth, no suckers from a rootstock, often better winter recovery, but can be slower to establish.
Grafted roses: Common in nurseries for vigor or bloom performance; may push rootstock suckers that must be removed.
Neither is “better” in all cases; it’s about your goals and the variety.

Important Note on Patented Cultivars
Many modern roses are patented.
That means asexual propagation (like stem cuttings) for distribution or sale is illegal without permission until the patent expires.
For home gardeners propagating a plant they own for personal use, laws vary—always check the tag or the cultivar’s status before you propagate and share.
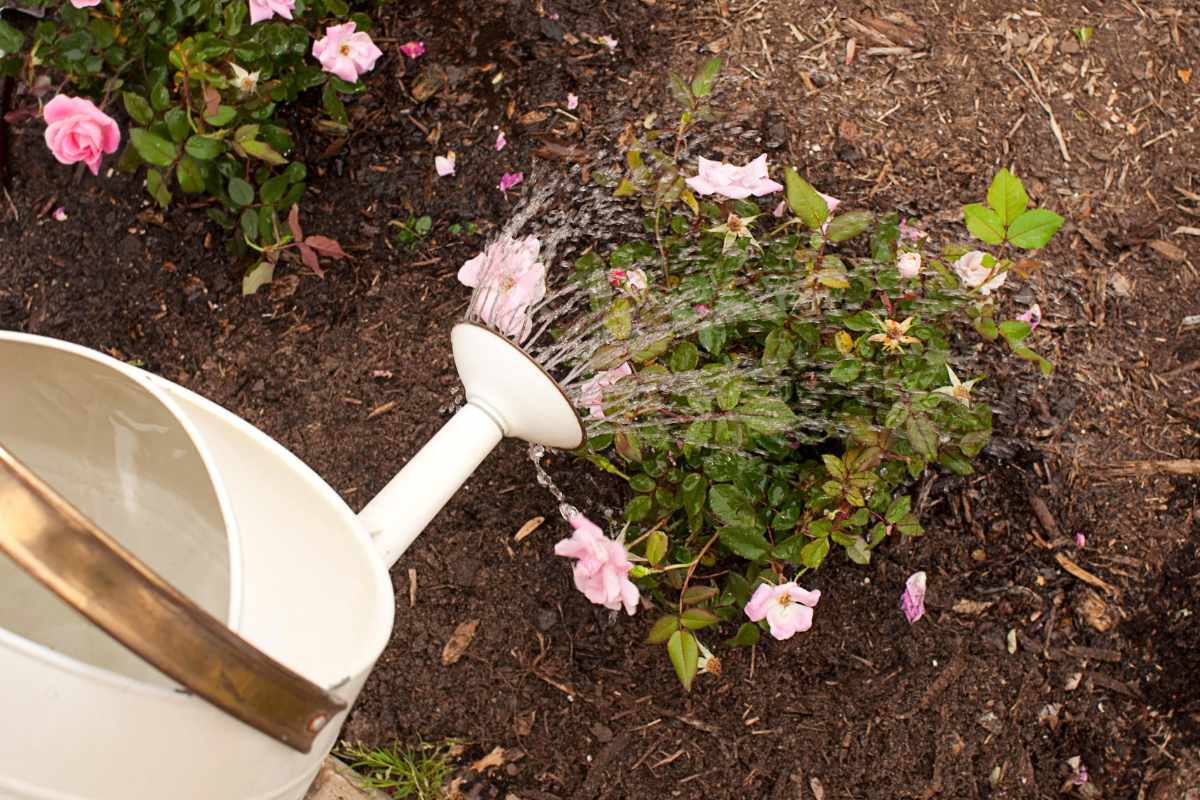
Smart Watering, Light, and Feeding (Aftercare)
Water: Deep, infrequent watering encourages deeper roots; keep soil evenly moist during the first season.
Light: Most roses want 6+ hours of sun. In hot climates, a touch of afternoon shade helps young plants.
Feeding: Start with light—balanced, slow-release fertilizer in spring; supplement with liquid feed during the first growing season if growth stalls.
Shaping: Pinch lightly to encourage branching once the plant is growing strongly.
Start with non-flowering, healthy stems, keep the medium light and sterile, maintain steady humidity with daily ventilation, and be patient with the rooting timeline.
If a batch struggles, adjust only one variable at a time—light, humidity, or temperature—so you learn what your setup needs.
With a handful of attempts and these best practices, you’ll soon be planting new own-root roses grown by you, from a single stem.
Enjoy the Video Tutorial

Source: The One Page
Did you find this post useful or inspiring? Save THIS PIN to your Gardening Board on Pinterest!😊

Once again, thank you for visiting our website!
We hope you've enjoyed exploring the content we've created for you.
Give yourself the chance to learn, get inspired, and have even more fun, keep browsing...
Emily Brooks
I’m Emily, a lifelong nature lover with dirt on my boots and a passion for all things green. I don’t claim to be a botanist; I’m just an enthusiast who believes that every backyard—no matter how small—can become a sanctuary. After years of trial and error (and more than a few wilted ferns), I’m sharing my honest journey of growing flowers and veggies. Let's learn from the seasons and grow something beautiful together!
More Gardening Tips 👇🏼👇🏼