
5 Easy Steps to Clean Wood Furniture


Keeping wood furniture looking warm and beautiful is simpler than it seems.
The key is to clean gently, dry immediately, and match your method to the type of finish.
Use the guide below to remove everyday grime, handle water rings, and protect the finish without dulling the natural glow.
Know Your Finish First
Identifying the finish helps you choose the gentlest effective method.
Sealed/Lacquered/Polyurethane: More resistant to moisture. Clean with a slightly damp microfiber and mild dish soap solution. Dry right away.
Waxed: Avoid excess water and harsh detergents. Dust regularly, wipe with a barely damp cloth when needed, and refresh with paste wax occasionally.
Oiled/Unsealed: Highly absorbent. Use minimal moisture and condition with mineral oil or a suitable wood oil to maintain luster.
What You’ll Need
Microfiber cloths (separate ones for cleaning and drying)
Mild liquid dish soap
Distilled water (helps prevent mineral spots)
Cotton swabs for crevices
Mineral oil or wood conditioner
Paste wax (optional, for waxed finishes)
 The 5-Step Method
Step 1: Dust Gently
Use a dry microfiber cloth to lift dust without scratching. Work with the grain. Removing gritty dust first prevents micro-scratches during cleaning.
Step 2: Spot-Clean Sticky Areas
Mix 1–2 drops of mild dish soap in 1 cup of warm distilled water.
Lightly dampen a cloth (don’t soak), wring very well, and wipe sticky spots. Follow with a clean, dry cloth to remove moisture immediately.
Step 3: Wipe the Whole Surface (If Sealed)
For sealed finishes, pass a slightly damp microfiber over the entire surface to even out the sheen.
For waxed or oiled pieces, either skip this step or use minimal moisture only where needed. Always dry immediately.
Step 4: Dry Completely
Moisture is the enemy. Use a fresh dry microfiber and ensure edges, seams, and carvings are fully dry to prevent water marks or swelling.
Step 5: Condition & Protect
Apply a thin film of mineral oil or an appropriate wood conditioner with a soft cloth. Buff to a soft sheen.
For waxed furniture, use paste wax per the manufacturer’s directions to boost protection and glow.
 Common Problems and Safe Fixes
Water Rings (White Rings)
Place a dry microfiber over the mark and apply gentle, low heat (a warm iron or hair dryer on low) for a few seconds at a time, checking frequently.
Alternatively, use a pea-sized amount of white non-gel toothpaste mixed with a little baking soda; rub very lightly, then wipe and dry immediately. Always test in a hidden area first.
Sticky Residue (Adhesive or Grease)
Start with the mild soap solution. If residue persists, apply a tiny drop of mineral oil to soften it, wipe gently, then clean and dry. Avoid harsh solvents unless advised by the furniture maker.
Light Surface Scratches
Massage a small drop of mineral oil along the grain to reduce their appearance. For stained finishes, a touch-up marker that matches the wood tone can help disguise fine lines. Deep gouges need professional refinishing.
 Care by Finish Type
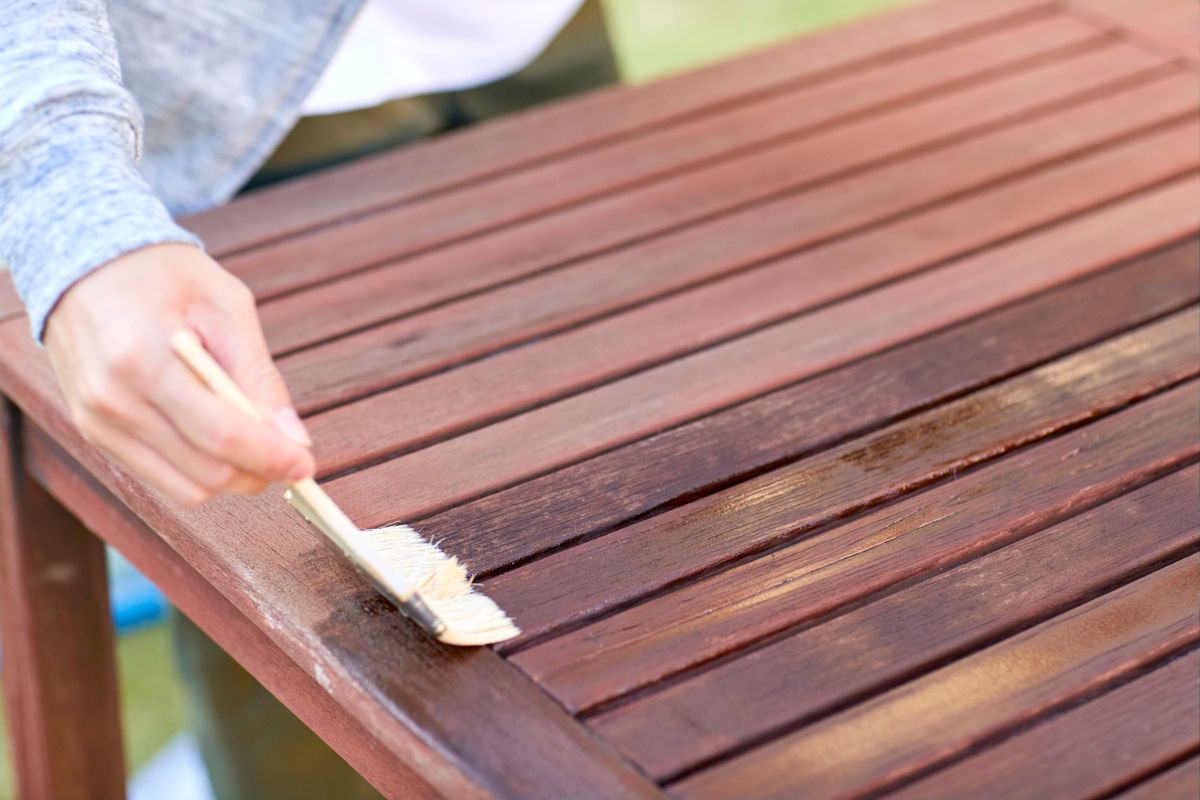
Sealed / Polyurethane
Do: Slightly damp microfiber, mild soap, immediate drying.
Avoid: Abrasive pads, ammonia, strong alkaline cleaners.
Waxed
Do: Frequent dusting, occasional paste wax to refresh.
Avoid: Excess water and strong detergents that strip wax.
Oiled / Unsealed
Do: Minimal moisture and regular oil conditioning.
Avoid: Soaking, silicone-heavy sprays, rapid humidity swings.
 Maintenance That Preserves the Finish
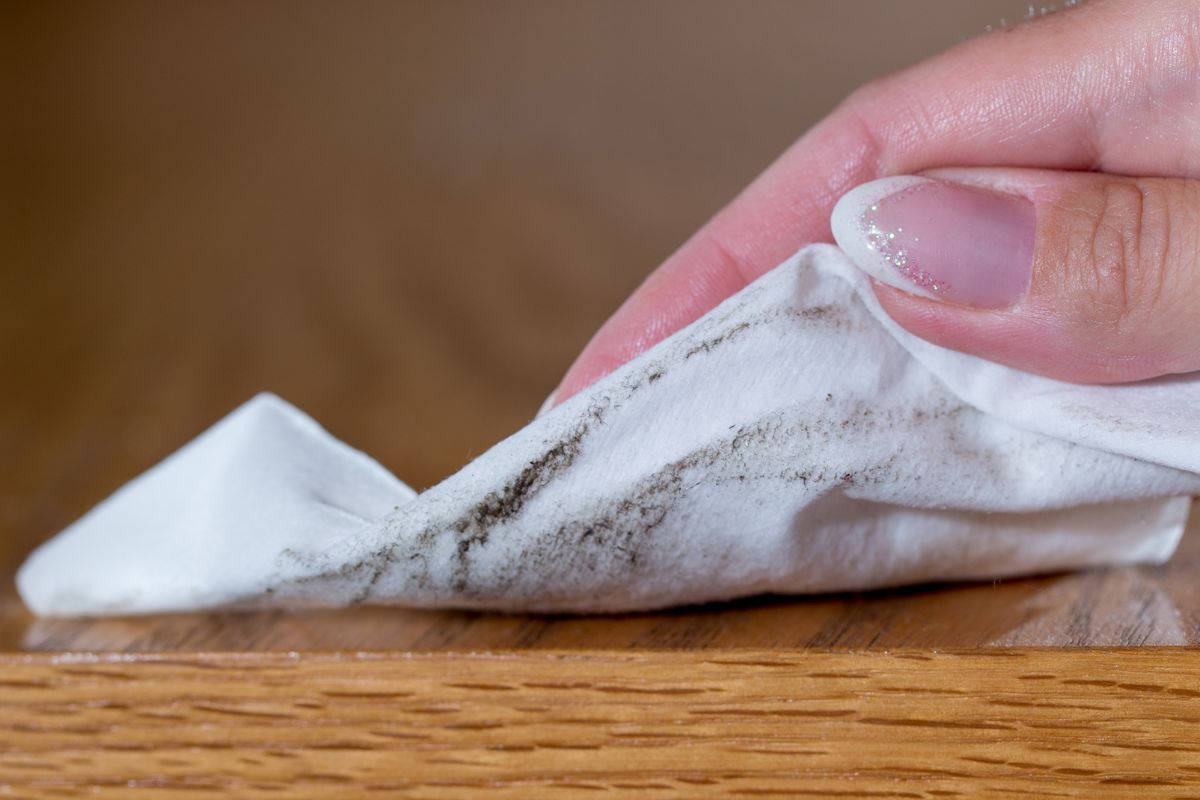
Weekly: Dust with microfiber to prevent buildup.
Monthly (high-use areas): Quick soap-and-water wipe (sealed only), immediate drying, and light conditioning if needed.
Seasonally: Check joints and hardware; keep indoor humidity stable to prevent cracking or warping.
Everyday habits: Use coasters, placemats, and felt pads under decor to prevent scratches and water rings.
What Not to Use (Important)
No bleach or ammonia on wood finishes.
No abrasive pads or steel wool.
No soaking or dripping-wet cloths.
No heavy silicone polishes that leave sticky residue and attract dust.
No prolonged direct sunlight on the same spot.
 Quick-Reference Checklist
Identify the finish before cleaning
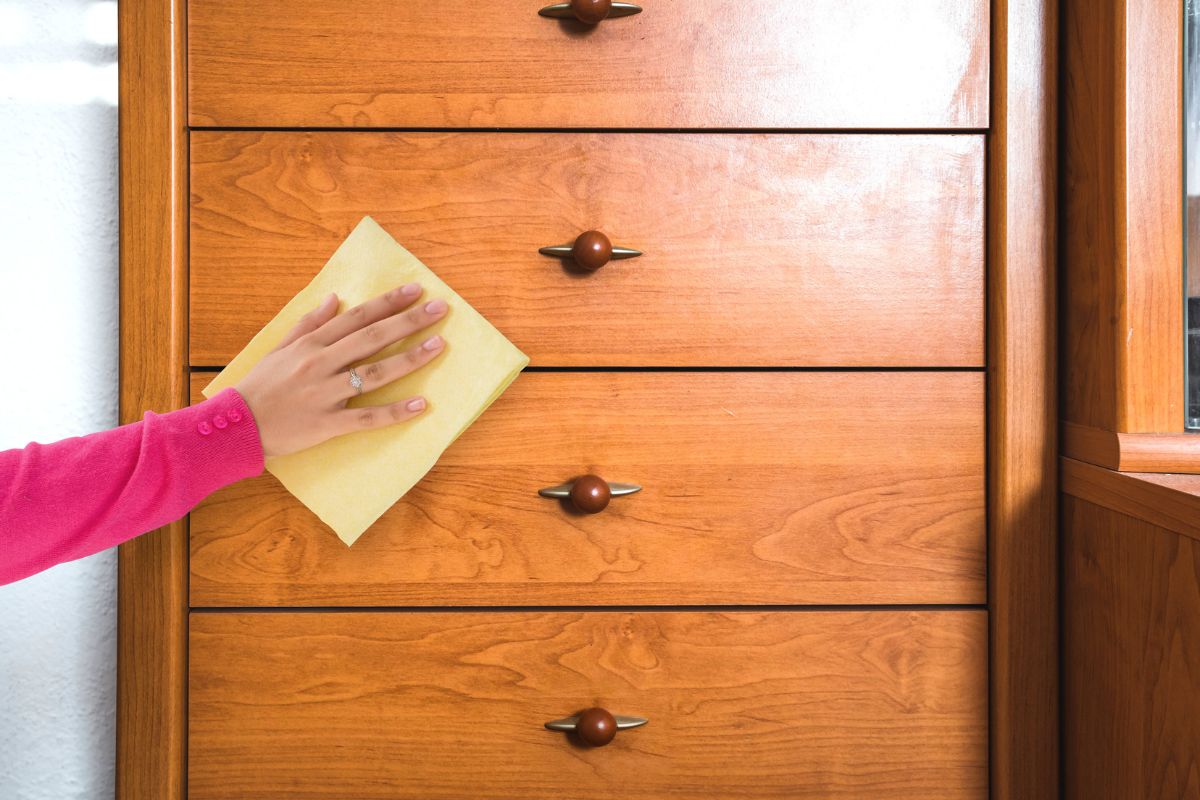
Dust first with a dry microfiber
Use mild soap and distilled water when needed
Wring cloths well and dry immediately
Condition lightly (oil or wax, depending on finish)
Protect daily with coasters and placemats
FAQs in a Flash
How often should I polish or wax?
Avoid rigid schedules. For sealed finishes, polish sparingly to prevent buildup. For waxed pieces, apply paste wax only when the surface looks dull or feels dry.
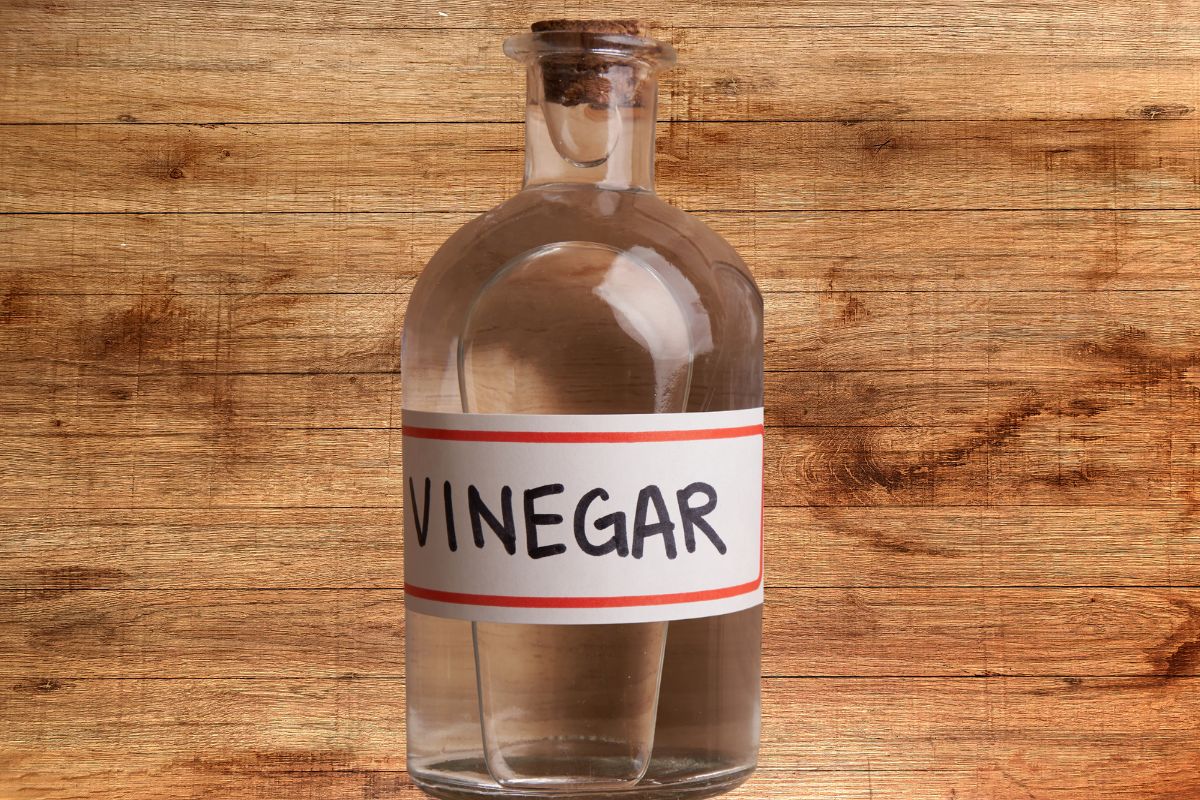
Can I use vinegar on wood?
It’s acidic and can dull finishes. Stick to mild dish soap diluted in water for routine cleaning.
Why distilled water?
Distilled water helps prevent mineral spots and streaks, especially on darker finishes.
 A Better Shine, With Less Effort
When you match the method to the finish, keep moisture in check, and develop a light weekly routine, your wood furniture will retain its rich color, smooth feel, and natural glow for years.
Small, consistent habits—dusting, drying, and protecting—make all the difference.
Your Wood, Your Style: Make It Last
Adopt these safe cleaning steps, avoid harsh products, and give your pieces the simple care they deserve. The result is furniture that looks welcoming, well-kept, and timeless—day after day.
We hope you enjoy watching this video about Ultimate Cleaning Hacks

Source: Real Simple
Did you find this post useful or inspiring? Save THIS PIN to your HOME Board on Pinterest! 😊

Once again, thank you for visiting our website!
We hope you've enjoyed exploring the content we've created for you.
Give yourself the chance to learn, get inspired, and have even more fun, keep browsing...
More Home Tips 👇🏼👇🏼