
How to Store Christmas Decorations: 6 Tips to Keep Them Safe Until Next Year


Taking down Christmas decorations never feels as fun as putting them up. After weeks of parties and cooking, it is tempting to sweep everything into the nearest box and push it into the attic. Then next December you open that box and find a cracked ornament, a knot of lights that will not untangle, and a wreath squashed flat.
A little care in January saves a lot of frustration later. These six steps cover sorting, cleaning, wrapping, lights, the right storage spot and labels, so your decorations come out next year looking the way you remember them.

1. Start With a Quick Sort
Before anything goes into a box, spread your decorations out on a table or the floor and group them: tree ornaments, lights, wreaths and garlands, table decor, textiles like stockings and tree skirts, and outdoor pieces. Seeing everything at once shows you how much you really own and how many containers you need.

This is also the moment to let go of a few things. Ornaments that are broken beyond repair, decorations you skipped this year and last year, and duplicates you never use can be tossed or donated. Every item you remove now is one less thing to wrap, store and dig through next December.
Keep a small "fix it" pile too. A loose ornament hook or a garland that needs a new tie is quicker to repair now, while you remember the problem, than in the middle of next year's decorating.

2. Clean Decorations Gently Before Packing
Dust, fingerprints and bits of pine needles are easier to remove now than after they have sat in a box for eleven months. Art conservators at the University of Delaware suggest wiping glass ornaments gently with a microfiber cloth. Plain glass can be spot cleaned with a little water on a cotton swab.
Hand-painted glass is different: the same experts advise never cleaning it. Wrap it as it is and handle it as little as possible.
For washable textiles such as simple stockings or table runners, the conservators recommend a soak in cold water with a gentle dish soap, no wringing, and drying flat instead of using the washing machine. Whatever you clean, make sure it is completely dry before it goes into storage.
3. Wrap Ornaments So They Cannot Knock Together
Most ornament damage happens when pieces roll around and bump into each other. Wrap glass ornaments one by one in tissue paper, and use boxes with dividers or small compartments so each piece has its own space.
Skip newspaper. The ink can rub off onto ornaments, especially light-colored or matte ones. Acid-free tissue paper is a better choice for metal pieces and painted finishes, and the University of Delaware conservators specifically recommend it for wrapping silver.
If your storage space is not climate-controlled, the same experts suggest creating a small buffer: pad items with crumpled tissue in a cardboard box, then place that box inside a larger box or a plastic bin. The extra layer helps protect against swings in temperature and humidity. Wool decorations attract moths, so store them in a tightly sealed container.
Handle vintage pieces with extra care. The conservators note that artificial "snow" made before 1940 could contain asbestos and that antique tinsel or icicles might contain lead, so avoid scraping, crumbling or brushing these materials.

4. Take Down and Store Lights the Safe Way
Start by unplugging. The Electrical Safety Foundation International advises unplugging decorations by holding the plug itself, not by tugging on the cord, since pulling the wire can damage it and create a shock or fire hazard.
As each strand comes down, check it. Look for cracked or frayed wires, exposed copper, broken bulbs and damaged plugs or sockets. Safety guidance from ESFI and This Old House is clear on this point: if a strand is damaged, throw it away instead of trying to repair it. If you use battery-operated lights, take the batteries out before storing them.
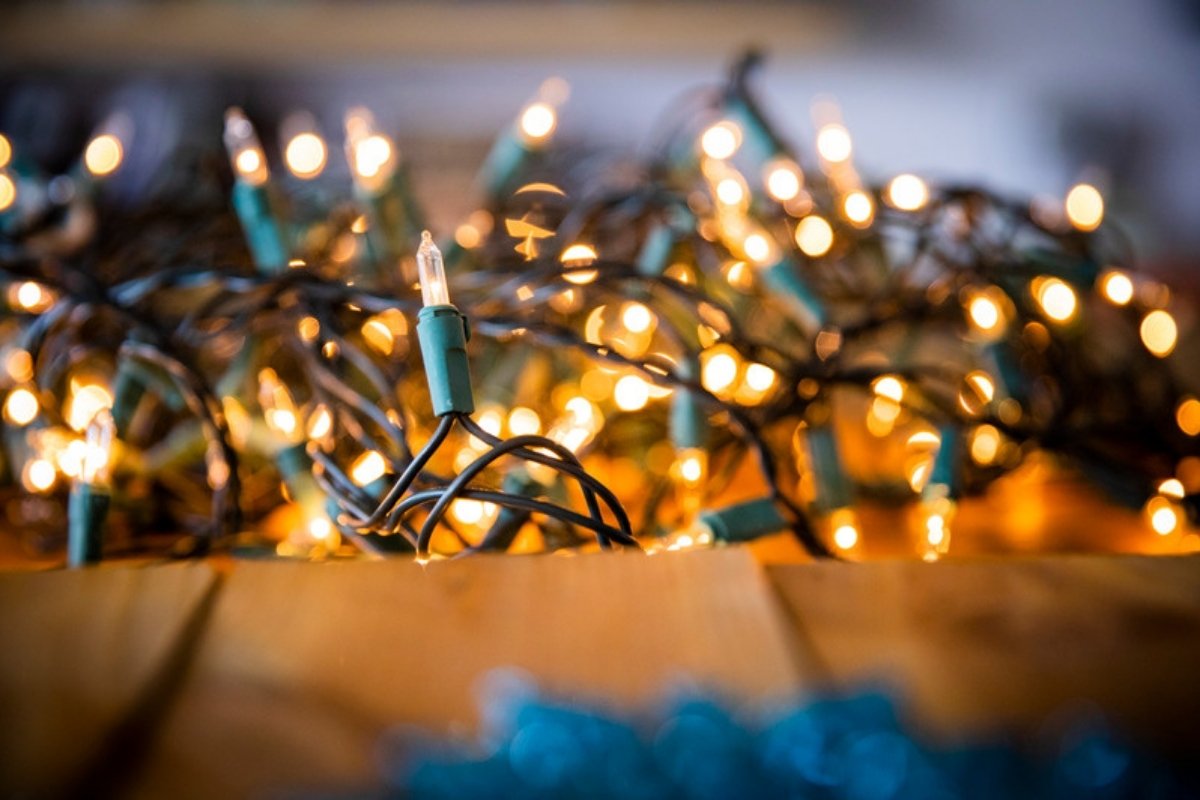
To avoid the yearly tangle, wind each strand around a sturdy piece of cardboard or a cardboard tube. Store different types of lights in separate, clearly labeled containers, and keep indoor and outdoor lights apart so you do not hang an indoor strand outside by mistake.
5. Pick the Right Storage Spot
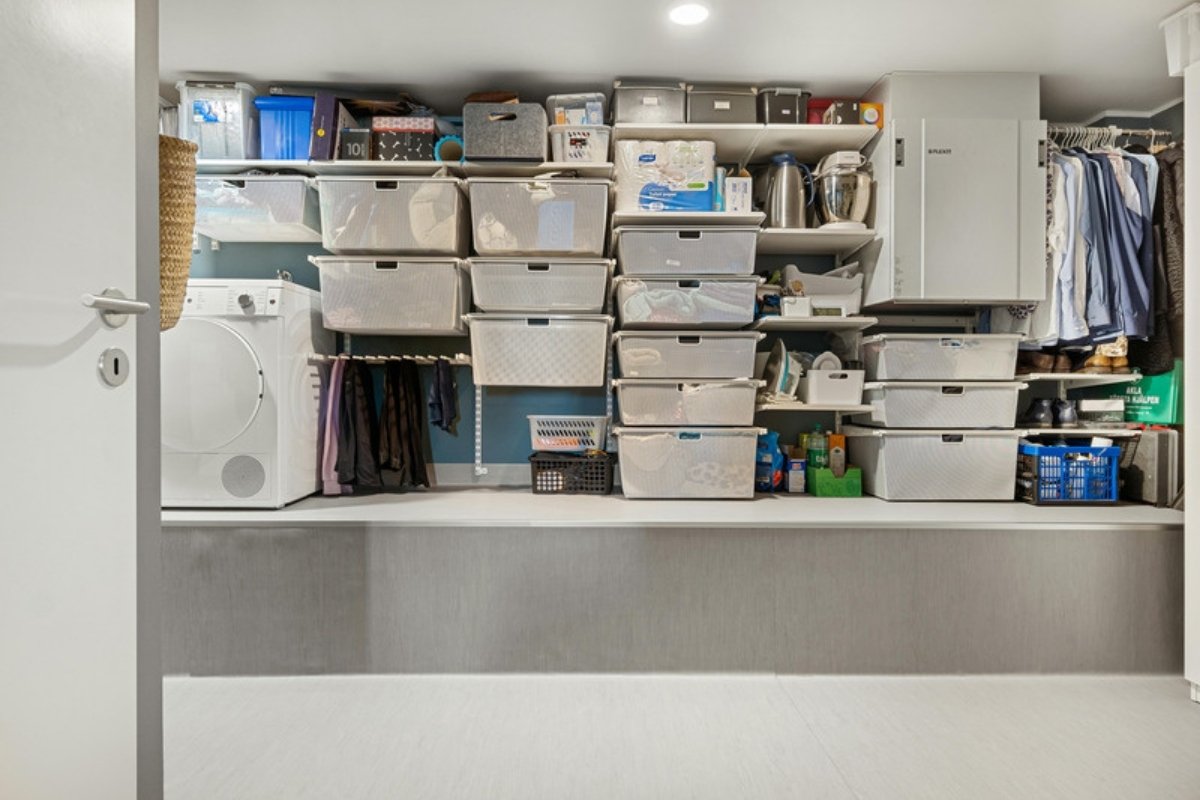
Where you keep your boxes matters as much as how you pack them. The attic and basement are the usual choices, but both can be a problem. Conservators recommend a cool, dry, climate-controlled space away from direct sunlight and heat sources, and they point to interior closets as an ideal spot. They suggest avoiding attics and basements when you can, because changes in heat and humidity can cause damage.
If an attic or garage is your only option, plastic bins hold up better than cardboard against damp, and the box-inside-a-bin method from step 3 gives fragile pieces extra protection.
Electrical decorations need one more rule: ESFI recommends storing them in a dry place that children and pets cannot reach.
6. Label Every Box and Keep a Simple List
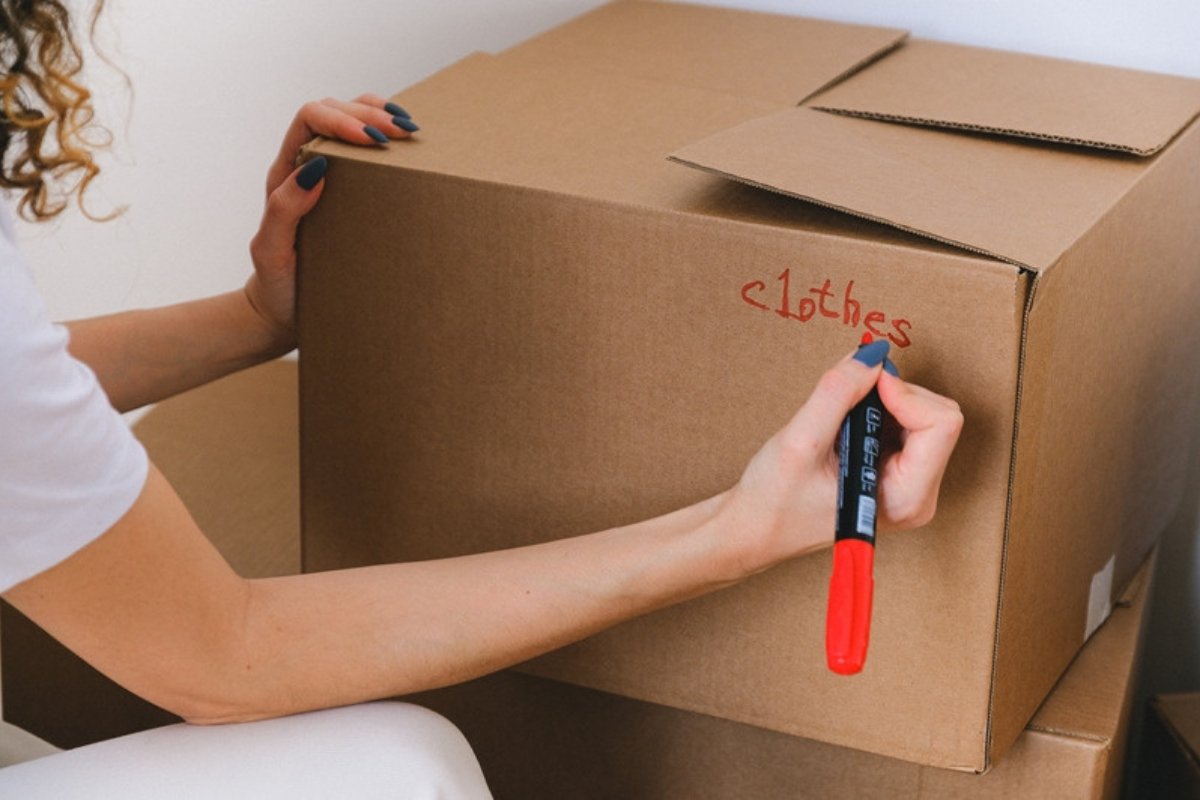
A box marked only "Christmas" is not much help when you need the tree skirt. Label each container by category and room, for example "Tree ornaments – glass", "Lights – outdoor" or "Dining table decor". Write on at least two sides so you can read the label however the box is stacked.
A short contents list taped inside the lid, or saved as a note on your phone, makes unpacking much faster. Add anything you noticed this year: the extension cord that was too short, the hooks you ran out of, or the strand of lights you threw away and need to replace.
Some people also take a few photos of the decorated rooms before taking everything down. It is an easy reminder of what went where.
Common Mistakes to Avoid
- Packing in a rush. Throwing everything into one big bin is quick now and slow next year. Give yourself an afternoon.
- Storing things damp. A tablecloth or garland that is still slightly damp can develop mildew in a closed box.
- Overfilling boxes. Heavy items on top of fragile ones lead to cracks. Put the heaviest pieces at the bottom and keep ornament boxes on top of the stack.
- Keeping damaged lights. A frayed strand is a safety risk, not a bargain.
- Using newspaper as padding. Tissue paper is cleaner and gentler.
Frequently Asked Questions
Is it bad to store Christmas decorations in the attic?
It is not ideal. Attics often get very hot or cold and can be humid, which is hard on glass, paint, textiles and wiring. An interior closet is a better choice if you have the space. If the attic is your only option, use sealed plastic bins and wrap fragile items well.
Should I use plastic bins or cardboard boxes?
Both work. Plastic bins handle damp spaces better, while cardboard boxes with dividers are fine in a dry, climate-controlled closet. For delicate pieces, a padded cardboard box placed inside a plastic bin gives you the best of both.
How do I keep Christmas lights from tangling?
Wind each strand around a piece of sturdy cardboard or a cardboard tube right after you take it down, then store each type of light in its own labeled container.
More Home Ideas
- Winter Home Checklist: 7 Things to Check Before the Holidays
- How to Keep a Real Christmas Tree Fresh: 7 Simple Steps
- Pre-Holiday Cleaning: 7 Spots to Clean Before Guests Arrive
- 7 Organization Ideas For The Home: Small Spaces
Pack it up once with care, and next year's decorating starts with opening a box instead of fixing one. Happy decorating!
More Home Tips 👇🏼👇🏼