Billy Bookcase Hack: Built-In Look on a Budget
The Billy Bookcase Hack is the internet’s favorite shortcut to built-in shelves without the built-in price. In this original Urbaki guide, we’ll turn standard units into a custom wall install with trim, paint, and smart styling.
You’ll learn planning, materials, and finishing tricks, plus fresh ideas for display so your Ikea Bookcase looks high-end in any room.
Plan the Perfect Billy Bookcase Hack
Start with a clear wall and measure floor to ceiling, then corner to corner. Decide how many frames you need and whether you’ll include doors, glass shelves, or a ladder.
Sketch the layout, marking outlets, vents, and baseboards. Leave a little breathing room at the top for crown molding and at the sides for scribe trim—those details create the “built-in” illusion.
Choose a color story early. Pure white mimics custom millwork, while moody hues give a library feel.
If you’re blending with existing trim, color match for a seamless transition. This planning pass prevents patchwork later and sets you up for a clean, cohesive result.
Materials & Tools (Keep It Simple)

You’ll need Billy frames and shelves, a thin plywood or beadboard backer (optional), baseboard and crown molding, 1x2 or lattice trim for seams, wood filler, caulk, and paint.
For tools, grab a stud finder, level, miter saw (or a miter box), brad nailer, and a good sanding block. If power tools aren’t your thing, most cuts can be done at a hardware store—just bring your measurements.
Before assembly, pre-paint moldings and trim. It’s faster and tidier than painting after installation, and it helps you spot any defects before they’re on the wall.
Billy Bookcase Hack: Assembly & Anchoring
Build the frames, slide them into place, and shim to plumb. Secure to wall studs through the provided brackets, then screw adjacent units together so the faces align.
If your floor is uneven, set the front edges to the same line first and hide gaps with baseboard; the eye reads the front plane, not the back corner.
To upgrade stability and acoustics, attach a thin backer across multiple units. This also hides seams and adds a luxe feel once painted. Fill fastener holes, sand smooth, and vacuum every surface before the next step.
Trim That Sells the Illusion
Run baseboard along the bottom, crown at the ceiling, and slim scribe pieces on the sides. Add vertical lattice where two cases meet to make one continuous face.
Caulk every joint with a fine bead and feather it with a damp finger. These small moves make a big visual difference and push the project beyond an Ikea Book Case Hack into “custom” territory.
Finish with two coats of your chosen paint, letting the first coat cure fully. A satin sheen is durable and cleans easily, while matte reads more architectural.
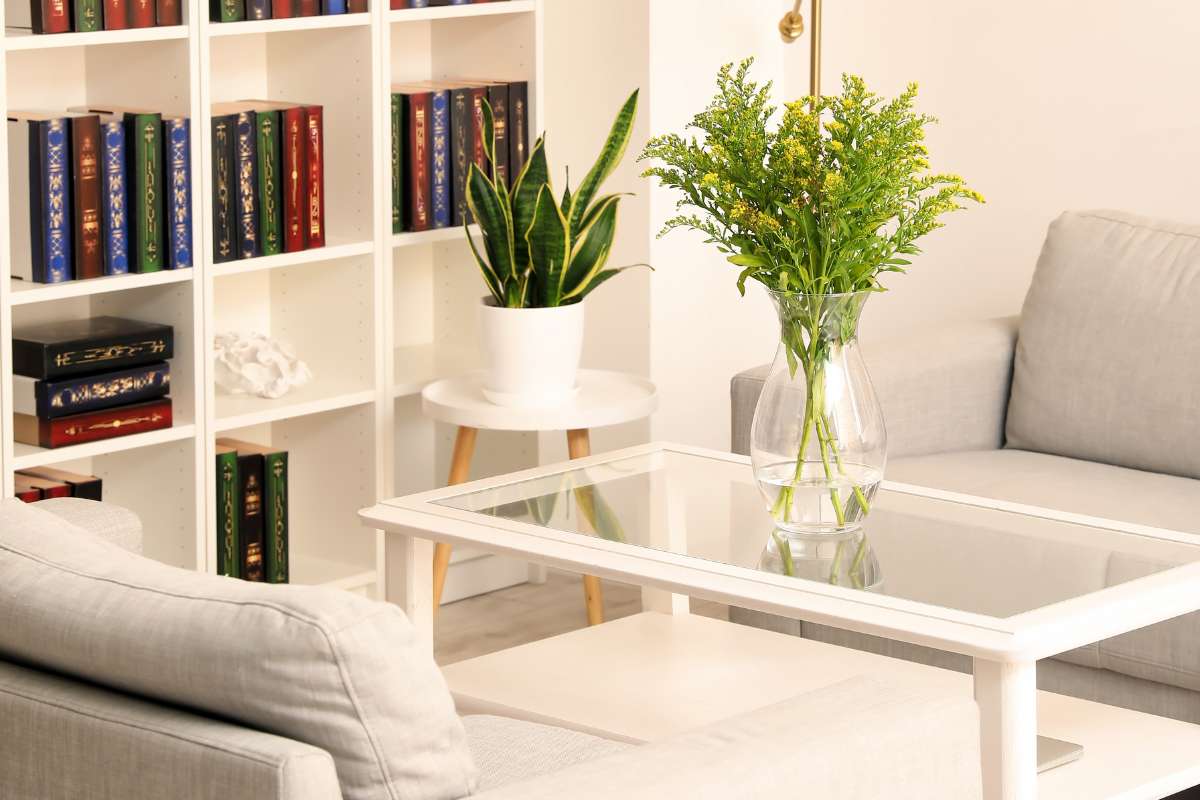
How To Style Ikea Billy Bookcase

Think in thirds: one-third books, one-third closed storage or boxes, one-third decorative objects. Vary heights for rhythm—stack a few books horizontally, lean a frame, then anchor with a ceramic piece. Repeat materials (linen, rattan, glass) across shelves for cohesion.
Layer lighting: add puck lights, strips along the underside of shelves, or a small picture light above a niche. Warm LED temperature keeps tones inviting and enhances texture, especially if you chose a deep color.
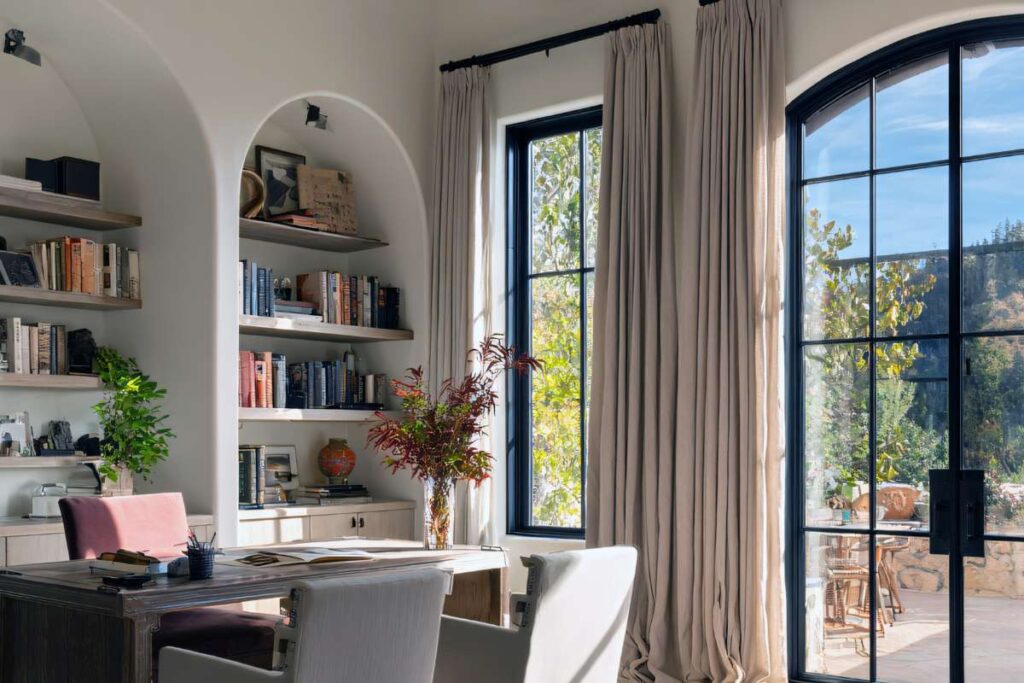
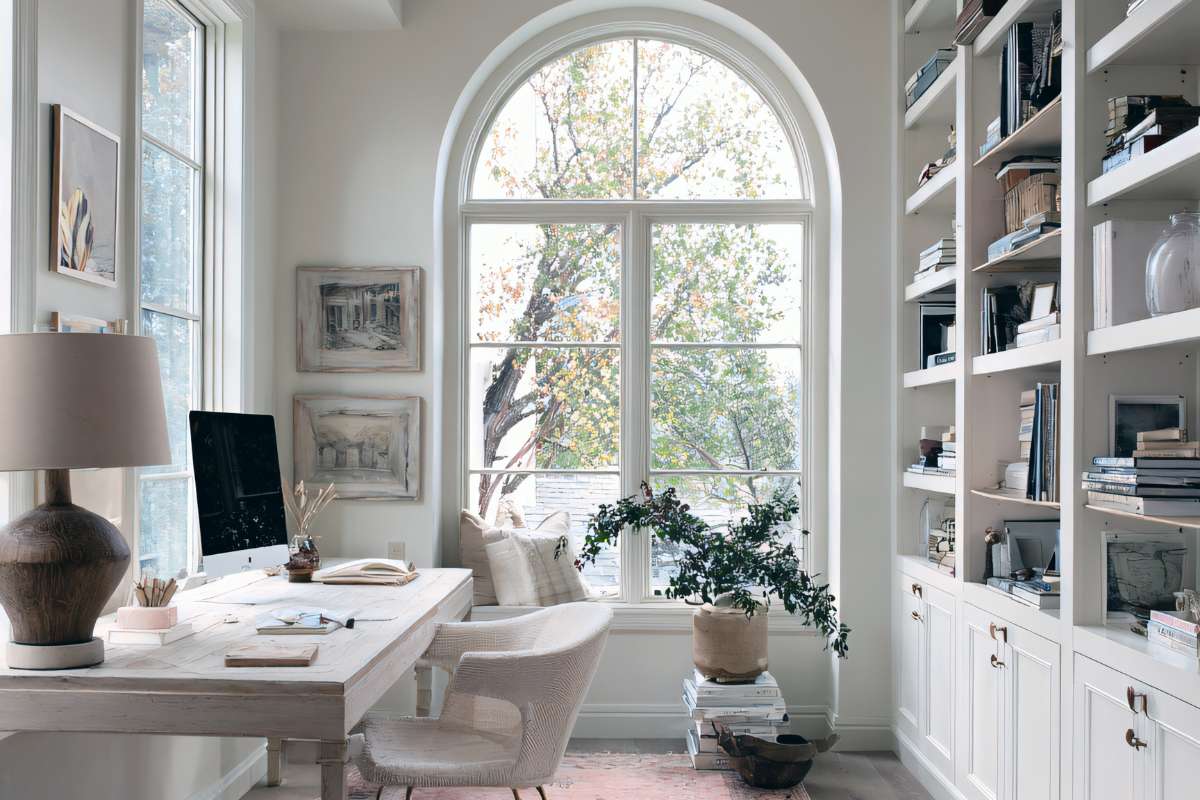
Billy Bookcase in Office: Workhorse Meets Design

If you’re building a home office, the Billy Bookcase In Office layout shines. Hide printers in lower cabinets, keep everyday files in magazine holders, and display a few personal artifacts to soften the scene.
Consider a center desktop or a floating counter between two towers—function first, then styling.
For video calls, set a symmetrical background: balanced stacks, a plant, and one statement object. This steady composition reads professional without looking staged.
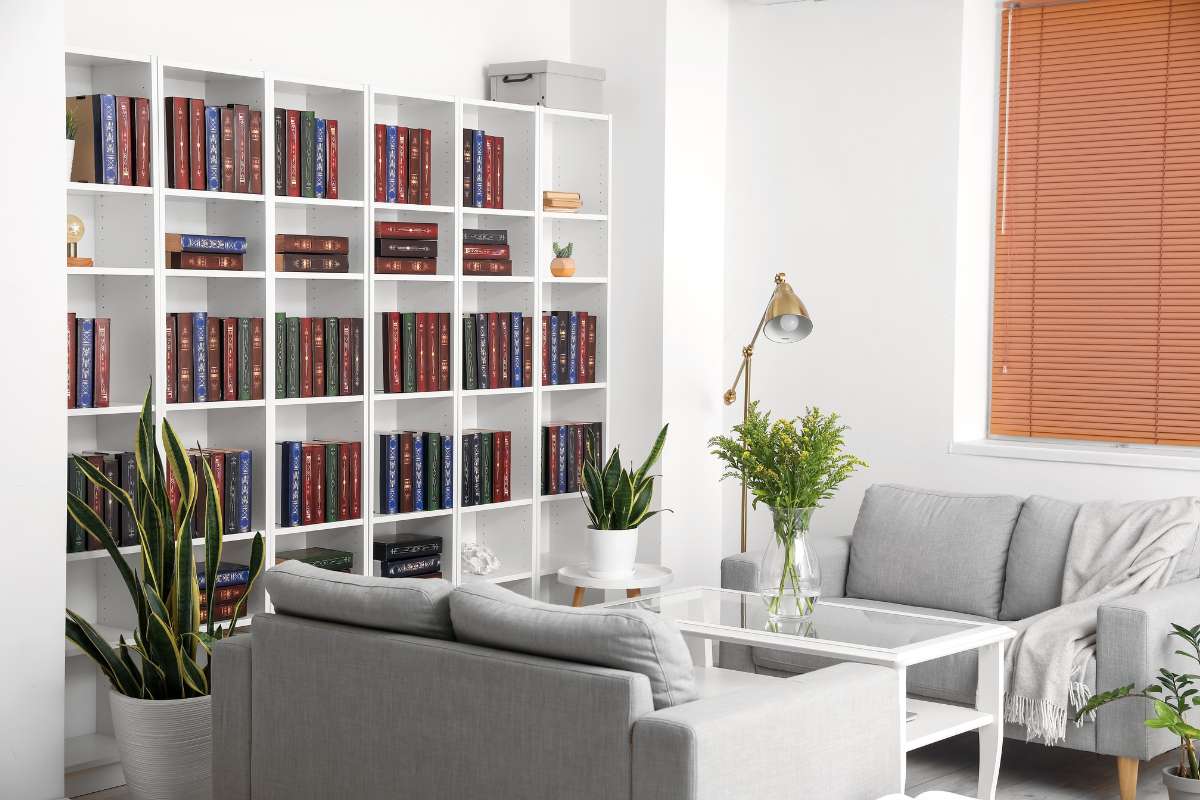
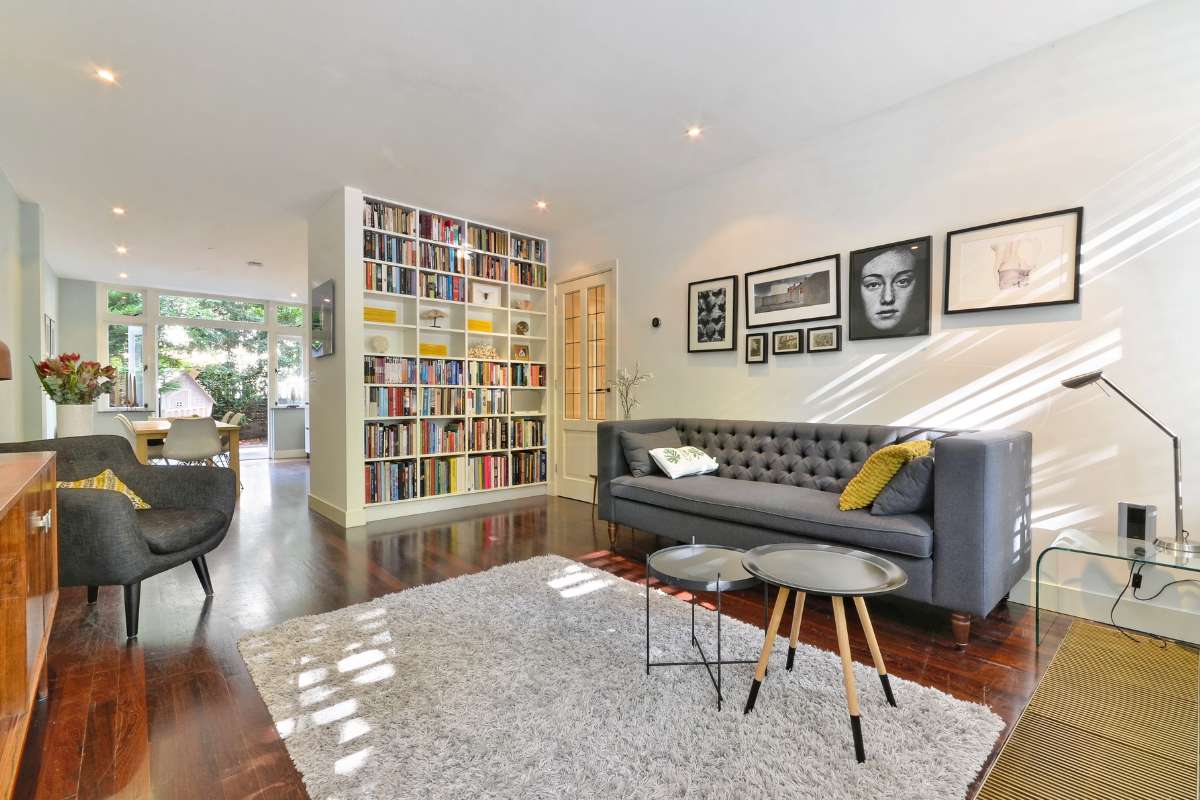
Ikea Billy Library Hack: Wall-to-Wall Impact

Want a classic reading room? Try an Ikea Billy Library Hack with glass doors up top and solid doors below. Paint everything a deep green, navy, or charcoal, then add brass knobs and a soft rug.
Keep the middle shelves at eye level for favorite titles and rotate seasonal themes—travel, gardening, cookbooks.
If your ceiling is high, cap the run with a simple ladder rail (even if decorative) to sell the library look. A single framed artwork centered across two shelves can act like a “mantel moment.”
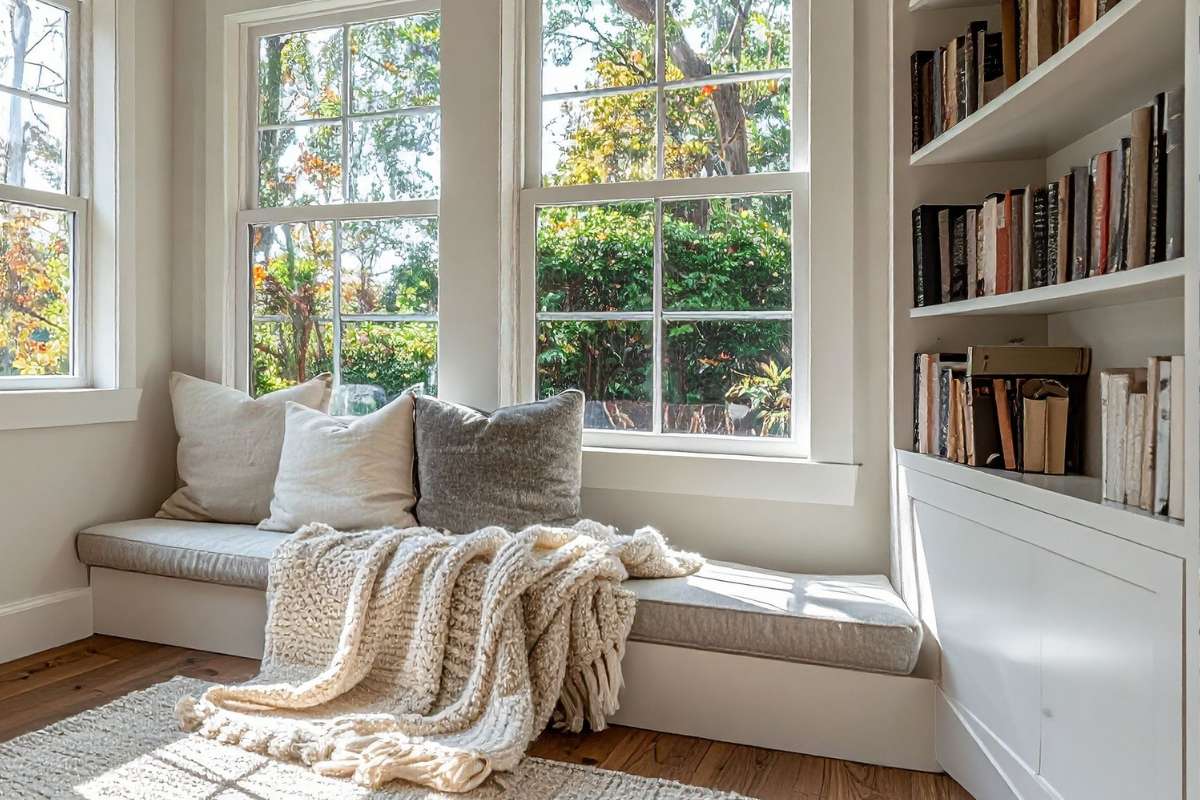
Doors, Drawers & Built-In nooks
Glass doors add refraction and protect dust; solid doors hide chargers, routers, and craft supplies.
For a media nook, remove a shelf and mount a small TV or a frame display; route cables through grommets drilled behind the unit. Keep ventilation in mind—electronics appreciate airflow, and so will you.
Drawers are perfect for stationery, remotes, and the mythical “miscellaneous” category. Label discreetly inside the pull for a clean exterior.
Budget, Timeline & Pitfalls to Avoid
Budget for the bookcases plus 15–30% for trim, paint, and hardware. Most weekend warriors can complete the shell in two days and the finishing in another session. If your wall bows, split the difference: scribe trim can conceal 5–10 mm easily.
Common mistakes include skipping wall studs, forgetting to pre-paint trim, and rushing caulk. Slow is smooth, smooth is fast—especially when the final paint coat reveals everything.
Color & Finish Ideas
For a modern apartment, soft greige with black hardware keeps things airy. In a historic space, match the room’s casing color and choose classic knobs. If you love contrast, paint the back panel a shade deeper than the shelves to make silhouettes pop.
Want texture? Add beadboard behind a bar niche or wallpaper behind a display shelf. Keep patterns subtle so your objects remain the heroes.
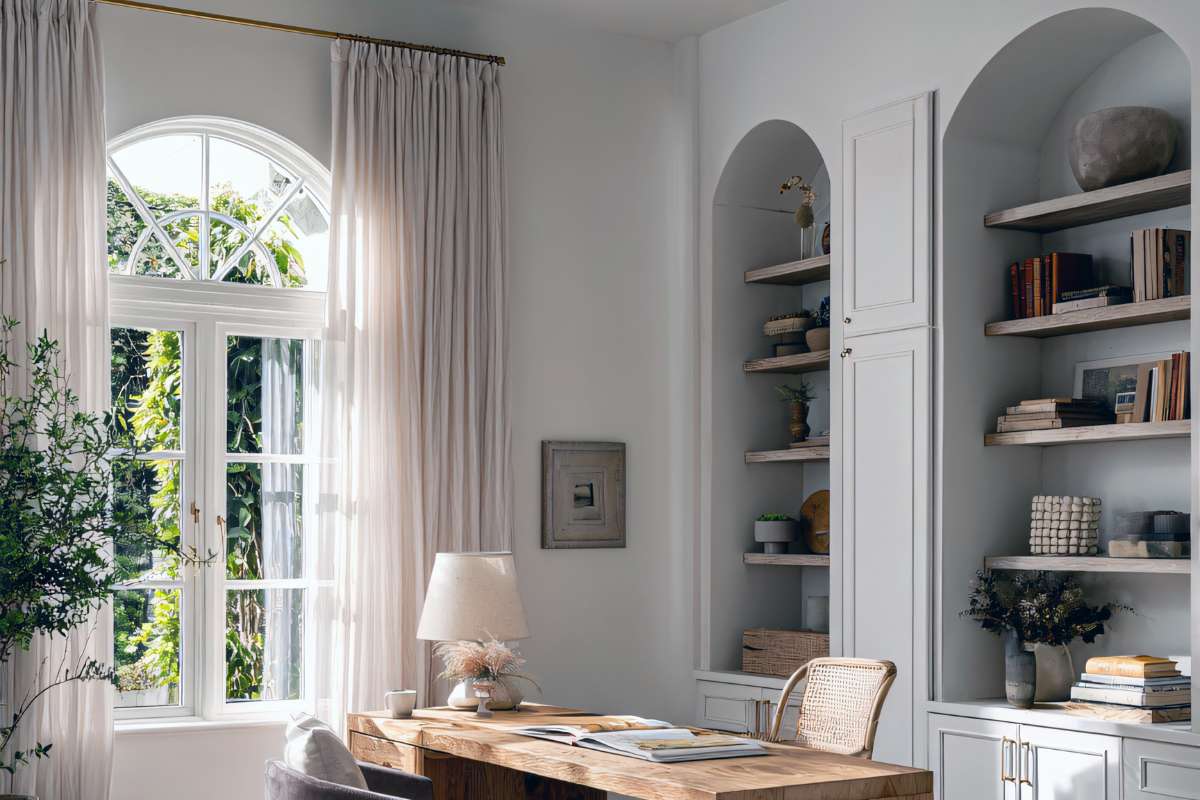
Beyond the Basics: Ikea Billy Bookcase Hack Variations
Raise the bases on a simple plinth to add presence and clear uneven flooring. Add arches with MDF templates for a boutique look, or mix open shelves with glass doors to echo high-end cabinetry.
These tweaks elevate a standard Ikea Billy Bookcase Hack into a room-defining feature.
If you’re renting, build a freestanding run with a finished side panel and skip wall-to-wall trim. You’ll still get the custom vibe—just keep it reversible.
Frequently Asked Questions
Will paint stick? Yes, with scuff-sanding and a good bonding primer. Let each coat cure fully before loading shelves. How much weight? Distribute evenly and use the metal pegs. For heavy art books, add extra pegs and keep them on lower shelves.
Can I add lights? Absolutely. Choose low-heat LED strips and conceal wiring behind trim. Battery pucks are the easiest beginner option.
Wrap-Up & Next Steps
With thoughtful planning and clean trim work, the Billy system can look truly bespoke. Save this guide, gather your materials, and block a weekend. When you’re done, you’ll have a timeless installation that works hard and looks even better.
Want more transformations? Explore our room-by-room makeovers and storage solutions for budget-friendly upgrades that live beautifully.
More Home Tips 👇🏼👇🏼