Can You Paint Over Wallpaper? The Answer May Surprise You

Yes, you can paint over wallpaper—sometimes. If the paper is smooth, firmly adhered, and dry, a fresh coat of paint can be a practical shortcut.
If it’s peeling, textured, stained, or in a humid room, removal (or repair + removal) is the smarter path.
The make-or-break step is using an oil-based or shellac/bonding primer to seal the paper and prevent adhesive reactivation.
The Big Question: When Is Painting Over Wallpaper a Good Idea?
There are perfectly reasonable moments to say “paint it.” Maybe you’ve got a tight timeline, a limited budget, or an older plaster wall that you don’t want to disturb by stripping.
If the wallpaper is well bonded with flat seams, not vinyl-slick, and shows no bubbling or edge lift, painting can deliver a neat refresh with less mess.
Spaces like hallways, guest rooms, and home offices—where humidity swings are mild—are often good candidates.
In these scenarios, think of painting as a practical update rather than a forever solution, and set expectations for a finish that looks clean at a glance and holds up under normal wear.
 When You Should Skip Painting and Remove Instead
There are also red flags. If you see raised seams, deep embossing, or heavy textures, those patterns can telegraph through paint even after multiple coats.
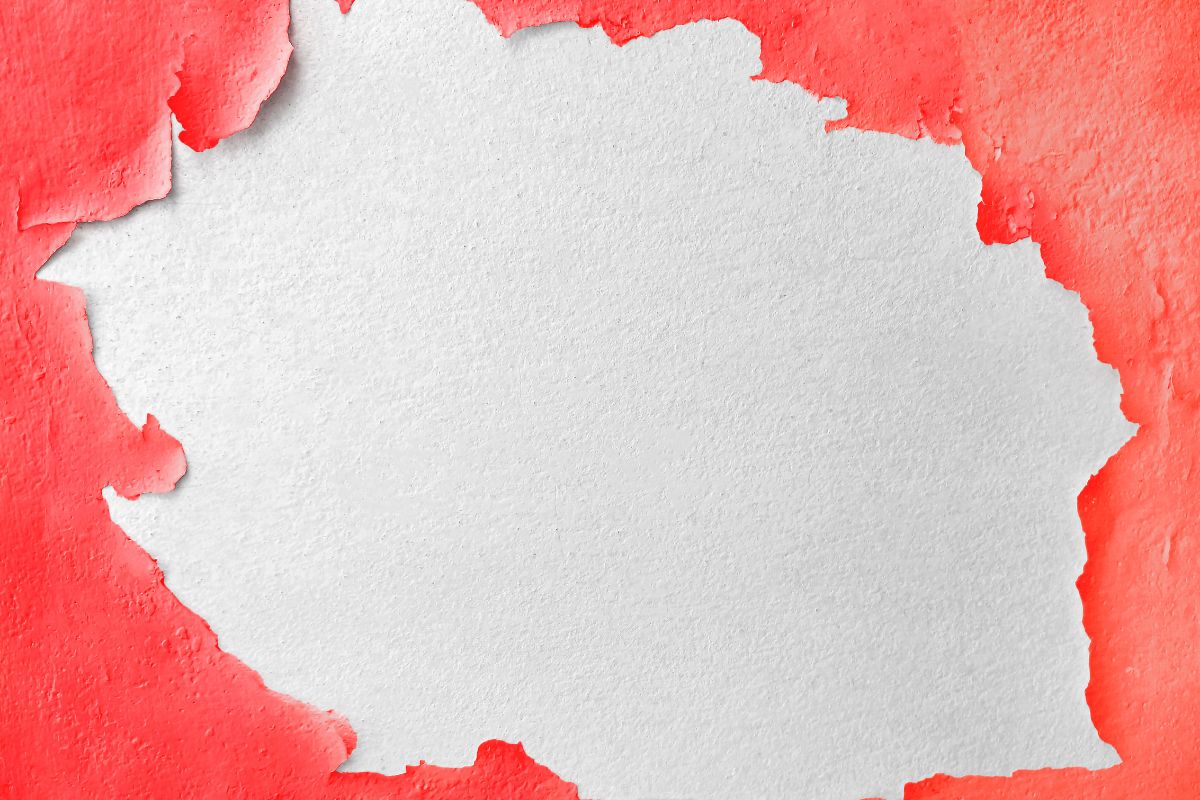
Bubbles, peeling edges, stains, grease marks, or mildew are signs that the substrate isn’t stable—and paint will only magnify the problem.
Likewise, high-humidity rooms (steamy bathrooms, poorly ventilated laundry rooms) are risky; moisture can soften old paste and cause lifting along seams.
If you want the longest-lasting, crispest finish or you plan a larger remodel soon, removing the wallpaper now will spare you headaches later.
Pros and Cons You Can Actually Use
Painting over wallpaper upgrades a space faster and often cheaper than full removal plus wall repair. You’ll also avoid opening a can of worms on delicate plaster or multi-layered walls.
The tradeoffs are real: minor seam lines may remain visible, future removal becomes more involved once paint locks everything in, and performance in humid areas isn’t as dependable.
Go this route when speed and simplicity matter and the surface is cooperative; choose removal when you want a showroom-smooth result or a do-it-once, do-it-right outcome.
 Prep That Makes or Breaks the Result
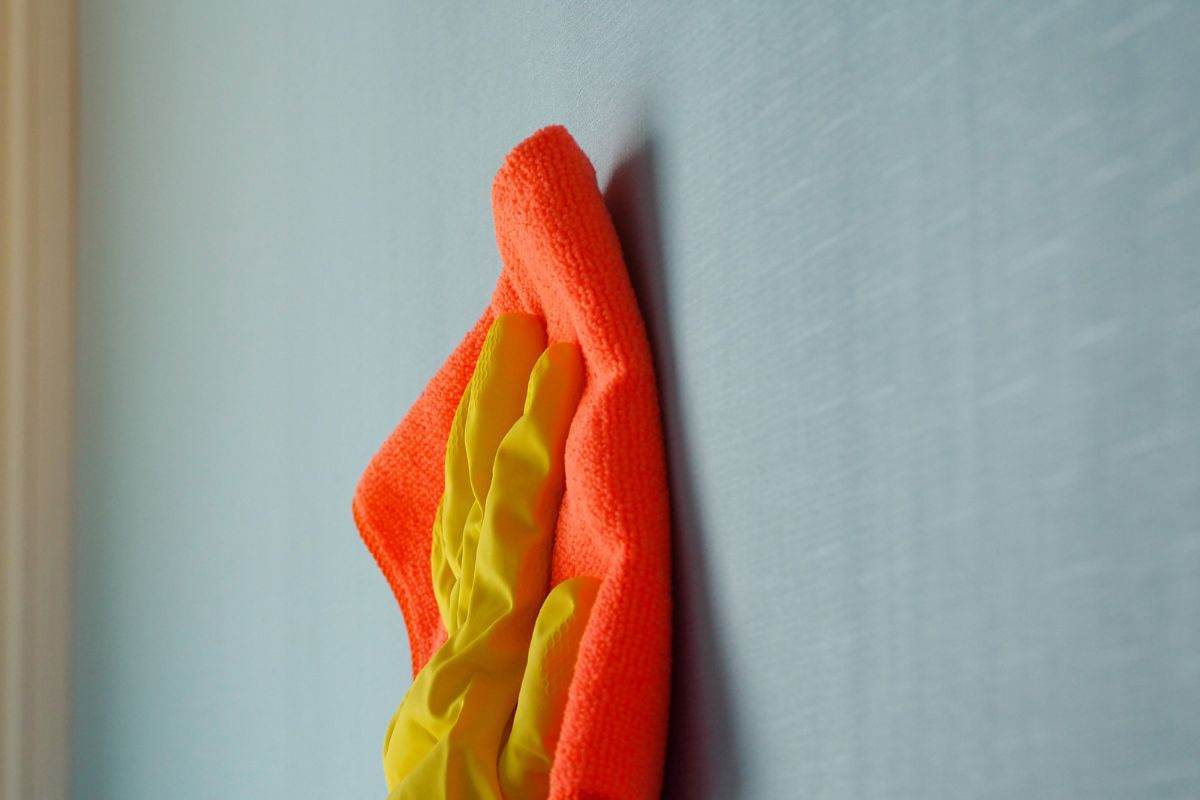
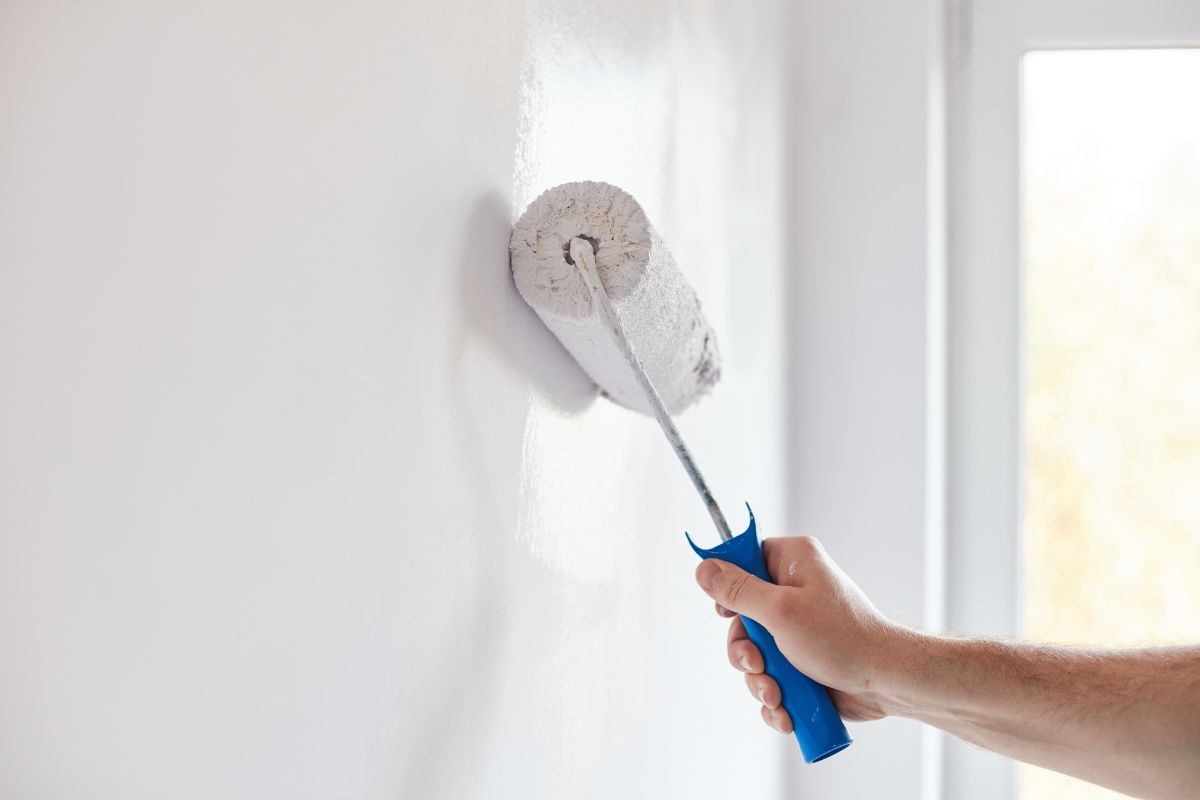
Good prep is the difference between “fresh” and “regret.” Start by cleaning the surface to remove dust, smoke film, and residues that block adhesion.
Re-adhere any lifted edges with seam adhesive, and let it cure fully. Feather-sand seams to soften ridges, and spot-fill dents or gaps so the wall feels visually and tactilely flat.
Wipe down again to remove sanding dust. Only then are you ready for primer.
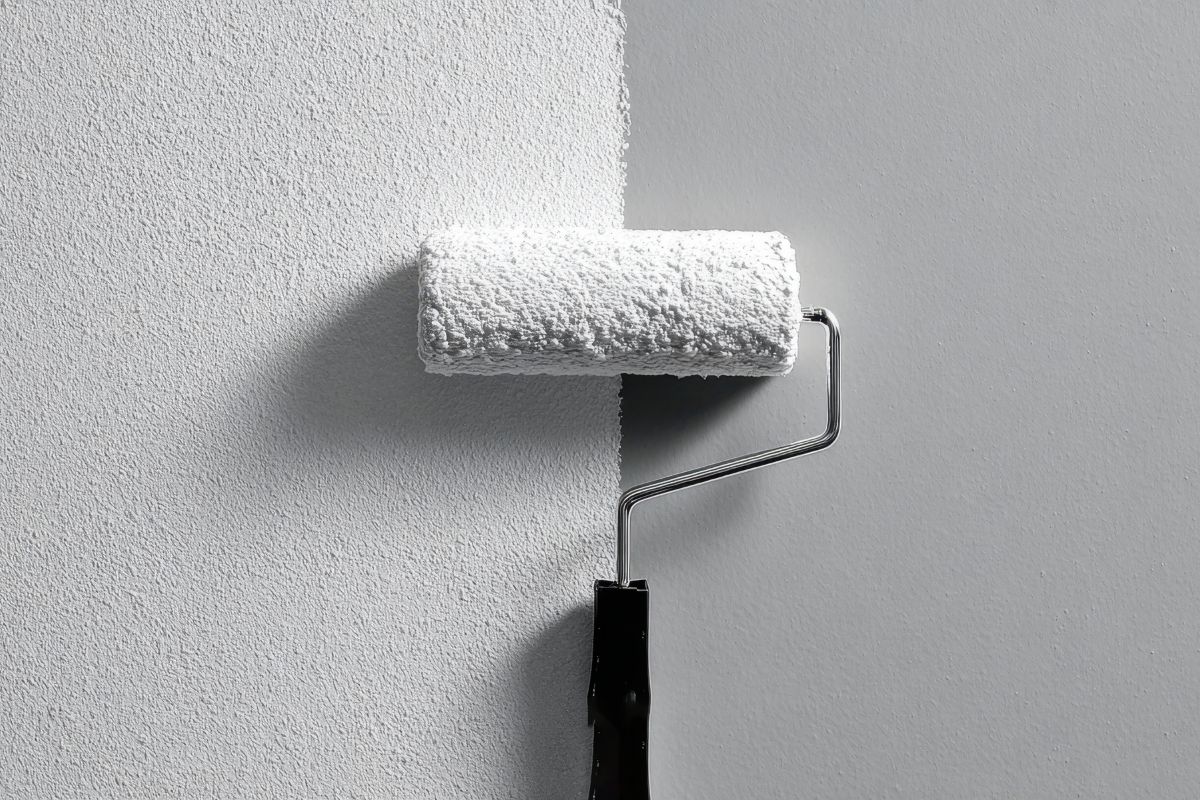
The Crucial Step: Choose the Right Primer
This is non-negotiable: use an oil-based or shellac/bonding primer to seal the wallpaper, lock in inks, and prevent water from re-wetting the paste.
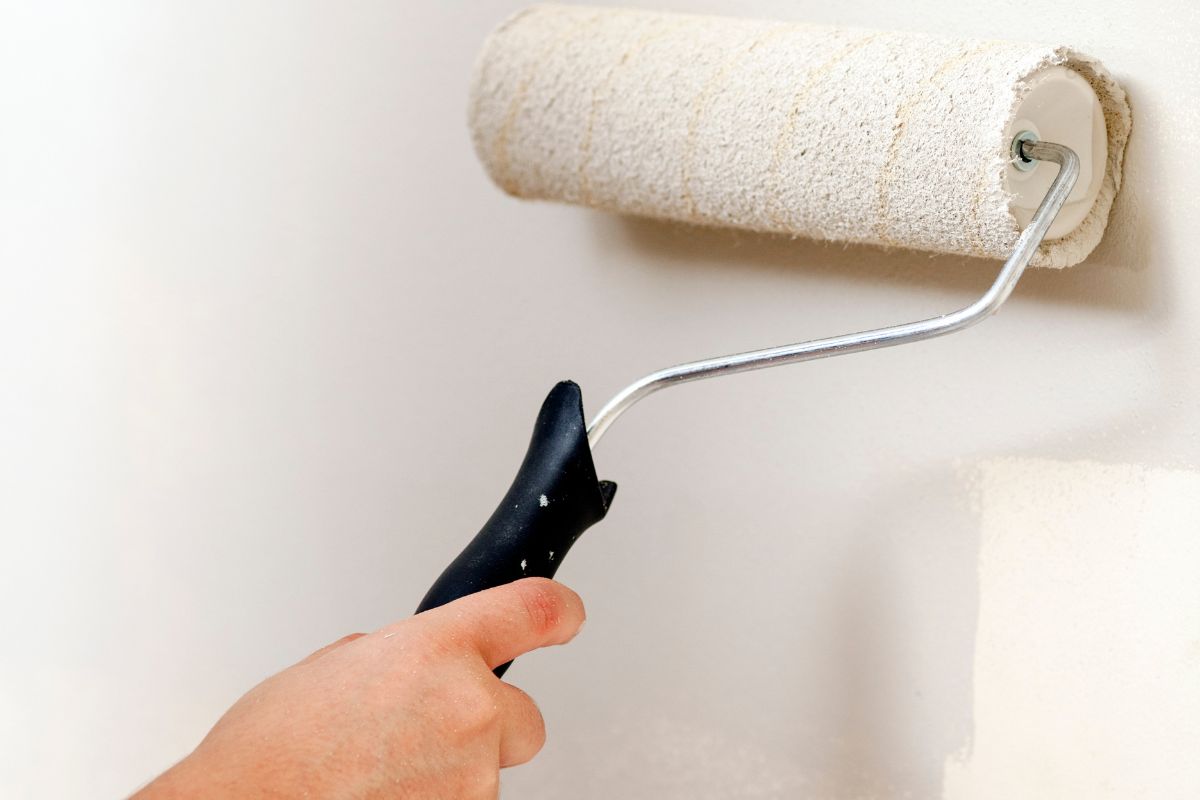
Water-based primers can soften glue and lead to bubbles or seam lift—the exact failure you’re trying to avoid. Brush or roll the primer in a thin, even coat, and allow the full manufacturer’s dry time.
If any stain or print still shows, apply a second thin coat rather than a heavy flood.
Topcoat Pairing and Finish Selection
Once primed, most quality interior paints will bond well.
For real-world walls with subtle imperfections, eggshell or satin finishes are your friend; they’re more washable than matte and do a better job disguising minor texture than high-sheen paints.
If you’re covering a high-contrast pattern, consider having the primer tinted toward your finish color to improve coverage and reduce the total number of coats.
 Special Cases: Textured, Embossed, and Vinyl Wallpapers
Heavily textured or embossed papers are stubborn; even with excellent priming, you’ll often still see the relief.
You can minimize it by applying a thin skim coat of joint compound over seams or across the entire wall, then sanding smooth once dry.
For vinyl wallpapers, confirm the surface is firmly adhered and de-gloss lightly before priming; a bonding primer helps the paint system grip to slick surfaces.
If the vinyl face is loose or the texture is dramatic, removal is the honest solution.
Humidity, Ventilation, and Maintenance
Where moisture lives, caution rules. If you’re set on painting over wallpaper in a bathroom, verify the paper is absolutely tight and sound, ventilation is strong, and you’re committed to oil-based or shellac primer and a quality topcoat.
After painting, keep humidity in check with exhaust fans, leave doors open after showers, and clean with gentle, non-abrasive methods to protect seams.
 Safety and Practicalities
Primers that seal and block stains often contain solvents, so work with good ventilation, use basic PPE (gloves, eye protection, and a suitable mask), and respect dry/cure times.
Cover floors and nearby trim, cut in carefully to avoid loading primer into corners, and avoid over-rolling which can drag at seams.
Cost, Time, and the Future-You Factor
Painting over wallpaper can be the budget-savvy choice today, especially where walls are sound and time is short.
The cost tilts back toward removal if you’re aiming for a flawless, long-term finish or planning to redecorate frequently; each painted-over layer complicates the next change.
A good rule: if you’re decorating to sell or stage, a neat prime-and-paint may be all you need; if you’re decorating to stay for years, removal plus repair is a better investment.
 Quick Decision Guide (Before You Buy Paint)
Smooth, tight, dry paper in a low-humidity room? Painting can work—prime with oil or shellac/bonding and proceed with confidence.
Bubbles, lifted seams, stains, heavy texture, or high moisture? Remove or repair first; painting now will magnify flaws.
Remodel on the horizon or perfection required? Strip and start clean so you’re not battling telegraphed seams or future removal woes.
Prime, Paint, or Peel? Your Best Choice, Simplified
You can paint over wallpaper—and it can look surprisingly good— when the paper is sound, the room is reasonably dry, and you seal it with the right primer.
But if you’re after the cleanest, longest-lasting result—or you’re facing texture, stains, or humidity—removing the paper remains the best route.
Weigh your timeline, budget, and standards for finish quality, then choose the path that gives you beautiful walls today without creating headaches tomorrow.
We hope you enjoy watching this video about How to Paint Over Wallpaper
 and a picture hanging hack!")
Source: She Paints
Did you find this post useful or inspiring? Save THIS PIN to your HOME Board on Pinterest! 😊

Once again, thank you for visiting our website!
We hope you've enjoyed exploring the content we've created for you.
Give yourself the chance to learn, get inspired, and have even more fun, keep browsing...
More Home Tips 👇🏼👇🏼