Here is Your Simple Guide to Cleaning Your Stovetop Burners

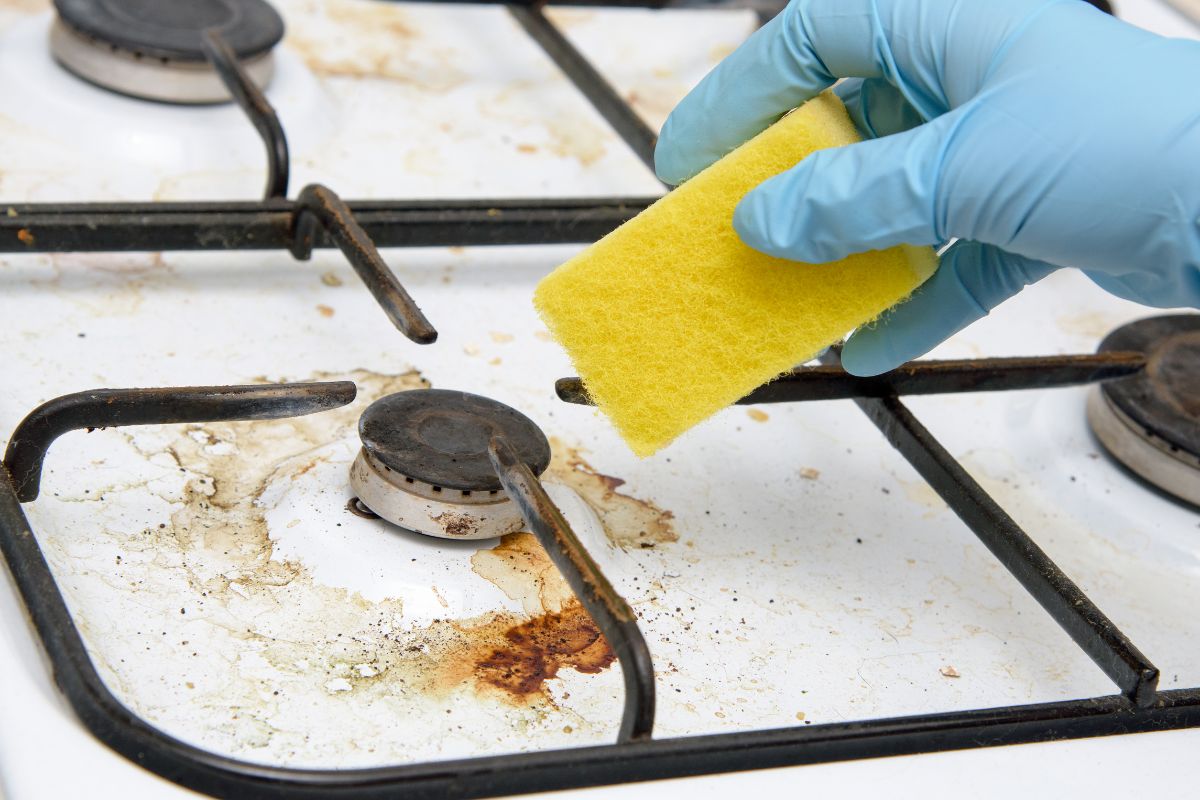
Has your stovetop been looking a little worse for wear? We’ve all been there: spills, stains, and greasy spots that seem impossible to get rid of.
Cleaning your stovetop burners doesn’t have to be a chore, though. With just a few simple tools and a little bit of time, you can get your burners sparkling clean and ready for the next delicious meal. Let’s dive in!
Why You Should Clean Your Burners Regularly
Cleaning your stovetop burners is about more than just aesthetics. Over time, food particles, grease, and spills can accumulate, affecting the burner’s performance.
Make Cleaning Easy with These Top Picks!

- 【8 Versatile Brush Heads】Leebein electric spin scrubber...
- 【Type-C Fast Charging & Battery Level Display】Thanks to...
- 【12-54in Detachable & Adjustable Mop】Leebein shower...
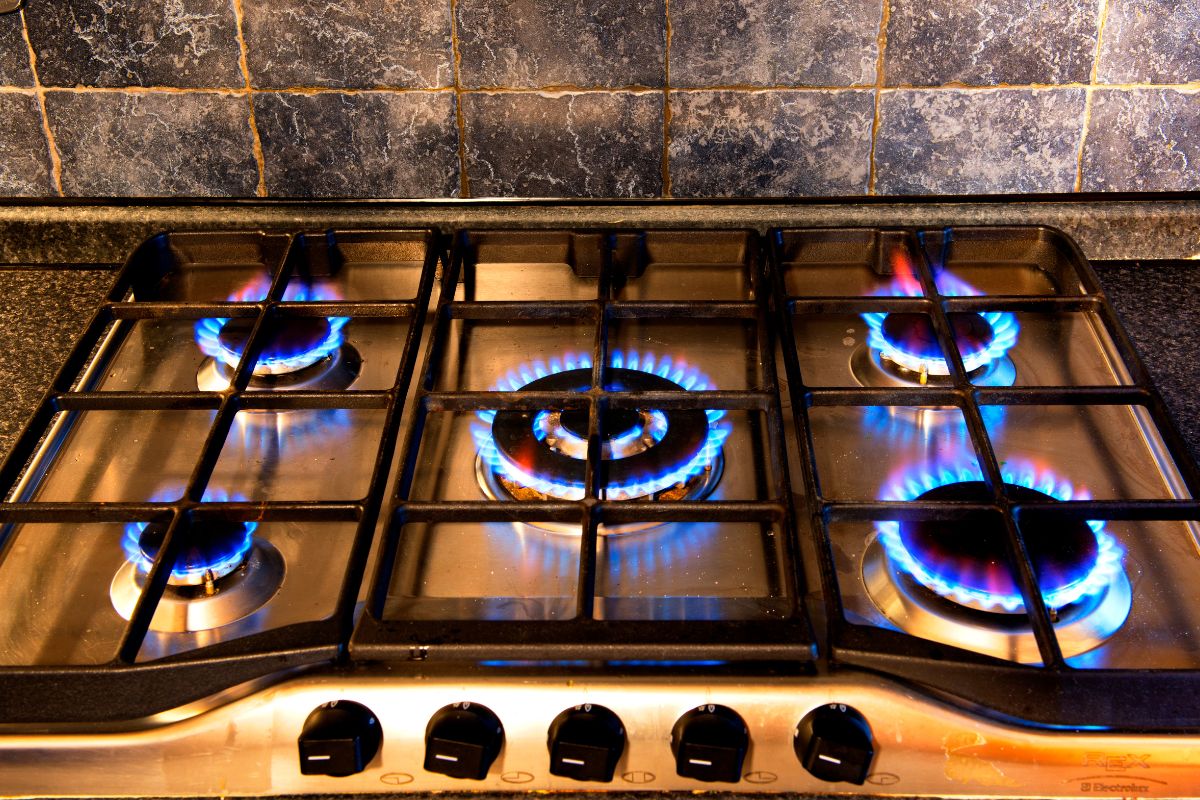
A dirty stovetop can lead to uneven heating, which means your food might cook unevenly. It can also cause unpleasant odors or even affect the flavor of your meals.
Keeping your burners clean helps maintain their efficiency and prolongs their lifespan.
 What You’ll Need:
 What You’ll Need:
Dish soap
An old toothbrush
A paperclip (yes, really!)
Dish towels
(Optional) Kitchen gloves
You don’t need any fancy cleaning products for this task! With these basic materials, you’ll be well on your way to a cleaner stovetop in no time.
Step 1: Remove and Soak
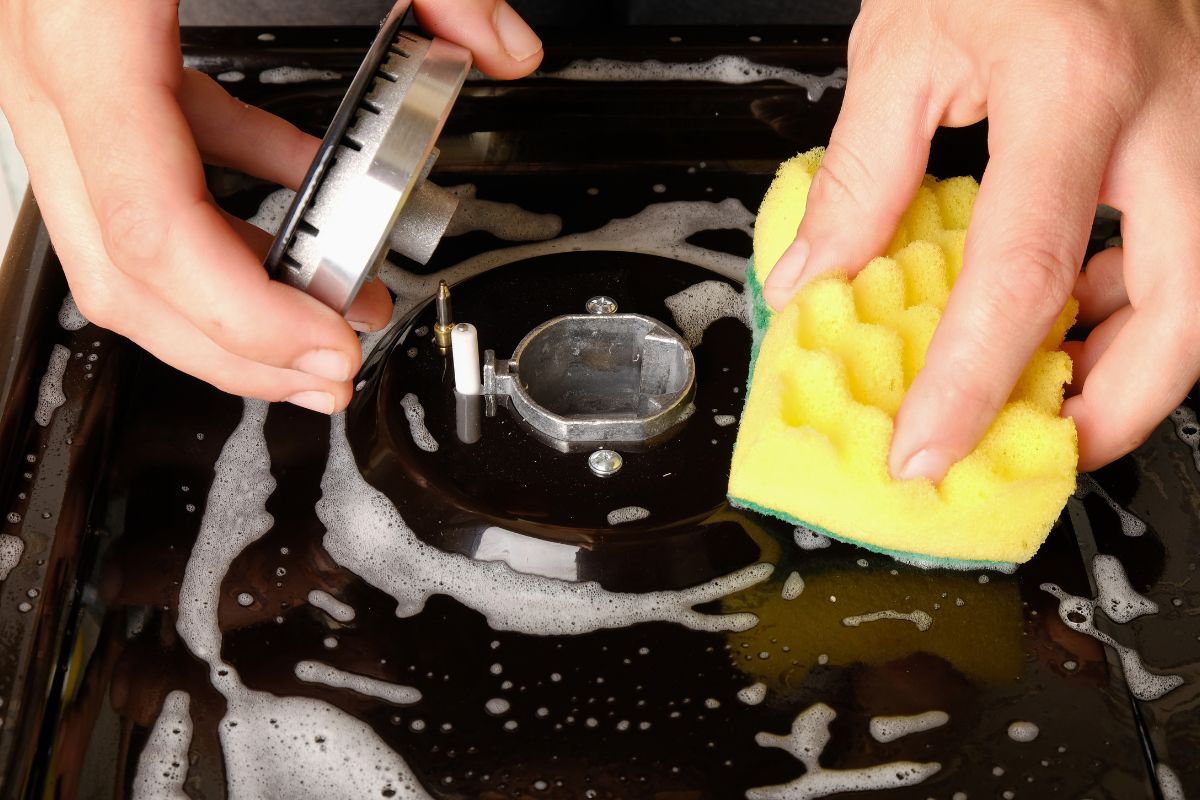
Turn off your stovetop and ensure it’s completely cool before starting.
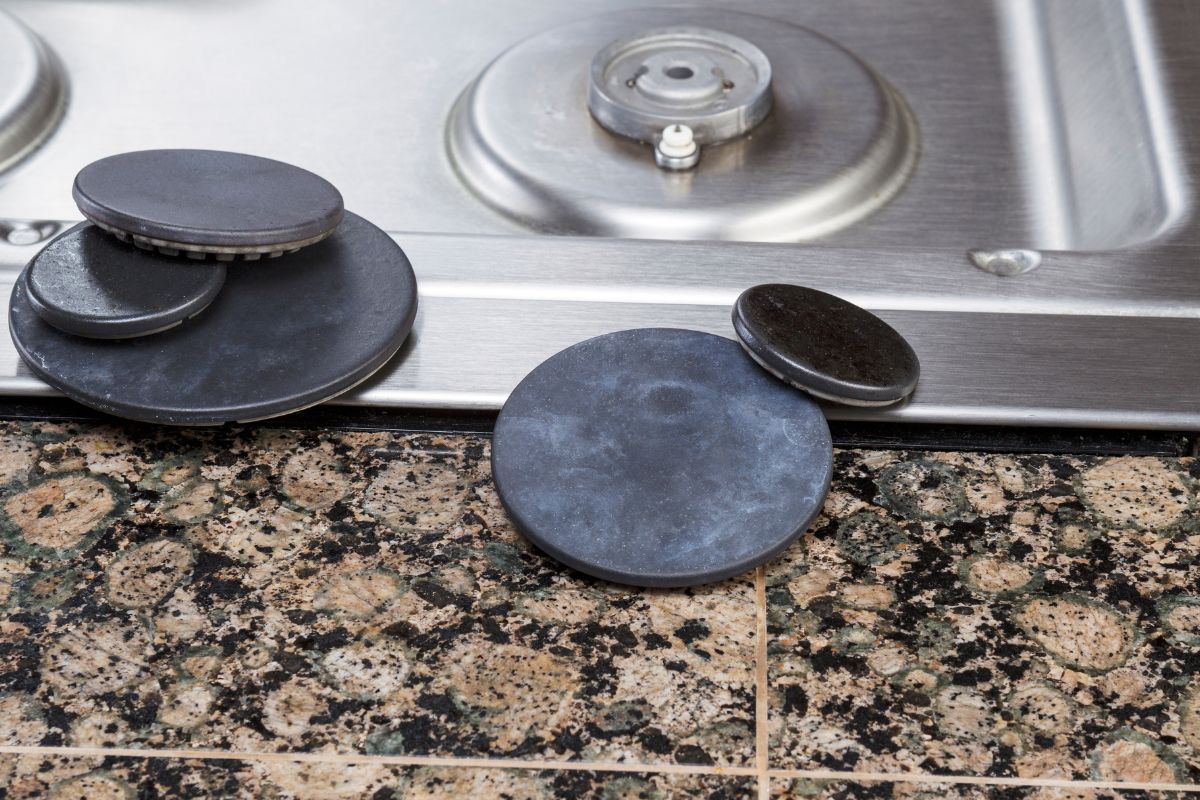
Carefully remove the burner grates and caps.
Fill your sink with hot, soapy water. Let the burner parts soak for at least 10 minutes to loosen any stuck grease or food particles.
If the water gets dirty quickly, change it for a cleaner soak to ensure your burners get a thorough clean.
Pro Tip: The longer the parts soak, the easier it will be to scrub away stubborn grime. For heavy grease buildup, you can add a bit of vinegar to the water for extra cleaning power.
Step 2: Scrub and Scrape Away Residue
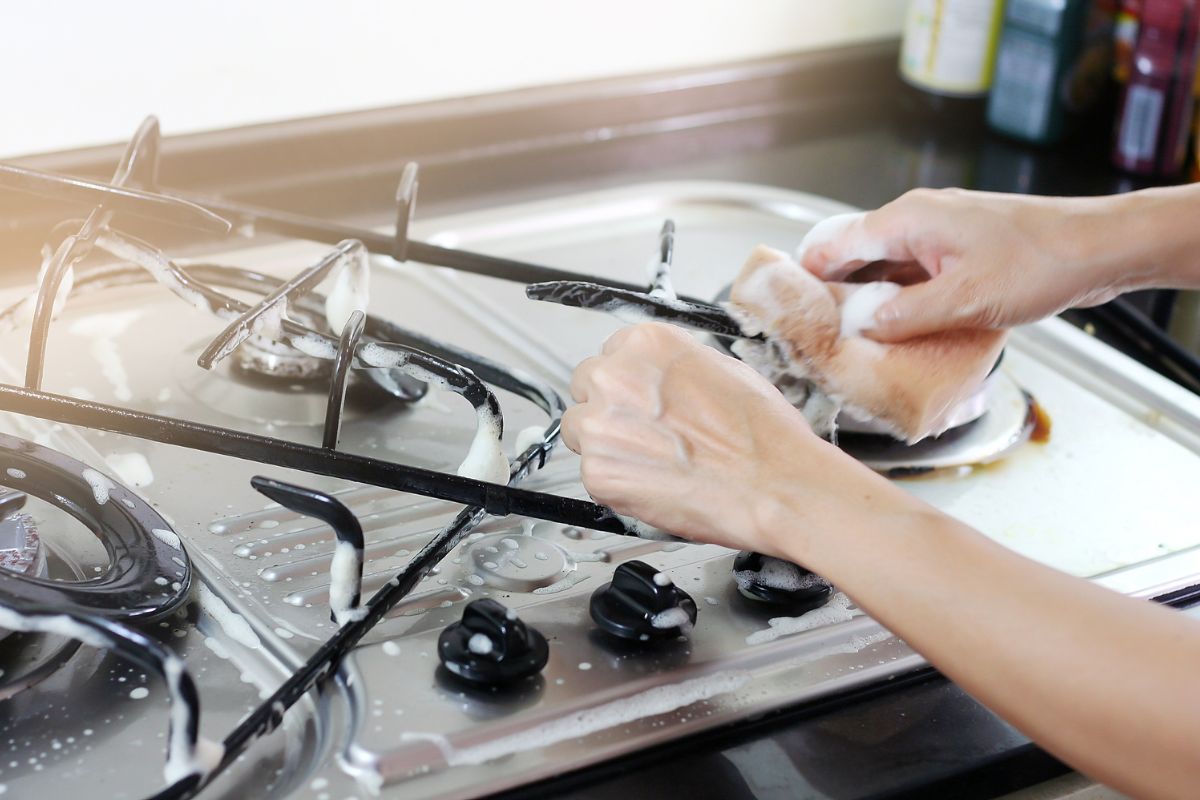
Take your old toothbrush and gently scrub the soaked burner parts. Use circular motions to lift grease and food buildup. Pay extra attention to any areas where grease might have splattered.
For stuck-on residue, take the paperclip, straighten it out, and carefully scrape away the buildup. This tool is perfect for getting into small grooves and corners where food can get trapped.
Avoid using abrasive sponges or harsh chemicals, as they can scratch or damage your stovetop. Stick to soft-bristled brushes and gentle cleaning solutions.
Pro Tip: If you’re using natural cleaning methods, mix baking soda with water to form a paste. Apply it to stubborn spots, let it sit for a few minutes, and then scrub gently for a deep clean.
Step 3: Dry and Reassemble
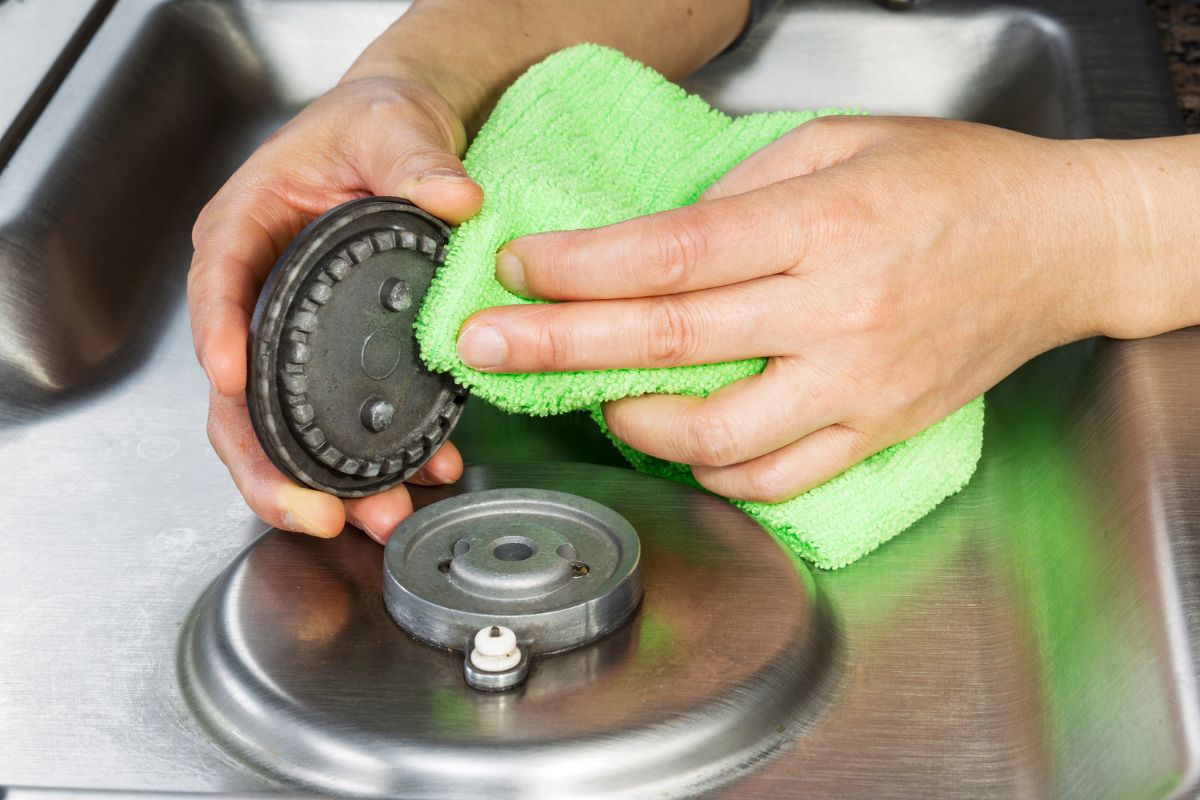
After you’re done scrubbing, dry the pieces with a clean dish towel.
Let everything air dry completely before putting the burner parts back in place. This prevents water spots and ensures that your stovetop is ready to use right away.
Make sure that the burner caps and grates are securely fitted when reassembling. If any part feels loose, double-check that it's properly in place to avoid future spills.
Pro Tip: For a shiny finish, you can use a small amount of olive oil or mineral oil on a clean cloth to wipe down the burner grates once they’re dry. This will leave your stovetop looking glossy and help prevent food from sticking.
Step 4: Regular Maintenance
After every use, wipe away spills or food particles right away to prevent buildup. A quick wipe down after cooking can save you from scrubbing later.
Deep clean your stovetop burners at least once a week or every two weeks, depending on usage. If you cook greasy foods or frequently spill sauces, you might want to clean more often.
By keeping your stovetop clean, you not only improve the look of your kitchen but also help maintain the performance of your burners. Regular cleaning ensures that grease and grime don’t become baked on, making future cleaning sessions much easier.
Extra Tips for Maintaining a Clean Stovetop
Use a stovetop protector: Consider using a stovetop protector or burner liners to catch drips and spills before they reach your burners. These are easy to remove and clean, saving you time on deep cleans.
Keep a cleaning routine: Set a weekly reminder to clean your stovetop. A simple habit like wiping it down after cooking can save you from larger cleaning tasks later on.
Avoid harsh chemicals: Many conventional cleaners can leave behind harmful residues, so it’s best to stick to natural alternatives like vinegar and baking soda when possible.
Keep Your Burners Sparkling and Your Kitchen Fresh
 Keep Your Burners Sparkling and Your Kitchen Fresh
Now that you know how to clean your stovetop burners with ease, don’t let dirt and grease take over! Make cleaning a part of your regular kitchen routine, and your stovetop will always look its best.
With just a little effort, you can enjoy a cleaner, more functional kitchen. Plus, you’ll prolong the life of your stove and avoid potential cooking problems. Happy cleaning!
We hope you enjoy watching this video about HOW TO CLEAN EASILY A GAS BURNER

Source: Trop Facile !
Did you find this post useful or inspiring? Save THIS PIN to your HOME Board on Pinterest! 😊

Once again, thank you for visiting our website!
We hope you've enjoyed exploring the content we've created for you.
Give yourself the chance to learn, get inspired, and have even more fun, keep browsing...
More Home Tips 👇🏼👇🏼